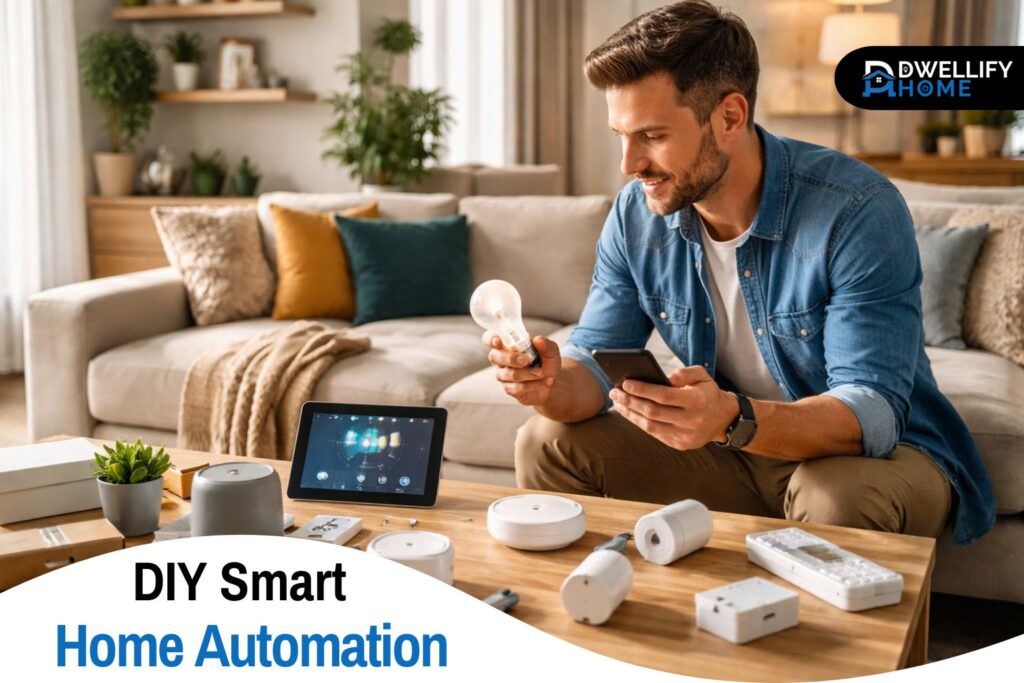
Smart homes make the most sense when they solve ordinary problems without creating new ones. That’s why the best setups usually don’t start with a big shopping list. They start with one simple question: what do you want your home to do for you without being asked every time?
That could mean hallway lights turning on at night, the thermostat easing back when the house is empty, or a lamp shutting off automatically at bedtime. Good DIY smart home automation isn’t about filling every room with gadgets. It’s about making daily routines smoother, cutting down small annoyances, and building something you can actually manage yourself.
Snippet-Ready Definition:
DIY smart home automation is the process of connecting smart devices like lights, sensors, and thermostats so they automatically respond to triggers such as motion, schedules, or voice commands without requiring professional installation.
Mission Statement:
Dwellify Home helps homeowners create comfortable, practical living spaces by sharing thoughtful guidance on home design, technology, and everyday improvements.
What DIY Smart Home Automation Really Means
A lot of people think a smart home just means controlling devices from an app. That’s only part of it. Real automation happens when devices respond on their own based on a trigger, a condition, or a schedule. A light that turns on from your phone is smart control. A light that turns on when motion is detected after sunset is automation.
The DIY part matters too. It means you’re choosing the system, adding devices yourself, and deciding how everything works together. You’re not locked into a custom installer’s ecosystem, and you can improve the setup over time. That flexibility is one of the biggest reasons people prefer doing it themselves.
Key Benefits of DIY Smart Home Automation
- Improves everyday convenience through automated routines
- Reduces energy waste with smart lighting and thermostat control
- Adds home monitoring and basic security features
- Lets homeowners customize how devices interact
- Allows gradual expansion without large upfront costs
Why More Homeowners Are Choosing DIY Smart Home Automation
Cost is a big reason, but it’s not the only one. Professional systems can be polished, but they often come with higher upfront pricing, limited brand options, and less control over future changes. A DIY setup lets you build room by room and adjust things as your needs change.
There’s also a practical side to it. Most households don’t need a fully integrated luxury system. They need useful routines that save time, reduce energy waste, and make the home feel easier to live in. That’s where a simple, well-planned setup usually works better than an expensive one built around features you may never use.
Plan Your Smart Home Setup Before Buying Devices
The most common mistake beginners make is buying random devices because they look useful on their own. A smart bulb, a video doorbell, a plug, a speaker. Then a few weeks later they realize some devices don’t connect well, some need separate apps, and some won’t work together at all.
A better approach is to decide what problems you want to solve first. Maybe you want better lighting at night, easier temperature control, or a basic security routine when nobody’s home. Pick one or two goals, choose the rooms that matter most, and set a modest starting budget. Planning this way makes it much easier to build a system that stays organized instead of becoming a collection of disconnected gadgets.
Choose the Right Smart Home Ecosystem
Your ecosystem is the foundation of the whole setup. Amazon Alexa, Google Home, Apple Home, Samsung SmartThings, and Home Assistant all do the job a little differently. The best choice depends less on marketing and more on how you already use technology at home.
Alexa and Google Home are often the easiest for beginners because they work with a wide range of devices and make routine building fairly simple. Apple Home tends to appeal to people already deep into the Apple ecosystem and those who care more about privacy. SmartThings is a strong middle ground for broader compatibility. Home Assistant is usually better once you want more local control, deeper customization, and fewer cloud limitations.
Understanding Smart Home Hubs and Controllers
Not every setup needs a dedicated hub right away. A smart speaker or platform app may be enough when you’re starting with a few Wi-Fi devices like bulbs, plugs, and cameras. That works well for small systems and keeps the learning curve manageable.
Once you add more sensors, switches, or devices using Zigbee, Z-Wave, or Thread, a proper hub becomes much more useful. Hubs help centralize control, improve reliability, and reduce the confusion that comes from juggling several apps. In real homes, that difference shows up quickly. A small setup can survive with app-only control. A growing setup usually benefits from having one place where everything is managed.
Smart Home Protocols You Should Understand
Compatibility problems often come down to communication protocols. Wi-Fi is familiar and convenient, but it can crowd your network if too many devices rely on it. Zigbee and Z-Wave are often better for sensors and low-power devices because they create mesh networks and tend to be more stable in automation-heavy homes.
Thread and Matter are becoming more important too. Matter helps improve cross-platform compatibility, while Thread offers fast, low-power communication for supported devices. You don’t need to become highly technical, but understanding the basics helps you avoid buying products that look similar on the shelf but behave very differently once installed.
Build a Strong Network for Reliable Automation
A weak network causes more smart home frustration than almost anything else. Devices dropping offline, delayed commands, routines failing halfway through, cameras buffering for too long. In many cases, the device isn’t the real problem. The network is.
That’s why it’s worth checking your router, your signal strength, and your dead zones before expanding. Larger homes often benefit from mesh Wi-Fi. Devices placed too far from the router may appear inconsistent even when the hardware is fine. Reliable automation depends on stable communication, so a strong network is not an extra. It’s part of the system.
Essential DIY Smart Home Automation Devices to Start With
The easiest starting point is usually lighting. Smart bulbs and smart switches give quick results and make automation feel useful right away. Motion-based hallway lighting, scheduled porch lights, or a bedtime routine that turns everything off at once are all practical first wins.
Smart plugs are another good entry point because they can automate lamps, fans, coffee makers, and other simple appliances. After that, sensors add real intelligence. Motion sensors, door sensors, leak sensors, and temperature sensors are often what turn a basic smart home into a genuinely responsive one. Cameras, locks, and thermostats can come next, but it’s usually smarter to add them after you’re comfortable with the basics.
How to Make a Smart Home Automation System Step by Step
The cleanest way to build a system is one layer at a time. Start by choosing your ecosystem. Then add a hub or controller if needed. Install one or two compatible devices and organize them by room inside the app. After that, create a simple routine you can test easily, like a lamp turning on at sunset or hallway lights reacting to motion.
Once that first automation works reliably, build outward. Add another room, another use case, or another sensor. That gradual approach gives you time to spot weak points before the setup becomes too large. It also helps you understand what’s actually useful in your home rather than copying routines that sounded good online but don’t fit your daily life.
How Smart Home Automations Actually Work
Every automation is built on a simple structure: trigger, condition, and action. The trigger is what starts it. That could be a time of day, motion detection, a door opening, or your phone leaving the area. The condition is what must be true for it to run, such as only after sunset or only when nobody is home. The action is what happens next.
This matters because poor routines usually fail at the condition stage. A light that turns on every time motion is detected sounds fine until it keeps activating in daylight or wakes someone up at 2 a.m. The most useful automations are usually the ones that include just enough logic to feel natural instead of annoying.
Practical DIY Home Automation Ideas for Everyday Life
Some of the best ideas are the least flashy. Motion-triggered lighting in hallways, staircases, and bathrooms is genuinely useful. A morning routine that gradually turns on lights and starts a plug-connected coffee maker can make the house feel more settled at the start of the day. A bedtime routine that switches off selected lights, locks the front door, and lowers the thermostat saves effort every single night.
Away routines also work well. You can have lights turn on at certain times, cameras shift modes, and temperature settings adjust while the house is empty. In homes with kids or older adults, simple automations can also improve safety, like entry lights turning on automatically or alerts when a door opens late at night.
Popular Smart Home Automation Brands
Brand matters less than compatibility, but some names come up often for a reason. Amazon, Google, Apple, Samsung, Aqara, Philips Hue, TP-Link Kasa, Ring, Ecobee, and Home Assistant-compatible brands all show up regularly in real-world setups. The right mix depends on your platform, your budget, and how much control you want.
A common mistake is choosing based only on brand familiarity. A better habit is checking whether the device supports your ecosystem, whether it uses a protocol that fits your setup, and whether it depends heavily on cloud access. A well-matched less famous device is often a better choice than a popular one that doesn’t fit the rest of the system.
Budget-Friendly DIY Smart Home Automation Tips
You don’t need to spend heavily to make a home feel smarter. Start with devices that offer the most daily value. Smart plugs, motion sensors, and basic lighting usually provide more practical benefit than jumping straight into expensive specialty gear.
It also helps to avoid buying in bulk too early. Cheaper devices can look like a bargain, but the real cost shows up later when they disconnect often, lag, or force you into separate apps. A smaller number of reliable devices is usually a better investment than a house full of low-cost hardware that never feels fully stable.
Privacy and Security in DIY Smart Homes
Convenience should never come at the cost of basic security. Use strong passwords, enable two-factor authentication where possible, and keep firmware updated. These small steps prevent a lot of avoidable problems.
Think carefully about cloud dependence too. Some devices send more data outside the home than others. Cameras and microphones deserve extra attention, especially indoors. In practice, a lot of people install indoor cameras first and regret it later because of privacy concerns. Local control options are worth considering once you want more control over how your system behaves and where your data goes.
Common DIY Smart Home Automation Mistakes to Avoid
One mistake is building too much too soon. Another is choosing devices before choosing a platform. That usually leads to compatibility issues, extra apps, and routines that don’t work consistently.
There’s also the habit of automating things that don’t need automation. Not every lamp, switch, or plug needs to be smart. The best setups focus on regular friction points, not novelty. A routine should remove a step from your day, not add another thing to troubleshoot.
Troubleshooting Smart Home Automation Problems
When a setup stops behaving properly, start with the basics. Check whether the device is online, whether the trigger is still working, and whether any conditions are blocking the action. In many homes, the issue is less dramatic than it looks. A sensor battery is low, the Wi-Fi signal is weak, or the automation logic became too strict.
Naming devices clearly also helps more than people expect. When every device has a clear room and function label, troubleshooting gets much easier. That matters once you’ve built several routines and need to understand quickly what’s supposed to happen and why it didn’t.
Expanding Your Smart Home the Right Way
Growth works best in phases. Add devices by room or by purpose rather than buying everything at once. Keep naming consistent, review your routines every few months, and remove automations that no longer help. A clean system is easier to live with and much easier to maintain.
This is also where long-term thinking matters. The best smart home setups don’t just work on the day they’re installed. They still make sense six months later. That usually comes from steady expansion, clear organization, and resisting the urge to automate every corner of the house at once.
When to Upgrade to Advanced Smart Home Systems
At some point, basic platforms may feel limiting. That usually happens when you want more complex conditions, more local control, better dashboards, or deeper device integration. That’s where advanced systems like Home Assistant start to make sense.
The move isn’t necessary for everyone. For many households, Alexa, Google Home, Apple Home, or SmartThings will handle the essentials just fine. But for people who want fewer cloud dependencies and more control over how automations behave, upgrading can be worthwhile once the basics are already working well.
Is DIY Smart Home Automation Worth It?
For most homes, yes, as long as it’s approached with a plan. The value comes from usefulness, not from having the largest setup. A few well-chosen devices and routines can improve comfort, save time, and make a home feel more responsive without turning it into a technical project that never ends.
DIY smart home automation works best when you start small, choose compatible devices, and build around real habits instead of trends. That’s usually the difference between a setup that quietly helps every day and one that becomes a shelf full of gadgets you stop trusting.
FAQs
How to make a smart home automation?
Start by choosing a smart home platform such as Alexa, Google Home, or Apple Home. Add compatible devices like smart lights or plugs, then create routines that trigger actions based on time, motion, or voice commands.
How to make your own home automation?
Begin with a central ecosystem and a few reliable devices. Install them through their apps, connect them to your platform, and create automations that link triggers such as motion sensors or schedules with device actions.
What are the 5 basic components of an automated system?
Most smart home systems rely on five core elements: sensors, controllers or hubs, connected devices, communication protocols such as Wi-Fi or Zigbee, and automation rules that determine how devices respond.
What is the easiest way to automate your home?
The simplest starting point is smart lighting or smart plugs. These devices are easy to install and can run on schedules or motion triggers, making them ideal for beginners learning home automation.
Disclaimer
Information on Dwellify Home is for educational and informational purposes only and should not replace professional advice for electrical installation or home systems.

I’m Bilal, the founder of Dwellify Home. With 6 years of practical experience in home remodeling, interior design, and décor consulting, I help people transform their spaces with simple, effective, and affordable ideas. I specialize in offering real-world tips, step-by-step guides, and product recommendations that make home improvement easier and more enjoyable. My mission is to empower homeowners and renters to create functional, beautiful spaces—one thoughtful update at a time.