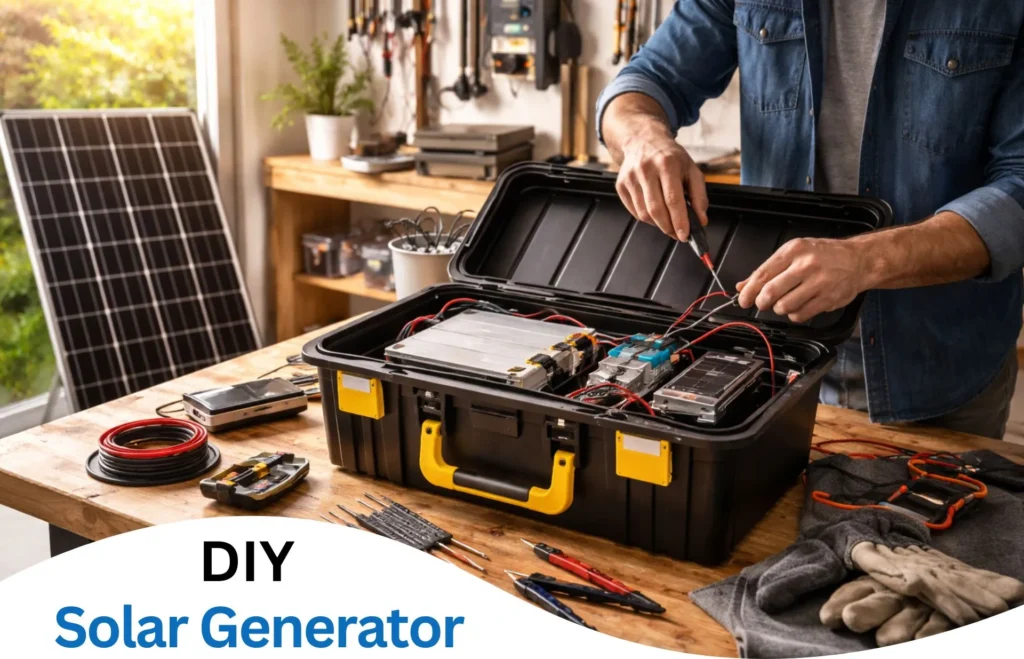
Building your own solar generator at home sounds simple until you start choosing parts and realize one wrong decision can throw the whole setup off. I’ve seen people spend money on a big inverter they didn’t need, pair it with too little battery storage, then wonder why the system shuts down the moment a fridge compressor kicks in.
A good build starts with the job you want it to do. That’s what keeps the system useful, safe, and worth the money. This guide walks through the full process in a practical way, from sizing and parts selection to wiring, testing, and long-term use.
Snippet-Ready Definition
A diy solar generator is a home-built power system that uses solar panels, a battery, a charge controller, and an inverter to store and deliver backup electricity.
Mission statement
Dwellify Home helps homeowners make practical, informed choices that improve how their homes look, feel, and function.
1. Understand What a DIY Solar Generator Can Actually Do
A solar generator is a small power system made up of four main parts: solar panels, a battery, a charge controller, and an inverter. The panels collect energy, the battery stores it, the charge controller manages charging, and the inverter turns stored DC power into usable AC power for household devices.
It’s different from rooftop solar. Rooftop systems are usually fixed, grid-tied, and built to power large sections of a home. A DIY solar generator is more flexible. You can use it for backup power, a garage workspace, outdoor use, or running essential devices during outages.
For home use, the sweet spot is usually emergency backup for a few important loads, not whole-house replacement.
2. Decide What You Want Your Solar Generator to Power
This is where the build really begins. Make a list of what you want to run: router, lights, phone chargers, laptop, fan, TV, fridge, or maybe a few kitchen appliances.
Then check three things:
- Running watts
- Startup surge watts
- Daily runtime
A router and LED lights are easy. A refrigerator is different because it has a startup surge. That’s where many beginners get tripped up. They size everything around average wattage, then the inverter trips the first time the compressor starts.
Your power goals affect every decision after this, especially battery size, inverter size, and solar panel input.
3. Choose the Right Size for Your Solar Generator
Small systems are fine for lights, phones, and internet gear. Mid-size systems can handle a fridge, fan, lights, and charging devices. Larger systems move into serious home backup territory.
A 5,000-watt build is a different class from a small portable setup. At that level, cable sizing, battery bank design, and ventilation matter a lot more. A 10,000-watt build is usually closer to a stationary backup system than a portable generator box.
For most homeowners, it’s smarter to build around essential loads first. Oversizing on paper often leads to overspending in real life.
4. The Main Parts You Need to Build One
Every solid build needs:
- Solar panels
- Battery
- Charge controller
- Inverter
- Cables and connectors
- Fuses or breakers
- A safe enclosure
- Optional extras like USB ports, switches, and a battery monitor
The parts don’t have to be fancy, but they do need to match each other. A good system is balanced. That matters more than buying the biggest version of each component.
5. How to Choose the Best Battery for Your Build
Battery choice affects cost, weight, lifespan, and reliability more than any other part. In most modern builds, LiFePO4 is the better option. It lasts longer, handles deeper discharge, stays lighter, and holds voltage more consistently under load.
Lead-acid batteries still work, but they’re heavier, less efficient, and less forgiving. They also take up more space for the same usable capacity.
A common beginner mistake is buying battery capacity based only on wattage. What matters is usable storage in watt-hours. That tells you how long the system can actually run your devices.
6. Pick the Right System Voltage
Small builds often use 12V because the parts are easy to find and the setup is simpler. Once you move into larger home backup systems, 24V or 48V starts to make more sense.
Higher voltage reduces current, and lower current means less heat, less strain on wiring, and easier cable management. That becomes important fast when you’re dealing with a larger inverter.
For a compact beginner build, 12V is fine. For a bigger diy solar generator for home, 24V is often the cleaner long-term choice.
7. Choose Solar Panels That Match Your Power Goals
Panel size affects how quickly you recharge the battery, not how long the battery lasts once it’s full. That distinction gets overlooked a lot.
Monocrystalline panels are usually the practical choice because they’re efficient and widely available. Rigid panels are better for fixed setups. Portable folding panels are convenient, but they’re usually more useful for light-duty charging than regular home backup.
Try to match panel input to your real charging window. A battery bank that takes two full sunny days to recharge is frustrating during an outage.
8. Select the Right Charge Controller and Inverter
A charge controller protects the battery and manages incoming power from the panels. MPPT controllers are usually worth it because they’re more efficient and handle panel voltage better, especially in less-than-ideal sunlight.
Your inverter needs enough capacity for both continuous load and startup surge. Pure sine wave models are the safer choice for refrigerators, electronics, and anything with a motor or sensitive control board.
One of the most common mistakes in a diy solar generator build is buying an inverter based only on the label wattage of appliances instead of their real startup behavior.
9. Don’t Overlook the Small Components That Make the System Safe
The smaller parts are what turn a rough setup into a dependable one.
That includes:
- Proper fuse placement
- Circuit breakers
- Correct wire gauge
- Quality battery cables
- MC4 connectors
- Terminal protection
- Ventilation inside the enclosure
This is also where a lot of online tutorials cut corners. The flashy parts get attention, but the protection hardware is what prevents damage and unsafe heat buildup.
10. DIY Solar Generator Kit or Custom Parts?
A diy solar generator kit can save time and reduce guesswork. It’s useful for beginners who want a more guided approach.
Custom sourcing gives you more control. That matters when you’re building around real home backup needs instead of a generic package. Kits are convenient, but they don’t always give the best battery-to-inverter balance.
For a home setup, I’d lean custom unless the kit is well-matched and clearly specified.
11. Plan the Layout Before You Build
A good diy solar generator box isn’t just a container. It needs safe spacing, clean cable routing, ventilation, and easy access for inspection later.
Toolboxes, rolling cases, battery boxes, and custom wooden enclosures can all work. What matters is that the battery is secured, heat-producing parts aren’t cramped, and you’re not forcing thick cables into awkward bends.
A sloppy internal layout usually shows up later as heat, loose terminals, or frustrating maintenance.
12. Tools and Supplies to Have Ready
Have the right tools before you start:
- Wire cutters and crimpers
- Heat shrink and lugs
- Multimeter
- Screwdrivers and sockets
- Mounting hardware
- Safety glasses and gloves
Testing tools matter more than people think. You don’t want your first voltage check to happen after everything is already buttoned up.
13. How to Build a Solar Generator Step by Step
Start by finalizing your load plan and component sizing. Lay out the enclosure first so you know where each part will sit. Mount the battery securely, then install the charge controller and inverter.
Add fuses and breakers before making final connections. Connect the battery to the charge controller first. That step matters because many controllers need to detect battery voltage before panel input is connected.
After that, connect the solar input, then wire your output ports and accessories. Once everything is checked, power it on and test with a small load first.
14. Safe Wiring Basics Every DIY Builder Should Know
Correct polarity is non-negotiable. Reverse one connection and you can damage equipment fast.
Use properly sized wire. Undersized cable creates resistance, heat, and voltage drop. Place fuses as close as practical to the battery and protect every major circuit path. Keep terminals tight, but don’t overtighten them.
For indoor use, pay attention to enclosure airflow and keep the unit away from damp areas or clutter that traps heat.
15. Test Your Unit Before Regular Use
Check battery voltage first. Then verify that the controller is reading correctly and the panels are charging. Test the inverter with a light load before plugging in anything important.
Watch for warning signs:
- Inverter alarms
- Hot cables
- Voltage sag under small loads
- Controller errors
- Slow or inconsistent charging
Catching problems during testing is much easier than troubleshooting during a blackout.
16. Common Mistakes to Avoid
The mistakes I see most often are:
- Buying parts before doing load calculations
- Ignoring surge wattage
- Using the wrong battery settings
- Skipping fuse protection
- Choosing wire that’s too small
- Building in a cramped, poorly ventilated box
- Expecting a small panel array to recharge a large battery bank quickly
None of these are rare. Most come from rushing the planning stage.
17. How Much It Costs to Build a DIY Solar Generator
Cost depends on battery chemistry, inverter size, panel input, and build quality. Small systems can stay fairly modest. Mid-range home backup builds cost more, but they’re often the best value because they cover the loads people actually care about.
Bigger systems get expensive fast, especially once you move into large LiFePO4 storage and higher-voltage components. DIY can save money, but only when the design fits your needs from the start.
18. Real-World Examples of What It Can Run
A well-sized setup can easily handle phones, laptops, lights, internet gear, and small fans. A larger one can support a refrigerator and a few essential circuits during an outage.
What it usually should not do is pretend to be a full central backup system for heavy electric heating, large air conditioning loads, or everything in the house at once. That’s where expectations need to stay realistic.
19. Can It Power Part of a House?
Yes, but that depends on how you use it. It works best as an essential-load backup source, not as a whole-home replacement.
Think in terms of keeping food cold, lights on, devices charged, and the internet running. That’s a realistic, useful role for a diy solar generator. Once you try to stretch it beyond that without proper scaling, performance and safety both suffer.
20. Maintenance, Upgrades, and Long-Term Performance
Panels need occasional cleaning. Terminals should be checked for tightness. Battery health should be monitored over time, especially after repeated deep cycles.
One nice thing about a good build is that it can grow with you. You can add storage, increase panel input, or improve monitoring later, as long as the original design leaves room for expansion.
21. What You Can Learn From YouTube Builds
diy solar generator youtube videos are useful for seeing layouts, cable routing, and enclosure ideas. They’re especially helpful for visual learners.
Still, don’t copy a build just because it looks neat on camera. A lot of videos skip over wire sizing, fuse selection, or battery settings. Use them as reference, not as your only plan.
FAQs
Will a 2000 watt solar generator run a refrigerator?
Yes, in many cases it can, but it depends on the fridge’s startup surge and how much battery capacity you have behind the inverter.
What is the 33% rule in solar panels?
People use this phrase in different ways, but it usually refers to adding a safety margin when sizing solar input or expected output rather than assuming nameplate wattage all day.
How big of a solar generator do I need to power my house?
For most homes, it’s better to size for essential loads first. Whole-house backup usually needs a much larger battery bank and inverter than most portable-style builds.
What can a 1000W solar generator run?
It can usually handle phones, laptops, lights, routers, TVs, and some small appliances, but not large heating loads or many high-surge devices at once.
Is building one cheaper than buying one?
Often yes, especially for medium or larger systems, but only if the parts are matched well and you avoid re-buying components after sizing mistakes.
Conclusion
A good solar generator build is less about chasing the biggest numbers and more about getting the basics right. Size it around the loads that matter, choose parts that work together, protect every circuit properly, and leave room for safe maintenance later.
That approach gives you something far more useful than a rushed project. It gives you backup power you can actually count on when the lights go out.
Disclaimer
This content is for general educational purposes and does not replace licensed electrical, building, or safety advice for your specific setup.

I’m Bilal Hassan, the founder of Dwellify Home. With 6 years of practical experience in home remodeling, interior design, and décor consulting, I help people transform their spaces with simple, effective, and affordable ideas. I specialize in offering real-world tips, step-by-step guides, and product recommendations that make home improvement easier and more enjoyable. My mission is to empower homeowners and renters to create functional, beautiful spaces—one thoughtful update at a time.