If you have ever scrubbed dirty grout lines and wished they would just stay clean, epoxy grout is usually the answer. Kerapoxy CQ is a two-part epoxy grout and mortar system that is designed for areas that see water, dirt and daily abuse.
In simple terms, Part A is the colored resin and filler, and Part B is the hardener that makes everything cure into a tough, stain-resistant joint. Without the hardener, your grout never truly sets the way it should. With it, the grout becomes dense, chemical resistant and much easier to keep clean.
I have used this system in showers, laundry rooms and busy kitchen floors. When it is mixed and installed correctly, clients usually call me later only to say one thing: the grout still looks new. That is exactly what we want.
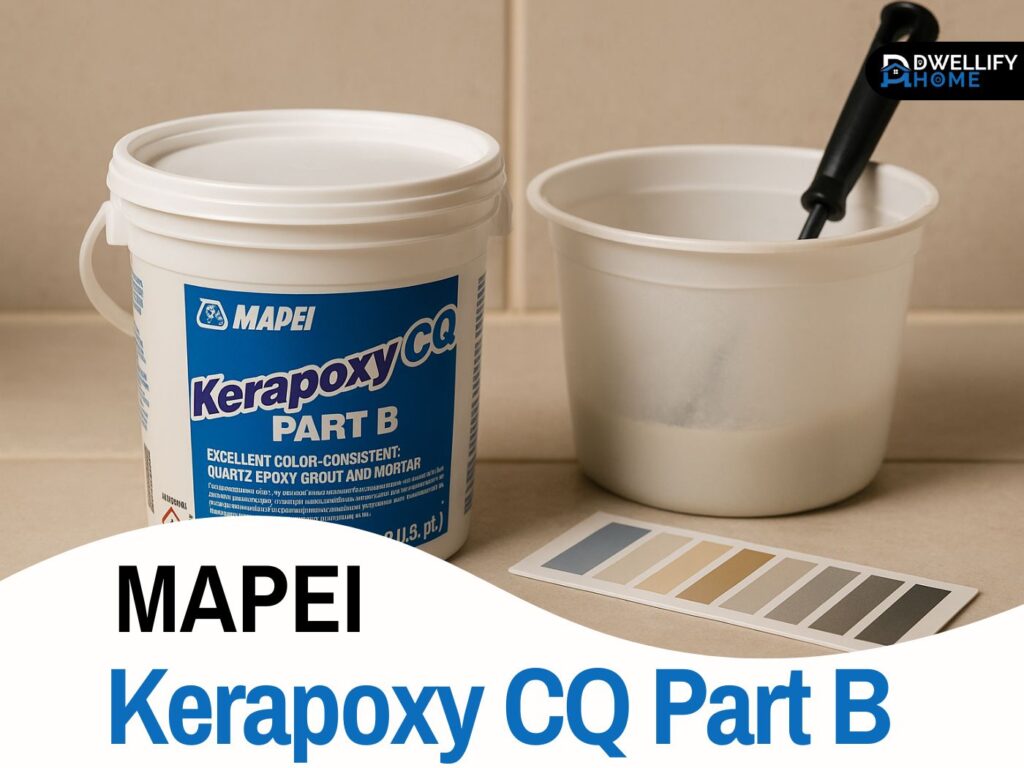
Short intro about MAPEI Kerapoxy CQ Part B:
MAPEI Kerapoxy CQ Part B is the hardener component of this epoxy grout system, activating the mix to create a strong, stain-resistant and long-lasting grout for showers, floors and kitchens.
Mission Statement:
Our mission is to provide homeowners and DIY tile enthusiasts with clear, honest and experience-based guidance that helps them install high-performance epoxy grout with confidence, accuracy and long-lasting results.
Understanding the Kerapoxy CQ System (Part A vs Part B)
Let’s break the system down in plain language. The bucket or kit normally contains two components:
- Part A: resin plus the colored aggregate
- Part B: the epoxy hardener that reacts with Part A
When you combine them, you start a chemical reaction. That reaction is what gives epoxy grout its strength, stain resistance and durability. If the ratio is off, the reaction is weak and you can end up with soft, sticky or undercured grout.
Here is the thing: with products like this, guessing is your worst enemy. The manufacturer designs the amounts of Part A and Part B to work together. Your job is to mix them completely and respect the instructions, not reinvent the chemistry on site.
Quick Comparison Table
MAPEI Kerapoxy CQ Part B Quick Guide
| Feature | What It Means | Why It Matters |
| Component Type | Epoxy hardener (Part B) | Activates Part A for curing strength |
| Main Purpose | Hardening, bonding and durability | Helps grout resist stains, chemicals and moisture |
| Where It’s Used | Showers, floors, backsplashes, high-traffic areas | Perfect for wet and heavy-use spaces |
| Mixing Method | Combine full Part B into full Part A | Ensures correct chemical reaction and color consistency |
| Cleanup Timing | Clean during workable pot life | Prevents epoxy haze and color wash-out |
Simple Step-by-Step Guide (Beginner-Friendly)
How to Use Kerapoxy CQ Part B Correctly
- Prep the tile joints — make sure they’re dry, clean and dust-free.
- Pour Part B into Part A — mix slowly until smooth with no streaks.
- Work in small areas — apply epoxy grout using an epoxy float.
- Clean promptly — use clean water and white scrub pads to avoid haze.
- Allow full cure — follow the manufacturer’s cure times before using the area.
Before You Start: Instructions, PDFs and Jobsite Conditions
Reading the MAPEI Kerapoxy CQ Part B Instructions (In Plain English)
Before I even open the pail, I like to quickly check the label and the product sheet. The official kerapoxy cq pdf usually includes mixing directions, application steps, cure times and safety details. You will also find the mapei kerapoxy cq part b instructions there in more technical form.
You do not have to memorize every line, but it helps to understand the sequence: prep, mix, apply, clean, cure. Knowing the order before you start keeps you calm when the clock is ticking during pot life.
If you are a homeowner, print the kerapoxy cq instructions or keep the PDF open on your phone. It makes a big difference when you are not guessing while the grout is already starting to set.
Tools, Surface Prep and Ideal Temperature
Good tools make this job much easier. At minimum, you should have:
- A good epoxy grout float
- A low speed mixer or drill with paddle
- Two buckets for water
- White scrub pads and quality sponges
Your tile joints must be clean, dust free and dry. Old grout, loose debris and puddled water inside the joints will fight against the epoxy. I also like to lightly vacuum the joints right before mixing, just to be sure.
Temperature matters more than most people think. Warm rooms shorten working time, cold rooms slow down curing. Aim for a comfortable room temperature and avoid grouting when the tiles feel very cold or the room is hot and stuffy.
How to Mix Part A and Part B the Right Way
Mixing Ratio, Pot Life and Working Time
The safest method is simple: pour all of Part B into the container of Part A and mix the full kit. That way you follow the exact ratio the manufacturer designed. Use a low speed mixer and move slowly around the bucket so everything blends into a smooth, creamy paste.
Pot life is the window of time where the material in the bucket is still workable. Once that window closes, the mix may thicken, heat up and stop behaving like grout. If you push it past that limit, you often see poor adhesion or weak joints later.
I always look at the data sheet before each job to remind myself of the pot life and cure times for the conditions we are working in. On top of that, I plan the layout so we never mix more than we can place and clean within that time.
Small Batch Mixing and Common Mistakes to Avoid
Now, can you split a kit? Professionals sometimes do, but only with very accurate scales and careful mixing. For most DIY projects, I do not recommend partial mixing because even a small ratio error can cause sticky or undercured grout.
Some of the most common mistakes I see on job sites are:
- Mixing too fast and whipping air into the grout
- Letting the mix sit too long in the bucket before applying
- Scraping only the top instead of cleaning the sides of the pail
If you want a simple rule, here it is: mix thoroughly, use the product right away, and do not try to stretch it beyond the recommended working time.
Step-by-Step Application Guide for Kerapoxy CQ
Packing the Joints and Getting a Smooth Finish
When the mix is ready, you do not want to waste time. Start in one area and work in sections that match your speed and comfort level. Use the epoxy float at a diagonal angle to the joints and press the material firmly into the gaps.
I like to go over each area twice. First pass packs the joints, second pass moves across the tile and removes excess from the surface. The goal is full, solid joints and as little residue on the tile as possible.
Pay special attention around corners, niches and drains. Those are the places where rushed work later turns into small leaks or weak spots.
Cleaning, Water Use and Preventing Epoxy Haze
Cleaning is where many people get into trouble. Start your first wash as soon as the grout has started to firm up but is not yet hard. Use clean water and a white scrub pad to soften the film, then follow with a sponge.
Rinse the sponge often and change your water before it looks milky and heavy. Dirty water will smear residue rather than remove it. The best part is that a good first clean makes the final polish much easier.
If you leave too much residue on the tiles or wait too long, you can end up with an epoxy haze that is tough to remove later. On the other hand, over-washing the joints can lighten the grout color. The balance comes with patience and practice.
Kerapoxy CQ Coverage and Calculator: How Much Do You Really Need?
Coverage is a big question before every job. Kerapoxy cq coverage depends on tile size, joint width, tile thickness and the overall layout. Smaller tiles with many joints use more grout, large format tiles use less.
Most manufacturers provide a coverage table or a kerapoxy cq calculator that lets you plug in your tile dimensions and joint width. I always run the numbers before ordering, especially on big floors or commercial spaces.
Here is a simple tip. Order a bit more than the exact number you calculate, especially if you are new to epoxy. It is better to have a small amount left over than to run out halfway across a shower wall.
Kerapoxy CQ Colors and Color Chart Explained
One of the reasons people like this system is the color consistency. The resin and the special aggregate are designed to give a stable, even shade across all joints. To choose a shade, you normally look at the mapei kerapoxy cq color chart in store or online.
The chart is a great starting point, but remember that grout can look different once it is installed. Tile color, lighting, joint depth and how aggressively the surface is washed all affect the final look. Warm light makes colors appear softer, cool light can make them sharper.
When we plan high end bathrooms or kitchens for design focused clients or for sites like Dwellify Home, we often make a small test board. We set a few pieces of tile, grout them with the chosen color and let them cure fully. That sample board is the most honest way to see how the final job will look.
Where to Find the Official Kerapoxy CQ PDFs and Data Sheets
If you like clear instructions, the technical documents are your best friend. Typically you will find three important files:
- The Technical Data Sheet, with performance details and coverage info
- The installation guide, with step by step kerapoxy cq instructions
- The Safety Data Sheet for each component
You can usually download the kerapoxy cq pdf from the manufacturer or supplier site by searching the product name. I recommend saving it to your phone or printing it, especially if you are working on a weekend when you cannot easily call support.
Having these references on hand is also useful when you are talking to clients, inspectors or designers. It shows that you are basing your decisions on tested information, not just habit.
Safety and Handling: Working Carefully With Kerapoxy CQ Part B
PPE, Ventilation and Skin Protection
Part B is a chemical hardener, so you have to respect it. At minimum, wear nitrile gloves, eye protection and clothes you do not mind staining. If you are working in a small shower or tight room, make sure there is airflow. A small fan at the door can help move the air.
Over the years I have seen installers skip gloves to work faster, only to end up with irritated skin. That is not a smart trade. A few seconds to put on proper protection is always cheaper than a trip to the doctor.
Spills, Skin Contact and Disposal
If you spill unmixed or mixed product on the floor, scoop it up with cardboard or a scraper and dispose of it with construction waste, not down the drain. Wiping big spills into a bucket of water will not magically make it safe.
If Part B touches your skin, wash it off right away with soap and plenty of water. If it gets into your eyes, rinse and seek medical help quickly. These are standard steps, but you would be surprised how many people skip them until they have a problem.
Store unopened containers in a cool, dry place and keep the lids tight. Heat and sunlight can shorten shelf life and alter the consistency, which leads to trouble the day you actually need the product.
Common Problems With Kerapoxy CQ Part B (And How to Fix Them)
Mix Too Thick, Too Runny or Setting Too Fast
When someone calls me to rescue a grout job, the story often starts with mixing issues. If the mix is very thick, maybe the temperature is low or the ratio is off. If it feels runny, someone might have tried to thin it with water or used the wrong proportions.
Setting too fast usually comes from a hot room, a big batch in a deep bucket or mixing too long. The material builds heat and suddenly it feels like it is curing in your hands. To avoid this, mix in smaller portions and spread the product out on the floor or in a tray instead of leaving it in a big mass.
The fix for most of these problems is prevention. Once the reaction goes wrong in the bucket, you cannot really reverse it. When in doubt, stop, discard the bad batch and start a fresh one with more care.
Color Issues: Blotchy, Dull or Not Matching the Chart
Uneven or patchy color usually comes down to one of four things: poor mixing, inconsistent washing, dirty water or different drying conditions. Sometimes, installers scrub some parts harder than others, which can pull fine material out of the joints and lighten those sections.
To keep color even, mix thoroughly, wash with a consistent motion and keep your rinse water clean. Also, try to grout areas with similar conditions at the same time so they dry in a similar way.
If the color looks a bit different from the chart, do not panic right away. Epoxy often deepens slightly as it fully cures. Give it the full cure time before you compare.
Shelf Life, Crystallised Part B and Reuse Questions
Part B can sometimes thicken or crystallise if it has been stored poorly or for too long. If you open the container and find hard lumps or a strange texture, it is safer to replace it. Forcing old material into a new mix is asking for failure.
Once you mix Part A and Part B, you cannot save leftover grout for another day. After the pot life ends, the chemical reaction has moved too far. Trying to rework or retemper the mix usually leads to weak or poorly bonded joints.
Unopened, properly stored kits will last much longer, and the shelf life is usually listed on the label or data sheet. That is why I always check dates before starting a big project.
Kerapoxy vs Kerapoxy CQ: Which One Is Right for You?
Both Kerapoxy and Kerapoxy CQ are epoxy grouts, but they are tuned a bit differently. One might have a smoother feel or different aggregate, while the other focuses on improved cleanability and color consistency. That is where the comparison kerapoxy vs kerapoxy cq comes in.
In practice, for most residential showers, backsplashes and floors, Kerapoxy CQ is a strong choice because it balances performance with good workability once you learn its rhythm. For heavy duty commercial kitchens or industrial spaces, your supplier or rep may recommend one or the other based on specific chemical exposure.
If you are not sure, describe your project, traffic level and cleaning habits to a local pro or supplier. They can usually point you toward the right product line for your situation.
Real-World Home Use Tips (Inspired by Dwellify Home Projects)
From a design and maintenance point of view, epoxy grout really shines in kitchens, showers, laundry rooms and mudrooms. These are the spaces where water, soaps and dirt hit the grout every day. Using a high performance system here means fewer stains and easier cleaning in the long run.
For a first time DIY user, I often suggest starting with a smaller area, like a niche, backsplash or a small bathroom floor. Once you understand the timing, you will feel more confident tackling a large shower or open plan kitchen.
On bigger projects, plan your sequence on paper. Decide where you will start, where you will stop each batch and how you will move around the room. A little planning on the front end saves a lot of stress when the clock is running on a fresh mix.
Cleaning and Long-Term Maintenance of Kerapoxy CQ Grout
One of the biggest advantages of this system is that it does not absorb stains the way cement grout can. That does not mean you can abandon cleaning, but it does mean your routine can be simpler.
For everyday care, I usually recommend:
- Regular sweeping or vacuuming to remove grit
- Damp mopping or wiping with a neutral cleaner
- Rinsing with clean water if you use stronger products
Avoid very harsh acids or strong solvents unless the manufacturer specifically approves them. They might not destroy the grout, but they can dull tile surfaces, metal trims or sealants around it.
If you treat the grout kindly, it will pay you back by holding its color and finish for years. Many of my clients are surprised how new their grout still looks several years after installation.
FAQ About MAPEI Kerapoxy CQ Part B
Can I mix only half of a kit?
Technically, yes, but only if you can measure the components very accurately and mix them perfectly. For most homeowners, using full units is safer.
How long before I can walk on the floor or use the shower?
Light foot traffic is often allowed after the initial cure period, while full service, heavy traffic or hot water use in a shower may require longer. Always follow the times listed on the data sheet for your conditions.
Is cured epoxy grout safe around food prep areas?
Once fully cured, epoxy grout is commonly used in commercial kitchens and food related spaces. If you have special health or certification concerns, check the technical documentation for that specific product.
What if my Part B looks thick or crystallised in the container?
Do not try to force it into service. Check the date, contact your supplier and replace it if needed. Using compromised material is a fast way to ruin a good tile job.
What is Kerapoxy CQ used for?
Kerapoxy CQ is used as a high-performance epoxy grout for showers, floors, kitchen backsplashes, commercial kitchens and any area that needs strong, stain-resistant joints.
Is kerapoxy the same as epoxy?
Kerapoxy is a type of epoxy grout, but every epoxy line has different features. Some are smoother, some have easier cleanability and some, like CQ, use special aggregates for better color consistency.
How much does 1 gallon of kerapoxy cover?
Coverage varies by tile size and joint width, but 1 gallon can cover anywhere from 25 to 100 square feet. Using a kerapoxy cq calculator gives the closest estimate for your exact tile dimensions.
What is the difference between CQ and other grouts?
CQ uses color-coated quartz that improves color consistency, durability and cleanability, while regular cementitious grouts absorb stains and may require sealing. CQ is also more resistant to chemicals and moisture.
What does MAPEI Kerapoxy CQ Part B actually do?
Part B is the hardener that makes the epoxy grout cure, strengthen and resist moisture. Without it, the grout won’t harden properly or perform long term.
Conclusion: Is MAPEI Kerapoxy CQ Part B Right for Your Project?
So, is this system right for you? If you want grout that resists stains, handles cleaning chemicals and keeps its color in wet or busy areas, this type of epoxy grout is a very strong candidate. It does demand more attention than a basic cement grout, but the long term payoff is big.
The key is to respect the mapei kerapoxy cq part b instructions, plan your coverage with a kerapoxy cq calculator and choose your shade carefully using the color chart and, ideally, a test board. When you take your time and follow the steps, you end up with joints that look sharp and stay that way.
At the end of the day, good preparation, careful mixing and patient cleaning matter more than any fancy tool. Get those parts right and this product will help your tile work look like it was installed by a seasoned pro, even if it is your first time using epoxy.
Disclaimer
This guide is for educational purposes only. Always follow the official MAPEI instructions, data sheets and safety guidelines when working with Kerapoxy CQ Part B. Product performance may vary based on jobsite conditions, mixing accuracy and installation technique.

I’m Bilal, the founder of Dwellify Home. With 6 years of practical experience in home remodeling, interior design, and décor consulting, I help people transform their spaces with simple, effective, and affordable ideas. I specialize in offering real-world tips, step-by-step guides, and product recommendations that make home improvement easier and more enjoyable. My mission is to empower homeowners and renters to create functional, beautiful spaces—one thoughtful update at a time.