Whenever I think back to my first mobile home remodel, it feels more like telling a story than writing a sponsored post. Working with Ace Hardware gave me the confidence to dive into all the small details that make such a big difference. I’m sharing my personal view here, and every word is based on real experience, not just general opinions or things I’ve read somewhere.
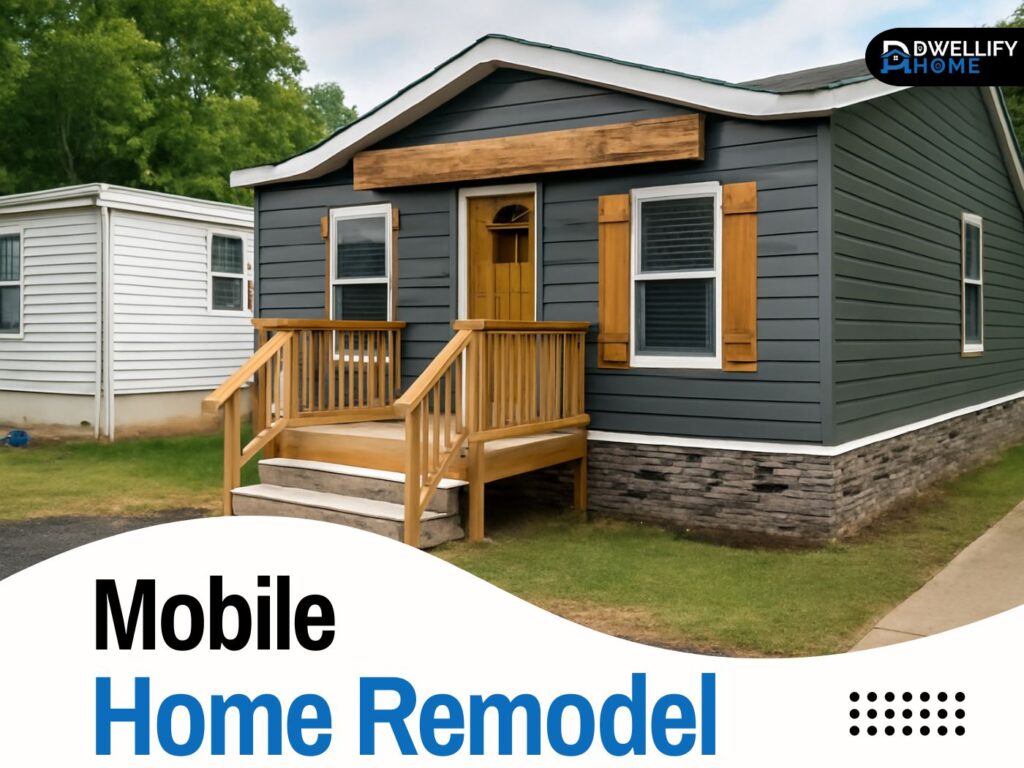
If you’ve ever wondered about the things you really need to know before starting a project like this, let me say—you’ll be surprised how much planning goes into it. From preparing an empty lot to renovating a 20-year-old structure, the process can feel overwhelming. But once you see the before and after photos, all that hard work pays off.
My own journey of remodeling was full of learning curves. I kept track of every step so I could look back at the reviews I gave myself—what worked, what didn’t. It’s one of those experiences that teaches you more than any guide could. And now, I get to expressed those lessons with you in hopes it helps you on your own path.
Whether you’re just starting to think about a remodel or already knee-deep in the work, remember this: each step, each choice, adds up to something bigger than just a house. It becomes a reflection of your vision and your effort.
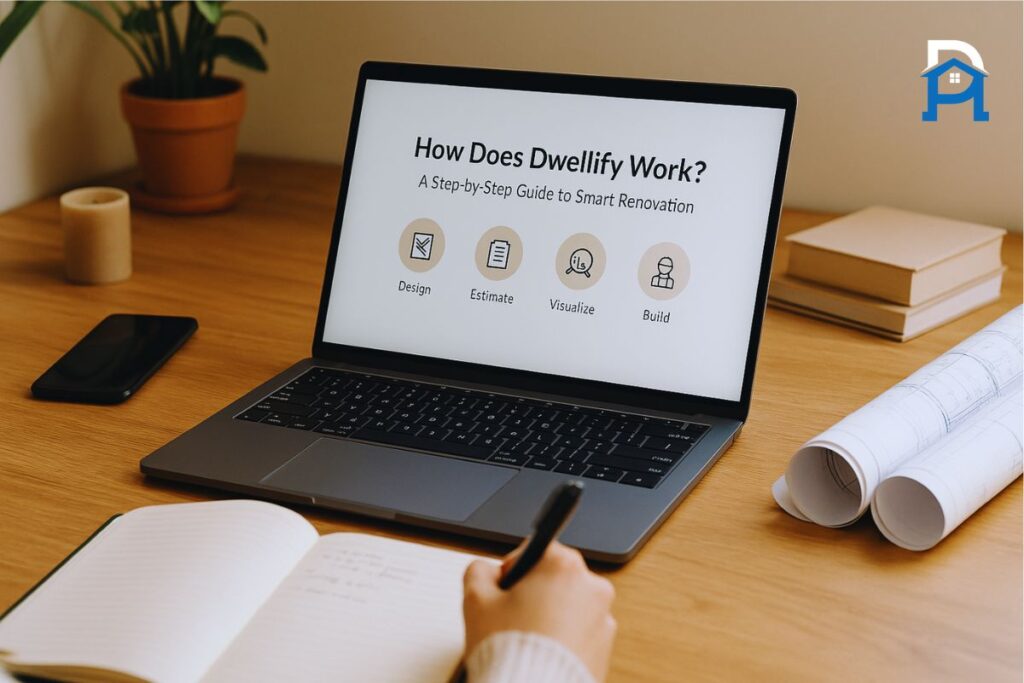
Mission Statement:
Our mission is to share a real mobile home remodel journey with honest tips, practical advice, and inspiring ideas. We want readers to feel confident and excited to start their own remodel.
History
Every project has its own story, and the history behind a renovation matters more than most people realize. Before picking up a hammer, I always like to pause and look at the details that brought me here. It gives the whole journey meaning and makes the work feel less like a task and more like a personal chapter being written.
The lot
We first bought an empty lot near a quiet lake in December 2020, and honestly, just the act of buying it came with both challenges and exciting opportunities. Standing there, I could already imagine a mobile home sitting on it, but before that dream could happen, we had to start creating a solid pad.
That meant adding retaining walls to increase the size of the space since there were ravines on each side. We hauled in dirt to make sure the ground was level and the land could actually support the structure. It wasn’t glamorous work, but it was the foundation of everything.
Then came the real “fun stuff”—installing electricity, water, and sewage lines. It’s one of those parts you don’t see in glossy photos but trust me, it’s what makes the difference between a dream and a disaster.
The Mobile Home
Not long after the lot was ready, we bought a 20-year-old mobile home from my parents and had to move it just a couple of streets down. That little journey taught us more than we ever expected—we really learned through the entire process of moving homes.
One piece of advice I always share now is this: hire a company that knows exactly what they’re doing. There are so many regulations, required permits, and endless hoops to jump through. If you skip even one step, it can quickly become a complete mess.
Demo
When DEMO DAY finally came, we rolled up our sleeves and did most of the demo ourselves. It was the part where we hoped to save some money, and honestly, we saw right away that it wasn’t as big of a mess as people make it out to be. Sure, a few things got tricky, but overall the demo was much easier than we first thought.
We took the house down to the walls, removing every cabinet, light fixture, sink, shower, and tub. By the end of the day, standing in the empty shell felt surreal—it was the true start of transformation.
Popcorn ceilings
We removed all the old popcorn ceilings, and I’ll be honest—it looked like one of the largest and most intimidating parts of the demo at first. But it turned out to be much easier than we thought.
The trick was keeping the ceiling wet with a garden sprayer, then we scraped it off using a trowel. I even shared a little video on Instagram to give people a clear visual of how simple it could be once you get the hang of it.
The Kitchen and Laundry Room
The kitchen was the heart of this remodel, and we made some bold choices. Most appliances stayed, but one wall was cut in half, and that small change made a huge difference. It completely opened the family room to the kitchen, giving it flow and connection. By keeping the bottom portion, we saved countertop space and kept the cabinet storage intact.
We then added new cabinets, countertops, sink, faucet, lighting, and pulls. In the laundry room, we installed upper and lower cabinets along the side, plus storage stretching across the washer and dryer. To finish, we tied it all together with a stylish backsplash.
The Master Bath and Guest Bath
In the master bath, we removed the giant soaker tub and the original shower, which felt far too small for the space. That area was turned into a closet, while a new, larger shower took the tub’s place. The difference in the bathroom was clear, both in aesthetics and perspective, but most importantly in functionality. We even found the shower door at Ace, which felt like the perfect fit.
In both baths, we installed fresh cabinets, countertops, faucets, and sinks. For character, we added a sliding barn door to cover the closet space that once held the shower.
Renovation
After the demo, it was finally time to renovate. This whole renovation came together with the right supplies from Ace Hardware, and I can’t stress enough how much that helped. I’ll be sharing more details about the products we used in the upcoming sections, each one playing a key role in shaping the home.
The Inspiration
For this renovation, I wanted the house to carry a color scheme that felt calm yet bold. White, gray, and blue tones gave the feeling of escaping near the water. The backsplash I picked up from Ace Hardware, called Night Sky, became the true inspiration for the entire project.
It reminded me of the ocean, with different shades of gold and silver running through it. Every time I looked at it, I felt like I was bringing the outside in, letting that natural beauty guide every choice.
The Paint
One of the biggest changes came when we decided to tape and texture the walls. The original mobile home had old wallpaper with seams, and painting over that would have felt like cutting corners. We thought about a faux finish, even biting the bullet and just covering it up, but in the end, we painted everything properly.
Even the closets got a touch-up. The result felt fresh and new, especially after using primer like Kilz before we taped and textured. With the right Purdy supplies, a good paintbrush, and a reliable roller, the painting project turned into something smooth. Their tools really do swipe on paint like a dream.
For colors, I went with Wedding Band in the kitchen and One Horn White for the rest of the house, both from Magnolia Home. The color balance worked beautifully against the cabinets and countertops. Looking at the picture, the soft gray in the kitchen stood out against the background of the family room painted in warm white.
During the process, I also learned something valuable: the Ace paint department at Hardware stores can match any color you bring in. Whether it’s a line from Benjamin Moore or anything else, their experts will recreate it perfectly as long as you bring a chip or reference. That kind of service made the whole project much easier.
the Cabinets
Deciding what to do with the cabinets and countertops wasn’t easy. At first, we thought a little paint might do the trick, but some units had damage from years of wear and tear, plus a bit of sun fading. In the end, replacing them made all the difference. We also added new ones in places where extra storage was needed, which turned out to be a smart move.
We went with basic, standard white cabinets that Ace had in stock. The quality and design felt perfect—clean, simple, and exactly what the space needed.
The Flooring
For the floors, we started with old laminate in the kitchen, laundry room, and bathrooms, plus a worn blue carpet that had seen better days. All that flooring had to go, and replacing it completely transformed the space.
We chose Coretec in Galveston Oak, a rich gray color that looked both modern and timeless. It’s heavy duty, fully waterproof, even pet-proof, and built to handle everyday wear and tear. The installation was straightforward, and it’s easy to maintain and clean. Perfect for a lake house, it also came with a cork unlay for added comfort and sound dampening. Best of all, it was totally affordable.
This was one of those times where Ace Hardware really stood out. They were able to place a special order for the item and do the research to check if the store could bring in the right product. They always go the extra mile for their customers, which made this step even smoother.
The Lighting
The lighting made one of the biggest transformations in the house. We took out the old gold and brass fixtures and brought in mixed metals instead. The look of brushed finishes, paired with touches of black and nickel, added depth, dimension, and character to the rooms.
We explored options from Westinghouse and found some favorites—a stunning chandelier over the kitchen table, sleek pendants above the island, and even stylish fans to tie everything together. Every piece was purchased through Ace Hardware, which made the process simple and reliable.
The Finishes
When it came to the finishes, I wanted something that felt warm yet timeless. We chose brushed champagne gold hardware for the cabinet pulls and faucets. My husband was unsure about moving away from the old brass handles, but once installed, the finish looked incredible.
For the baths, we went with Delta faucets in the same gold tone. Ace made it easy by placing a special order, and the pieces were a perfect fit for the bathrooms.
We also added natural touches with wood details throughout the house. A beam in the family room, the front door, and even a barn door in the master bath. The distressed look of the wood helped cover a mobile home seam while bringing extra character and color into the kitchen. The subtle accents tied everything together beautifully.
Outside
On the outside of the house, we repainted the entire exterior with Magnolia Homes Duke Gray. The shade was bold and dark, with a subtle blue undertone that paired well with the natural wood detail and classic shutters.
We also poured concrete for sidewalks and steps, then added a front porch. Along the way, we replaced both back and door frames. Since mobile homes don’t always have standard-sized doors, the process required us to reframe everything to make it fit.
Another big upgrade was the siding. We installed new panels at the bottom of the mobile, choosing Texas Stone from Ace Hardware. The stone gave incredible dimension to the outside of the home, and once the electrical hookups were in place, the look felt complete and finished.
To top it off, we went practical and added crushed asphalt to the driveway. It was available locally, saved us some money, and proved to be more cost-effective than gravel.
Final Thoughts
Looking back at the whole process, from purchasing the lot to wrapping up the renovation, it still amazes me how much happened between December 2020 and October 2021. What we thought might take a few weeks stretched into months, and like most renovations, it reminded us that the future always requires more planned time than expected.
This project turned into more than just a house makeover—it became a journey of patience and persistence. Working with Ace Hardware and their team helped us through the ups and downs. The process demanded time, energy, and even a few headaches, but their support with special ordering every product we needed kept us within our budget.
Disclaimer
This article on mobile home remodel is based on personal experience and general knowledge. It is meant for informational purposes only and should not be taken as professional construction, legal, or financial advice. Every project is unique, so always consult licensed professionals and follow local codes, permits, and regulations before starting your own remodel.

I’m Bilal, the founder of Dwellify Home. With 6 years of practical experience in home remodeling, interior design, and décor consulting, I help people transform their spaces with simple, effective, and affordable ideas. I specialize in offering real-world tips, step-by-step guides, and product recommendations that make home improvement easier and more enjoyable. My mission is to empower homeowners and renters to create functional, beautiful spaces—one thoughtful update at a time.