If you’ve been looking into durable concrete floor coatings, there’s a good chance armorseal 8100 came up more than once. That doesn’t surprise me. I’ve been applying epoxy and protective floor systems for over 15 years, and this product has crossed my path on garages, workshops, light industrial floors, and a few commercial spaces.
Here’s the thing. ArmorSeal 8100 isn’t a miracle coating, and it’s not meant to be. But when it’s used in the right setting and applied the right way, it performs exactly how you’d expect a professional-grade floor system to perform. In this guide, I’ll walk you through what it actually is, where it works best, common mistakes I see, and how to get results you’ll be happy with months and years down the road.
Snippet-Ready Definition:
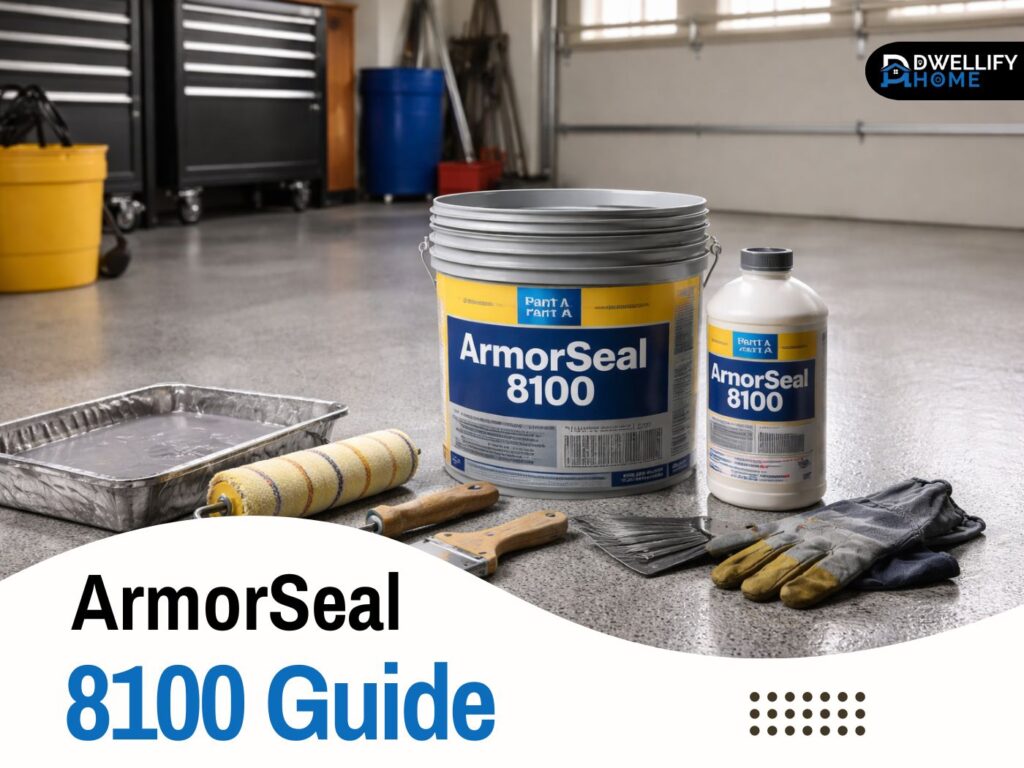
ArmorSeal 8100 is a two-part, water-based epoxy floor coating designed for concrete surfaces, offering durable protection, easy maintenance, and reliable performance in garages, basements, and light commercial spaces.
Mission Statement:
Our mission at Dwellify Home is to provide honest, experience-based guidance that helps homeowners and DIYers make confident decisions about home improvement products, without hype or confusion.
What Is ArmorSeal 8100 (Plain-English Explanation)
ArmorSeal 8100 is a two-part, water-based epoxy floor coating designed mainly for concrete surfaces. It’s often chosen when someone wants a clean, durable finish without the strong solvent smells you get from older epoxy systems.
On top of that, it’s breathable. That matters more than most people realize. Breathability helps reduce issues when concrete holds some moisture, which is common in garages and basements. It’s not a fix for serious moisture problems, but it’s more forgiving than many solvent-based epoxies.
From my experience, this coating sits in a solid middle ground. It’s tougher than basic DIY kits, but it’s not intended for heavy industrial abuse like forklift traffic all day long. Knowing that upfront saves a lot of disappointment.
Quick Comparison / At-a-Glance Guide Table
| Feature | ArmorSeal 8100 |
| Coating Type | Water-based, two-part epoxy |
| Best Surfaces | Concrete floors |
| Common Uses | Garages, basements, workshops |
| Finish Options | Pigmented colors and clear |
| Typical Coats | 2 coats |
| Foot Traffic | Same day (light) |
| Vehicle Traffic | After full cure |
| Skill Level | Intermediate DIY / Professional |
Simple Step-by-Step Application Guide
Here’s a simplified real-world workflow professionals follow:
- Clean and mechanically prep the concrete surface
- Repair cracks and remove contaminants
- Mix Part A and Part B exactly as directed
- Apply first coat evenly with proper roller
- Allow proper recoat time
- Apply second coat
- Let the floor fully cure before heavy use
Skipping steps usually leads to peeling or early wear.
ArmorSeal 8100 Data Sheet Overview (The Specs That Matter)
Before you buy or apply any coating, you should always check the data sheet. I’ve seen projects fail simply because someone skipped this step. The armorseal 8100 data sheet spells out the limits and expectations clearly.
The specs tell you how much coverage you’ll get, how long you have to work with the product once mixed, and when you can recoat or put the floor back into service. These aren’t suggestions. They’re guardrails.
Quick Specs Snapshot (Fast Checklist)
Here are the numbers I always double-check before starting a job:
- Mixing ratio between Part A and Part B
- Coverage rate per coat based on surface texture
- Recoat window and full cure time
- Temperature and humidity limits during application
If you prefer to keep a copy on hand, the armorseal 8100 data sheet pdf is worth downloading before you even open the cans.
ArmorSeal 8100 Kit vs Separate Components (Part A + Part B)
You’ll usually see this product sold as a complete kit or as individual components. The armorseal 8100 kit includes both parts in the correct ratio, which makes life easier if you’re coating a single area.
Buying components separately makes sense when:
- You’re doing multiple phases
- You already have leftover material
- You need more hardener due to partial batches
Either way works, as long as the mixing ratio stays correct.
What Is ArmorSeal 8100 Part B (Hardener) — And Why It Matters
Armorseal 8100 part b is the hardener. Without it, nothing cures. I’ve seen people under-mix or eyeball ratios, and that’s a recipe for soft floors and peeling later on.
My advice is simple. Measure carefully, mix thoroughly, and scrape the sides of your bucket. A few extra minutes here prevents weeks of regret later.
ArmorSeal 8100 Clear + Color Options (What to Choose)
This coating comes in pigmented versions and a clear option. Armorseal 8100 clear is usually used as a protective top layer or when someone wants to keep the natural look of decorative concrete.
Clear coats show everything. Roller marks, debris, uneven coverage, all of it. If this is your first time, pigmented coatings are more forgiving and hide minor flaws better.
Tinted versions work well in garages and workspaces where you want better light reflection and easier cleaning.
Best Uses (Where ArmorSeal 8100 Performs Well)
From real job sites, these are the places where this coating shines:
- Residential garages
- Basements and utility rooms
- Workshops and hobby spaces
- Light commercial floors like storage rooms or small retail back areas
Where it struggles is heavy-duty industrial use. Constant forklift traffic, sharp metal wheels, or aggressive chemicals will push it past its comfort zone.
Before You Apply: Concrete Prep (The #1 Success Factor)
If there’s one thing I repeat to every client, it’s this. Prep matters more than the coating itself. Most failures I’ve seen weren’t product issues. They were prep issues.
Concrete needs to be clean, dry, and properly profiled. Oil stains, curing compounds, or smooth power-troweled surfaces can all cause adhesion problems.
Prep by Surface Type (Only the Important Differences)
New concrete needs enough time to cure fully. Older floors usually need mechanical grinding or proper cleaning to remove contaminants. Previously coated floors must be tested to make sure the old coating is sound.
Skipping prep saves time today but costs more later.
Mixing & Application (Step-by-Step, Contractor-Style)
Once prep is done, application is straightforward if you stay organized. Stage your tools, mix only what you can apply within the working time, and keep a steady pace.
Temperature matters. Cold slows curing. Heat speeds it up. Both can cause issues if you’re not prepared.
The “First Coat Reduction” Confusion (Common Question)
I often get asked about thinning the first coat. Some people reduce it too much, thinking it helps penetration. The truth is, over-reducing weakens the film and leads to poor durability.
Follow the data sheet. When reduction is allowed, keep it minimal and controlled.
Tools, Rollers, and Add-Ons (Anti-Slip, Edges, Clean-Up)
Use quality rollers with the right nap length for concrete. Cheap rollers shed fibers and leave marks.
Anti-slip additives are helpful near entryways or ramps, but don’t overdo it. Too much makes cleaning harder and affects appearance.
Clean tools right away. Once epoxy starts curing, it’s done for good.
Coverage & Coats (How Much You Really Need)
Coverage depends heavily on surface texture. Smooth concrete uses less. Rough concrete drinks it up.
Plan for two coats in most cases. One coat rarely delivers the durability people expect.
Mini Project Calculator (Reader-Friendly)
A simple rule I use:
- Measure your square footage
- Divide by coverage per coat
- Multiply by number of coats
- Add a little extra for waste and touch-ups
That approach helps you estimate kits or gallons accurately.
Dry Time, Recoat Window & Cure Time (So You Don’t Ruin It)
Dry to the touch doesn’t mean ready for use. Light foot traffic usually comes first, followed by heavier use later.
I’ve seen people park cars too soon and permanently mark the surface. Patience during curing pays off with a better-looking floor long term.
Performance & Durability (Real-Life Expectations)
When applied correctly, this coating handles daily wear well. It resists common automotive fluids and cleans up easily.
Hot tire pickup is often mentioned in armorseal 8100 reviews. In my experience, it’s almost always tied to poor prep or early vehicle traffic, not the product itself.
Troubleshooting (Problems + Fixes)
Peeling usually points to moisture or contamination. Bubbles often come from trapped air in porous concrete. Uneven sheen can result from inconsistent rolling or temperature swings.
Most issues can be avoided by slowing down and following the basics.
ArmorSeal 8100 Price (What It Costs & Why Prices Vary)
Pricing depends on region, supplier, and whether you’re buying retail or contractor rates. Armorseal 8100 price per gallon is usually lower when purchased as part of a kit.
Expect variations based on availability and local demand. Always factor in prep materials when budgeting.
Buying Checklist (So You Don’t Forget Anything)
Before checkout, make sure you have:
- Correct amount of coating
- Part B hardener if buying separately
- Rollers, trays, and mixing tools
- Concrete cleaner and repair materials
- Optional anti-slip additive
ArmorSeal 8100 Reviews (What Users Typically Like and Dislike)
Most users like the smooth finish and ease of cleaning. Complaints usually involve peeling or wear, which almost always trace back to surface prep or rushed curing.
That’s an important takeaway. The product performs as advertised when applied correctly.
Safety, Storage, Shelf Life & Disposal
Even water-based epoxies require ventilation and basic protective gear. Gloves and eye protection are non-negotiable.
Store unused material according to the label and never pour leftovers down drains. Dispose of waste responsibly following local rules.
FAQ
What is ArmorSeal 8100 used for?
ArmorSeal 8100 is used to protect and finish concrete floors in garages, basements, workshops, and light commercial spaces where durability and easy cleaning are important.
How much does it cost to epoxy a 20×20 garage floor?
For a 20×20 garage, total costs typically range from moderate DIY pricing to higher professional installation, depending on prep work, number of coats, and local material pricing.
How long does it take for ArmorSeal to cure?
Light foot traffic is usually allowed within 24 hours, but full cure for vehicles and heavy use typically takes several days, depending on temperature and humidity.
How thick is ArmorSeal 8100?
When applied correctly, each coat forms a thin but durable film designed to build strength through multiple coats rather than excessive thickness.
Is ArmorSeal 8100 good for home garages?
Yes, when surface prep and cure times are respected, it performs very well in residential garages with normal vehicle traffic.
Conclusion
ArmorSeal 8100 works well when expectations are realistic and prep is done right. It’s not magic, but it’s dependable. If you respect the data sheet, mix carefully, and allow proper cure time, you’ll end up with a floor that looks good and holds up to everyday use.
The best part is this. Most problems are avoidable. Take your time, follow the process, and you’ll get results that feel professional without unnecessary frustration.
Disclaimer:
This content is based on professional experience and general product information. Always review the official ArmorSeal 8100 data sheet and follow manufacturer instructions before application. Results may vary based on surface conditions and installation methods.

I’m Bilal, the founder of Dwellify Home. With 6 years of practical experience in home remodeling, interior design, and décor consulting, I help people transform their spaces with simple, effective, and affordable ideas. I specialize in offering real-world tips, step-by-step guides, and product recommendations that make home improvement easier and more enjoyable. My mission is to empower homeowners and renters to create functional, beautiful spaces—one thoughtful update at a time.