Most homeowners don’t ask about mold because they’re curious. They ask because they’ve found a spot in a bathroom corner, a fuzzy patch behind a dresser, or a stain that keeps bleeding through paint. And once you see it, you want a clean, safe fix that actually lasts.
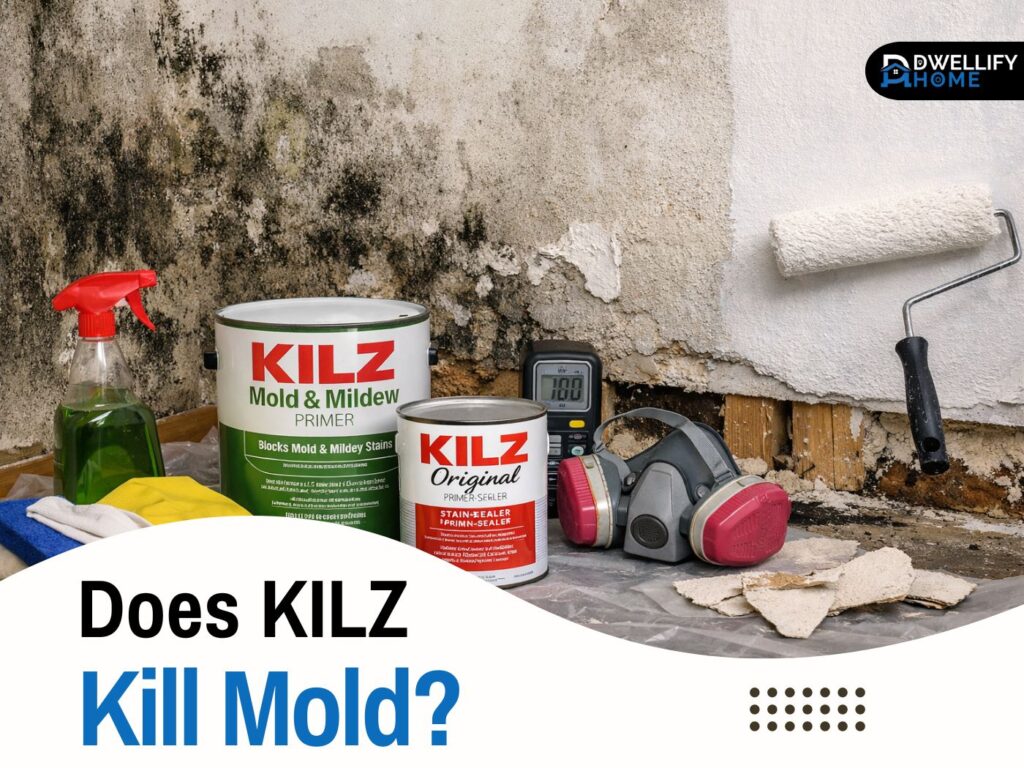
So let’s talk honestly about the big question, does kilz kill mold. I’ve been on mold and repaint jobs for years, and I can tell you this with a straight face: KILZ can be part of a solid plan, but it’s not a shortcut. If you use it the right way, it helps you finish a cleaned surface and reduce future issues. If you use it the wrong way, it can hide a problem long enough to get worse.
Snippet-ready definition:
KILZ primer doesn’t remove active mold. It’s mainly a stain-blocking, paint-prep coating, and some versions resist mildew on the dried film. Clean, dry, and fix moisture first for lasting results.
Mission Statement:
At Dwellify Home, our mission is to give homeowners clear, practical guidance that protects your home and your health, with advice grounded in real-world building and repair experience.
The Straight Answer: Does KILZ Kill Mold?
Most KILZ primers are not meant to remove active mold growth. They’re primarily made to prep surfaces for paint and to block stains. Some versions are designed to resist mildew growth on the dried coating, but that’s not the same thing as wiping out an existing mold colony that’s already living in the material.
The confusion usually comes from the label language people remember, like “mold and mildew.” In real job terms, that often means the primer film is treated to resist mildew growth once it’s dry. That can be helpful after proper cleanup. But it doesn’t replace cleaning, drying, and correcting the moisture that caused the problem in the first place.
If you’ve got visible mold, think of primer as the last step in the surface rebuild, not the first step in the cleanup. Once the mold is removed and the surface is dry, a product like KILZ Mold and Mildew primer can help you create a more stable, stain-blocking base before repainting.
Kills Mold vs Prevents Mold vs Blocks Stains
Let me break it down the way I explain it during home visits.
- Killing mold means you’re treating active growth so it’s no longer living and spreading. That usually involves cleaning methods and sometimes removing contaminated materials.
- Preventing mold means you’re reducing the conditions mold needs to return, mostly moisture control, airflow, and using coatings that resist mildew on the surface.
- Blocking stains means you’re stopping discoloration from bleeding through your finish coat. Mold stains can show through paint even after cleanup, and that’s where primers often shine.
The best part is, once you understand these differences, the next steps become way clearer and you’re less likely to waste time and money on a “paint it and hope” approach.
Quick Guide Table
| Situation | What to do first | Where KILZ helps | Best next move |
| Small surface spots in a bathroom | Clean, rinse if needed, dry fully | Blocks stains and gives a solid base coat | Improve ventilation and humidity control |
| Stains keep bleeding through paint | Confirm area is dry and clean | Stain-blocking base before repaint | Prime full area, not just the spot |
| Mold on drywall that feels soft | Stop moisture, remove damaged material | Primer can’t fix rotten drywall | Replace drywall, then prime and paint |
| Mold on wood trim | Clean, dry, sand if needed | Seals stains and evens the surface | If it’s punky or keeps smelling, replace |
| Mold keeps coming back | Find the moisture source | Primer won’t solve recurring moisture | Investigate leaks, condensation, hidden wet areas |
Step-by-step mini checklist (simple and practical)
- Fix moisture first: leaks, condensation, poor bathroom fan, high humidity.
- Clean the growth with a proper mold or mildew cleaner, don’t just wipe and paint.
- Dry completely: rushing here is why paint bubbles and stains return.
- Remove and replace anything porous that’s deteriorating (soft drywall, wet insulation).
- Prime with a suitable product like KILZ Mold and Mildew primer only after the surface is clean and dry. KILZ’s own guidance notes existing mold should be removed before priming for best results.
- Topcoat with a quality paint, then keep humidity in check.
Why Painting Over Mold Doesn’t Work (Even With Primer)
I’ve seen this more times than I can count: someone paints over a spot, it looks fine for a month or two, and then the stain returns. Or the paint starts bubbling. Or there’s a musty smell that never really goes away. That’s because mold isn’t just a surface color problem, it’s a moisture and material problem.
Mold can keep living under paint if the surface wasn’t properly cleaned and dried. On top of that, if moisture is still present in the wall or ceiling cavity, you’re basically sealing in the conditions mold loves. That often leads to recurring stains, peeling, soft drywall, or that ugly blistering that shows up right when you’re hoping the room is finally “done.”
The Real Problem Is Moisture
Mold needs moisture. That’s the engine. So if you don’t fix the moisture source, any coating is just a temporary cover.
Common moisture sources I find in homes include:
- bathroom fans that vent into an attic instead of outside
- shower steam and condensation on cold ceilings
- slow plumbing leaks behind a vanity
- damp basements with poor airflow
- roof leaks that show up as ceiling stains after rain
If you want the fix to stick, the moisture issue has to be handled first. That’s not a sales line, it’s just how buildings work.
Which KILZ Product Are You Using? (Important Differences)
KILZ is a brand with multiple primers and coatings. When someone says “I used Kilz,” it could mean anything from a stain-blocking primer to a specialized mold and mildew formula. So it helps to get specific.
KILZ Mold and Mildew Primer (What It’s For)
This is the one homeowners usually mean when mold is involved. It’s designed to create a barrier and resist mildew growth on the primer film, assuming the surface has been cleaned and dried correctly.
In my experience, it’s most useful when:
- you’ve cleaned a bathroom wall or ceiling properly
- you’re dealing with old water stains that like to bleed through
- you want extra protection in humid areas before painting
It’s not the “mold remover” step. It’s the “finish the prep the right way” step.
KILZ Mold and Mildew Spray and Common “Mold Killer” Searches
Sometimes people look for KILZ mold and mildew spray or even type KILZ mold killer expecting a single product that solves everything. What matters is the role you’re using it for.
A spray format can be handy for small, awkward spots and quick touch-ups, but it still doesn’t replace proper cleaning and drying. If you spray something and then trap moisture behind paint, you’re still rolling the dice. The goal is a clean, dry substrate first, then your primer and paint system.
Safety First (Before You Touch Mold)
Guess what most people underestimate? How irritating mold cleanup can be, even when the area looks small. You don’t need to panic, but you do need to treat it with respect.
When DIY Is Not a Good Idea
If anyone in the home has asthma, severe allergies, COPD, or a compromised immune system, I’m careful about DIY cleanup. The same goes if the mold is widespread, keeps returning, or you suspect it’s inside walls or ceilings.
Also, if you’re seeing growth on porous materials like crumbling drywall, insulation, or carpet padding, there’s a real chance the contamination is deeper than what’s visible. That’s when removal and controlled remediation is often the safer move.
Basic Safety Checklist
For small surface areas you’re handling yourself, keep it simple and safe:
- open windows and run a fan to exhaust air out of the room
- wear gloves and eye protection
- use a well-fitting mask rated for fine particles
- avoid dry-scraping that sends dust everywhere
- keep kids and pets away from the work zone
- bag any contaminated debris tightly
One more important note: never mix cleaners. People sometimes reach for bleach and then combine it with other products without realizing the risk. Stick to one method and follow label directions.
Step-by-Step: The Right Way to Treat Mold Before Using KILZ
This is the workflow I use on many residential jobs, scaled for a homeowner. The order matters. If you skip steps, you usually end up doing the job twice.
Step 1 — Fix the Moisture Source First
Start with the “why,” not the “what.” Why did mold grow here?
If it’s a bathroom, check ventilation. A good bathroom fan should run during showers and for a while afterward. If it’s a leak, fix it before you touch the wall. If it’s basement humidity, a dehumidifier and airflow changes often make a big difference.
If moisture is still present, even the best primer won’t save you.
Step 2 — Clean Mold Correctly (Don’t Just Wipe and Paint)
For non-porous or semi-porous surfaces, cleaning often works well. The key is to physically remove the growth, not just smear it around.
Use a dedicated mold or mildew cleaner and scrub gently but thoroughly. I like using disposable rags or paper towels for the first pass so you’re not reusing a contaminated sponge across the room. If the surface is painted drywall, avoid soaking it. Too much water can damage the paper face and feed the problem.
A real-world example: bathroom ceiling specks often look like “just dirt,” but once you wipe them, the cloth comes away with dark residue. That’s your cue the surface needs a proper clean and full dry time before any coating goes on.
Step 3 — Rinse (If Needed) and Dry Completely
Some cleaners require rinsing. Others don’t. Follow the label and don’t guess.
Then dry the area completely. This is where patience pays off. If you prime while the surface is still damp, you can trap moisture and create peeling later. I’ve walked into homes where the stain came back not because the primer failed, but because the wall was still wet behind it.
If you’ve got access to a small moisture meter, great. If not, give it extra time and make sure the room is warm, ventilated, and dry.
Step 4 — Remove or Replace When Necessary (Porous Materials)
Porous materials can hold mold deeper than you can clean. Drywall that’s soft, insulation that’s damp, or wood that’s punky may need to be removed and replaced. That’s not overkill, it’s often the only way to truly reset the area.
If you’re dealing with wood, this is where people ask, does kilz kill mold on wood. Wood can be tricky because mold can live in the grain. Sometimes you’ll need sanding, and in worse cases, replacing the affected piece is the smarter call.
Step 5 — Prime With KILZ (Full Coverage, Not Spot-Priming)
Once the surface is clean and bone dry, primer makes sense. If you’re using KILZ mold and mildew primer, apply it evenly and extend beyond the visible stain area. Spot-priming only the stain often leaves a ring that can show later, especially on ceilings.
This is also where stain-blocking performance matters. Mold stains can bleed through regular paint. A good primer creates a uniform base so your finish coat looks clean.
Step 6 — Paint With the Right Topcoat
After the primer cures, use a quality paint suitable for the room. In high-humidity spaces, choose a finish that handles moisture well and is easy to wipe down.
And remember, coatings are part of prevention, but ventilation and moisture control are the real heroes.
Surface-Specific Answers (Walls, Ceilings, Wood)
Different surfaces behave differently, so you’ll get better results when you adjust your approach.
Does KILZ Kill Mold on Walls?
For painted drywall, KILZ can be a good primer after proper cleaning and drying. If the drywall face paper is damaged, soft, or repeatedly wet, it may need replacement. Primer can’t rebuild broken gypsum or remove contamination inside a wall cavity.
If you’re seeing recurring spots behind furniture on an exterior wall, that’s often a condensation issue. More airflow, a small gap behind the furniture, and humidity control can stop the cycle.
Does KILZ Kill Mold on Ceilings?
Bathroom ceilings are common trouble spots. Warm shower steam rises, hits a cooler ceiling, and condenses. Over time, those little dots show up.
Here’s a practical tip I give homeowners: run the bathroom fan during the shower and keep it running for a while afterward. If the fan is weak or noisy and nobody uses it, upgrading it can do more to prevent mold than any primer ever will.
KILZ primer helps you reset the surface after cleanup, but the prevention comes from controlling moisture.
Does KILZ Kill Mold on Wood?
Wood depends on the situation. If it’s light surface growth on a sealed wood surface, careful cleaning and drying can work. If it’s raw wood, or wood that has been wet repeatedly, mold can penetrate deeper.
You may need to:
- clean and dry thoroughly
- sand the surface to remove staining and embedded growth
- address the moisture source
- prime and repaint or seal
If the wood is structurally compromised or smells musty even after drying, replacement is often the most reliable solution.
KILZ vs Zinsser Mold Killing Primer (Which Is Better?)
This is a common comparison: Zinsser mold killing primer versus KILZ mold and mildew primer. I’ve used both types of products in real jobs, and I’ll tell you the same thing I tell clients.
No primer is a substitute for remediation. The prep work is what makes the difference.
What “Mold Killing Primer” Typically Means in Real Life
A “mold killing” primer is generally designed to treat residual mold on the surface and resist future growth on the coating. That can be useful in certain situations, especially after cleaning, when you want added peace of mind.
But if the mold is active, widespread, or coming from behind the surface, primer won’t solve it. You’ll still need cleaning, drying, and often removal of contaminated materials.
How to Choose Based on Your Situation
I recommend choosing based on:
- where the mold is showing up (bathroom surface vs water-damaged drywall)
- whether the surface is porous
- how confident you are the moisture issue is resolved
- whether stains are bleeding through
If stains are your main issue after cleanup, a strong stain-blocking primer matters. If humidity is the main issue, improving ventilation matters more than brand choice.
Does KILZ Prevent Mold From Coming Back? (Real Prevention Stack)
People ask does kilz prevent mold, and I get it. Nobody wants a repeat problem.
KILZ can help as part of a prevention plan because it creates a better coating system and some formulas resist mildew on the film. But prevention is bigger than primer.
Ventilation and Humidity Control (Most Important)
If you want fewer mold issues, focus here:
- use bathroom fans properly and make sure they vent outside
- keep indoor humidity in a healthy range
- use a dehumidifier in damp areas
- don’t ignore small leaks
In many homes, just getting humidity under control stops the cycle completely.
Maintenance Habits That Make the Biggest Difference
These are small habits that work:
- wipe down shower walls and corners after use
- leave the bathroom door open after showers to let moisture escape
- keep furniture slightly off exterior walls for airflow
- address musty smells early instead of waiting
Common Mistakes That Cause Mold to Return
Most “mold came back” stories come down to one of these mistakes.
Spot-Priming Only the Visible Stain
Mold and moisture zones are often bigger than what you can see. Prime and paint beyond the spot so you’re treating the whole affected area.
Priming Before the Surface Is Truly Dry
This is a big one. If you trap moisture, you can get bubbling, peeling, and staining again. Give drying the time it needs.
Treating Odor or Stains as Proof the Problem Is Gone
A stain can remain even when mold is cleaned. The opposite can also happen: the surface looks clean but moisture is still behind it. Trust your moisture control and your prep work, not just appearances.
Using the Wrong Products on the Wrong Surfaces
A moldy bathroom ceiling needs ventilation fixes. A water-damaged wall needs leak repair and sometimes drywall replacement. One product won’t solve every scenario.
When to Call a Professional Mold Remediation Company
If the mold keeps returning, covers a large area, or you suspect it’s inside walls, it’s time to bring in help. The same goes for musty odors that don’t improve after drying, or if you see water damage patterns that suggest an ongoing leak.
Professionals can identify hidden moisture, control dust properly, and remove contaminated materials safely. Sometimes the smartest move is getting it diagnosed correctly the first time, instead of repainting the same spot every few months.
Quick FAQ
Can you just put KILZ over mold?
Not a good idea. If you prime over active mold, it can keep growing underneath and come back through the coating. Clean and dry the surface first, then prime.
How do you permanently remove mold from walls?
You remove mold long-term by fixing the moisture source first, cleaning the growth properly, drying completely, and replacing any damaged porous materials. Paint and primer are finishing steps, not the cure.
What types of mold does Kilz kill?
KILZ products are better described as mildew-resistant on the dried coating (depending on the product) and stain-blocking, not as a primary “mold killer.” For best results, remove existing mold before priming.
What do professionals use to kill mold?
Pros focus on moisture control, containment, safe removal, and the right cleaners for the surface. On porous, contaminated materials, removal and replacement is often the real fix. Primers come after remediation.
Does KILZ prevent mold from coming back?
It can help as part of a full plan, especially in humid rooms, but prevention mainly comes from keeping surfaces dry, improving ventilation, and controlling humidity. The primer alone won’t stop a hidden moisture problem.
Conclusion
So, does kilz kill mold? In real home conditions, KILZ isn’t a stand-alone mold solution. It’s a helpful primer step after the mold has been cleaned, the surface is dry, and the moisture problem is under control.
If you take one practical takeaway from this, make it this: fix moisture first, clean thoroughly, dry completely, then prime and paint. When you follow that order, KILZ can help you get a cleaner finish, block stubborn stains, and make it harder for mildew to take hold on the coating.
And if the problem keeps coming back, don’t blame yourself. That usually means something hidden is still feeding it. Track down the moisture, and you’ll finally get the long-lasting result you’re after.
Disclaimer
This article is for general information and basic home guidance. Mold can affect health and may require professional assessment, especially for large areas, recurring growth, or hidden moisture issues. Always follow product labels and local safety guidance.

I’m Bilal, the founder of Dwellify Home. With 6 years of practical experience in home remodeling, interior design, and décor consulting, I help people transform their spaces with simple, effective, and affordable ideas. I specialize in offering real-world tips, step-by-step guides, and product recommendations that make home improvement easier and more enjoyable. My mission is to empower homeowners and renters to create functional, beautiful spaces—one thoughtful update at a time.