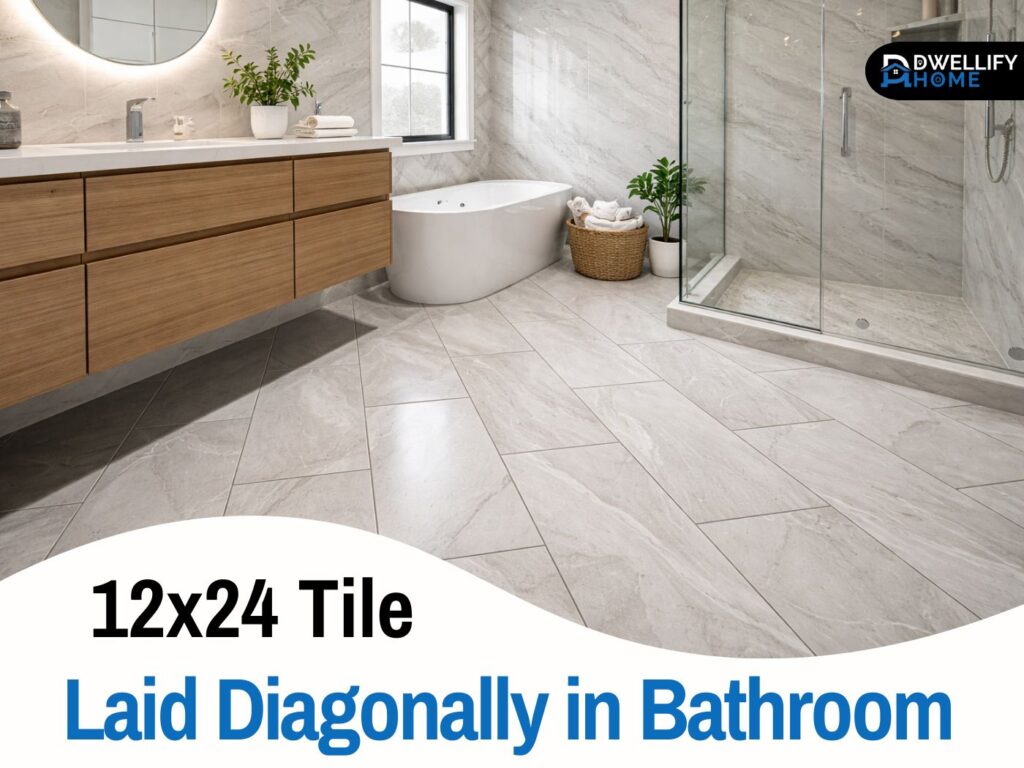
A diagonal layout can make a bathroom feel more open without changing a single wall. With 12×24 tiles, that angled pattern pulls your eye across the room instead of straight down it, and the space can feel wider and more dynamic.
But I’ll be straight with you like I would in an in-home consult. Diagonal installs take more planning, more cuts, and a bit more tile. If you go in without a layout plan, you can end up with tiny sliver cuts at the doorway or awkward triangles around the toilet, and that’s where “nice tile” starts looking messy.
Snippet-Ready Definition:
12×24 tile laid diagonally in a bathroom is a flooring layout where rectangular tiles are installed at a 45-degree angle, creating visual movement that can make small or narrow bathrooms feel wider and more dynamic.
Mission Statement:
At Dwellify Home, our mission is to provide honest, experience-based guidance that helps homeowners make confident, informed decisions about their living spaces, combining practical expertise with real-world design insight.
Diagonal vs straight tile layout (which one should you pick?)
When diagonal is worth it (small/narrow bathrooms, out-of-square rooms, more visual interest)
Diagonal is a great choice when the room is tight or the walls are a little out of square, which is more common than most homeowners think. That angled pattern can distract the eye from a wall that’s not perfectly straight, and it adds movement that makes a basic bathroom feel more custom.
I’ve done plenty of 5×8 bathrooms where the homeowner felt boxed in. We dry-laid a few tiles both ways, straight and diagonal, and the diagonal version looked like the room gained a foot. It didn’t actually get bigger, of course, but visually it stopped feeling like a hallway.
When straight lay is the better move (clean modern lines, faster install, lower waste)
Straight lay wins when you want a calm, minimalist look and you want the job to move faster with less waste. It’s also easier to align with cabinets, vanities, and tubs because everything is already square. That can matter a lot if you’re doing a tight remodel schedule or trying to keep labor costs down.
And if your bathroom already has strong lines, like a long floating vanity, a straight pattern can look more intentional. Diagonal can be gorgeous, but it’s not automatically “better,” it’s just different.
Quick Guide Table: Diagonal vs Straight Tile Layout
| Feature | Diagonal Layout (12×24) | Straight Layout (12×24) |
| Visual effect | Makes room feel wider and more dynamic | Clean, calm, modern look |
| Difficulty | Moderate to high (more planning & cuts) | Easier and faster |
| Tile waste | Around 15% extra needed | Around 10% extra |
| Best for | Small or narrow bathrooms | Larger or minimalist bathrooms |
| Installation time | Longer | Shorter |
| Risk of lippage | Medium (needs correct offset) | Lower |
Step-by-Step Quick Guide: How Diagonal Layout Is Planned
- Stand at the doorway and identify the main sightline.
- Decide tile direction based on room width and focal points.
- Mark reference lines and establish a true 45-degree layout.
- Dry-lay a few tiles to check balance and cut sizes.
- Adjust layout to avoid thin sliver cuts at walls and doorway.
- Proceed with installation using correct offset and leveling.
Decide the “direction” before you start (12×24 tile direction bathroom)
Use the main sightline (doorway → vanity/tub/feature wall) to set the flow
The easiest way I explain direction is this: stand in the doorway like you do every day. Whatever you see first is the “main view.” That view should get the cleanest, most balanced layout.
So when you’re deciding which direction to lay rectangular tile in bathroom spaces, I look at the vanity face, the tub apron, and the back wall. If the first thing you see is the vanity and mirror, I want the tile lines to support that, not fight it.
Quick rule: laying across the short width can make a narrow room feel wider
If the bathroom is long and skinny, I often angle the layout so the pattern pulls the eye across the width, not down the length. That’s one reason diagonal layouts work so well in narrow rooms.
Guess what, sometimes a simple rotation of the pattern is the difference between a room that feels tight and one that feels balanced. The goal is always the same: avoid a “runway” effect where everything points straight to the back wall.
Choose the diagonal pattern (simple options that work best with 12×24)
Diagonal grid (diamond layout) — easiest to plan and looks sharp
For most bathrooms, the diagonal grid, also called a diamond layout or 45-degree layout, is the cleanest option. It’s consistent, it photographs well, and it doesn’t get too busy.
The best part is it’s also easier to control visually. Once your 45-degree reference lines are right, the whole floor tends to behave. This is the pattern I recommend when someone wants that diagonal look but doesn’t want a “pattern heavy” floor.
Diagonal running bond — only if you control offset and lippage
Diagonal running bond can look amazing, but it’s where installers get into trouble with 12×24 tiles. These large-format tiles can have a slight bow, and if you stagger them the wrong way, you’ll feel edges with your bare feet.
If you love the running-bond vibe, we can do it, but we have to be strict about offset and leveling. Otherwise you end up with lippage, and no grout color in the world hides that.
Large-format reality check: bowing, lippage, and the safer offset
Why a 50% offset can exaggerate lippage with rectangular tiles
This is a big one. A 50% offset means the center of one tile lines up with the ends of the tiles next to it. If your tile has even a small amount of bowing, that’s the worst place to line things up.
On jobs where a homeowner insisted on a 50% stagger with 12×24, I’ve seen the same result: you can get a little toe-catcher edge no matter how careful you are. It’s not about skill alone, it’s physics plus tile shape.
Best practice: 1/3 (33%) offset, or a straight/stacked look for the cleanest surface
The safer move is a 1/3 offset, sometimes called a 33% stagger. It avoids lining up the highest part of the bow with the lowest part of the next tile. If you want the smoothest surface possible, a straight lay or stacked layout is even safer.
If I’m installing diagonal 12×24 tiles, I’ll usually recommend one of these:
- Diagonal grid for clean lines and fewer problems
- Diagonal with a 1/3 offset if you want movement but still want a flatter floor
Tile quantity planning (how much extra tile for diagonal?)
Waste allowance: add about 15% for diagonal layouts (often more cuts at edges)
Diagonal layouts create a lot of triangle cuts around the perimeter. Because of that, you typically need more tile than a straight layout. As a practical rule, I tell homeowners to plan around 15% extra tile for a diagonal floor.
If the bathroom has a lot of bumps and jogs, like a toilet alcove, a linen closet notch, or a curved transition, I’ll push that extra a bit higher. It’s always cheaper to buy one more box now than to hunt for a matching dye lot later.
Extra box strategy (future repairs, matching batches, hidden breakage)
Here’s a contractor tip that saves headaches: buy an extra box and store it. Tiles get discontinued, batches vary, and accidents happen.
Even if you never need it, it’s peace of mind. If you do need it, you’ll be very glad you didn’t have to gamble on “close enough.”
Prep work (the part that decides if it looks “pro” or messy)
Large-format tile doesn’t forgive a wavy floor. Before I set a single 12×24, I check flatness and fix the substrate. If the floor dips or humps, your tile will rock, edges will stand up, and grout will crack down the line.
In real bathrooms, the trouble spots are usually:
- Around the toilet flange
- Near the doorway where framing shifts
- Along the tub where old patchwork happened
Tool-wise, you don’t need a warehouse, but you do need the basics done right: a straightedge, a level or laser, a good trowel, and a cutting setup that can handle long diagonal cuts. A tile leveling system can be a lifesaver on 12×24, especially for beginners.
Layout method that prevents awkward cuts (especially in a small bathroom)
Find your best starting strategy (center-based layout vs corner-based layout)
If you’re learning how to lay 12×24 floor tile in a small bathroom, layout is half the battle. I usually start with a center-based layout because it gives balanced cuts on both sides. That tends to look more finished, especially at the doorway.
Corner-based layout can work too, but it’s riskier. If that starting corner isn’t square, your diagonal can drift and you’ll fight it the whole way. If you go corner-based, you have to measure carefully, establish true lines, and confirm your cuts won’t turn into skinny slivers.
Dry-lay a small mock-up first (2-minute test from the doorway)
On top of that, do a quick dry-lay. Put down 6 to 8 tiles with spacers where the pattern would start, then stand in the doorway and look.
I do this on job sites all the time because it answers the big questions fast:
- Do the cuts at the doorway look clean?
- Does the pattern feel centered in the room?
- Does the diagonal make the room feel wider, or just busier?
Take a quick phone photo from the doorway. Photos reveal things your eyes gloss over in the moment.
Setting the tile (how to lay 12×24 tile without hollow spots)
When homeowners ask me how to lay 12×24 tile, I tell them to focus on coverage and consistency. Large tiles need solid mortar contact. Hollow spots sound bad, but more importantly, they can lead to cracked tile later.
Use the right mortar for large-format tile and comb it in straight lines. Then back-butter the tile, meaning skim a thin layer on the back so it bonds fully. Press the tile into the ridges and move it slightly to collapse them.
A few job-site habits that keep the surface flat:
- Work in small sections so mortar doesn’t skin over
- Check tile edges with a straightedge often
- Use leveling clips if you’re not confident about lippage control
Cuts and edges (diagonal = lots of triangle cuts)
Diagonal cuts look intimidating because you’ll make a ton of triangles. The secret is to make them repeatable. I’ll often create a simple template from cardboard for common angles so I’m not re-measuring the same shape 20 times.
Doorways and transitions matter more than most people realize. If the threshold line is sloppy, your eye goes right to it. Plan that cut like it’s a feature, because in a small bathroom, it basically is.
Also, don’t forget movement space. Tile needs an expansion gap at the perimeter. That gap gets hidden by baseboard or trim, but it’s what prevents tenting and cracked grout later.
Grout and color choices (make diagonal look intentional, not busy)
Grout can make or break a diagonal floor. A close-match grout color makes the pattern feel smooth and modern. A contrasting grout makes every tile edge pop, which can be bold and beautiful, but it can also feel busy in a small space.
Grout joint size matters with 12×24 tiles. Super tight joints sound nice, but if the tile isn’t perfectly flat or the edges vary slightly, tight joints can make alignment harder. A slightly wider joint often looks cleaner because it gives you room to keep lines straight.
Quick practical tip: clean as you go. Don’t let grout haze sit overnight unless you like scrubbing. Wipe in passes, change water often, and do a final microfiber buff when the grout firms up.
Shower-specific planning (12×24 tile laid diagonally in bathroom shower)
Shower walls: vertical vs horizontal (what each does visually)
For 12×24 shower tile layout, vertical or horizontal really depends on what you want the shower to feel like. Vertical tends to add height, which is great in a short shower. Horizontal feels calmer and can make the wall feel wider.
If the bathroom is already busy with a diagonal floor, I often keep shower walls simpler. A clean horizontal layout on the walls can balance the energy from the diagonal floor.
Niches and feature walls: plan to avoid tiny sliver cuts around edges
Niches are where layouts go to die if you don’t plan them. If your diagonal pattern hits a niche edge and you end up with tiny cuts, it can look fussy.
When I’m planning a shower, I’ll adjust the layout so niche borders land on clean, intentional cuts. Sometimes that means shifting the entire wall layout a half inch. It’s worth it.
One more honest note: for shower floors, big 12×24 tiles usually aren’t ideal because shower pans need slope toward the drain. Smaller tiles handle that slope better and give you more grip underfoot.
Flow into nearby spaces (bathroom + hallway/kitchen transitions)
Sometimes the bathroom floor ties into a hallway, laundry area, or even an open connection toward the kitchen. And yes, I’ve had homeowners ask about 12×24 tile laid diagonally in bathroom kitchen transitions when the spaces are visually connected.
If floors connect, direction consistency often looks best. If the bathroom is its own room with a door, you can treat it like a separate design moment. If it’s open or highly visible, matching direction can make the home feel more cohesive.
A good rule is to keep the strongest pattern where it has breathing room. If the bathroom opens right into another patterned floor, you might simplify one of the spaces so they don’t compete.
Common mistakes (and how to avoid them)
Most “tile regrets” aren’t about the tile. They’re about layout choices made too fast.
Here are the big ones I see with diagonal 12×24 installs:
- Skipping the dry layout, then getting sliver cuts at the doorway
- Using a 50% offset and ending up with lippage you can feel
- Underbuying tile, then scrambling when cuts eat up material
- Not flattening the floor first, so tiles rock and edges lift
- Rushing grout cleanup and living with haze for months
If you avoid those, you’re already ahead of most DIY attempts I get called to fix.
When to hire a pro (and what to ask)
Diagonal layouts can absolutely be DIY if you’re patient, but it’s fair to say the margin for error is smaller. If the bathroom is your only one, or the floor is noticeably uneven, a pro can save you stress and rework.
If you do hire someone, ask direct questions:
- Have you installed large-format 12×24 tile on a diagonal before?
- What offset do you recommend to reduce lippage?
- Will you do a dry layout or mock-up so we can approve cuts at the doorway?
- What’s your plan for flatness prep before tile goes down?
A good installer won’t get defensive. They’ll explain it clearly.
FAQ
Which way to lay 12×24 tile in a bathroom?
The best direction depends on the doorway view and room shape. Many installers angle tiles so the pattern pulls across the room, helping narrow bathrooms feel wider.
Does laying tile diagonally make the room look bigger?
Yes. Diagonal layouts break straight sightlines, which visually expands small or narrow bathrooms, even though the room size stays the same.
Should tile be laid diagonally or straight?
Diagonal works best for small or uneven rooms needing visual movement. Straight layouts suit modern, minimal spaces and are faster with less waste.
What is the best pattern for 12×24 tile?
For most bathrooms, a diagonal grid (diamond pattern) or a 1/3 offset layout works best. A full 50% offset is usually avoided due to lippage risk.
Is diagonal tile harder to install?
Yes. It requires more layout planning, more cuts, and extra tile, but the visual payoff can be worth it when done correctly.
Conclusion (wrap-up + keyword naturally)
If you want a bathroom floor that feels a little bigger and a lot more custom, 12×24 tile laid diagonally in bathroom spaces can deliver that effect beautifully. The key is treating it like a planned layout, not just “start and hope.”
Keep it practical: choose the direction from the doorway view, pick a diagonal pattern that fits the room, lean toward a 1/3 offset for large-format tiles, and buy enough extra material for all those triangle cuts. Do that, and you’ll end up with a floor that looks sharp, feels smooth underfoot, and still looks great years from now.
If you want, send me your bathroom size and a quick description like tub left, vanity right, doorway centered, and I’ll suggest the cleanest diagonal starting point and direction for your exact layout.
Disclaimer:
This article is based on professional installation experience and general industry practices. Every bathroom is different. For structural concerns, waterproofing, or complex layouts, consult a qualified tile or remodeling professional before starting work.

I’m Bilal, the founder of Dwellify Home. With 6 years of practical experience in home remodeling, interior design, and décor consulting, I help people transform their spaces with simple, effective, and affordable ideas. I specialize in offering real-world tips, step-by-step guides, and product recommendations that make home improvement easier and more enjoyable. My mission is to empower homeowners and renters to create functional, beautiful spaces—one thoughtful update at a time.