If you’ve ever looked at a beautifully finished staircase and thought, “Something about that runner looks so tidy,” there’s a good chance stair carpet rods were part of the detail. They’re small, but they change the whole feel of a stair runner, especially in older homes or spaces that lean traditional.
I’ve installed runners and restored staircases for years, and I’ll tell you this up front. These rods can be decorative, they can be helpful, and they can also be misunderstood. Once you know what they do, how they fit, and how to choose the right brackets, the whole decision becomes much easier.
Snippet-ready definition:
Stair carpet rods are decorative bars fitted across a stair runner at the tread and riser line. They add a tailored, high-end finish, and can help keep the runner looking neat when paired with proper runner securing methods.
Mission Statement:
At Dwellify Home, our mission is to make home styling feel clear and doable by sharing practical, design-backed guidance that helps you choose, install, and maintain details that make your space feel finished and lived-in.
What Are Stair Carpet Rods (Stair Rods)?
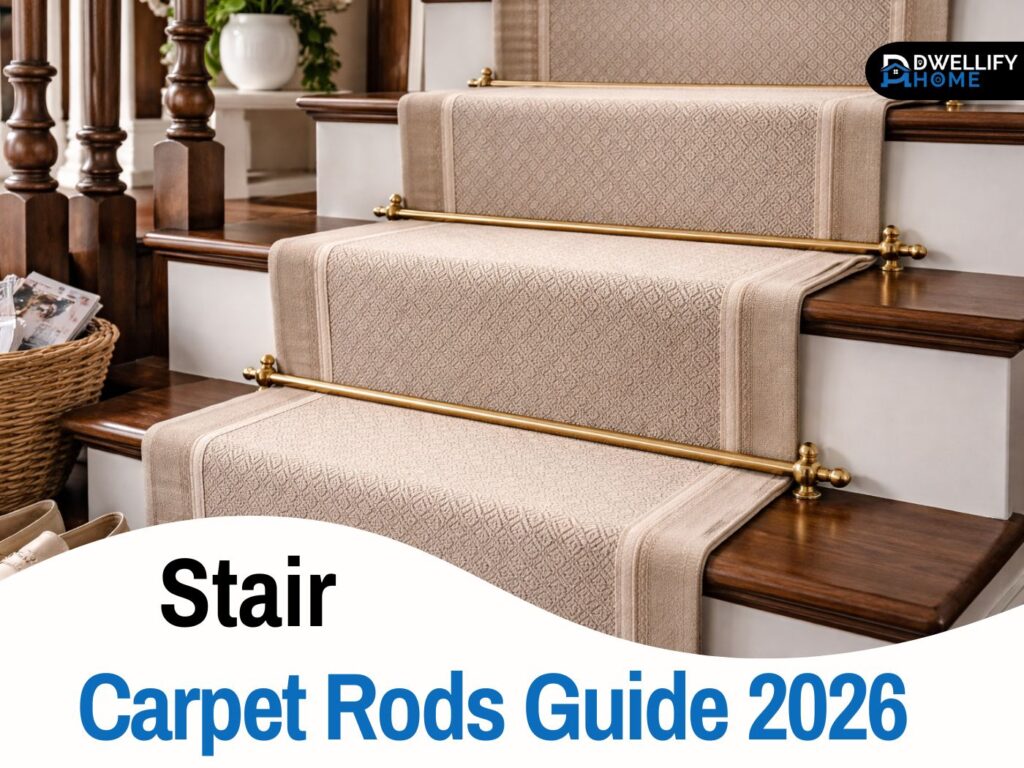
Stair rods are slim rods that sit across the width of a stair runner, typically right where the tread meets the riser. They’re held in place by stair rod brackets mounted near the sides of the staircase. Most sets include the rod, two brackets, and decorative ends called finials or end caps.
On a finished stair runner, rods add a crisp line and a more tailored look. In traditional homes, they can feel period-correct, almost like jewelry for the stairs. In modern spaces, a simple matte black rod with clean finials can look sharp without feeling old-fashioned.
Quick Guide Table (comparison)
| Option | What it is | Best for | Pros | Watch-outs |
| Stair carpet rods | Rods + brackets + finials | Classic, polished look | Strong visual finish, timeless style | Mostly decorative, needs accurate alignment |
| Stair runner clips | Small holders/plates | Modern, minimal look | Subtle, less hardware | Can look too plain on ornate stairs |
| Upholstery nail heads | Decorative nails | Traditional homes | Charming detail | Spacing must be perfect, can look busy |
| No-rod finish | Clean runner edges only | Minimalist stairs | Simple, budget-friendly | Runner edge must be very tidy |
Quick checklist (easy DIY planning)
- Measure runner width first, then confirm stair width at a few steps
- Pick bracket type: side-fix or front-fix based on your stair structure
- Choose a finish that matches nearby hardware (rail, lights, handles)
- Confirm clearance if your runner and underlay are thick
- Secure the runner properly first, then add rods for the finished look
Stair Rods vs Stair Runner Rods (Are They the Same?)
In everyday conversation, stair rods, stair runner rods, and carpet runner rods usually refer to the same thing. What matters more is the bracket style, the finish, and whether the rod is meant to sit snugly against a runner or float slightly with more clearance.
Some people use the term stair runner rods for sets made specifically for runners, while stair rods might also be used for fitted stair carpets. In practice, the hardware choice and how it’s installed are what make the difference.
What Stair Rods Actually Do (And What They Don’t)
Let’s be honest about function. In most modern installations, rods are not the primary thing holding a runner in place. A runner stays put because of good prep and the right securing method under and along the edges, like gripper, staples, or underlay done correctly.
What rods do very well is finish the look. They help the runner sit neatly at the riser line, and they visually “lock” each step into a consistent rhythm. On some stairs, they can reduce a little edge lift at the bottom of the riser if the runner wants to relax over time.
Do Stair Rods Hold a Runner in Place or Are They Decorative?
In older-style installations, rods were sometimes used with the belief that they held carpet in place. Today, I treat them as a finishing detail first, with a light supporting role at best.
If you want true grip, you plan that separately. Then rods become the polished layer on top, like trim on cabinetry. They don’t replace proper securing, and they shouldn’t be expected to fix a loose runner on their own.
Stair Rod Alternatives That Create a Similar Look
Rods are not the only way to create a tailored, high-end look. Depending on your staircase shape, budget, or how permanent you want the install to be, there are other options that still look intentional.
The best alternative depends on what you care about most: a clean line, a classic detail, or the simplest install possible.
Stair Rods vs Stair Clips (Holders) vs Nail Heads
Here’s the quick, practical comparison I give homeowners:
- Stair rods: Most decorative impact, classic finish, more parts to align.
- Stair runner clips or carpet holders: A cleaner, smaller look and less visual weight.
- Upholstery nail heads: Good for traditional stairs, but they need careful spacing and can look busy if overdone.
Clips can work beautifully on modern runners. Nail heads can be charming in older homes, but they’re less forgiving. Rods are the easiest way to get that “finished staircase” feel when you choose the right style.
How to Choose the Right Stair Runner Rods (Before You Buy)
This is where most frustration happens. Not because rods are complicated, but because people buy based on a photo instead of their actual stair setup.
A good set should suit your runner thickness, your stair width, and your design style. And the brackets need to make sense for how your stair is built.
Measurements That Matter (Runner Width, Rod Length, Step-by-Step Variations)
Measure the runner width first, not the stair width. Rods usually need to span a bit wider than the runner so the brackets can sit neatly to the sides without squeezing the carpet edge.
Also, don’t assume every step is identical. In real houses, especially older ones, step widths can vary slightly. I’ve seen a top tread that’s a touch narrower, or a bottom step that flares because of trim work.
A simple method that avoids headaches:
- Measure the runner width once.
- Measure the stair width at a few points.
- If the stair width changes, plan for adjustable placement or custom-cut rods if needed.
Finish and Style Guide (Make It Match, Not Too Much)
A finish should connect to something else in the space, like a handrail bracket, a nearby light fixture, or door hardware. If everything is brushed nickel, bright brass rods can feel out of place unless you’re intentionally mixing metals.
In traditional and Victorian-style homes, antique brass, warm brass, and aged finishes tend to look natural. In a modern home, satin nickel, chrome, and matte black usually blend better.
A small tip from real projects: If your runner has pattern, keep the rod finish calmer. If your runner is plain, you can afford a slightly more decorative finial.
Wood Stair Carpet Rods (When Wood Looks Better Than Metal)
Wood rods can be a great choice when your staircase has strong wood tones and you want the hardware to soften into the background. They suit warm interiors, rustic styles, and many transitional homes.
They’re also helpful if metal finishes in the space are mixed and you want to avoid adding yet another metal. Just make sure the wood tone is deliberate. If it doesn’t match the stair or nearby trim, it can look like an afterthought.
Stair Rod Brackets Explained (The Part Most People Get Wrong)
If rods are the jewelry, brackets are the engineering. Brackets affect how secure the rod feels, how straight the line looks, and whether the runner gets pinched.
When you’re choosing hardware, focus on bracket type before you fall in love with a finial.
Side-Fix vs Front-Fix Stair Rod Brackets
Side-fix brackets mount into the side trim or stringer area beside the runner. Front-fix brackets mount into the riser face.
Side-fix is common when you have solid side structure and enough room for a neat bracket install. Front-fix can be helpful when side space is tight or the stair has details that make side mounting tricky.
In many homes, side-fix looks cleaner because it keeps hardware tucked to the edges. Front-fix can be a good solution, but it needs careful alignment so the rods don’t wander visually.
Hinged Brackets vs One-Piece or Integral Bracket Styles
Hinged brackets open like a little clamp. They’re popular because they make installation easier, especially if you’re working around a runner that’s already secured.
Integral bracket styles can look very tidy once installed, but they can be less forgiving during fitting. They may require more precise placement and sometimes more patience if the rod ends and finials are integrated.
If you’re doing this yourself and you want less stress, hinged brackets are usually the friendlier choice.
Clearance Matters (Thick Runner + Underlay Problems)
This is a detail people don’t think about until the rods won’t sit right. If your runner is thick, or you used a plush underlay, you need bracket clearance so the rod doesn’t crush the carpet.
When the rod sits too tight, you can end up with:
- A pinched, dented line across the runner
- Brackets that look slightly twisted
- Rods that won’t sit level step to step
Choose brackets with enough space to let the runner keep its shape. A little breathing room looks better and wears better.
Stair Runner Rods No Screws — What Works (And What’s Just Marketing)
No-screw setups are usually about one thing: avoiding holes in woodwork. That’s common in rentals or freshly painted staircases.
Here’s the honest truth. A true rod system typically needs brackets anchored somewhere. You might reduce drilling, but you rarely eliminate it completely if you want a secure, straight result.
Best No-Screw Approaches (When You Still Want the Rod Look)
If you need a low-impact approach, focus on securing the runner first using removable methods that are appropriate for your surfaces. Then, consider decorative options that mimic the look without relying on heavy hardware.
For a practical compromise:
- Use a secure runner method suitable for your stair material.
- Choose low-profile clips or lighter hardware where possible.
- If you do use rods, accept that a small, neat bracket fix is usually the cleanest long-term outcome.
I’ve seen too many “no-screw” promises end with loose hardware and wavy rods. A tidy bracket install done carefully often causes less damage than repeated rework.
Step-by-Step: How to Install Stair Carpet Rods (Clean DIY Method)
This is the method I use when guiding a homeowner who wants a clean result.
- Secure the runner first
Get the runner positioned and fixed properly along the stair. If the runner isn’t straight, the rods will highlight every mistake. - Mark a consistent line
Decide where the rods will sit, usually near the tread and riser junction. Use a level and a measuring tape to keep the line consistent. - Position brackets on both sides
Place brackets evenly, and check that they line up visually from step to step. Small differences show up fast on stairs. - Fit the rods and finials
Cut rods only if your system requires it. Otherwise, dry-fit everything first, then tighten. - Do a final straight-line check
Step back and look from the bottom and top of the staircase. If anything looks off, fix alignment before you tighten everything fully.
Safety note: Make sure brackets don’t create sharp snag points on the edges where socks or hems might catch.
How Stair Runners Stay in Place (The Missing Piece Most Guides Skip)
A runner that feels solid underfoot is all about the foundation. The best-looking rods in the world won’t help if the runner shifts.
In real renovation work, I treat runner security as a separate system. Once the runner is stable, rods, clips, or nail heads are just the finishing layer.
Best Methods for Securing a Stair Runner (With or Without Rods)
Common methods include gripper or tack strips, staples placed neatly where they won’t be seen, and the right underlay to reduce wear and slipping.
Good underlay matters more than people think. It protects the runner, makes footsteps quieter, and helps the runner sit smoothly over the stair profile.
Rods can complement this by keeping the visual edge at the riser line crisp. They shouldn’t be the only thing you rely on for grip.
Troubleshooting: Common Stair Rod Problems (Quick Fixes)
Even careful installs can run into small issues. The good news is most fixes are straightforward if you address them early.
Rods Look Crooked
This usually comes from bracket placement. Even a few millimeters off can show up as a wavy line down the staircase.
Fix approach:
- Loosen, realign, and retighten.
- Use a consistent measurement from a fixed point on each step.
- Always check from a distance, not just up close.
Runner Still Slips
If the runner moves, it’s a runner securing issue, not a rod issue. Add or improve the securing method under or along the edges.
In homes with kids and pets, I often recommend prioritizing the most secure runner method first, then adding rods purely for style.
Runner Is Too Thick or Bulky at the Riser
This is a clearance problem. You may need brackets designed for thicker runners or adjust the position slightly so the rod isn’t compressing the pile.
If you see dents forming, it’s worth changing bracket spacing or clearance sooner rather than later.
Noise, Movement, or Loose Hardware
A little movement often means hardware needs tightening after the runner settles. Wood can expand and contract with seasons, so a quick check a few weeks after installation is normal.
Design Tips: How to Make Stair Rods Look Expensive (Not Fussy)
The most refined staircases usually follow a few simple rules. Nothing complicated, just consistent choices.
- Keep placement consistent. A straight visual line is more important than ornate finials.
- Match the scale. A narrow runner with oversized finials can look heavy.
- Choose a finish that belongs. If you already have black rail hardware, black rods will look intentional.
- Let the runner lead. Busy patterns pair better with simpler hardware.
If you want a high-end feel, don’t mix too many statement details at once. One strong element, either the runner or the rods, is usually enough.
Buying Guide: Stair Carpet Rods Near Me vs Online
Local shops can be great because you can see finishes in person and talk through bracket options. Online can be better for variety and specific styles, especially if you want antique finishes or unusual finials.
What to Bring to a Store (So You Don’t Buy the Wrong Set)
Bring:
- Runner width
- Total number of steps
- Photos of your staircase from the side and front
- A finish reference, like a cabinet pull or a clear photo of nearby hardware
Those details help a shop recommend the right stair rod brackets and avoid guesswork.
What to Ask Before You Pay
Ask:
- Which bracket type fits your stair, side-fix or front-fix
- Clearance for your runner thickness and underlay
- Whether replacement brackets and finials are available
- Return policy if the finish doesn’t match at home
It’s also smart to buy one extra bracket or finial if your style is unique. Hardware lines change, and matching later can be annoying.
“Stair Rods IKEA” — Budget Reality Check + Smart Alternatives
People often use this phrase when they want a clean look without spending a lot. The most cost-effective approach is usually to invest in a runner that wears well, then choose simpler hardware.
If you’re keeping costs down, consider:
- Plain rods with minimal finials
- Clips for a lighter, modern look
- Nail heads only if you’re confident about spacing and alignment
You can also start with a solid runner install and add rods later. That’s a very normal path, and it often leads to better results because you’re not rushing the finishing details.
Maintenance & Care (Keep Them Looking New)
A quick wipe-down now and then keeps rods and brackets looking crisp. Use a cleaner that suits the finish. For brass or antique finishes, avoid harsh abrasives that can strip the patina.
Every month or two, do a quick check:
- Are brackets still snug?
- Are rods sitting straight?
- Is the runner wearing evenly at the edges?
This small routine helps prevent bigger issues and keeps the staircase looking intentional instead of worn.
FAQs
1) What can you use instead of a stair rod?
You can use stair runner clips, carpet holders, or upholstery nail heads for a similar finished look. If you want minimal hardware, a well-secured runner with clean edges can look great on its own.
2) Do stair rods hold the carpet?
Not by themselves in most modern installs. They’re mainly decorative and help the runner look crisp at each step. The runner should be held securely using proper methods like gripper, staples, and underlay.
3) What staples to use for stair carpet?
Use heavy-duty staples designed for upholstery or flooring with a staple gun that can drive them flush. Choose a length that grips firmly without punching through the runner face, and place them where they’ll be hidden by the runner edge or hardware.
4) What do you call the bars that hold carpet on stairs?
They’re commonly called stair rods, stair runner rods, or carpet runner rods. The side pieces are stair rod brackets, and the decorative ends are often called finials or end caps.
5) Are stair runner rods no screws actually possible?
In most cases, true rod brackets need some kind of fixing to stay straight and secure. For low-impact installs, clips or alternative runner securing methods are usually more realistic than a fully no-screw rod system.
Conclusion
Stair carpet rods are one of those details that quietly upgrade a staircase when they’re chosen and installed with care. They’re not a substitute for a properly secured runner, but they can add a tailored finish that makes the whole stairway feel complete.
If you take three things from this guide, make them these. Measure for your runner, not just your stair. Choose stair rod brackets based on your stair structure and runner thickness. And aim for consistency, because straight, evenly placed hardware always looks more expensive than fussy detailing.
When you approach it that way, you end up with stairs that look finished, feel solid underfoot, and stay looking good as the years go by.
Disclaimer:
This guide is for general information and DIY inspiration. Stair hardware and runner installation methods vary by staircase type and materials. If your stairs are uneven, damaged, or high-traffic, consider consulting a qualified installer for the safest, most durable result.

I’m Bilal, the founder of Dwellify Home. With 6 years of practical experience in home remodeling, interior design, and décor consulting, I help people transform their spaces with simple, effective, and affordable ideas. I specialize in offering real-world tips, step-by-step guides, and product recommendations that make home improvement easier and more enjoyable. My mission is to empower homeowners and renters to create functional, beautiful spaces—one thoughtful update at a time.