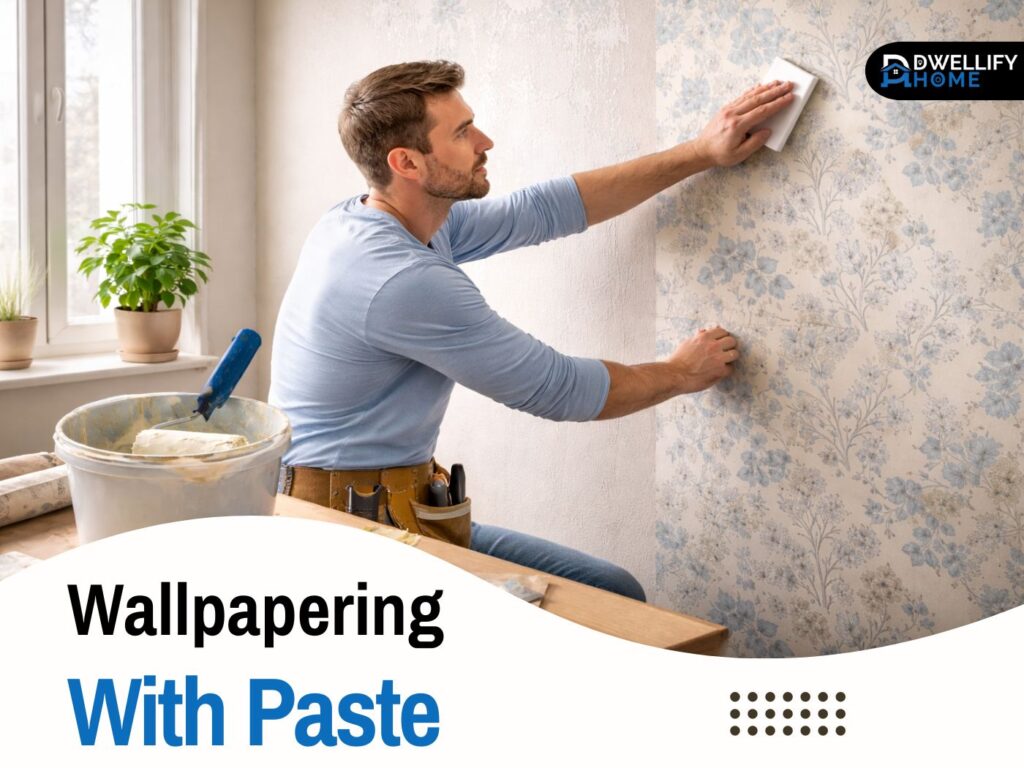
If you’ve never hung wallpaper before, paste can feel like the part that makes or breaks the whole job. I’ve been installing wallcoverings for over 12 years in homes, offices, restaurants, and rental properties, and I can tell you this: most “bad wallpaper jobs” aren’t bad wallpaper. They’re bad prep, rushed paste work, or a first strip that wasn’t straight.
This guide walks you through the same approach I use on real projects, from choosing the right method to fixing bubbles and lifting seams. You’ll get steps you can actually follow, without a bunch of extra fluff.
Snippet-ready definition:
Wallpapering with paste means using wallpaper adhesive to bond wallpaper to a wall, either by rolling paste onto the wall (paste-the-wall) or onto the paper (paste-the-paper) before hanging and smoothing.
Mission Statement:
To help homeowners install wallpaper confidently using paste, with clear steps, real-world tips, and practical troubleshooting so the finish stays smooth, aligned, and durable.
Quick start: what wallpapering with paste actually means (and which type you have)
Wallpaper comes in a few main styles, and they don’t all use paste the same way. Before you open the bucket, check the label or the manufacturer sheet. That one page saves more headaches than any tool.
Here’s the quick breakdown:
- Paste-the-wall wallpaper (often non-woven): you roll adhesive on the wall, then hang the dry strip.
- Paste-the-paper wallpaper (traditional paper or some vinyl-backed): you paste the back of the strip, fold it onto itself (booking), then hang it.
- Prepasted wallpaper: it has dry adhesive already on the back and needs water to activate.
- Peel-and-stick: it has a pressure-sensitive backing and usually doesn’t need liquid adhesive.
Paste-the-wall vs paste-the-paper vs prepasted vs peel-and-stick (fast comparison)
If you’re a beginner, paste-the-wall is usually the most forgiving. The paper stays more stable, you’re not wrestling wet strips, and you can work cleanly. Paste-the-paper can look just as good, but it demands patience with booking time and even coverage.
Peel-and-stick works well on smooth, properly primed walls, but it’s not a magic fix. On textured paint, humid bathrooms, or walls that get warm sunlight, I’ve seen edges creep and seams open months later.
Quick comparison table (fast decision guide)
| Wallpaper type | Best method | Why it works | Watch-outs |
| Non-woven | Paste the wall | Stable when wet, easier to handle | Don’t over-paste or let it dry on the wall |
| Traditional paper | Paste the paper + booking | Paper needs time to relax | Skipping booking causes bubbles and wrinkles |
| Vinyl (varies) | Follow label | Some need stronger adhesive | Seam shine if over-rolled |
| Prepasted | Activate with water + booking (often) | Adhesive is already on the back | Too much water can weaken adhesion |
| Peel-and-stick | No paste | Quick install on smooth walls | Fails on dusty, textured, humid, or glossy walls |
Quick step-by-step guide (clean and practical)
Paste-the-wall method (great for beginners)
- Prep the wall: clean, dull glossy paint lightly, patch and sand smooth, prime if needed
- Mark a plumb line for the first strip
- Roll paste on the wall slightly wider than one strip, cut in edges with a brush
- Hang the strip and smooth from center outward
- Trim top and bottom with a sharp blade
- Match the next strip and keep seams tight
- Wipe paste right away with a damp sponge, then dry with a cloth
Paste-the-paper method (traditional)
- Paste the back from center to edges, make sure edges are covered
- Book the paper (fold pasted sides together) for the time on the label
- Hang on the plumb line, smooth, trim
- Fix edges immediately if they want to lift
Before you start: the 3 decisions that prevent 90 percent of wallpaper problems
First decision: follow the wallpaper type and adhesive recommendation. Non-woven wallpapers are often designed for paste-the-wall adhesives. Traditional paper often needs a paste that allows for booking. Using the wrong adhesive can lead to seams that lift or bubbles that won’t settle.
Second decision: plan your layout. Most people start in a corner because it feels logical. I usually don’t. Corners are rarely perfectly square, so you can start straight and still end crooked. Instead, pick a clean visual starting point, like the center behind a bed, the edge of a fireplace, or a wall that faces the doorway.
Third decision: decide on primer or sizing. Wallpaper sticks best to a surface that’s clean, dull, and evenly sealed. If the wall is too porous, the adhesive dries too fast. If it’s glossy, it may not grab well. A proper wallcovering primer or sizing layer makes the job easier and helps with future removal.
Tools and materials checklist (simple, no fluff)
You don’t need a garage full of tools. You do need the right basics, and you need them ready before you start. Once paste is on the wall, you don’t want to be hunting for a fresh blade.
Here’s my short list:
- Wallpaper adhesive or wallcovering paste
- Paint roller and tray, plus a 2 inch brush for edges and corners
- Smoothing tool or wallpaper brush
- Seam roller, light pressure only
- Snap-off knife or utility knife and plenty of sharp blades
- Level or laser level, pencil, tape measure
- Sponge and clean water, plus a microfiber cloth for wiping paste
- Pasting table if you’re doing paste-the-paper
- Step stool and drop cloth
If you’re planning diy wallpaper paste, make sure you understand the mixing ratios and the rest time. A paste that’s too thick can leave lumps and cause staining. Too thin and the paper can slide or seams won’t hold.
Wall prep that makes paste stick (especially for painted walls)
Good prep feels boring, but it’s where the professional results come from. On job sites, we spend a surprising amount of time prepping because it prevents callbacks later.
Start by clearing the wall. Remove outlet covers, switch plates, vent covers, and anything that interrupts a clean hang. Then clean the wall with a mild degreaser if it’s a kitchen or a high-touch area. Rinse with clean water and let it dry.
How to install wallpaper on a painted wall (clean, degloss, repair, dry time)
Painted walls can be perfect for wallpaper, as long as the paint is cured and the surface isn’t slick. If the wall has a sheen, lightly sand it to dull the finish. You’re not trying to remove paint, just give the adhesive something to grip.
Patch nail holes and dents, then sand smooth. Run your hand over the wall with your eyes closed. If you can feel bumps, you’ll see them later, especially under light-colored wallpaper.
When you should use wallpaper primer or sizing (porous vs glossy vs problem walls)
Use a wallcovering primer or sizing when the wall is new drywall, repaired heavily, very porous, or glossy. It seals the surface so the adhesive stays workable long enough to position the strip. It also helps with removal down the road, which matters a lot if this is a rental or you like changing decor.
Paste basics (so you don’t get lumps, stains, or peeling edges)
Wallpaper paste needs to be smooth and consistent. I like to think of it like pancake batter, not watery, not clumpy. If you’re mixing powder paste, add powder to water slowly and mix thoroughly. Let it rest if the instructions say so, then stir again.
The second key is open time. Paste starts drying as soon as it’s spread out. That’s why I work one strip at a time, and why I never coat an entire wall “to save time.” It doesn’t save time. It creates dry patches and weak adhesion.
Also, paste coverage must reach the edges. Edges are where seams lift. If you’re short on paste at the edges, the middle may look fine, but the seams will annoy you for months.
Paste-the-wall method (recommended for beginners): how to install wallpaper with paste
This is my go-to recommendation for most first-timers. It’s cleaner, it’s easier to handle, and it gives you a little more control when lining up patterns.
Step 1: Mark a plumb line for the first drop
Pick your starting point, then use a level or laser to draw a straight vertical line. This is the line your first strip follows. If that first strip is off even slightly, every strip after it will chase the mistake.
I’ve been called into homes where the wallpaper “looked crooked” but the ceiling was actually the problem. A plumb line fixes that because the wallpaper stays straight even if the ceiling waves a bit.
Step 2: Roll paste on the wall (slightly wider than one strip) plus cut in edges
Pour the adhesive into a tray, roll it onto the wall in an area slightly wider than one strip. Use the brush to cut in along the ceiling line, baseboard, and corners. Keep the paste even. No heavy ridges, no dry patches.
If you see blobs or thick lines, smooth them out right away. Thick paste can telegraph through thinner papers and can cause staining at seams.
Step 3: Hang, smooth, trim (center-out, top-to-bottom)
Hang the dry strip along your plumb line, leaving a little extra at the top and bottom. Smooth from the center outward with your smoothing tool. You’re pushing air out, not pressing like you’re scrubbing a pan.
Trim at the ceiling and baseboard with a sharp blade. Change blades often. A dull blade tears paper and creates fuzzy edges that never look clean.
Step 4: Continue strips: align pattern, keep paste fresh, wipe as you go
As you add strips, match the pattern carefully. Don’t stretch the paper to force a match. If it doesn’t line up, something is off in the cut or the hang. Reposition while the paste is still wet.
Wipe paste off the face of the wallpaper as you go using a damp sponge, then a dry microfiber. This is how you avoid shiny marks or paste haze after it dries.
Paste-the-paper method (traditional): how to wallpaper with booking
Paste-the-paper is still common, especially with certain traditional wallpapers. The big difference is you’re managing a wet strip and giving it time to relax before it goes on the wall.
Step 1: Apply paste on the paper (center-out, full edge coverage)
Lay the strip face down on a pasting table. Apply paste from the center outward, then finish by carefully covering the edges. Don’t overload it. Too much paste squeezes out at seams and can stain.
This is also where beginners miss corners of the strip. If the last half-inch is dry, your seams will open later.
Step 2: Booking the wallpaper (what it is plus how long to wait)
Booking means folding the pasted strip onto itself, pasted sides together, without creasing the paper. It lets the paper absorb moisture evenly and relax. If you skip booking, the paper can expand on the wall and create bubbles or wrinkles.
Booking time depends on the wallpaper. Some need a few minutes, others longer. Follow the manufacturer guidance. Set a timer. Guessing is how people end up with one strip that behaves differently from the next.
Step 3: Hang, smooth, trim (same technique, more control on seams)
When booking is done, bring the strip to the wall and hang it along your plumb line. Smooth from the center out, trim top and bottom, then wipe any squeeze-out immediately.
Paste-the-paper can give you strong seam control, but it’s less forgiving if you rush. Take your time.
Seams, corners, and edges (the make-or-break details)
Seams should look like they’re just kissing, not overlapping, and not gapped. Line the new strip to the previous one, then smooth the seam lightly. If you press hard, you can push paste out and starve the seam.
Use a seam roller gently, and only if needed. On delicate papers, a seam roller can leave a shiny track. I usually roll vinyl and heavier materials, and I skip it on softer papers unless there’s an edge that won’t lay down.
Inside corners are tricky because walls aren’t square. Don’t try to wrap a full strip around a corner. Instead, wrap a small overlap into the corner, then start the next strip with a fresh plumb line. Outside corners need a similar approach, a small wrap and a clean start, so it doesn’t pop loose later.
Pattern match is all about patience. Dry-fit your next strip and check where the design lines up before you commit. When the pattern repeat is large, label your strips and keep them in order. It saves waste and it saves your sanity.
Obstacles made easy: outlets, switches, windows, doors, and vents
Turn off the power at the breaker when you’re working around outlets and switches. Remove the cover plates, then hang the wallpaper over the opening. After smoothing, make small relief cuts and trim neatly to the edges of the box.
For windows and doors, I cut a rough opening first, smooth, then trim cleanly with a sharp blade. Don’t try to cut perfect shapes in the air. Let the wall guide the cut.
Vents and thermostats are similar. If you can remove the cover, do it. You’ll get a cleaner finish and fewer gaps.
How to hang wallpaper on one wall (accent wall that looks intentional)
Accent walls look best when the pattern feels centered and planned, not like it simply started at a corner. Start by standing in the doorway and deciding what you want to be the visual center. On many walls, it’s the space behind a headboard, the area above a console, or the section that faces the room.
If the pattern is bold, consider centering a key motif. I’ve done installs where we shifted the layout by half a repeat just so a design element landed behind a bed and it made the whole room feel calmer.
Also think about where you’ll end. Ending at a door frame or a clean corner transition usually looks better than ending in the middle of a wall.
Peel-and-stick vs paste (and the no glue question)
Some homeowners ask how to stick wallpaper on wall without glue, and usually they’re talking about peel-and-stick. It can work well, but it likes smooth, well-primed walls and steady indoor conditions.
How to install wallpaper peel and stick (and when it fails)
Peel-and-stick goes up dry. You peel the backing as you go, smooth from the center out, and avoid touching the adhesive with dusty hands. The most common failure I see is edge lift because the wall paint was too slick, dusty, or not fully cured.
If a room runs humid, gets hot afternoon sun, or has textured paint, paste is often more reliable long term. In rentals, peel-and-stick can be useful, but don’t assume it will remove cleanly from every paint job.
Troubleshooting: quick fixes that save the job (expert-style)
Bubbles and blisters: Small bubbles often settle as the wallpaper dries, especially on non-woven. If a bubble is large or has a crease, lift the area gently while the paste is still workable, smooth it again, and press out the air.
Peeling edges or open seams: This is usually not enough paste at the edge, or paste that dried before the strip went up. You can fix it with seam adhesive or a small brush of the correct paste. Apply sparingly, press, wipe, then hold with light pressure until it grabs.
Paste stains: Wipe immediately with a damp sponge, then dry with a microfiber. Don’t flood the paper with water. Too much water can leave shiny patches or damage the print, especially on matte finishes.
Pattern mismatch: If you notice it early, lift and reposition. If you notice it after the strip has started setting, forcing it can stretch the paper and create new problems. Sometimes the best fix is replacing one strip. It sounds painful, but it’s often faster than staring at a crooked pattern for years.
Pro tips for a cleaner finish
First drop rule: Spend extra time getting the first strip plumb. I’ve installed entire commercial corridors where the success of the job came down to one perfect first line.
Seam roller rule: Use it gently and only when needed. If you see shine or you’re working with delicate paper, skip it and use a smoother with light pressure.
Blade rule: Change blades constantly. On a typical room, I might go through a dozen snap-off segments. Clean cuts are one of the biggest differences between a DIY look and a finished look.
Humidity and drying: If the room is very dry, paste can tack up too fast. If it’s humid, drying takes longer and seams may drift if you keep pushing them around. Keep the room comfortable and avoid blasting fans directly at fresh wallpaper. Let it cure naturally.
FAQs
1) What is the best method to apply wallpaper paste?
For most modern non-woven wallpapers, paste-the-wall is usually the cleanest and easiest. For traditional paper wallpapers, paste-the-paper with booking helps prevent bubbles and seam issues.
2) How long do you leave paste on wallpaper before hanging?
If you’re using paste-the-paper, you usually book the wallpaper for a few minutes so it can relax evenly. The exact time depends on the wallpaper, so follow the manufacturer instructions on the label.
3) Is it better to paste wallpaper on the wall or paper?
It depends on the wallpaper type. Non-woven tends to work best pasted on the wall, while traditional paper often performs better pasted on the paper with booking. Using the wrong method is a common reason seams lift.
4) How long will wallpaper paste last?
Unmixed, sealed paste powder usually lasts a long time, but once mixed, it’s best to use it within the time stated on the packaging. In a closed bucket, many ready-mixed pastes can last days to weeks, but they can spoil or thicken, so always check smell and consistency first.
5) Can I wallpaper over painted walls?
Yes, as long as the paint is clean, fully cured, and not glossy or greasy. Light sanding to dull sheen and using a wallcovering primer or sizing on problem walls makes adhesion much more reliable.
Conclusion
A clean wallpaper job isn’t about speed. It’s about doing a few things well, prepping the wall so it’s stable, using the right adhesive method for your wallpaper type, and keeping paste coverage even all the way to the edges.
If you remember one thing, remember this: get the first strip straight, work one section at a time, and wipe paste as you go. That’s how you end up with seams that stay tight, patterns that look intentional, and a wall you’re proud to live with.
Disclaimer:
This guide shares general installation advice based on real renovation work. Always follow your wallpaper and adhesive manufacturer instructions, and test primers or adhesives on a small area first. If you have mold, damaged drywall, or unsafe wiring near outlets, consult a qualified professional.

I’m Bilal Hassan, the founder of Dwellify Home. With 6 years of practical experience in home remodeling, interior design, and décor consulting, I help people transform their spaces with simple, effective, and affordable ideas. I specialize in offering real-world tips, step-by-step guides, and product recommendations that make home improvement easier and more enjoyable. My mission is to empower homeowners and renters to create functional, beautiful spaces—one thoughtful update at a time.