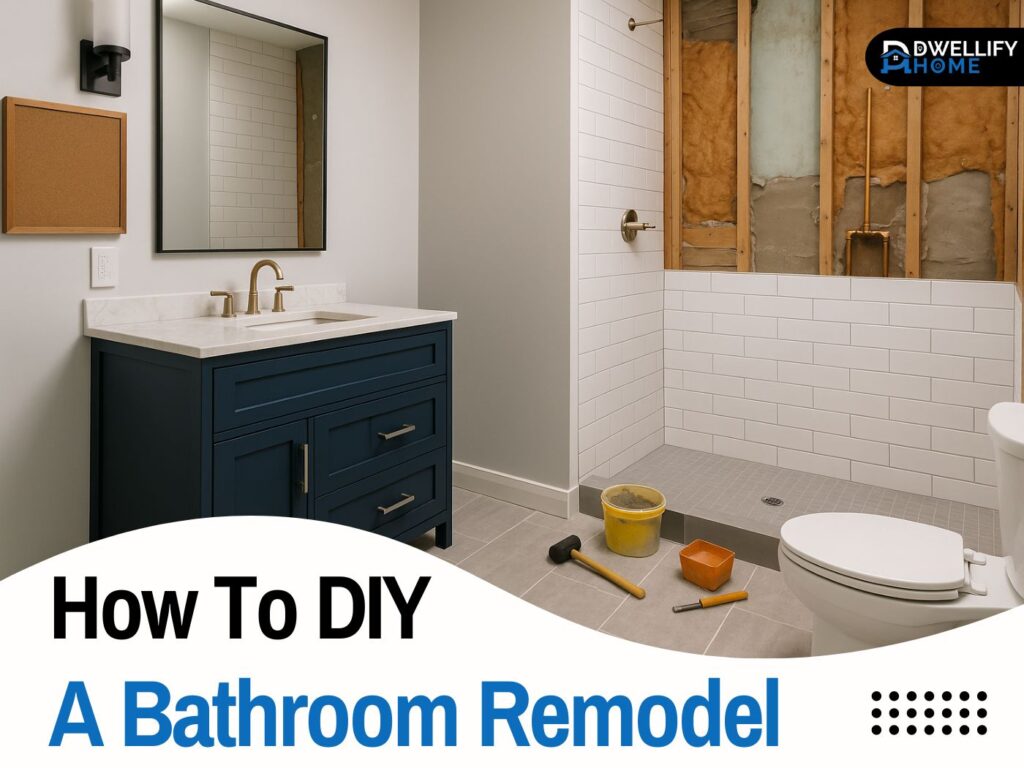
Starting a diy bathroom remodel can feel both rewarding and a little complicated at the same time. I remember my first project; I thought it would be easy, but I quickly realized it requires a mix of patience, skill, and a fair amount of effort. With the right planning and some basic DIY know-how, you can successfully create a space that feels like it was done by a pro, even if you did it all by yourself.
One of the first things I always do is decide on the design. From contractors to fixtures, from tile to small accessories, every choice matters. Having a clear guide and making confident decisions early will save you from headaches later. It’s not just about choosing or selecting a paint color; it’s about thinking through how each piece will come together into a complete picture.
I’ve learned that completing a remodel doesn’t just require tools or instructions—it requires you to slow down, look at the final vision, and make sure every step feels right. Whether it’s your first try or your fifth, what you truly need is patience, attention to detail, and a little trust in your own hands.
Mission Statement
This guide on DIY bathroom remodel has been created with care, drawing from years of hands-on experience and practical knowledge. Every step, idea, and tip shared here is based on trusted methods and fact-checked information to ensure accuracy and reliability. Our goal is to provide readers with clear, easy-to-follow advice that balances creativity, safety, and budget-conscious planning. We are committed to delivering content that empowers you to take on your remodel with confidence, knowing the guidance comes from expertise and is designed to help you achieve professional results at home.
Gather Tools and Materials
Before jumping into any bathroom remodel diy, I always remind myself that the tools and supplies you have on hand can make or break the project. Every diy bathroom remodeling journey feels unique, so no single list of items is ever enough for everyone. What works for me might not work for you, and that’s why it’s smart to tailor what you gather to your specific needs.
When I was starting my own first remodel a bathroom diy, I thought I had the right gear, but I quickly learned my list wasn’t complete. It doesn’t have to be an exhaustive collection of fancy tools, but it should cover the basics. Keep your essentials organized and within reach, and you’ll find yourself working smoother and with less stress.
A bathroom remodel diy blog often talks about what to buy, but in my experience, it’s about trusting your gut. Look at your plan, your project, and pick the items that fit your situation. That way, you don’t waste money on unnecessary extras, and you stay focused on exactly what’s needed.
Safety
- Safety goggles
- Hard-toe shoes
- Respirator or mask
- Work gloves
Tools
- Tape measure
- Hammer
- Chisel
- Prybar
- Voltage meter
- Paint brushes/rollers
- Tools for installing tile, toilet, shower, tub, vanity, exhaust fan and lighting
- Wrench (adjustable or various sizes)
- Screwdriver
- Laser level or manual level
- Ladder
- Stud finder
- Drill (cordless, if possible)
- Caulking gun
- Utility knife
- Spackle
- Spackle knife
- Reciprocating saw
- Rented dumpster
- Bucket
Materials
- Wiring
- GFCI receptacles and hookups
- Drywall and cement board
- Interior paint
- Painter’s tape and drop cloths
- Fixtures for each stage of project (tiles, shower, tub, lighting, toilet, exhaust fan, vanity, shelving)
- Rags
- Marking device (marker, pencil or chalk)
- Caulk
Plan and Budget
When I start any DIY bathroom remodel, the very first thing I do is sit down to plan. If you don’t research thoroughly and focus on budgeting, it becomes harder for keeping the project on track. Over the years I’ve learned that preparation is just as important as the hands-on work. A little time spent in the beginning saves a lot of stress later.
- I always set my expectations I determine what parts are worth changing and what should remain. I also think carefully about the layout and the overall design because those choices guide the whole remodel.
- It’s important to establish a reasonable budget and a solid timeline. A bathroom renovation is an investment, so whether you’re doing the work yourself or not, always allow extra time for each step. Account for delayed products, because the fact is it’ll probably take longer to complete a task than expected.
- Some jobs need experts. I often identify when to hire professionals or trusted contractors for technical work like plumbing and electrical. Hiring help is worth it, and I always think twice before attempting risky jobs myself.
- Always take accurate measurements of your space, drawers, and cabinets. Decide how high or low the lighting should be. If you’re buying tile, double-check the pieces for size. For the vanity and sink, consider how it may increase or decrease the countertop height. I always include checks for opening doors and drawers. Small details really make the difference.
- I’ve learned to stay prepared with a backup generator to power tools and even other bathrooms if needed. Always use one when working on a large project—it keeps things moving smoothly.
- Be sure to provide a safe, dry place where ordered supplies can be stored during the remodeling project. Organization during the work reduces stress and wasted time.
- Always determine how construction trash will be removed and hauled away. If you don’t plan for this, debris piles up quickly and slows down progress.
- Don’t forget building permits. Check with your city for local codes and apply early. You’ll be relieved to find everything in order before starting heavy work.
Choose a Bath Desighn
For me, designing a bathroom has always been the most fun and honestly the most satisfying part of the remodel. This is the step where a vision turns into something practical and functional. By determining the color scheme, selecting fixtures, and matching finishes, you bring the basics together into a plan that feels fresh and inspired. Every new design gives the space a whole different personality, and that’s what makes this stage exciting.
- I always determine the right fixtures and decide if relocating a tub or toilet is worth it. Sometimes it means rerouting plumbing, which a smaller space may not easily allow. I also consider the focal point when you open the door, because this can require careful planning.
- When it comes to colors, I pick a color scheme that fits the mood. A white setup is a classic choice with a clean and fresh look. Dark greens or blues add richness, while bright colors like yellow can elevate the mood. I always add tones that make sense because they shape how the room feels.
- Paying attention to the details makes all the difference. Polished chrome, matte black finishes, and stylish faucets or hardware add dimension to the design. Even small bath accessories that match or contrast your color scheme can bring out personality in the space.
- I always choose furniture that fits my budget but still brings quality. Good cabinetry, sturdy tubs and sinks can instantly make a bath feel luxurious. It’s an investment worth making. I include clever storage options like shelves, a roomy vanity, or drawers that make the space feel organized and worth the effort.
- Lighting should work harder than most people think. I plan for decorative but also functional Adding task lighting around the sink and shower areas makes daily life easier. I consider placing lights around both the vanity and shower to really make the room shine.
- Flooring is another big choice. I choose flooring and wall coverings You can select natural stone or classic ceramic tile. I’ve even used nonslip flooring for baths, which is available in hardwood looks too. Paint is an option for walls, but a water-resistant wallpaper can work great in certain spaces.
- Sometimes I like to indulge in a bathroom’s smaller space and give myself permission to splurge. Heated floors can be affordable even in a tight budget. A built-in drawer charger makes mornings so much easier. Smart showers and tubs can save energy while adding convenience. Adding indoor plants makes the room relaxing and can even improve air quality. These little touches help me stay happy in the room, and a small bit of effort can change everything.
Demolition and Removing Bathroom fixture
Demolition has always been the moment when things start to feel real. With solid planning and all materials ordered, it’s finally time to remove the old tile, flooring, and fixtures. I always remind myself that safety comes first, so I wear goggles, hard toe shoes, and keep a sledgehammer ready. These steps make the complete process safer and smoother, and it sets the stage for the remodel to move forward with confidence.
- I always take out old accessories and unwanted objects that are fixed in place. I store anything worth replacing, pulling out all the other things I don’t need.
- A protective drop cloth over the fixtures I’m keeping is a must. I always put it over surfaces I want safe from dust or damage.
- Before swinging a hammer, I always turn off the electricity to the bathroom from the main breaker box and keep it off until work is done.
- I also shut the water supply off to prevent leaks or flooding.
- Old baseboards and moldings need to be removed carefully. I mark them so it’s easier to re-install I take any pieces off, keeping track so they are not lost.
- I stay aware of load bearing walls before I begin I double-check any structure before moving forward.
- To remove the toilet, I drain it first. Then I use a sponge, a wet dry vacuum, and clear out leftover water. Finally, I plug the waste pipe with a rag.
- When removing a bathtub, I take down the wall tile, then remove the drywall and insulation. I’m always careful not to cut into studs, and I throw away debris I take down. I plan each move before and then
- I place a bucket under the sink trap to catch any remaining water before disconnecting it.
- Finally, I remove the bathtub, sink, vanity, flooring, mirrors, and lighting to clear the space completely.
Plumbing
Once the room is clear, the plumbing rough-in begins. This phase is where you lay the groundwork for new fixtures. It’s the stage that makes everything possible during the remodel, and I’ve learned that careful steps here save endless headaches later.
- I always install a new shower pan or tub to get the basics in place.
- Next, I replace the shower controls and the head so the setup feels fresh and reliable.
- Then I run a water line extension for dual shower heads or even an overhead rain option for comfort.
- Careful planning helps if you want to move fixtures. Sometimes I have to reroute pipes and lay plumbing for something new, and I always check if any changes are worth the effort before going ahead.
Electrical
After the plumbing is complete, the electrical rough-in begins. This stage is where the basic changes and fixes happen. I always keep in mind my plans for exhaust fans and lighting during this part. A little patience here makes the system reliable for years.
- I always consider replacing old wiring and upgrading the circuit to accommodate hair dryers and other appliances. Moving from 15-amp to 20-amp capacity often makes a big difference.
- Sometimes I need to relocate or install additional outlets. This includes GFCI receptacles near water sources, light switches by the vanity, and a new line set up and properly located. I make sure to double-check I’m including those small details, big and small, safe and
- I also add hookups for lighting in the shower, over the vanity, and on the ceiling lights. Placing them around the right spots makes daily routines easier and adds comfort to any bathroom space.
Install Exhaust Fan and Ventilation
When the electrical work is ready in a DIY bathroom remodel, I see this as the best time to upgrade the exhaust fans. They’re not just for comfort—they help remove moisture and act as the first defense against mold and mildew. I always make sure the fan is placed close enough to the shower so it can do its job well. The key is to choose one designed for the right size of your bathroom, because that’s how you keep it effective.
I’ve worked on enough spaces to know that a good fan can transform the air quality. Modern fans also come with smart features like humidity sensors, adjustable speeds, built-in lights, or even heaters. Some models surprise me with extras like a Bluetooth speaker—these little capabilities make the fan feel like more than just another part of the system. Every install feels like an opportunity to add comfort, and with each job I find myself working toward that balance of good design and smart function.
Update Lighting
Once the electrical work is in place, it’s the perfect time to think about lighting. I’ve found that good lighting can change the entire mood of a room. I like to mix decorative, ambient, and task setups so the space feels both cozy and practical. Getting the right fixtures installed makes the bathroom more welcoming and easier to use.
- I always choose fixtures carefully and plan the layout before adding light switches.
- I make sure the shower, vanity, and ceiling all have proper hookups, because these areas need the most attention for daily use.
Prep for Grab Bars (Optional)
Whenever I remodel a bathroom, I like to think ahead about safety features. Adding grab bars near the toilet, bath, or shower makes the fixtures much easier and safer to use, especially for family members who may need extra support. The best time to plan this is when the walls are still open, because that’s when you can add blocking into the wall studs.
I’ve found that building a solid surface behind the drywall gives lasting support for these additions. Doing it early helps save money and makes life easier later. You don’t have to install the bars right away—even if you’re not sure yet, it’s still a good idea to prep now. Little choices like this make a remodel more thoughtful and future-ready.
Put Up Drywall
Once the plumbing and electrical work are done, it’s time to close the walls. This stage always feels like a big milestone to me because the space finally starts to look like a real bathroom again.
- I usually install cement board with a vapor barrier in damp areas like the shower stall or near the tub.
- A cement board is resistant to moisture and makes a good backer for wall tile.
- For the rest, I use drywall on the walls and other spots that don’t get wet.
Paint
After the drywall is ready but before installing the toilet, tub, tile, sink, or vanity, it’s the perfect time to start painting. Doing this phase early reduces the risk of splatter on new fixtures or flooring. I always select an interior paint with a satin or semi-gloss finish because it can stand up to humidity in a bathroom. A fresh coat of paint makes the space feel new, and it’s satisfying to see the change before and after.
Lay Tile
Every bath remodel I’ve done has taught me that tile work takes time and patience. To complete this phase of the project, I follow my own tips to keep the bathroom renovation going smoother. This part tends to require a lot of focus, but if you make the effort and allow for extra hours, it usually pays off. There’s usually more detail than you expect, but that’s what makes it worthwhile.
- I start with tile shower walls or the bathtub enclosure first to set the base.
- Then I install wall tile and move to work on the floor, finishing it then.
- I always use grout and choose shades that matches or complements the tile, making sure it blends across both
- Don’t forget to caulk corners for a clean and sealed finish.
Tip: When determining how much tile you need, don’t guesstimate. I always calculate using project calculators so I know exactly how much is required. That way, when it’s time, the tip is simple: don’t buy blind—plan smart.
Install Shower & Tubs
Once the tile is firmly set and completely dry, it’s time to work on the shower and bathtub. This stage is exciting because you start adding the pieces that make the room usable again. I like using a built-in curtain rod or a sleek enclosure for a clean look.
- I always install the track and door, making sure everything lines up properly.
- To seal the setup, I use caulk and strong adhesives, letting them dry thoroughly before moving ahead.
- I carefully follow the manufacturer’s instructions for each step of the installation to avoid mistakes.
- Small things I add during this phase often make a big difference. I make sure to check alignments, test movement, and let the work settle before doing the next task.
- Only after these checks do I move forward with the rest of the project.
Install Cabinets, Shelving and Vanity
When I reach this stage, it feels like the home stretch of the bathroom remodel. I carefully position the vanity in its place and trace the outline on the wall. A new piece going into the design makes the space come alive, and by now the bathroom finally starts looking finished.
- I grab my stud finder to locate the studs, then mark them and use those points to guide where I secure them.
- I level the vanity, adding a shim at the floor if necessary to keep it steady.
- I always measure, mark, and drill holes for the drain and supply pipes before final setup.
- Time to install the sink and faucet, which makes the vanity functional.
- With the vanity in place, I hook the plumbing to the fixtures. A new setup looks sharp once it’s connected up to the
Finally, I move on to installing bathroom shelves and cabinets. There’s a variety of storage options—from wall units, medicine cabinets, built-in shelves, to under-sink organizers. I like adding more because a wide range of storage makes life easier. This is the time I also remind myself how good it is to have organization in a remodel.
Update Mirrors
Updating bathroom mirrors is one of my favorite parts of a DIY remodel because it’s such an easy way to add style. I often choose mirrors that provide extra storage, like those with medicine cabinets or a simple shelf. Some are built-in with lighting above the vanity, while others come in various shapes, sizes, colors, and styles. Each design helps enhance the space with ease, and it feels like you’re giving the room another way to shine.
I’ve learned that mirrors are more than just a reflection; they’re a part of the design that can transform the bathroom. Even small touches, including lights or extra shelving, add personality and function with little effort.
Install Toilet
When it comes time to install or replace the toilet, I always remind myself this is one of the easiest bathroom tasks. Still, installing it in the bath has its challenges. Toilets are heavy and sometimes awkward to lift, so I always consider getting help instead of struggling alone.
If I’m working with an old toilet, I make sure to return it properly or use new parts where needed. I always swap the flange and add a fresh wax ring to avoid leaks. These small things may seem simple, but they matter. However, I’ve learned that this is the one step you don’t want to rush—it saves a lot of trouble later.
Add Storage & Bath Accessories
By the time I reach this stage of a DIY bathroom remodel, I know I’ve already done the hard work. All the detailed planning, the careful budget, and every little task in the project come together here. Whether you do it yourself or with a bit of help, this is the part that really feels rewarding. I always research my options, stay flexible, and decide on the color scheme, fixtures, and finishes early. That way, when the time comes for the last step, I’m not scrambling.
Adding accessories is one of my favorite jobs. From the demolition days to the final setup, each choice builds toward the finished look. When I’m ready to add storage, I make sure I stick to my plan but allow myself little tweaks if needed. It’s here that the room starts to feel professional and polished.
I always connect everything so it feels whole—like matching bath accessories that tie in with the design. If you’re like me, you’ll probably need to adjust depending on where and when you place things. I move items around until I find the right setup because each detail matters.
Going through each item carefully, I make sure the space is functional and stylish. It’s a process anyone can handle if they take it slow. With the right approach, you’ll see how easy it is to finish strong, no matter what you do with them. And the best part? That feeling when the bathroom is finally done—it’s just plain good.
Disclaimer
This article is based on my personal experience with DIY bathroom remodel projects and is shared for general information only. It is not professional construction or legal advice, and actual results, costs, or situations may vary depending on your home and circumstances. For specific guidance, always consult a qualified professional before starting your own remodel.

I’m Bilal, the founder of Dwellify Home. With 6 years of practical experience in home remodeling, interior design, and décor consulting, I help people transform their spaces with simple, effective, and affordable ideas. I specialize in offering real-world tips, step-by-step guides, and product recommendations that make home improvement easier and more enjoyable. My mission is to empower homeowners and renters to create functional, beautiful spaces—one thoughtful update at a time.