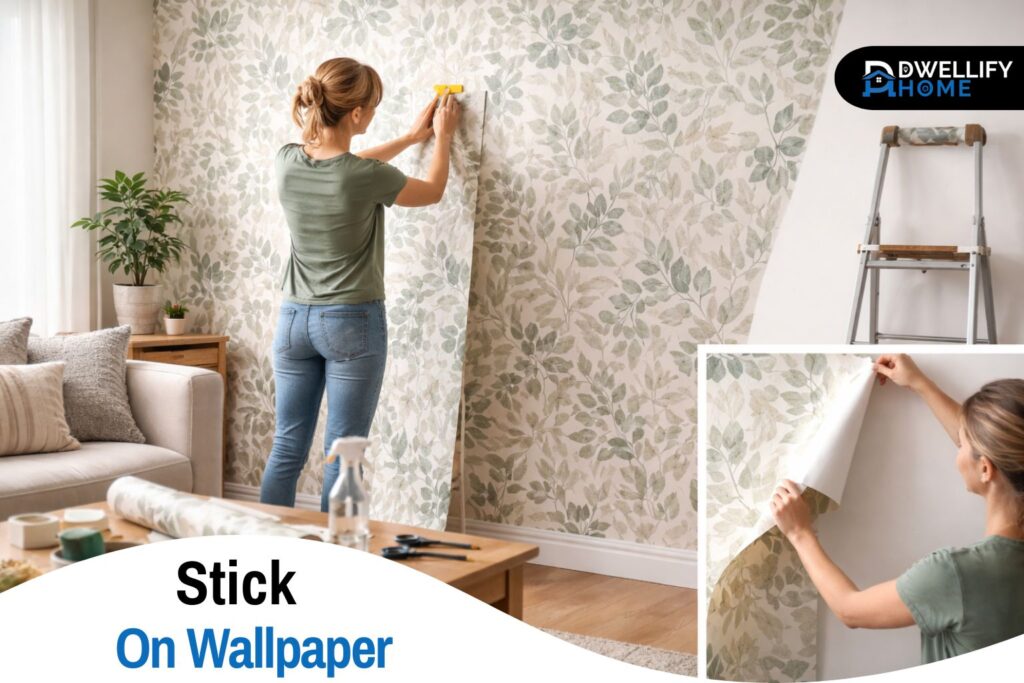
Stick on wallpaper can transform a room quickly, but it only works well when a few key decisions are made correctly from the start. I’ve seen walls look flawless for years, and I’ve also seen seams lift within days because the wall wasn’t properly cleaned or the material was stretched during install.
This guide walks you through everything that actually matters — choosing the right type, understanding where it works best, preparing your walls properly, installing it cleanly, and removing it without damaging paint.
Snippet-Ready Definition:
Stick on wallpaper is a peel-and-stick wall covering with built-in adhesive. People use it for quick updates, rentals, and accent walls because it installs fast and can remove more cleanly than paste wallpaper.
Our Mission:
Dwellify Home helps homeowners make practical, stylish, and informed décor decisions with clear, real-world guidance.
What Stick On Wallpaper Is (and What It Isn’t)
Peel-and-stick wallpaper is a self-adhesive wall covering that installs without paste. You peel off the backing gradually and smooth it directly onto the wall. Unlike traditional wallpaper, you don’t get much slide time to adjust after it touches the surface, so alignment and prep are critical.
It’s removable under the right conditions — meaning properly cured, solid paint. On weak or freshly painted walls, removal can pull paint. It’s not a fix for textured or crumbling surfaces. Adhesive needs full contact, and rough walls create air gaps that lead to bubbles and lifting edges.
Mini Decision Guide (quick pick):
| Your situation | Best choice | Avoid |
| Smooth painted wall (bedroom/office) | Matte, thicker peel-and-stick | Thin glossy rolls |
| Rental wall (unknown paint quality) | Removable/repositionable + test patch | Strong “permanent” adhesives |
| Bathroom (good exhaust fan) | Vinyl, fewer seams, away from shower | Direct steam/splash zones |
| Textured wall | Consider smoothing/lining first | Most peel-and-stick installs |
| Dark wall color underneath | Higher opacity + sample test | Sheer/lightweight options |
Key benefits / best uses:
- Fast refresh for accent walls, rentals, and small rooms
- Easier DIY than paste wallpaper for most people
- Wide range of modern patterns and textures
- Can be removed later (when paint is cured and solid)
Is Stick On Wallpaper Right for Your Space?
This type of wallpaper works best in dry, low-grease areas like bedrooms, living rooms, nurseries, and entryways. Accent walls are usually the easiest and cleanest application because you’re managing fewer seams and corners.
Kitchens and bathrooms require more thought. It can work in a powder room or on a kitchen wall away from heat and splash zones. But direct steam, grease, or constant scrubbing will shorten its lifespan. Heavy wall texture, dusty surfaces, or peeling paint are strong reasons to reconsider.
Set realistic expectations. Seams may show slightly in certain lighting. Most products allow limited repositioning, but repeated lifting weakens adhesive. Done correctly, it’s durable — but it’s still a surface finish, not permanent wall treatment.
Types and Materials That Actually Make a Difference
Material choice changes everything. Vinyl options are easier to wipe clean and generally better for high-traffic rooms. Fabric or textured versions look closer to traditional wallpaper but may stain more easily and require cleaner wall surfaces.
Finish matters too. Matte hides imperfections and seams better. Glossy finishes reflect light and highlight flaws in uneven walls.
Pattern scale also affects difficulty. Small prints are forgiving. Stripes and large geometrics demand perfect leveling. Murals require very precise placement and extra planning. If pattern matching is involved, you’ll need more material than you think.
Choosing the Right Style Without Regret
Wallpaper has to work with the room’s permanent features — flooring, cabinetry, large furniture, and lighting. Subtle botanicals, tone-on-tone designs, and textured neutrals tend to age better than bold novelty prints.
Light patterns make rooms feel larger and help disguise seams. Dark designs feel dramatic but can shrink a small space visually. If you’re considering white stick on wallpaper, choose one with texture or subtle variation. Flat white film can look unfinished without depth.
Where Stick On Wallpaper Works Best (Room Reality)
Bedrooms and living rooms are usually safe choices because humidity and grease are minimal. A feature wall behind a bed or sofa is often the most balanced approach.
In kitchens, keep wallpaper away from stovetops and direct sink splash zones. In bathrooms, ventilation is the deciding factor. Powder rooms are typically fine. Full baths need strong airflow, and wallpaper should stay clear of direct steam paths.
Moisture that lingers on mirrors will linger on seams too — and that’s what causes edge lifting over time.
Surface Compatibility: What It Sticks To — and What It Doesn’t
Smooth, sealed, properly painted drywall is ideal. Satin and eggshell finishes often provide better adhesion than dusty flat paint.
Texture creates air pockets. Brick and porous surfaces trap dust and moisture. Chalky paint behaves like powder under tape — it looks clean but doesn’t bond well. Fresh paint should cure fully before application. Waiting several weeks is safer than assuming “dry to touch” is enough.
How Much Wallpaper You Really Need
Measure full wall width and height without subtracting windows and doors at first. Trimming and alignment waste usually offsets those areas anyway.
If your design requires pattern matching, buy extra. Large repeats and stripes consume more length than expected. Running short mid-install is far more frustrating than having one extra roll.
Buying all rolls at once also reduces the risk of slight color variation between batches.
What to Check Before Buying
Look beyond the photo. Check thickness, opacity, and print sharpness. Thin material tears easier and may show dark paint underneath.
Adhesive strength matters. “Renter-friendly” products may remove more gently but can lift sooner in humidity. Stronger adhesives hold better but may increase removal risk on weak paint.
Always test a sample. Apply it behind furniture for a few days, then peel it slowly. That small test tells you more than reviews ever will.
Tools and Wall Prep That Determine Success
You’ll need a smoothing tool, sharp snap-blade knife, level, measuring tape, and microfiber cloth. Fresh blades are critical for clean cuts.
Prep is non-negotiable. Clean the wall thoroughly to remove oils and dust. Fill holes, sand rough patches, and scrape loose paint. Primer can help seal patches but won’t fix heavy texture.
Most failures begin at the prep stage, not during installation.
Planning the Layout Before You Stick Anything
Start where the eye naturally lands — usually the center of an accent wall. This keeps final seams in less noticeable areas.
Check panel widths to avoid ending with narrow strips at corners. Remove outlet covers first. Apply wallpaper over openings, then cut and trim carefully for clean edges.
A few minutes of dry planning prevents visible alignment problems later.
How to Apply Stick On Wallpaper Cleanly
Cut panels with extra length at the top and bottom. Use a level line for your first panel — this sets the alignment for the entire wall.
Peel backing gradually and smooth from the center outward. Don’t stretch the material to force alignment. Stretching causes seam separation later as the material relaxes.
Trim edges carefully using steady pressure and a fresh blade. Slow cuts produce cleaner results than rushed ones.
Handling Corners and Difficult Areas
Inside corners usually work better with a slight overlap rather than wrapping a single piece around. Outside corners need strong adhesion and careful trimming to prevent catching and lifting.
Around windows and doors, work slowly and make relief cuts where necessary. Behind sinks or near heat sources, avoid placing seams directly in high-stress areas.
Common Problems and How to Fix Them
Bubbles often mean trapped air or debris. Lift and re-smooth when possible. Tiny bubbles can sometimes be released with a fine pin and gentle smoothing.
Wrinkles usually come from peeling too much backing at once. Reset slowly rather than stretching the material.
Lifting seams often result from dust, humidity, or stretching during install. Clean the area gently and press firmly before dust settles into the adhesive.
Bathroom-Specific Considerations
Install only when walls are fully dry. Avoid placing seams where steam collects most heavily. Ventilation plays a larger role than brand claims.
Avoid adding extra glue unless absolutely necessary. Strong added adhesives can make future removal difficult and increase paint damage risk.
Cleaning, Maintenance, and Removal
Vinyl wallpaper can usually be wiped gently with a damp cloth. Avoid harsh scrubbing along seams.
For removal, peel slowly at a low angle. If needed, use warm soapy water or gentle heat from a hair dryer to soften adhesive. Avoid aggressive scraping.
If paint lifts, scrape loose edges, sand lightly, prime, and touch up. Most small repairs blend better than expected.
Quick FAQ (Short, Clear Answers)
Q1: Will stick on wallpaper damage paint?
Sometimes. Risk goes up with weak or uncured paint. Test a small patch for a week and peel it off slowly at a low angle.
Q2: Can I use stick on wallpaper on textured walls?
Light texture might work, but heavy texture usually causes bubbles and edge lift. A smoother surface gives better long-term results.
Q3: Can stick on wallpaper go in a bathroom?
Often in powder rooms. In full baths, it depends on ventilation and placement—keep it away from direct steam and splash zones.
Q4: How do I avoid bubbles and seams showing?
Prep the wall well, use a level line for the first panel, peel slowly, and smooth from the center outward. Don’t stretch the material.
Q5: How do I remove it cleanly?
Peel slowly at a low angle. Use gentle heat or warm soapy water for stubborn spots, then clean residue carefully without harsh scraping.
Final Thoughts: Making Stick On Wallpaper Work for You
A clean result depends on three things: a stable wall, the right material choice, and a patient install — especially the first panel.
Treat it like a finish, not a sticker. When applied carefully and in the right room, stick on wallpaper can look intentional and polished. And when you’re ready for a change, careful removal keeps repairs manageable.
Disclaimer: This content is for informational and home inspiration purposes only.

I’m Bilal, the founder of Dwellify Home. With 6 years of practical experience in home remodeling, interior design, and décor consulting, I help people transform their spaces with simple, effective, and affordable ideas. I specialize in offering real-world tips, step-by-step guides, and product recommendations that make home improvement easier and more enjoyable. My mission is to empower homeowners and renters to create functional, beautiful spaces—one thoughtful update at a time.