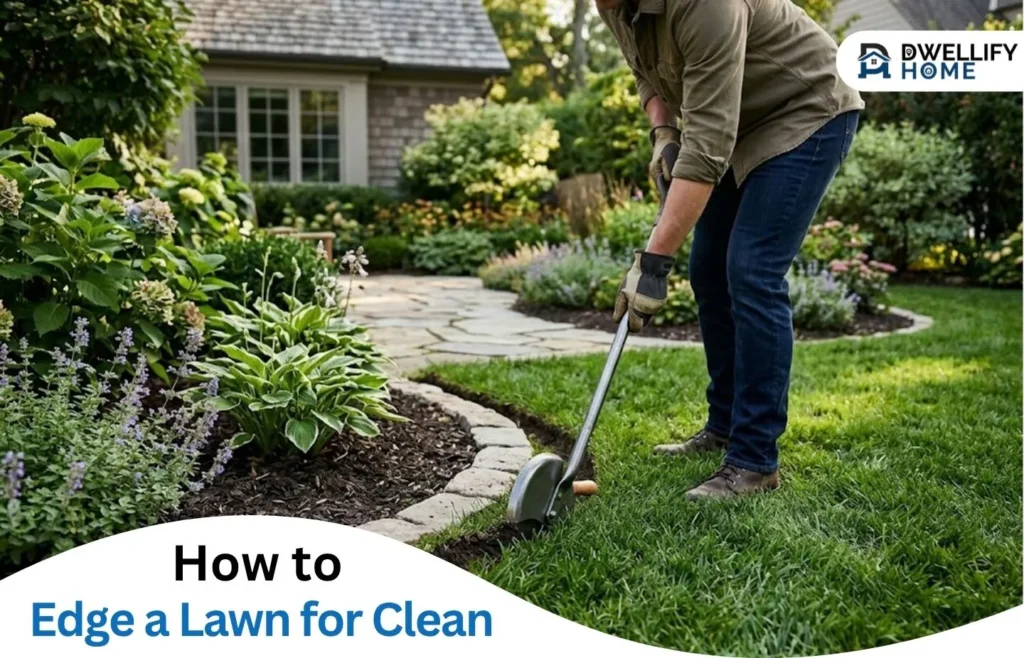
Freshly mowed grass can still look scruffy when it spills over the driveway, creeps into flower beds and hides the line of the path. Edging fixes that in under an hour. It’s the finishing step that makes a modest yard look cared for, and it takes far less effort than most people expect.
Plenty of homeowners skip it because the job feels fiddly or the tools seem heavy. With the right method and a tool that suits the size of the yard, crisp borders become a quick part of the routine rather than a weekend chore. The steps below cover tool choice, technique and the small habits that keep edges sharp between sessions. For more outdoor projects, the Garden & Outdoor section has plenty of ideas.
Why Lawn Edging Changes How a Yard Looks
Edging draws a clear line between the lawn and everything around it. That line gives the eye somewhere to rest, so beds look deliberate, paths look wider and the grass itself looks thicker and healthier.
It also does practical work. A clean edge stops runner grasses from creeping into garden beds, keeps soil and mulch from washing onto paving, and makes mowing faster because there’s a defined boundary to follow.
Choosing Tools for Lawn Edging
The best tool depends on how much edge there is and how often you plan to do it. Here’s how the common options compare:
| Tool | Best for | Effort | Notes |
| Half-moon edger | Cutting a new edge into soil | High | Cheap and precise, but slow on long borders |
| Garden spade | Occasional reshaping of beds | High | Already in most sheds |
| Long-handled shears | Trimming grass overhanging paths | Medium | Tiring on the wrists over long runs |
| String trimmer turned on its side | Regular maintenance edging | Medium | Line needs rewinding and snaps often |
| Cordless edging tool | Small to medium yards edged every few weeks | Low | Quick, quiet and no fuel to store |
Manual tools are good for cutting a brand-new edge or reshaping a bed, which you might only do once a year. Regular maintenance is where powered tools earn their place, and the DIY Repairs section covers more ways to keep jobs like this manageable.
Weight matters more than most buyers realize. Holding a heavy trimmer sideways for twenty minutes is hard on the shoulders and back, which is often the real reason edging gets put off. Gardeners Crate, an Australian brand, designed The Lawno around that problem. The 3-in-1 lawn trimmer weighs 2.3kg with its battery and switches between mowing, trimming and edging, so one light tool covers all three jobs. An edger wheel guides the head in a straight line along paths, the shaft adjusts from 91 to 130cm to avoid bending, and flexible blades snap on in seconds instead of needing spool line. The kit is 349.99 AUD, with a 30-day trial and a three-year replacement warranty.
How to Edge a Lawn Step by Step
1. Mow First
Cut the lawn before edging. Shorter grass shows exactly where the boundary sits, and any clippings from edging can be cleaned up in one pass afterward.
2. Mark Out the Line
Straight edges can follow the path or driveway as a guide. Curved beds are easier with a garden hose laid out as a template, so you can adjust the shape before cutting anything.
3. Set the Tool at the Right Angle
Keep the cutting head vertical along hard surfaces such as concrete and pavers. Beside garden beds, angle it slightly away from the lawn so the edge slopes back toward the grass, which helps it hold its shape.
4. Walk Slowly and Keep the Pace Steady
Let the tool do the cutting. Rushing causes wobbles, and a wavy line is harder to fix than a slow, straight one. Work in sections of a few meters and pause to check the line.
5. Clear the Debris
Sweep or blow clippings and soil off paths and back onto the lawn or into the compost. A clean hard surface makes the new edge stand out.
Keeping Lawn Edges Sharp Between Sessions
Edges look best when they’re maintained little and often rather than recut from scratch every few months. A few habits help:
- Edge every second or third mow – light, regular trims take minutes and stop grass from getting ahead of you
- Top up mulch in beds – a mulch layer below the lawn line makes the edge more visible and discourages weeds
- Water beds and lawn separately – overwatering the border encourages grass to spread into beds
- Check blades or line before starting – worn cutters tear grass instead of slicing it, which leaves brown, ragged edges
Seasons matter too. Grass grows fastest in late spring and summer, so edges need attention more often then and can be left longer through the cooler months.
Common Lawn Edging Mistakes to Avoid
Cutting too deep is the most common one. A shallow edge of about five centimeters is enough for most lawns, and digging deeper only exposes roots and invites weeds into the gap.
Scalping is another. Holding the tool at too low an angle takes the grass right down to the soil along the border, which leaves a bare strip that browns in hot weather. Keep the head level and trim only the overhang.
Uneven curves usually come from edging by eye. Laying out a hose or a string line first takes two minutes and saves a lot of reshaping later.
Skipping safety basics is worth mentioning as well. Closed shoes, eye protection and long pants protect against flicked stones, especially when working beside gravel or concrete.
Final Thoughts on Edging a Lawn
Crisp borders are one of the easiest upgrades a yard can get. Mow first, mark the line, work slowly and keep up with light trims through the growing season. Picking a tool that’s comfortable to hold makes the biggest difference, because the job only stays regular if it doesn’t hurt. For more ideas on making everyday home tasks easier, browse the Home Lifestyle section.
To be transparent with our audience, some links included here may generate a commission for Dwellifyhome.com. These may include affiliate or sponsored links, and any qualifying commission helps us continue providing useful online content.