Most old oil tanks don’t fail on a dramatic schedule. They leak at the seam. They sweat rust onto the basement floor for a few winters. Then one January morning, the burner sputters, and you’re standing in front of a puddle wondering how long it’s been happening. The worst part isn’t the tank itself, it’s the surprise.
You can avoid that surprise by knowing what the earlier signs look like. Rust streaks, a fuel bill that creeps up while the weather stays the same, a tank that’s older than your car. Those signals matter, and you don’t need a technician’s training to spot most of them. If you’ve already checked those signs and the answer is obvious, you’re likely looking at an oil tank replacement ellington homeowners commonly scheduled once a tank hits fifteen to twenty years old, give or take. The rest of this guide is about catching the problem before that decision makes itself.
I used to think “it’s fine until it isn’t” was a reasonable maintenance philosophy. It isn’t, at least not with a tank holding a few hundred gallons of fuel against the wall of your basement. So here’s a walkthrough of the things to check, the timeline to expect, and how to decide between a small repair and a full swap.
What Does a Dying Oil Tank Actually Look Like?
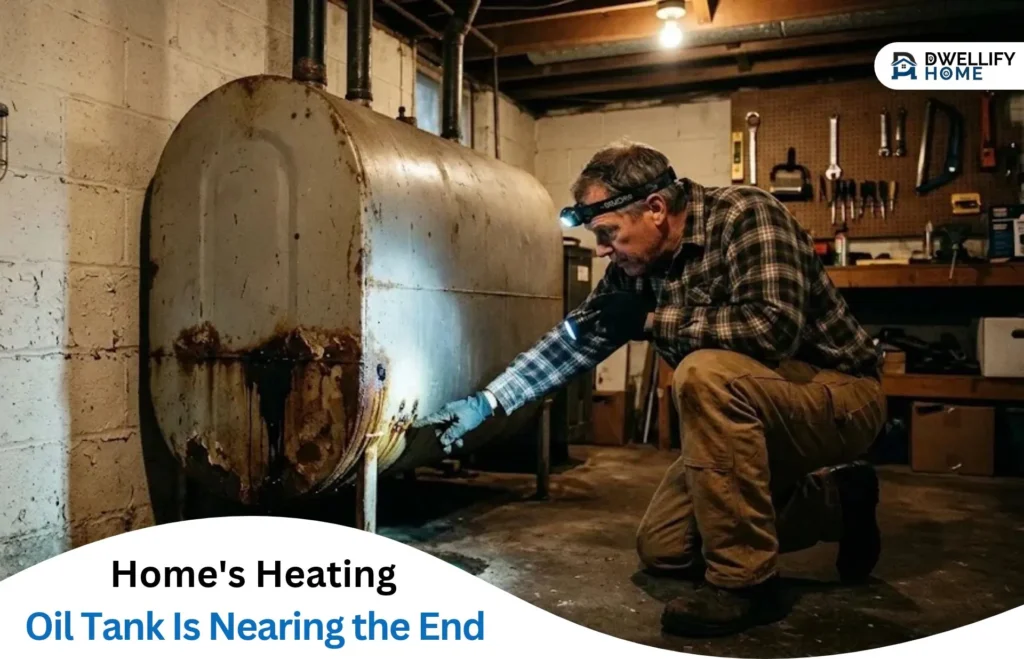
Start with your eyes and your nose, not a checklist. Walk down to the tank and give it the kind of look you’d give a used car. Crouch. Follow the seams with a flashlight. Run a finger along the bottom edge, right where the tank meets its legs or the floor.
The classic signs fall into a few groups:
- Rust and corrosion on the exterior, especially along seams, at the bottom, and around the fill pipe.
- Wet spots or an oil smell under or around the tank, even if you can’t see a visible stream.
- Sediment or dark sludge in the filter bowl that comes back right after you clean it.
- Whistling or gurgling at the fill, which usually points to a venting issue or a suction line problem.
- Indoor tanks older than twenty years, or buried tanks of unknown age.
Rust on a tank is not like rust on a bike chain. On a bike you can scrub it off. On a tank, corrosion that reaches the bottom plate is where pinholes start. And a pinhole doesn’t wait for a convenient moment. That’s why I don’t put much stock in the “I’ll replace it next summer” plan. Small leaks can go from a slow drip to a noticeable one within a heating season.
The Signs You’d Rather Ignore
Some symptoms are subtle enough that people dismiss them. Your burner runs longer than it used to. Your tank seems to empty faster than last winter, but you chalked it up to a cold snap. There’s a faint oily smell in the basement that you noticed once and then stopped noticing because you got used to it.
Those matter. Fuel efficiency drops when a tank is fighting sediment, and the tank itself gets more stress when the burner has to work harder. According to the U.S. Department of Energy, heating oil systems that are maintained properly hold their efficiency far better than ones running into trouble unaddressed. I’d argue that a tank on its way out quietly drags the whole system down with it. The fix isn’t glamorous, but neither is a cold house in February.
A quick field test
Here’s what I actually do at home, and what most contractors do too. You can run the first pass yourself:
- Photograph the tank from three angles, and put the date on the file.
- Place a sheet of light-colored paper or a paper towel under the tank and leave it overnight.
- Check the filter bowl after the next delivery and look for dark sediment.
- Note your fuel usage compared to the same month last year.
- Look at the manufacturer’s sticker for a date of manufacture.
If anything from that list surprises you, you’ve got a real signal. If nothing does, you probably have another year, but you should still check again next fall.
Indoor, Outdoor, or Buried: The Timeline Is Different for Each
This is where most homeowner anxiety gets misplaced. The metal is only part of the story. Where the tank sits matters just as much as how old it is.
| Tank Type | Typical Service Life | What to Watch
|
| Indoor steel tank (basement) | 15 to 25 years | Bottom-plate corrosion, damp floors, sediment |
| Outdoor above-ground tank | 10 to 20 years | Leg corrosion, sun exposure, ice at the base |
| Buried tank | Often 15 to 20, sometimes less | Hard to inspect, leaks travel through soil, testing required |
| Double-wall or modern composite | Longer, brand-dependent | Manufacturer inspection schedule |
An outdoor tank on a concrete pad with a cover will outlast one sitting in a soggy corner of the yard every time. Buried tanks are the real wildcard. They look fine because you can’t see them, which is precisely the problem.
Why a Small Leak Deserves More Respect Than a Big One
Here’s a take I’d defend in a room full of contractors. A tank that’s obviously leaking fast gets dealt with immediately, because nobody can ignore a puddle. A tank that weeps a thimble’s worth per month is the one that causes trouble, because it sits there for a couple of seasons doing quiet damage to the floor, the slab, and sometimes the surrounding soil.
According to the Environmental Protection Agency, even small quantities of heating oil can contaminate soil and nearby groundwater. That’s not a scare tactic, it’s the reason a lot of states regulate residential tanks at all. It also means a cheap-feeling pinhole today could become an expensive cleanup down the road. I’d much rather spend on a tank than on a remediation crew.
Repair or Replace? A Decision Guide
Not every oil tank problem demands a new tank. Here’s the way I think about it, and you can apply the same logic at home.
- Repair when the tank is under ten years old, the issue is a valve, line, or filter housing, and the tank shell itself is sound.
- Repair with caution when the tank is ten to fifteen years old and the problem is isolated, but get it re-checked in the fall.
- Replace when the tank is past fifteen years old, corrosion has reached the bottom plate or seams, or you’ve had two repairs in one heating season.
The economic argument matters too. A tank replacement costs money once. Running an aged, inefficient tank costs you every winter through wasted fuel and service calls. According to the National Institute of Standards and Technology, standardized measurement of fuel properties exists for exactly these reasons, because the science of what’s in your tank and what’s coming out of your burner is not guesswork. If your burner is burning more fuel to produce the same heat, you’re paying the difference.
What the Replacement Day Actually Looks Like
Once you’ve decided, the process is usually less disruptive than homeowners expect. A technician will pump any remaining fuel out of the old tank, safely disconnect the lines, remove the old tank, prepare the pad or floor, and set the new one. After installation, your system gets a pressure check, and you’ll want a fresh delivery scheduled so the tank doesn’t sit empty waiting for a fill.
One home-maintenance habit I’d push anybody to adopt: put the replacement month and year on the side of the tank in a paint marker. It takes ten seconds. It saves the next owner of the house, maybe you, an hour of squinting at a faded sticker.
If you’ve made it to this paragraph and your tank hasn’t been replaced in more than fifteen years, that’s your cue. Schedule an inspection, ask for an honest assessment, and decide based on what you’re actually seeing. The better question is not “how long will it last?” but “would you feel fine leaving that tank alone through another January?” If the answer is no, you already know what to do.
Certain links within this article may be included as part of affiliate marketing programs or paid partnerships. Any compensation received by Dwellifyhome.com helps contribute to our website’s upkeep and future content.