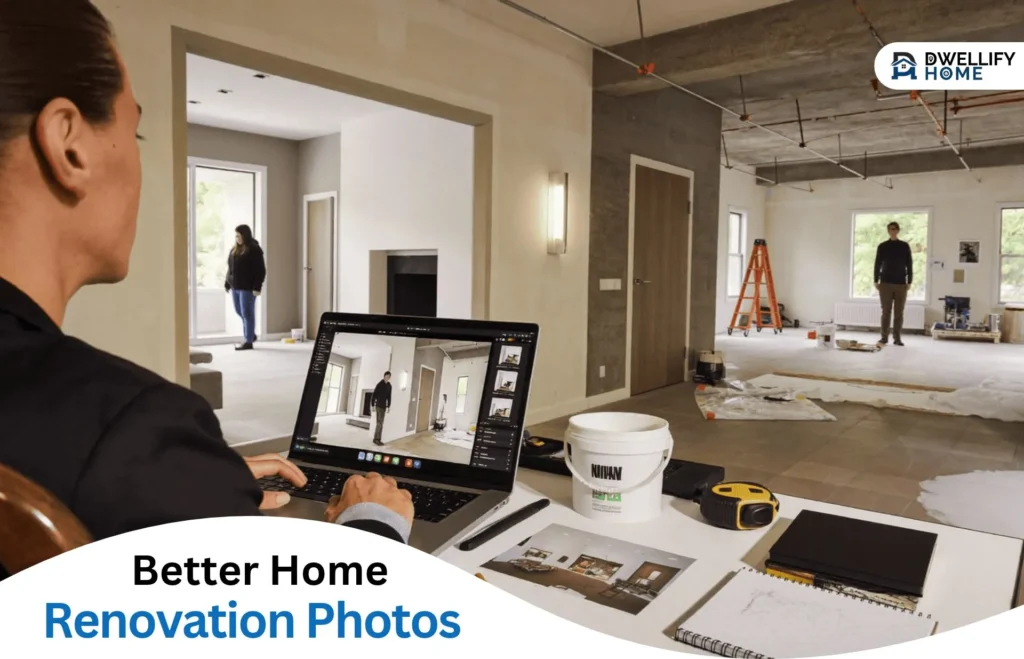
A home renovation usually involves more work than anyone expects. A kitchen makeover might take several weeks, a bathroom replacement can uncover unexpected plumbing problems, and even a simple flooring project can leave a room looking completely different by the time everything is finished. Homeowners often remember the major changes, but they do not always have photographs that properly show how the property looked before the work began.
That becomes frustrating when they want to compare the finished room with its original condition, share the improvement with family, or keep a record of the work. Good photographs can make a considerable difference, and an Nano Banana workflow through Higgsfield can help improve certain visual details in renovation pictures.
From correcting exposure to improving colour consistency, AI-assisted image editing offers homeowners another way to prepare photographs of their improvement projects. However, getting useful results starts long before opening an editing tool. The original photographs, camera position, lighting and accuracy of the final images all matter.
Why Are Before and After Renovation Photos Important?
A finished kitchen may look completely different from the room that existed before the renovation. New cabinets, countertops, flooring, lighting and paint can change the entire appearance of a space.
Without an original photograph, however, it can be difficult to appreciate the full transformation.
Before-and-after photographs are useful for several reasons.
- Documenting improvements: They create a visual record of changes made to the property.
- Planning future projects: Homeowners can review earlier work when deciding what to improve next.
- Sharing renovation results: Photographs help family members and visitors understand the work involved.
- Contractor portfolios: Professionals can demonstrate completed projects to potential customers, with the homeowner’s permission.
- Property records: Images can help homeowners remember when certain features were installed or replaced.
The most important photograph is often the one taken before the work begins. Once the old kitchen cabinets have been removed or the original bathroom tiles have been replaced, there is no easy way to recreate the original condition.
Taking a few minutes to photograph every room before renovation work starts can save considerable frustration later.
How Should Homeowners Photograph a Room Before Renovation?
A useful renovation photograph does not need an expensive camera or professional lighting equipment. A modern smartphone is usually sufficient if the room is photographed carefully.
The main objective is to capture the space clearly enough that the same view can be recreated after the work is complete.
A few simple practices can help.
Choose fixed camera positions. Stand in a corner or near a doorway and photograph as much of the room as possible. Make a note of where you stood so you can return to the same position later.
Capture multiple angles. One photograph rarely shows every important feature. Take additional pictures of walls, flooring, ceilings, windows, cabinets and built-in storage.
Keep the camera level. Tilting the phone can make doorways, cabinets and walls appear uneven. Hold it straight whenever possible.
Use natural light. Open curtains and blinds during the day. Good lighting makes it easier to see the existing condition of the room.
Photograph existing problems. Cracks, water stains, damaged flooring and other defects should be recorded before contractors begin working.
These photographs are particularly useful when a renovation involves structural changes, plumbing, electrical work or replacement of expensive fixtures.
What Makes Renovation Photographs Look Unprofessional?
Even when a room looks attractive in person, photographs do not always capture it accurately.
Several common problems can affect renovation pictures.
Poor lighting
A room may appear brighter to the human eye than it does in a photograph. This is particularly noticeable in bathrooms, basements and rooms with small windows.
Incorrect colour representation
Different light sources can affect how paint colours, wooden surfaces and tiles appear in photographs. A white kitchen cabinet may look yellow under warm artificial lighting.
Camera distortion
Wide-angle phone cameras can make small rooms appear larger and cause straight architectural lines to look curved.
Cluttered surroundings
Tools, packaging, cleaning supplies and leftover renovation materials can distract from the finished improvements.
Inconsistent camera positions
Photographing the same room from different angles makes before-and-after comparisons less useful. The viewer may struggle to understand which changes came from the renovation and which came from the camera position.
These problems can often be reduced through better photography practices and careful editing.
How Can Nano Banana Improve Home Renovation Photos?
Renovation photographs sometimes need minor corrections before they are ready to share. A dark kitchen photograph, for example, may hide details of the new cabinets, while inconsistent lighting can make the wall colour look different from its actual appearance.
This is where AI-assisted image editing can be useful.
Nano Banana is Google’s image model family, and Higgsfield AI creative sutie provides access to image generation and editing workflows through its browser-based creative environment.
Homeowners can use an existing photograph as a reference and describe the changes they want to explore.
Some practical applications include:
- Correcting exposure
Photographs taken in rooms with limited natural light can appear darker than expected. An editing workflow can help improve brightness while retaining visible details in the original image.
- Improving colour balance
Mixed lighting can affect the appearance of paint, tiles, cabinets and wooden flooring. Image editing can help make colours look more consistent with the actual room.
- Removing temporary distractions
A renovation photograph may include a loose cable, an empty box or a cleaning bag. Nano Banana can help attempt to remove temporary objects from photographs prepared for sharing.
- Straightening architectural lines
A slightly tilted photograph can make walls, cupboards and doorframes appear uneven. Appropriate image corrections can improve the overall presentation.
- Creating consistent project photographs
When homeowners document a renovation over several weeks, lighting conditions can change from one photograph to another. Applying consistent corrections can make the project sequence easier to follow.
Higgsfield provides a convenient environment for exploring these image editing possibilities without requiring homeowners to learn a complicated professional editing workflow.
The important distinction is that editing should improve the presentation of the photograph, not change the actual renovation work.
How Can Homeowners Use Higgsfield for Renovation Photography?
For homeowners who have never used AI image editing, the process can be approached in a few straightforward steps.
Step 1: Select the Original Photograph
Choose a photograph that clearly shows the room or improvement project.
For example, if the renovation involves a kitchen, select an image showing the cabinets, countertops, flooring and general layout.
A clear original image provides a better reference for the editing process.
Step 2: Open the Image Editing Workspace
Visit Higgsfield and access its available image tools.
The platform provides access to Nano Banana models and image editing workflows, allowing users to work with uploaded references.
Step 3: Describe the Required Correction
Write a clear instruction explaining what should be improved.
For example:
“Improve the brightness of this kitchen photograph using natural-looking lighting. Preserve the original cabinet colour, countertop material, wall dimensions, appliances and room layout. Do not add or remove any permanent fixtures.”
Specific instructions help communicate which elements should remain unchanged.
Step 4: Review the Generated Image
Never accept the first result without checking it.
Look carefully at the cabinet handles, countertop edges, tile patterns, wall colours and other important details.
AI-generated changes can sometimes affect small elements that were not intended to be edited.
Step 5: Save the Corrected Version
Keep the original photograph separately and save the edited version with a clear filename.
For example, a homeowner could organise files using project names such as:
- Kitchen renovation before
- Kitchen renovation after
- Bathroom flooring replacement
- Living room painting project
Higgsfield can help with the creative editing process, while a properly organised folder keeps the renovation documentation accessible.
How Should Homeowners Photograph Different Renovation Projects?
Different home improvement projects require different photography approaches. A kitchen renovation, for example, needs photographs of cabinets and work surfaces, while a bathroom improvement may require closer attention to plumbing fixtures and tile installation.
Kitchen Renovations
Kitchen improvements often involve several visible changes, including cabinetry, countertops, backsplashes, flooring and lighting.
Take photographs from multiple corners before removing the original fixtures. After completion, repeat the photographs from the same positions.
An edited image can help correct lighting differences, but the actual cabinet finish, countertop material and appliance placement should remain accurate.
Bathroom Improvements
Bathrooms are often difficult to photograph because of limited space and artificial lighting.
Capture the original bathtub, shower, vanity, tiles, mirrors and storage areas before work begins.
When preparing the final photographs, check that the colour and appearance of the tiles and fixtures match the completed bathroom.
Flooring Replacement
Flooring projects benefit from wide photographs showing how the material extends across the room.
Take close-up photographs as well, particularly when the work involves hardwood, laminate, ceramic tiles or stone.
These details help homeowners compare the original and replacement materials more clearly.
Painting and Wall Improvements
When documenting a painting project, photograph the walls under consistent lighting.
This makes it easier to compare the original colour with the finished paintwork.
If an editing tool is used, the final photograph should not change the actual paint colour or hide uneven areas that still require attention.
What Should Never Be Changed in Renovation Photographs?
There is an important difference between improving a photograph and misrepresenting a home improvement project.
AI tools can make rooms look cleaner, brighter or more attractive, but homeowners and contractors should be careful about changing details that affect how the property is represented.
Avoid using image editing to:
- Hide cracks, water damage or unfinished construction work.
- Make small rooms appear significantly larger.
- Change the actual colour of installed flooring or cabinets.
- Add fittings, windows or appliances that do not exist.
- Make poor workmanship appear professionally completed.
- Remove defects from photographs used for contractor disputes.
This is particularly important when photographs are being used for insurance claims, warranty discussions or evidence of construction work.
Those photographs should remain unedited originals.
Higgsfield and Nano Banana are useful for preparing presentation images, but they should not be used to change the factual condition of a property.
How Can Contractors Use Renovation Photos in Their Portfolios?
Home improvement contractors depend on photographs to show the quality of their work.
A well-organised portfolio can help potential customers understand the types of projects a contractor completes, from kitchen replacements and bathroom upgrades to roofing repairs and interior improvements.
However, portfolio photographs should accurately represent completed work.
Contractors can improve their documentation process by following a few practices:
- Photograph the property before beginning work.
- Capture important stages of construction.
- Record completed installations and finishing details.
- Ask homeowners for permission before publishing photographs.
- Keep original photographs available alongside edited versions.
- Use consistent lighting and camera positions where possible.
AI-assisted editing through Higgsfield can help improve the presentation of portfolio photographs, particularly when lighting conditions are not ideal.
However, contractors should never use editing to suggest that they completed work that was not part of the project.
How Should Homeowners Organise Renovation Photographs?
Taking photographs is only useful when they can be found later.
A renovation can generate hundreds of images, particularly when several rooms are being improved at the same time.
A simple folder system can make documentation much easier.
Create separate folders for each room or project. Use dates in filenames and distinguish between original photographs and edited versions.
For example:
- Kitchen: Before
- Kitchen: Demolition
- Kitchen: Installation
- Kitchen: Completed
- Bathroom: Before
- Bathroom: Completed
Homeowners should also photograph plumbing routes, electrical wiring, insulation and other work before walls or floors are closed.
These records may prove useful during future repairs, property maintenance, warranty discussions or resale.
Keep important evidence photographs separate from the images prepared for social media or contractor portfolios.
Conclusion
Home improvement projects involve many changes that are easy to forget once the work is complete. Photographs provide a useful record of the original property, the construction process and the finished results.
Good documentation begins with simple habits: photographing rooms before work starts, using consistent camera positions, capturing construction stages and keeping original images organised.
Nano Banana, available through Higgsfield’s image editing environment, offers another way to improve the presentation of renovation photographs by helping correct lighting, colour and certain visual distractions.
For homeowners and contractors, the most important principle remains the same. Photographs should show the actual condition of the property and the improvements that were genuinely completed.
A little preparation before renovation work begins can make the final before-and-after comparison far more meaningful.
At Dwellifyhome.com, we aim to be open about the commercial relationships connected to our content. Certain links may involve affiliate referrals or sponsored placements that provide compensation to our website.