To declutter your kitchen, work zone by zone in this order: clear the counters, sort the cabinets, declutter the pantry, fix the drawers, and finish with the fridge and freezer. In each zone, keep only what you use for cooking, eating, and cleaning in the kitchen, and move everything else out. This kitchen-first order stops the job from turning into a whole-house cleanout, and it gives you a usable cooking space at every step.
You do not need a free weekend to do this well. Short, focused sessions work better in a room you use every day. Pick one zone, finish it, and put everything back before you start the next one. That way, dinner still happens, even on declutter day.
- Clear the counters.
- Sort the cabinets by cooking zone.
- Declutter the pantry, shelf by shelf.
- Sort the drawers, including the junk drawer.
- Make fridge and freezer decisions, then put everything back.
Start With a Kitchen-Only Plan
A kitchen declutter fails when it turns into a general tidy-up. You start with a spice jar, find a pile of mail, and end up sorting a closet. Keep this job inside the kitchen. If an item belongs in another room, put it in a box by the door and deal with it after the kitchen is done.
Before you open a single cabinet, grab four containers or bags and label them in your head: keep, donate, toss, and relocate. Keep means the item stays in the kitchen. Donate means it still works and someone else can use it. Toss means it is broken, worn out, or unsafe. Relocate means it belongs somewhere else in your home, or in seasonal storage outside the kitchen.
Set one simple rule for the whole job: if you have not used a kitchen tool in the past year, and you cannot name a real meal you will use it for soon, it leaves the kitchen. Seasonal items earn an exception. A turkey roaster you use once a year still counts as used, but it does not earn counter or prime cabinet space. It earns a high shelf or a storage spot outside the daily cooking zones.
What Belongs in a Kitchen, and What Does Not
A kitchen holds cooking tools, food, dishes, and cleaning supplies. That sounds obvious, yet kitchens collect much more. Mail, keys, school papers, chargers, tools, toys, and bags drift in because the kitchen sits at the center of the home. Each stray item steals space from something you actually cook with.
Walk the room once before you sort anything. Note what does not belong. You will likely find a clear pattern: one counter corner becomes the mail drop, one drawer becomes the junk drawer, and one cabinet shelf holds items you forgot you owned. Name those spots now, because you will fix each one in its own zone below.
Do not buy storage bins or organizers before you declutter. You cannot know what you need until you know what you keep. Clear first, then measure the shelves and drawers that remain. You will buy less, and what you buy will actually fit.
Clear the Counters First
Start with the counters because a clear counter changes how the whole kitchen feels, and it gives you a work surface for the rest of the job. Take everything off one stretch of counter at a time. Wipe it down. Then put back only what you use every day.
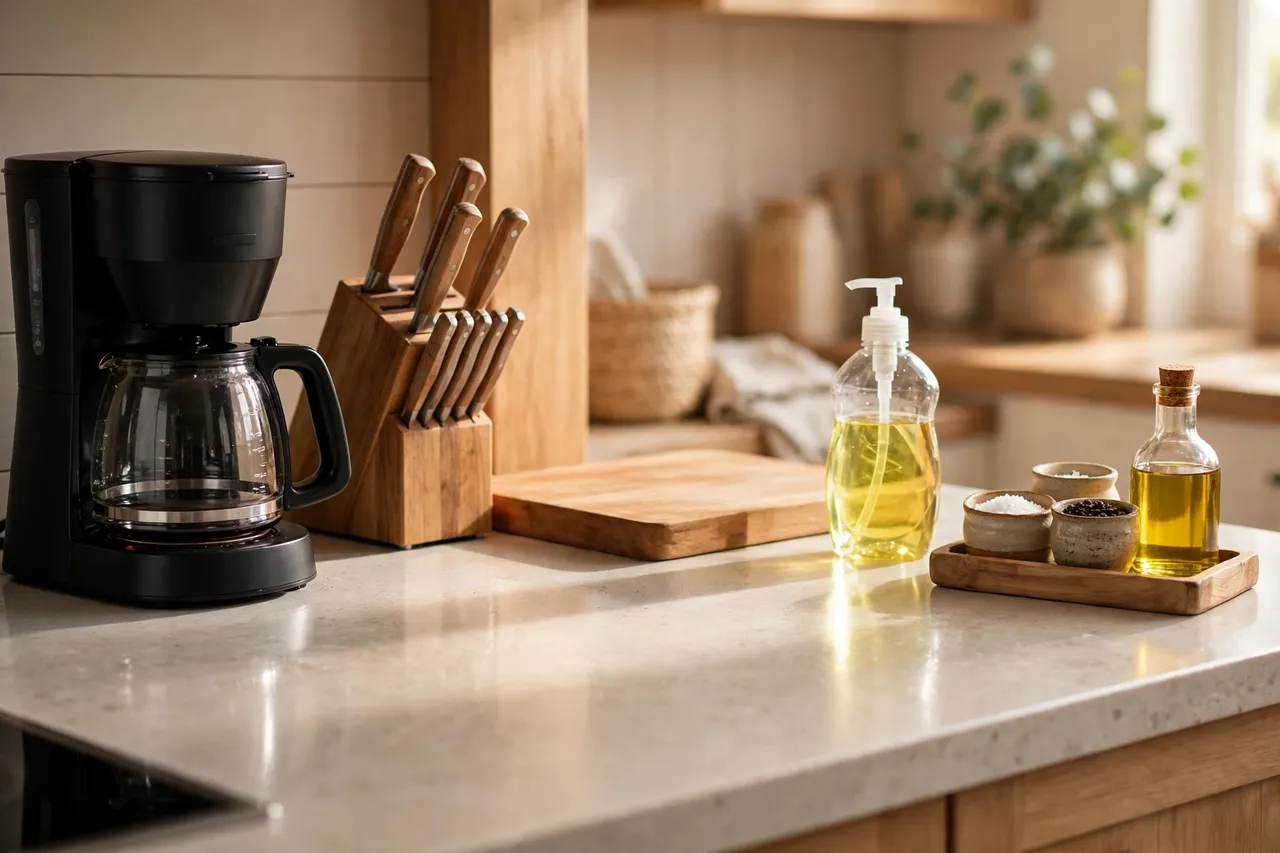
Daily-use items earn counter space. For most homes, that short list includes a coffee maker or kettle, a knife block or knife strip, a cutting board, dish soap, and a small tray for salt, pepper, and cooking oil. Everything else moves to a cabinet, a drawer, or out of the kitchen. A toaster you use twice a week does not need a permanent counter spot. A stand mixer you use once a month certainly does not.
Sort the non-kitchen items as you go. Put mail in one pile to deal with later, and put tools, toys, and chargers in the relocate box. Do not stop to answer mail or fix a toy. If you pause for every stray item, the counters will still sit half-cleared when dinner time arrives.
Watch for the usual counter traps. A fruit bowl that never gets eaten turns into a fruit-fly station. A pile of reusable bags blocks prep space. A stack of cookbooks looks charming, yet it eats the space where you chop vegetables. Keep one or two cookbooks you truly use, and move the rest to a bookshelf.
Work the Cabinets by Cooking Zone
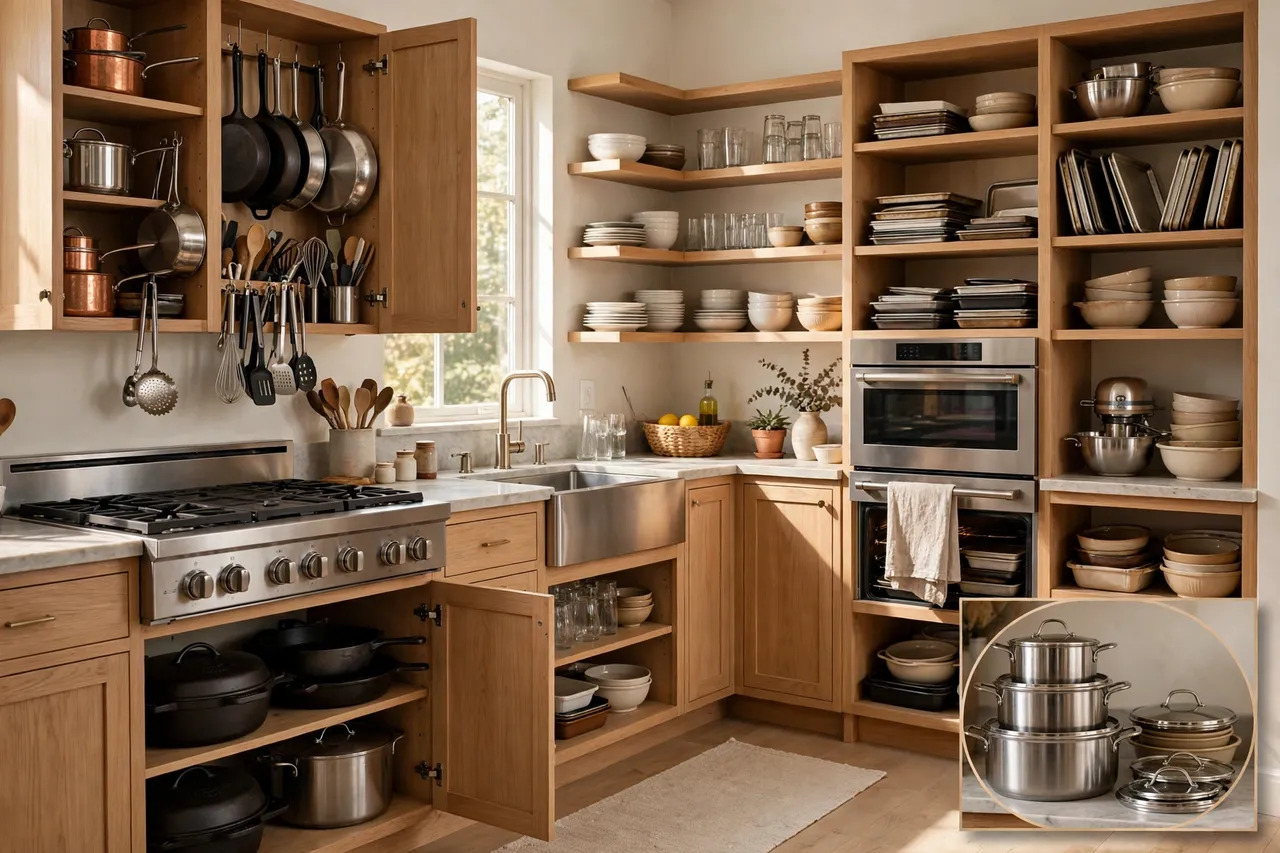
Work one cabinet at a time, and group what you keep by how you cook. A cooking zone beats a random shelf every time. Put pots, pans, and cooking utensils near the stove. Put plates, bowls, and glasses near the dishwasher or sink. Put baking sheets and mixing bowls near the oven or the spot where you bake.
Pull everything out of the cabinet before you decide anything. Check each item with a simple test. Do you use it? Does it work? Do you already own a better version of it? Chipped plates, cracked bowls, warped pans, and lids with no matching pot fail the test. So do the third spatula, the fourth mixing bowl you never reach for, and the specialty gadget you bought for one recipe years ago.
Count your dishes with real life in mind, not a wish list. A household of four does not need twenty mugs or three dozen glasses. Keep enough for a normal day plus a few guests, and let the rest go. The same rule works for water bottles. If a bottle has no lid, a cracked cap, or a smell that survives washing, toss it.
Put heavy items low. Stack pots with lids nearby, not three cabinets away. Keep everyday dishes at eye level or waist level, and move holiday dishes and rarely used serving platters to a high shelf. If you need a step stool every time you grab a plate, that plate lives in the wrong spot. For help judging what fits where, check the standard cabinet dimensions in this guide to standard kitchen cabinet sizes before you buy inserts or move tall items.
Declutter the Pantry, Shelf by Shelf
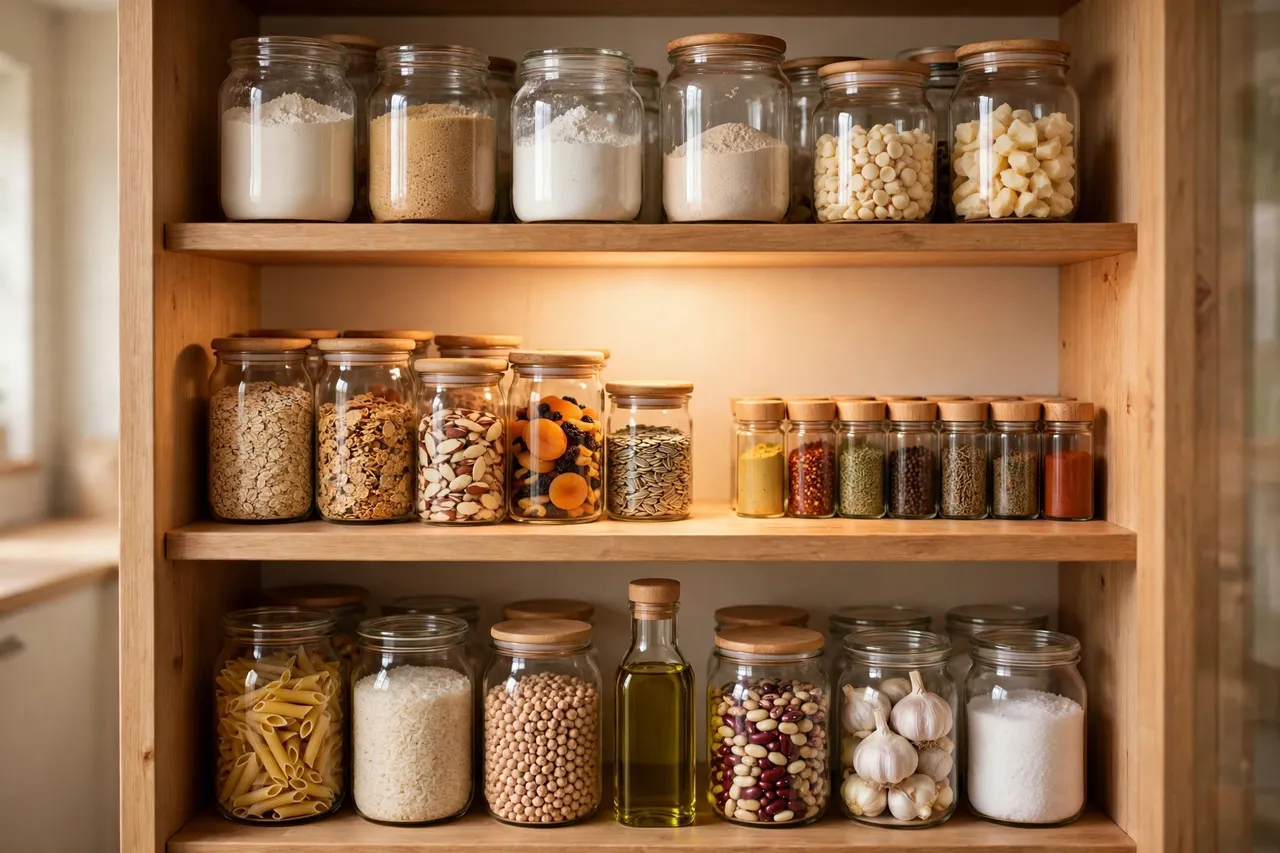
The pantry rewards a shelf-by-shelf approach. Empty one shelf, wipe it, sort what came off it, and put back only what passes. Then move to the next shelf. Emptying the whole pantry at once leaves food piled on counters and makes the job feel much bigger than it is.
Check dates as you sort, but read them the right way. The U.S. Department of Agriculture explains in its Food Product Dating guidance that a “Best if Used By” date marks best quality, not a safety deadline, while a “Use-By” date deserves closer attention. Stale crackers and faded spices may taste flat, yet a bulging can, a sour smell, or visible mold means the food goes straight in the trash. When you feel unsure about a perishable item, throw it out. No saved dollar justifies a risky meal.
Combine open duplicates when it makes sense. Two half-empty bags of the same rice can share one container. Three open boxes of the same pasta can become one. Do not combine foods with different dates or different flavors, and never pour an old product on top of a fresh one. You want to use the older food first, not bury it.
Group what stays by how you cook, not just by food type. Keep breakfast foods together, baking foods together, and weeknight dinner staples together. Put the items you reach for most at eye level and within easy reach. Push back stock and rarely used ingredients to higher shelves or the back of deep shelves, and place new purchases behind older ones so you use the older food first.
Do not forget the spice shelf. Spices lose punch over time, so smell each jar before you put it back. If a spice smells like dust, or barely smells at all, replace it. Toss empty jars, jars with no lids, and duplicates you bought because you could not find the first jar. A small spice rack you can actually see beats a deep cabinet full of mystery jars.
Sort the Drawers, Including the Junk Drawer
Drawers hide clutter because you can shut the problem away. Open one drawer at a time and empty it fully. You will find duplicates fast: three vegetable peelers, five wooden spoons, a tangle of rubber bands, and tools you forgot you owned.
Start with the cooking utensil drawer. Keep one good version of each tool you use often. Keep a backup only when you truly use two at once, such as two baking sheets on a busy cooking night. Toss melted spatulas, rusty peelers, and gadgets with missing parts. If a tool needs a part you lost long ago, the tool itself goes too.
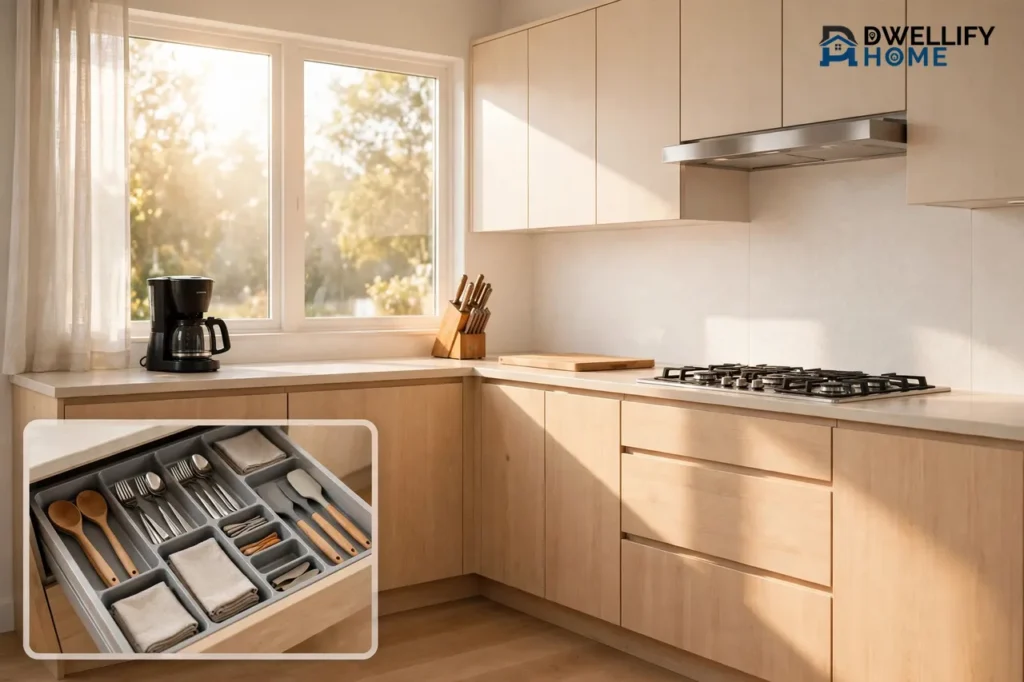
Next, tackle the cutlery drawer. Match every fork, knife, and spoon to a real need. Keep the set you use daily, plus a small number for guests. Let chipped, bent, or single stray pieces go. A tray that fits the drawer makes this drawer far easier to keep tidy, and this guide to a two-tier cutlery tray shows how a stacked tray separates everyday flatware from smaller specialty pieces.
Now face the junk drawer, but give it a strict limit. One drawer may hold small household odds and ends, such as batteries, twist ties, and a spare key. It may not hold everything without a home. Move tools to the toolbox, office supplies to the desk, and old chargers to the electronics box. Put the junk drawer in the least handy spot, and save the best drawers for cooking tools.
Handle knives with care during this whole step. Keep blades in a block, on a strip, or in a sheath, never loose in a drawer where they can cut you or dull against other tools. If a knife has a loose handle or a badly chipped blade, replace it rather than storing it loose.
Make Fridge-Zone Decisions
The fridge and freezer deserve their own zone because food safety drives the decisions here, not just tidiness. Work one shelf or one drawer at a time, and keep perishable food cold while you sort. Do not leave raw meat, dairy, or leftovers sitting on the counter while you wipe shelves.
Toss anything expired, anything you know you will not eat, and anything you cannot identify. Freezer-burned food, unlabeled containers from months ago, and mystery sauces all go. Wipe each shelf and drawer before you put food back, and group similar foods together so you can see what you own before you shop again.
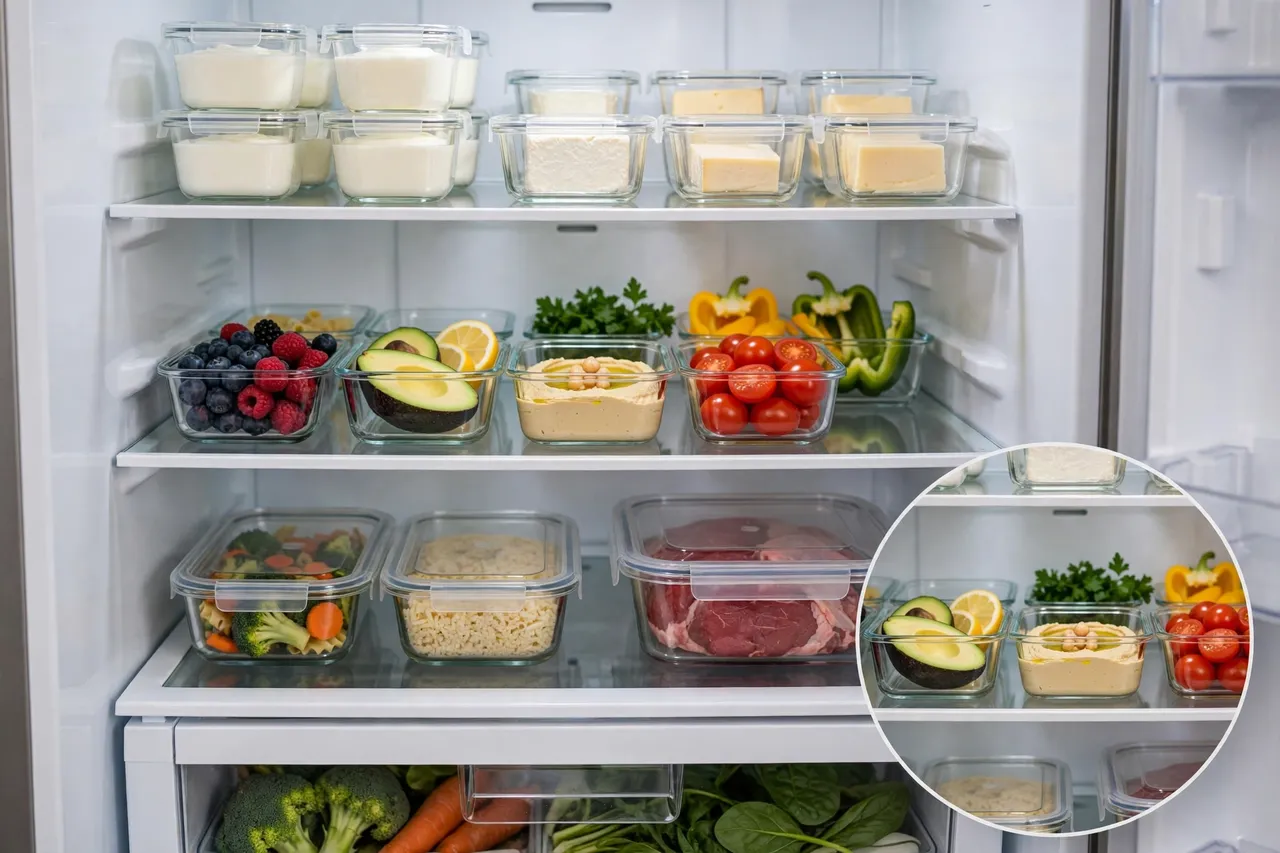
Use the fridge layout to protect food and cut waste. Keep foods you need to use soon where you will see them, at eye level or near the front. Store raw meat low, where it cannot drip onto ready-to-eat food. Keep leftovers in clear containers, and label them with the date you cooked them. The U.S. government’s Cold Food Storage Charts from FoodSafety.gov give safe storage times for common foods, and they note that a fridge should stay at 40 degrees Fahrenheit or below and a freezer at 0 degrees Fahrenheit.
Finish the freezer with the same honesty. If you would not serve it to a guest, do not keep it “just in case.” Take stock of what remains, and plan a few meals around it before you buy more. A short list on the freezer door, or a quick phone note, stops you from buying a third bag of something you already own.
Decide What Leaves the Kitchen
By now, your keep, donate, toss, and relocate piles tell the real story. Finish the job by making a firm decision on each pile. Do not move the donate box to a closet and call the kitchen done. The clutter just changed rooms.
Use this table to sort the piles without second-guessing every item.
Kitchen Exit Decisions
| Decision | Kitchen examples | Next step |
| Keep | Daily dishes, working tools, food you will eat | Put back in its cooking zone |
| Donate | Clean, working gadgets and extra dishes | Box and drop off within a week |
| Toss or recycle | Broken, chipped, or unsafe items | Bag and take out the same day |
| Relocate | Mail, toys, tools, seasonal dishes | Move to its true home now |
Donate only clean items in working order. Wipe gadgets, wash dishes, and check that small appliances still work before you box them. Broken items do not become someone else’s problem. Check your local rules for recycling electronics and metal cookware, because rules vary by town.
Relocate with care, too. Seasonal dishes, holiday serving platters, and specialty baking gear you use once a year can live outside the daily kitchen, in a labeled box on a high shelf or in another storage spot. Just keep a short note of where they went. A hidden box you cannot find at holiday time helps no one.
Put Everything Back by How You Cook
Putting things back matters as much as taking them out. A decluttered kitchen fills up again fast when every item lacks a clear home. Assign each kept item a spot based on where you use it, and make the most-used items the easiest to reach.
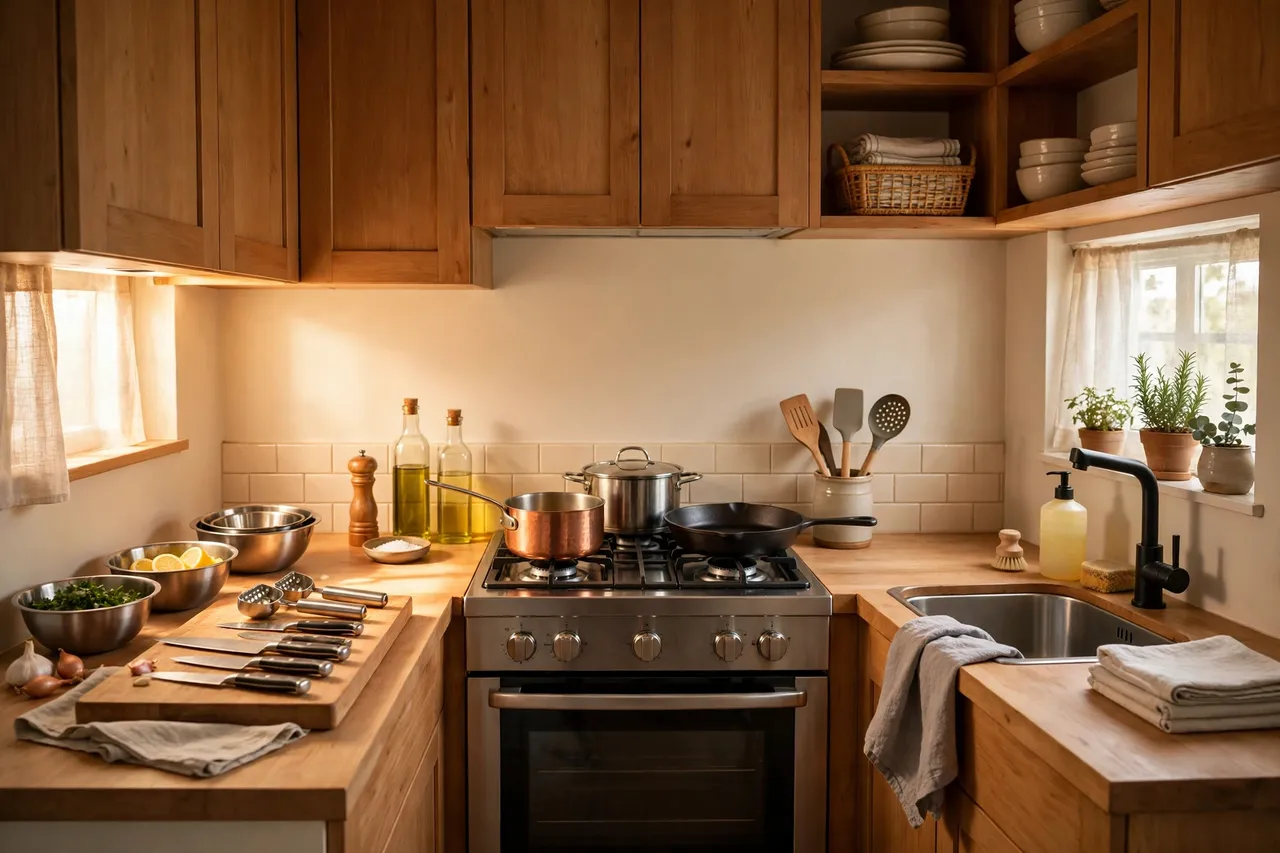
Build simple zones, even in a small kitchen. A prep zone near the cutting board holds knives, peelers, and mixing bowls. A cooking zone near the stove holds pots, pans, spatulas, and oils. A cleanup zone near the sink holds dish soap, towels, and the trash bin. When each zone holds only its own tools, you stop walking across the kitchen for every step of a meal.
Small kitchens need stricter choices, not more storage products. Keep only daily items on the counter, store rarely used appliances in a cabinet, and use vertical space inside cabinets with shelf risers or hooks where they truly help. If you live in a compact space, these kitchenette ideas for small spaces show how a tight cooking area can still hold clear prep, cook, and serve zones, and the small kitchen remodel ideas offer layout lessons that work even without a remodel, such as clear work surfaces and storage placed where you use it.
Label the spots that tend to drift. A small label inside a pantry door, or a simple rule such as “baking stays on this shelf,” helps everyone in the home put things back in the right place. You do not need a label on every jar. Label the zones that cause the most confusion, and leave the rest alone.
Keep the Kitchen Clear After the Big Declutter
A kitchen stays clear through small habits, not another big overhaul. Try a one-in, one-out rule for dishes, mugs, and gadgets. When a new mug comes home, an old one leaves. When you buy a new gadget, check whether it replaces one you already own.
Run a five-minute reset each night. Put dishes away, wipe the counters, and return stray items to their zones. Deal with mail before it lands on the counter, and toss expired fridge items once a week when you plan meals. These tiny checks take less time than one more full declutter, and they stop clutter from quietly building back up.
Repeat a full kitchen declutter once or twice a year, with smaller monthly checks for the fridge, pantry, and junk drawer. Pick a natural trigger, such as the start of a new season or a big grocery shop, so the check becomes a habit rather than a chore you keep putting off.
Related Guides
Decluttering Clothes: A Closet Audit That Leaves You With Clothes You Love · Daily Cleaning Schedule: A Simple Routine for a Tidy Home
Frequently Asked Questions
What should I get rid of first when decluttering my kitchen?
Start with the obvious clutter: expired food, broken items, duplicates, and anything that does not belong in the kitchen. Once those go, move on to tools and gadgets you rarely or never use. Quick wins build momentum for the harder choices.
How do I declutter a small kitchen?
Focus on the items that eat the most valuable space. Remove duplicates, move rarely used appliances off the counters, use vertical space inside cabinets, and keep everyday items within easy reach. In a small kitchen, every kept item must earn its spot.
How often should you declutter your kitchen?
A larger kitchen declutter once or twice a year works well for most homes, with smaller monthly clean-outs for the fridge, pantry, and spots where clutter builds fast. A short monthly check keeps the big session from feeling overwhelming.
Should I get rid of kitchen items I haven’t used in a year?
Not always. Ask how often you realistically expect to use the item, how hard it would be to replace, how much space it takes, and whether it holds real sentimental value. Seasonal items may deserve a spot even with once-a-year use, but store them outside prime cooking zones.
How do I keep my kitchen counters from getting cluttered?
Give commonly misplaced items a set home, and deal with mail, dishes, and stray items as soon as they appear. Store appliances you do not use every day in a cabinet, and keep only daily-use items on the counter. A clear counter stays clear when nothing homeless lands on it.
A Kitchen You Can Actually Cook In
You now have a kitchen shaped by how you cook, not by everything you once bought. Counters hold daily tools, cabinets hold cooking zones, the pantry holds food you will eat, and the fridge holds meals you can see and use. That is the whole payoff: less searching, faster cooking, and a room that invites you in instead of wearing you out.
Start with the counters today, even if you only have twenty minutes. One clear stretch of counter proves the plan works, and the next zone gets easier from there.