After finishing enough staircases to lose count, one truth keeps proving itself on every job: the order you tackle walls and stairs decides whether the project finishes clean or drags into a weekend of touch-ups. Most homeowners grab whatever can is closest and start swinging a brush. Two days later, they’re staring at a stain splatter on their freshly painted wall or a paint drip welded into cured polyurethane, wondering where it all went wrong.
This guide walks through the right sequence, the reasoning behind it, and the small details that separate a smooth job from a frustrating redo.
The Short Answer
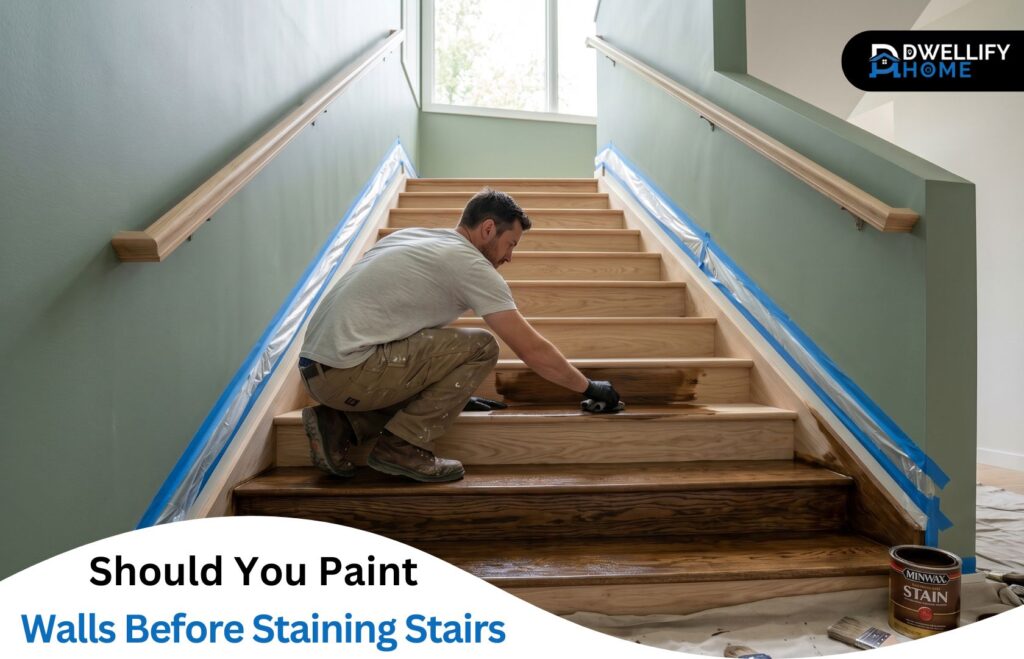
Yes. In almost every scenario, you should paint the walls, ceiling, and trim before staining the stairs. Paint splatter on raw wood sands off in seconds. Paint on cured stain and polyurethane, though? That’s a scraping, sanding, and refinishing problem. The only real exception is when the stairs need heavy sanding first, which we’ll get to.
Mission Statement
Dwellify Home helps homeowners make practical, stylish, and informed décor decisions with clear, experience-based guidance they can actually use.
Why Painting the Walls First Is the Smarter Sequence
There’s practical logic behind this rule, and it holds up on real job sites:
- Paint drips on bare wood disappear during the sanding prep. Paint on finished stain leaves a permanent scar.
- Drop cloths protect raw treads during wall painting. They can’t protect fresh stain or wet poly.
- You can move fast and messy when the staircase hasn’t been finished yet. Trying to cut in a wall above a glossy, cured tread slows you down and adds stress.
- Fixing wall scuffs takes five minutes. Fixing a ruined tread can mean sanding down to bare wood and restaining the whole staircase.
Quick Decision Guide
| Situation | Do This First |
| Light prep sanding on stairs | Paint the walls |
| Full staircase refinish or carpet removal | Stain the stairs |
| Repainting walls with finished stairs in place | Paint the walls, protect treads |
| New construction | Paint walls, then risers, then stain treads |
| Two-tone stairs (painted risers, stained treads) | Paint risers before staining treads |
Key Reasons to Paint Walls First
- Paint drips sand off bare wood but ruin cured stain
- Drop cloths protect raw treads, not fresh finishes
- Wall painting moves faster without a finished staircase to protect
- Wall touch-ups are cheap; refinishing damaged treads is not
- Masking around painted risers is easier than masking stained treads
The One Exception: When Stairs Should Come First
There’s one situation where the rule flips. If the staircase needs aggressive sanding, like removing old paint, stripping a failed finish, or smoothing badly damaged treads, do the sanding and staining first. Heavy sanding throws fine dust that drifts everywhere and sticks to curing paint like fingerprints on glass. That dust ruins the sheen of fresh wall paint and interferes with adhesion.
Simple rule: light prep sanding means paint walls first. Full staircase refinish means stain first, then paint.
The Professional Order of Operations
Here’s the sequence most finish crews follow on a typical staircase job:
- Prep and sand all surfaces (treads, risers, spindles, handrail)
- Prime the risers, spindles, and stringers
- Paint the walls, ceiling, and trim
- Paint the risers, stringers, and spindles
- Stain the handrail
- Stain the treads
- Seal the treads with polyurethane
- Come back for final wall touch-ups after everything cures
This order protects every finished surface from the one being worked on next. Skip a step or swap an order, and you’ll pay for it in rework.
Sequencing the Staircase Itself
Within the staircase, risers get painted before treads get stained. Paint drips on a bare tread sand off cleanly before staining. Stain bleeding onto a painted riser, though, is a real mess, especially with dark walnut or ebony tones. Paint the risers, let them cure, then mask them or use a drywall knife as a shield while staining the treads.
Handrails are flexible. Many pros stain them earlier in the process so they’re out of the way when spindles get painted.
Choosing the Right Paint, Stain, and Finish for Stairs
Don’t use leftover wall paint on stair risers. Wall paint scuffs fast, chips at the edges, and can’t hold up to shoes. Reach for a floor-grade enamel, porch-and-floor paint, or a cabinet-grade product like Benjamin Moore Advance. These cure harder and resist wear in high-traffic areas.
For stain on treads, oil-based stains penetrate deeper and give richer color. Water-based stains dry faster and clean up with water, though they can raise the grain. On top of the stain, use oil-based polyurethane rated for floors. Two or three coats of a satin or semi-gloss poly is standard for indoor stairs, and it gives enough slip resistance without looking plastic. For added grip, some pros mix a fine non-slip additive into the final coat.
Tools and Materials You’ll Actually Need
Keep the kit simple: 220-grit sandpaper, tack cloths, canvas drop cloths, low-tack painter’s tape, an angled sash brush, a small foam roller, lint-free stain rags, a 10-inch drywall knife (the best stain shield you’ll ever own), primer, trim paint or floor enamel, stain, and polyurethane.
How to Protect Your Walls While Staining the Stairs
Once walls and risers are painted and cured, protecting them during staining becomes the real job. A few things that actually work on site:
- Run low-tack painter’s tape tight against the riser-to-wall seam
- Caulk that seam before painting for a cleaner stain line later
- Hold a drywall knife flush against the riser as you wipe stain onto the tread
- Apply stain with rags, not brushes, to stay in full control of where it goes
- Wipe excess stain off the knife between every tread so you don’t transfer it back onto the riser
Taping alone isn’t enough on older homes where the seam between riser and wall isn’t tight. Caulk first, tape second.
Scenario-Based Recommendations
Every project is a little different. A few common ones:
- New construction or full gut renovation: paint walls, then paint risers, then stain handrail and treads, then poly.
- Full staircase refinish after carpet removal: sand and stain the stairs first because sanding dust will wreck fresh paint, then come back for walls.
- Cosmetic wall repaint with an existing finished staircase: paint the walls first, covering every tread with heavy canvas drop cloths and taping the tread edges.
- Stairs plus landing: treat the landing floor like the treads, staining last so foot traffic stays off it during cure.
If you’ve ever scrolled through painting stairs before and after photos online, the clean ones almost always follow this order.
Where This Fits in the Bigger Renovation Sequence
The broader rule for most whole-room renovations: ceilings first, then walls, then flooring and stairs, then baseboards, then final wall touch-ups. That’s why the debate over which comes first, refinish floors or paint walls, usually lands on painting first if the floors need heavy sanding, or flooring first if the paint needs to match a finished floor tone. Same logic applies to stairs.
Drying Time vs. Cure Time
This catches more DIYers than any other mistake. Dry and cured aren’t the same thing.
Stain feels dry in a few hours but isn’t ready for poly for 24. Polyurethane feels dry in six to eight hours, walkable in 24, safe for socks in 72, and fully cured in about 30 days. Move furniture or heavy foot traffic onto it too early and you’ll dent the finish. Humidity, cold, and poor ventilation all stretch that timeline, sometimes by double.
Common Mistakes Homeowners Make
A few I see on nearly every DIY job:
- Painting walls after staining, then splattering the treads
- Skipping primer on bare risers, which peel within a year
- Taping over stain that hasn’t cured, pulling it right back off
- Walking on freshly polyed treads in socks or with pets
- Using standard wall paint on risers instead of floor enamel
Each one is a rework waiting to happen.
If You Already Painted (or Stained) in the Wrong Order
Not a lost cause. If walls are already painted and you need to stain the stairs, the answer is aggressive masking, drop cloths up the risers to the tape line, and staining with rags instead of brushes. If stain already splattered on painted walls, let it dry fully, then dab with mineral spirits on a cotton rag and do a small paint touch-up. Don’t scrub wet stain on paint, it just spreads.
When to DIY and When to Call a Pro
DIY works on straightforward staircases, good wood, and a patient weekend. Call a pro if you’re dealing with a pre-1978 home with possible lead paint, heavily damaged treads, open-stringer designs that need precision cutting-in, or a feature staircase that’s the visual centerpiece of the house. The cost of a professional job is almost always less than fixing a failed DIY one.
Final Thought
Plan the order before you open a single can. The question of whether you should paint the walls before staining stairs has a clear answer for most situations, and respecting that sequence is what separates a staircase that looks finished from one that looks patched. Protect the surface that’s hardest to fix, work from messy to clean, and give every coat the cure time it actually needs.
Frequently Asked Questions
Should I sand floors before painting walls?
Only if the sanding is light. Heavy floor sanding creates dust that ruins fresh paint, so finish the floors first in that case.
What should I do first, walls or floors?
Walls first in most renovations, with a final touch-up coat after the floors are done.
Do I paint risers before or after staining treads?
Paint the risers first. Drips on bare treads sand off. Stain on painted risers won’t.
Can I paint over already-stained stair risers?
Yes, but prime first with an oil-based or bonding primer so the paint actually grips the finish.
How long should stain dry before painting near it?
At least 24 hours, longer in humid or cold conditions.
Can I paint walls and stain stairs on the same day?
Technically yes, but only if walls are fully dry before you start staining. Better to space them out by a day.
Disclaimer
This article is for general informational purposes only. Product performance, drying times, and results may vary based on materials, conditions, and installation. Always follow manufacturer instructions and consult a qualified professional for complex or high-risk projects.