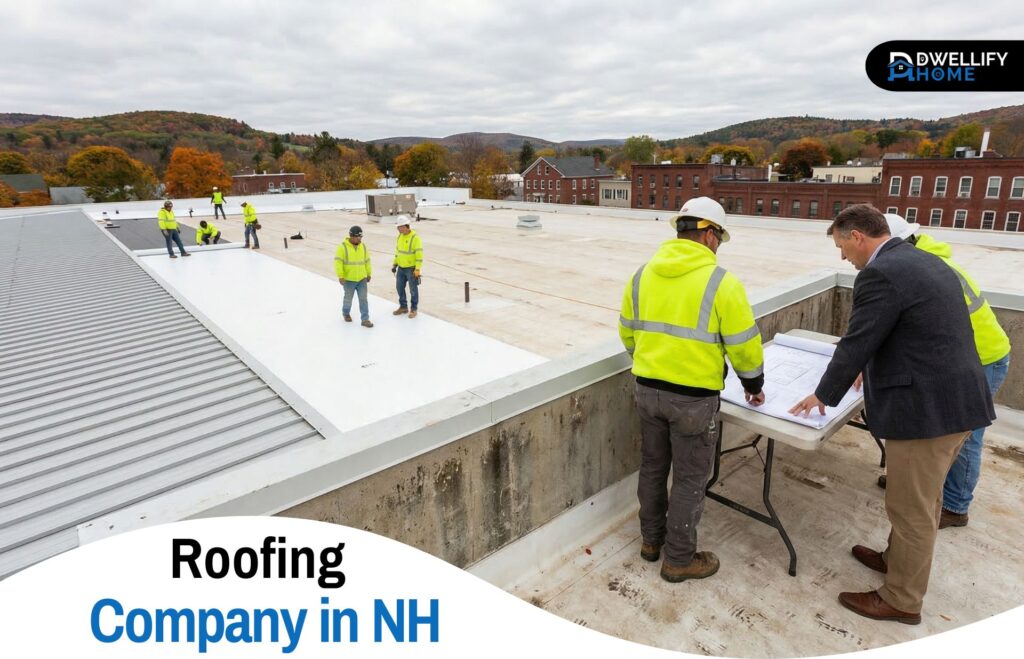
The part of an ADU project that catches most homeowners off guard isn’t the construction itself — it’s everything that has to be sorted out before a single framed wall goes up. This is exactly the stage where the choice of contractor matters most. An experienced Accessory Dwelling Unit contractor brings a level of site-specific knowledge that a general contractor typically doesn’t. Site preparation and utility connections are where timelines slip, where budgets get revised in uncomfortable directions, and where that gap between the two becomes genuinely visible.
Why Site Prep and Utilities Are More Complicated Than They Look
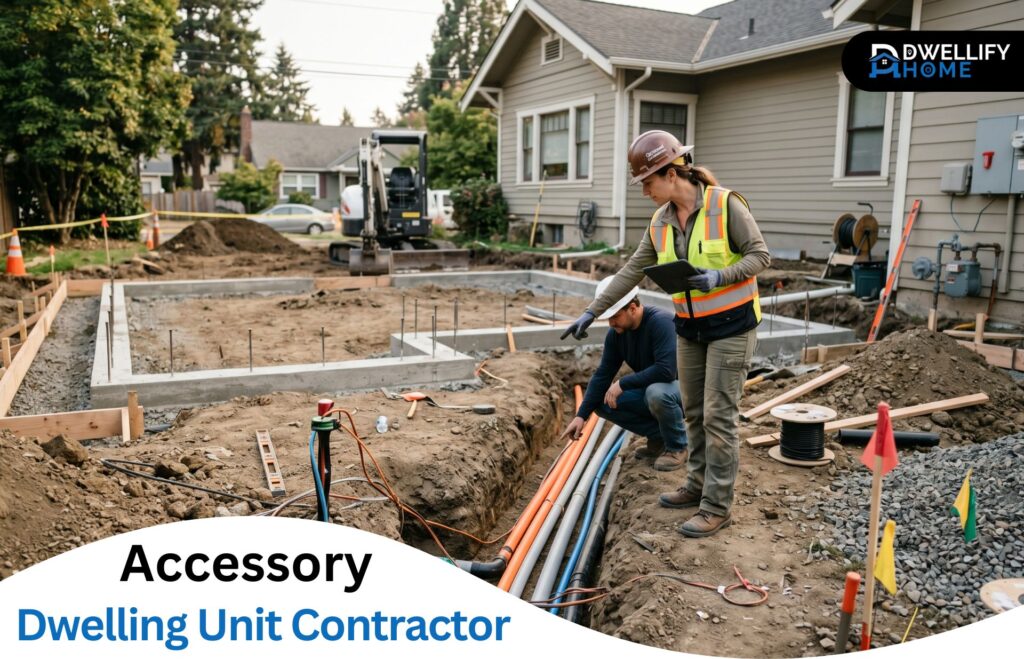
An ADU doesn’t get built on a blank canvas. It goes onto a property that already has structures on it, utility lines running through it, drainage patterns established across it, and soil conditions that may or may not cooperate with what the project needs. How much work it takes to get a site construction-ready varies considerably from one lot to the next, and the factors that drive that variation aren’t always obvious until somebody actually starts digging.
Slope, soil type, tree roots, buried utilities, drainage easements, each of these affects what needs to happen before a foundation can go in. Some sites are genuinely straightforward. Others that look straightforward from the surface turn out to have soil conditions that require engineered solutions before anything else can move forward. There’s no way to know which category you’re dealing with until a proper site assessment has been done, and that assessment needs to happen before the project is budgeted, not after.
Site Preparation — What It Actually Covers
Site prep is the phase that rarely gets enough attention in early project conversations and the one that tends to generate the most budget surprises when it hasn’t been properly assessed. Before any structural work begins, the site needs to be cleared, leveled, investigated, and designed for drainage. Here’s what each of those steps actually involves:
Clearing and Grading
The first physical work on most ADU sites breaks down into two sequential tasks:
- Clearing the buildable area — removing everything that’s currently occupying the space where the structure will go:
- Existing vegetation, shrubs, and trees within the footprint
- Old outbuildings like sheds or garden structures
- Surface debris, hardscaping, or concrete that conflicts with the new layout
- Grading to establish a level construction pad — and the scope of this work depends heavily on what the lot looks like:
- On a flat lot with no complications: contained, predictable, and relatively low cost
- On a sloped lot: potentially significant earthmoving, retaining wall construction, and engineered fill compaction all of which add time and cost before a single structural element goes in
Grading also sets the drainage pattern around the new structure. Directing water away from the foundation at this stage is considerably cheaper than correcting a drainage problem after the concrete is already poured.
Soil Investigation and Foundation Design
Not every site needs a formal geotechnical report — but plenty do. The situations that typically require one:
- Sloped lots where fill or cut conditions affect bearing capacity
- Properties with a known or suspected history of drainage problems
- Areas where the soil is recognized as expansive, loose, or otherwise unstable
- Sites with any documented history of ground movement
A soil report gives the structural engineer the information needed to design a foundation that matches what the ground can actually carry. From there, the foundation type gets decided — and that decision has a direct line to the project budget:
| Foundation Type | Best Suited For | Cost Implication |
| Slab on Grade | Level lots with stable, well-draining soil | Most cost-efficient option |
| Crawl Space | Sites needing clearance for MEP access or slight grade variation | Moderate — adds formwork and ventilation requirements |
| Full Basement | Significant grade changes or where additional program space is needed | Highest cost — significant excavation and forming involved |
| Driven Piles or Special Foundation | Unstable soil, high groundwater, or sites with movement history | Variable — requires an engineered solution and a specialist contractor |
Any site that falls outside the straightforward slab scenario needs that conversation to happen before anyone commits to a project number, not after the excavator has already turned up.
Utility Connections — The Part That Involves the Most Moving Parts
Getting utilities into a new ADU means coordinating with multiple agencies and service providers, each of which runs on its own approval timeline and has its own set of requirements. An experienced contractor treats that coordination as a core part of the project scope, not something to figure out reactively as the build progresses.
Water and Sewer
A detached ADU needs its own water meter and its own sewer lateral connection — there’s no sharing with the main house on either. Both require permits and sign-offs from the local water and sewer utility, and before either gets approved, someone has to assess whether the existing service infrastructure can actually support a second dwelling on the property. If the main line doesn’t have the capacity, an upgrade is required before any new connection moves forward, and that cost needs to be sitting in the budget from day one — not surfacing as a surprise mid-project.
On a straightforward lot with no capacity issues, a standard water and sewer connection typically comes in somewhere between $8,000 and $15,000. Add a main line upgrade, extensive trenching through mature landscaping, or routing that has to go under existing structures, and that number can push past $25,000 without much difficulty. Sewer tends to be the more constrained of the two — the new lateral has to maintain proper slope all the way to the main sewer line, and depending on where the ADU sits relative to that connection, the routing can add significant labor and material cost that doesn’t show up on a site plan until someone actually maps it out on the ground.
Electrical
Electrical service to a new ADU comes in one of two configurations: a sub-panel fed from the existing main house panel, or a fully separate service entrance with its own meter. Which one makes more sense depends on three things: what the unit is going to be used for, how much capacity the existing panel has to spare, and whether the homeowner wants the ADU on a separate utility account.
The cost difference between the two is worth getting clear on early. A sub-panel connection off an existing panel with available capacity typically runs $3,000 to $6,000, covering the trenching, conduit, and panel installation. A dedicated service entrance is a bigger scope coordination with the utility for a new meter, potentially a new service drop, and everything in between, and generally lands between $8,000 and $15,000, depending on how far the run is and what the installation involves. For ADUs that are going to be rented long-term, the separate meter tends to earn its cost back over time by keeping utility billing cleanly separated between owner and tenant. Either way, the electrical permit and inspection track runs alongside the main building permit on its own timeline — and getting those two tracks moving in sync from the start is something experienced contractors plan for deliberately rather than improvise around on inspection day.
Gas and Mechanical Rough-Ins
Not every ADU uses gas, but those that do need either a dedicated line run from the street or a branch off the existing meter, both of which go through utility review and approval on their own schedule. The decision between gas and all-electric mechanical systems has gotten more deliberate in recent years, driven by tightening energy code requirements and a growing awareness of operating costs over the unit’s lifetime. An all-electric ADU with a heat pump system typically runs $4,000 to $8,000 for the mechanical rough-in and equipment. A gas-served unit adds the service connection cost on top, usually another $2,000 to $5,000, depending on line distance and what the local utility charges for the hookup.
Everything Else Depends on This Stage
Site preparation and utility connections are the part of an ADU project that most people are least prepared to think about — and the part that does the most to determine how smoothly everything else goes. Maksymov Brownstone handles exactly this stage with the kind of site assessment accuracy and utility coordination experience that keeps projects moving rather than stalling. Everything that gets built on top of that foundation depends on the groundwork being done correctly, and that’s precisely where their expertise shows up most clearly.
Before you go, don’t forget to explore our other helpful articles! Please be aware that some links in this post may be affiliate or sponsored links. If you purchase through these links, we may earn a small commission at no extra cost to you, which helps us keep this website running. All opinions shared here are the author’s own and do not necessarily represent the views of Dwellifyhome.com.