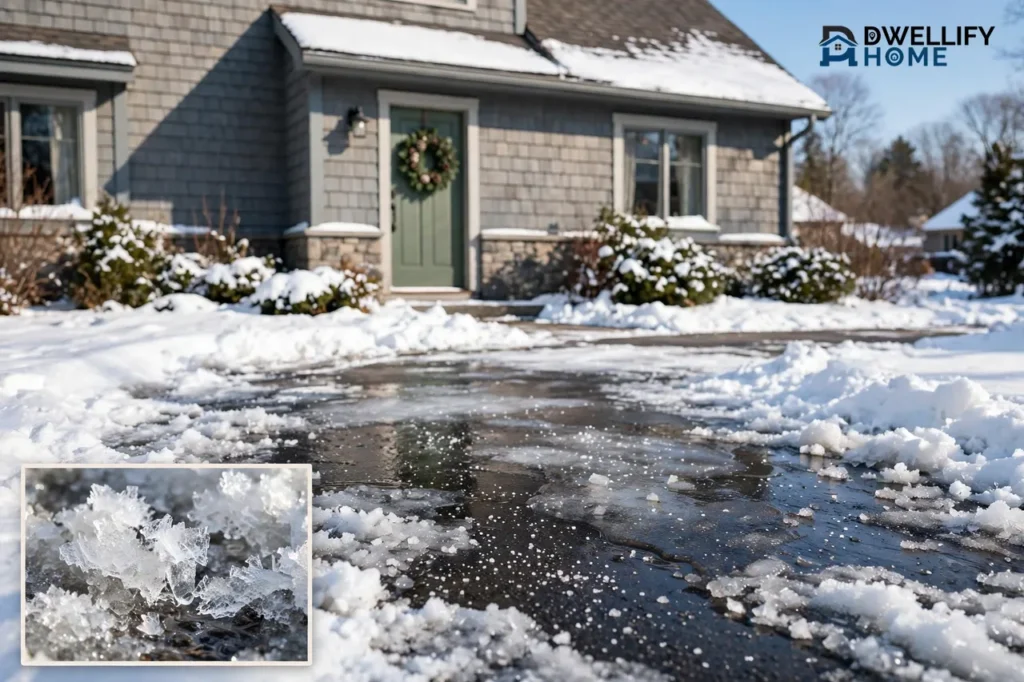
Yes, you can make do it yourself ice melt at home, and the best mix is simple: stir 1/4 cup of rubbing alcohol and a few drops of dish soap into 1/2 gallon of hot water, pour it over thin ice, wait a few minutes, then shovel the slush away. It works on steps, walkways, and windshields when the air stays above about 20 degrees Fahrenheit. Below that, homemade mixes slow down fast, and a bag of calcium chloride from the store does a better job.
That honest limit matters more than any recipe. Most do it yourself ice melt recipes only work in mild cold, on thin ice, and on small areas. This guide gives you seven mixes that truly help, shows the exact temperature where each one stops working, and tells you when to skip the bucket and buy a commercial de-icer instead.
How Homemade Ice Melt Works
Ice melts when something lowers the freezing point of water. Plain water freezes at 32 degrees Fahrenheit. Mix in salt, alcohol, or sugar, and the water on the surface stays liquid at a lower temperature. That liquid loosens the ice from the pavement so you can scrape it off.
Every homemade mix uses this same trick with a different ingredient. Salt pulls the freezing point down to about 15 degrees. Rubbing alcohol goes lower still, because pure isopropyl alcohol freezes near minus 128 degrees. Dish soap does not melt ice at all. It only breaks the surface tension of the water so the mix spreads in a thin, even layer instead of beading up and running off. Hot water helps too, but only for a few minutes. Never use boiling water on a car windshield, though. The sudden heat can crack cold glass.
7 Do It Yourself Ice Melt Recipes That Work
These seven recipes cover every common situation, from a frozen front step to a whole walkway. Start with recipe one. It is the most useful mix for most homes, and the others fill the gaps it leaves.
1. Rubbing Alcohol and Dish Soap Mix
This is the best all-around homemade ice melt, and the one most experts reach for first. Reader’s Digest meteorologist Andrew Stutzke recommends this exact mix, and the Bob Vila team uses the same three ingredients in their own recipe. It works fast on thin ice, it is cheap, and you probably have everything in a cabinet right now.
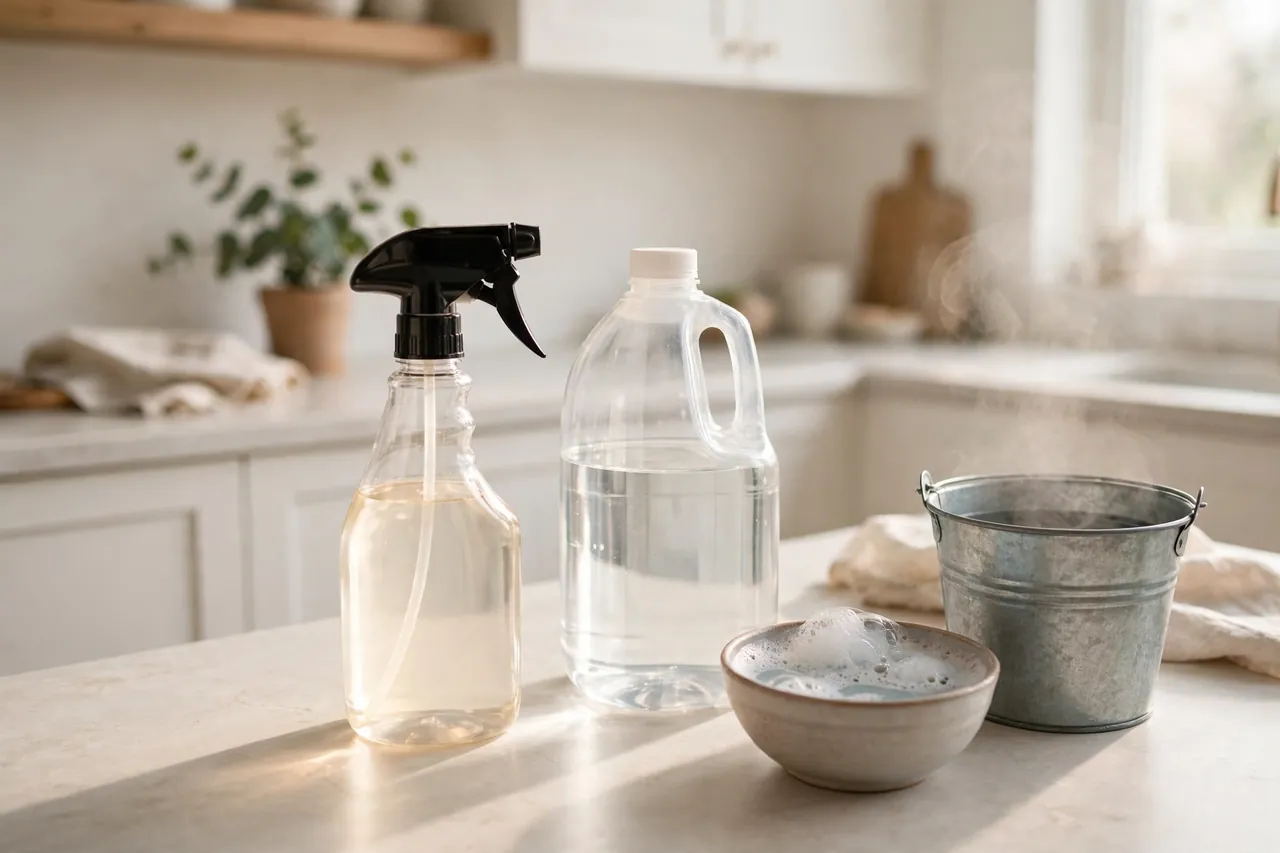
You need 1/2 gallon of hot water, 1/4 cup of rubbing alcohol (70% isopropyl alcohol), 6 drops of dish soap, a bucket, and a shovel. Pour the hot water into the bucket, stir in the rubbing alcohol and the dish soap, and pour the mix slowly over the icy patch. Wait 3 to 5 minutes. The ice will bubble and soften, and you can push the slush away with a shovel. For a car windshield, let the mix cool first, pour it into a spray bottle, and spray the glass.
Use it when the air is above about 20 degrees Fahrenheit and the ice is less than 1/4 inch thick. On thicker ice, pour the mix, wait, shovel the soft top layer off, and pour again. A home test by TMJ4 found that rubbing alcohol poured on ice by itself did almost nothing, so do not skip the hot water and the soap.
2. Salt Brine Spray
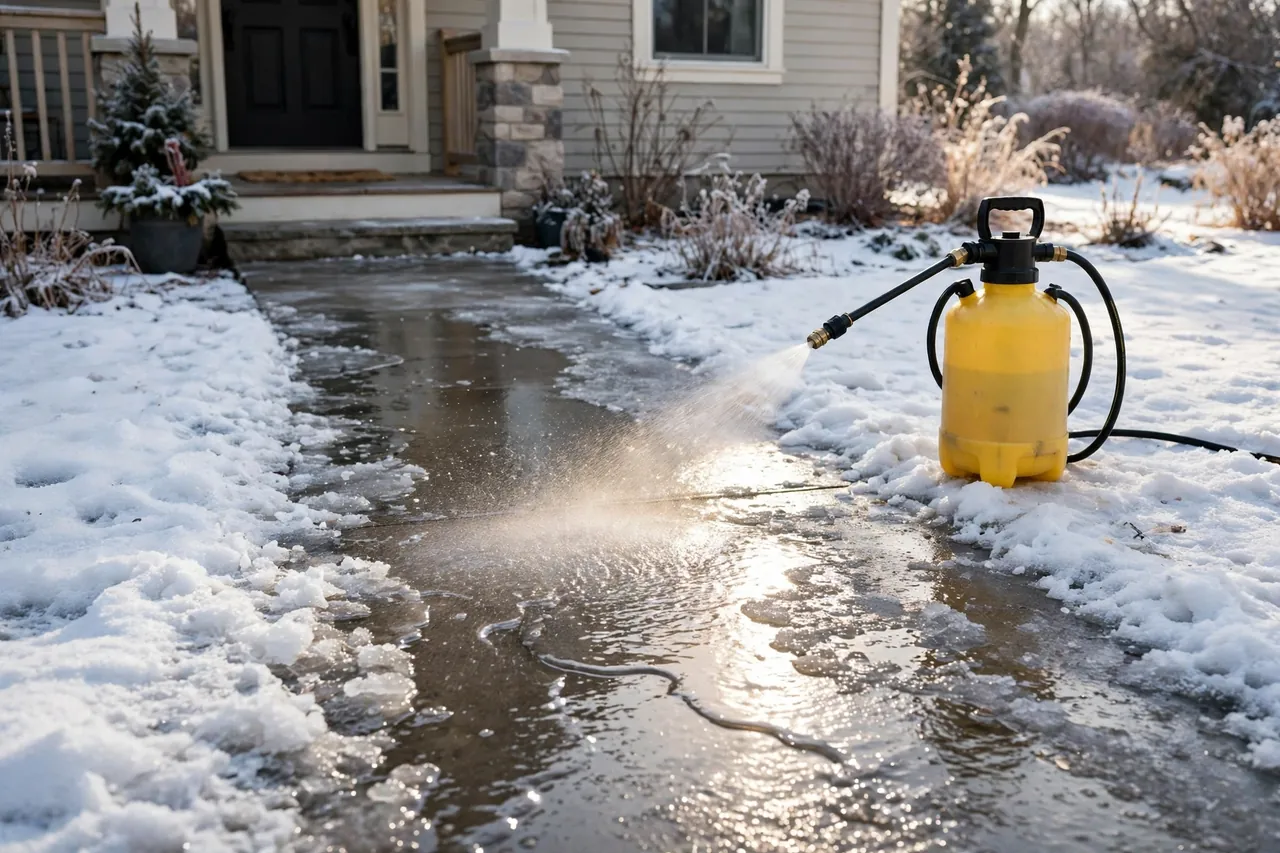
Salt brine is just salty water, and it is the cheapest liquid ice melt you can make. Stir 1 cup of rock salt or table salt into 1 gallon of warm water until it fully dissolves, pour the brine into a garden sprayer or watering can, and spray it evenly over the ice. Give it 10 to 15 minutes, then shovel the loosened slush away. You can also pour brine on the pavement the night before a storm to slow ice from bonding.
Know the limit before you trust it. Rock salt only melts ice when the temperature is about 12 degrees Fahrenheit or higher, according to Kansas State University Extension. In real life, it slows down a lot below 20 degrees. If the night will drop into the single digits, brine will not save your walkway. Save it for mild freezes and light ice.
3. Vinegar and Water Mix
Vinegar can melt thin ice, but it is the weakest liquid recipe on this list. White vinegar contains acetic acid, which lowers the freezing point of water a little. Mix equal parts white vinegar and hot water in a spray bottle, spray the icy surface until it is wet, wait 5 to 10 minutes, then scrape the softened ice away. For thick ice, use 3 parts vinegar to 2 parts water and repeat the spray. Keep the mix off painted surfaces and metal railings when you can, because vinegar is mildly corrosive over time.
Use vinegar only as a backup, never as your main plan. It works slowly, it needs repeat sprays, and it quits in real cold. If you have rubbing alcohol in the house, pick recipe one instead.
4. Baking Soda Sprinkle
Baking soda works like a very mild salt. Its sodium content lowers the freezing point of water, so a generous sprinkle can soften a thin layer of ice on a step or a landing. Scatter a thick, even layer over the ice, wait 15 to 20 minutes, then scrape or sweep the slush away. It works best on ice less than 1/8 inch thick and in temperatures above about 25 degrees. A box covers a few steps, so use it for the two steps by the back door, not the full walk.
5. Sugar and Water Mix
Sugar melts ice the same way salt does, by lowering the freezing point of water. Dissolve 1 cup of sugar in 1 gallon of warm water and pour the mix over thin ice. It softens the surface in about 10 minutes, but it works only above about 25 degrees, melts slower than salt, and leaves a sticky film. Keep it as a backup for a day when you have no salt, no alcohol, and no vinegar.
6. Beet Juice and Salt Brine
Beet juice is the most interesting recipe on this list, and it is popular across the Midwest for a good reason. The natural sugars in beet juice lower the freezing point of water, and the juice helps salt brine stick to the pavement instead of bouncing off. Mixed together, they melt ice better than plain brine and cause less harm to concrete and plants.
Stir 1 1/2 cups of salt into 1 gallon of water until it dissolves, then stir in 8 ounces of beet juice. Pour the mix over the ice with a watering can, or spray it on the pavement before a storm as a pre-treatment. It works down to about 15 degrees, a little colder than plain salt brine. Use the pale sugar beet juice sold for de-icing, not the red juice from canned beets, which can stain your walkway.
7. Wood Ash and Coffee Grounds for Traction
Wood ash and used coffee grounds do not melt much ice, but they still belong on this list because they solve the real problem: slipping. Both are dark, gritty, and free. Spread them over ice and they give your shoes grip right away, while their dark color soaks up sunlight and warms the surface during the day.
Use only cool wood ash from a fireplace or wood stove, and spread it in a thin, even layer. Apply both during daylight hours only. At night, the wet grit can freeze into the ice and make the surface even slicker by morning. Pair grit with a real melting recipe: the grit keeps you safe while the mix does the melting. Sand and non-clumping kitty litter work the same way, and they are the safest choice of all for pets, because they add no chemicals to the ground at all.
Recipe Comparison: Temperature Limits at a Glance
This table is the heart of the guide. Check the temperature first, then pick a recipe that still works in that cold. Every number below comes from a named source, and the homemade limits reflect how these mixes behave in real use, not in a lab.
Table: Do it yourself ice melt recipes compared by lowest working temperature, best use, and surface risk.
| Recipe | Works down to | Best use | Watch out for |
|---|---|---|---|
| Rubbing alcohol and dish soap | About 20°F | Thin ice, steps, windshields | Flammable; keep away from flames |
| Salt brine spray | About 12°F | Walkways, pre-treatment | Concrete and plant damage |
| Vinegar and water | About 25°F | Thin frost, glass | Slow; corrodes metal over time |
| Baking soda sprinkle | About 25°F | One or two steps | Very slow; small areas only |
| Sugar and water | About 25°F | Backup when nothing else is handy | Sticky film; costly per batch |
| Beet juice and salt brine | About 15°F | Walkways, pre-treatment | Stains if you use red beet juice |
| Wood ash and coffee grounds | No melting limit | Traction only, daylight hours | Can refreeze at night |
| Store-bought calcium chloride | Minus 25°F | Deep cold, thick ice | Costs more per bag; irritates paws |
The temperature limits for the store-bought salts come from Kansas State University Extension, which lists rock salt as effective only at 12 degrees Fahrenheit or higher, magnesium chloride down to 5 degrees, and calcium chloride down to minus 25 degrees. Pavement temperature matters more than air temperature, so a walkway in shade can sit several degrees colder than the air above it.
What Does Not Work (and What Can Hurt Your Driveway)
Hot water alone is the most common mistake. A bucket of hot water melts the top of the ice, but the water has nowhere to go. It pools, cools, and freezes again into a smooth, even slicker sheet. Always mix the hot water with alcohol or salt, and always shovel the slush away right after it loosens.
Bleach never belongs on ice. It does not melt ice well, it can damage concrete and kill grass, and it creates dangerous fumes if it mixes with other cleaners. Rubbing alcohol poured straight from the bottle also disappoints: a home test by TMJ4 tried plain rubbing alcohol on porch ice and found it did almost nothing, because the alcohol evaporates fast and has no water to carry it into the ice.
Fertilizer sometimes shows up in old lists as a homemade ice melt. Ammonium sulfate fertilizer does lower the freezing point, but it is slow, it feeds weeds in spring, and it can burn lawns along the edge of the walk. It is a poor trade for a bag of rock salt that costs less and works faster. And do not chip at ice with a metal pick: it scars concrete and can crack a step. Let the mix soften the ice first, then push the slush away with a plastic shovel.
Is DIY Ice Melt Safe for Concrete, Plants, and Pets?
Homemade mixes are gentler than heavy rock salt, but none of them is harmless. Each recipe trades one risk for another, so match the mix to the surface and to who walks on it.
Concrete
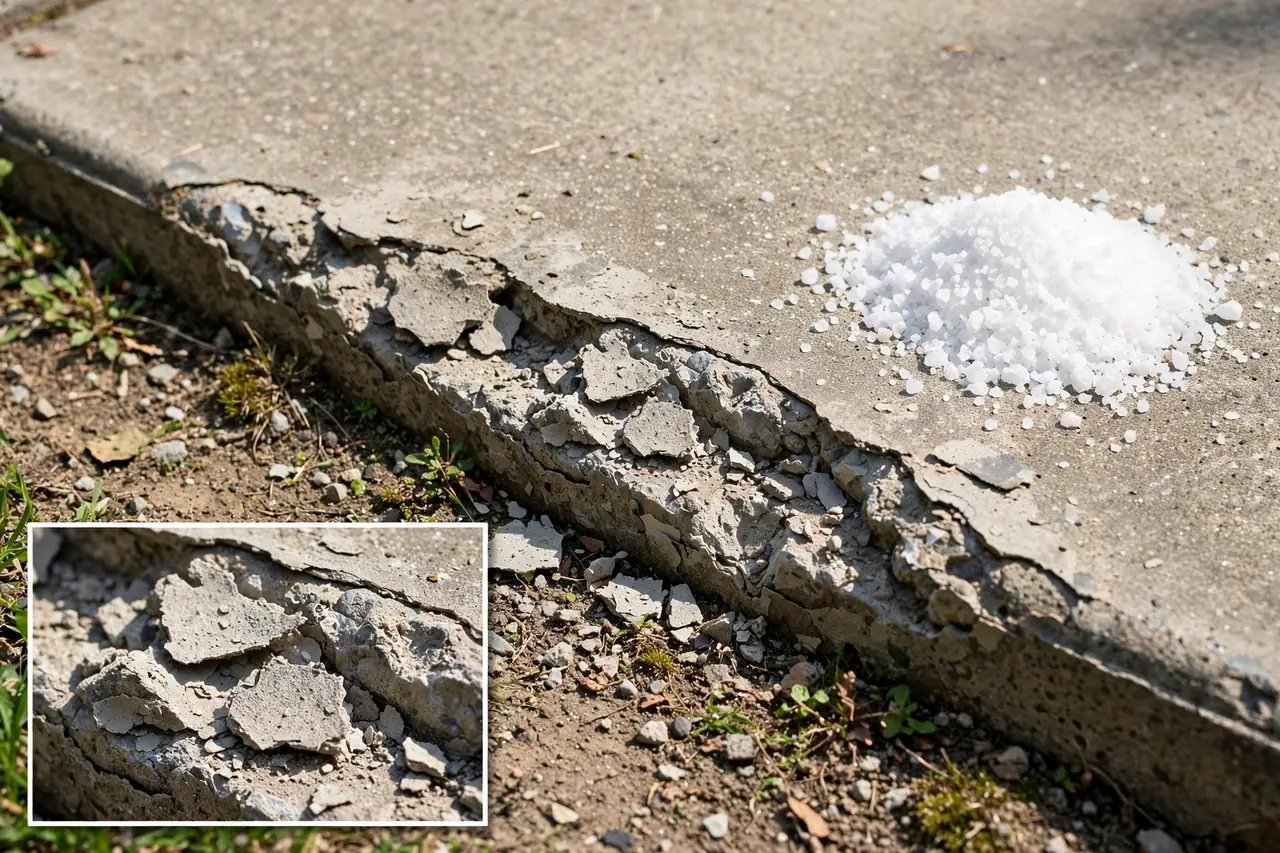
New concrete is the most fragile surface of all. Do not use any salt-based melt, homemade or store-bought, on concrete less than a year old. Salt water seeps into the pores, freezes, and pops the surface off in flakes. Even on old concrete, use the smallest amount that works, and sweep up the leftover brine and grit once the ice is gone. The alcohol and dish soap mix is the kindest recipe for old concrete, because it leaves almost no salt behind.
Plants and Grass
Salt is the main plant killer in any de-icer. Salt spray and runoff burn lawn edges and shrub roots, and the damage often shows up in spring as brown patches along the walk. Kansas State University Extension notes that calcium chloride is gentler on plants than rock salt when used as directed, and the same rule holds for homemade mixes: less salt means less damage. Keep every salt mix away from garden beds, and shovel salty slush onto the street or the driveway, not onto the lawn.
Pets and Paws
Dogs and cats pick up de-icer on their paws and then lick it off, so what sits on the ground ends up in their stomachs. Rock salt dries out paw pads and causes cracking, and eating it can upset a pet’s stomach. Reader’s Digest notes that sand will not dry out pets’ paw pads the way salt does, which is why sand and grit are the best choice when pets use the walk. If you must use a salt mix where a dog walks, wipe the paws with a damp cloth when the dog comes inside. Never use a mix with antifreeze or windshield washer fluid. Those liquids are highly toxic to pets, even in small sips.

How to Apply Homemade Ice Melt So It Works
A good recipe still fails if you apply it wrong. Follow this order every time, and you will use less mix and get a clearer walk.
- Clear the loose snow first. Shovel or blow the walk clear before you pour anything. A snow blower makes this fast on a long driveway, and our guide to the best snow blowers for 2025 can help you pick one that fits your driveway size. Melt works on ice, not on deep snow.
- Check the temperature. Look at the forecast and the table above. If the night will drop below your recipe’s limit, pick a stronger recipe or buy a bag of calcium chloride instead.
- Mix fresh and use it right away. Hot water cools fast in a cold bucket. Mix only what you need for one pass.
- Pour slowly and evenly. A thin, even coat melts better than a puddle in one spot. Start at the top of a slope so the mix runs down over the ice.
- Wait, then shovel. Give the mix 5 to 15 minutes to soften the ice. Then push the slush off the walk. Leaving slush in place lets it freeze again overnight.
DIY vs. Store-Bought: What Does It Cost?
Homemade ice melt is cheap per batch, but a store-bought bag covers far more ground. A batch of the alcohol and soap mix costs about $1 to $2. A 32-ounce bottle of 70% isopropyl alcohol sells for $2.99 at Target, and a 32-ounce bottle of the 91% strength sells for $3.99, both checked on November 5, 2026. One bottle makes about eight batches, and the dish soap and water cost pennies.
Salt is even cheaper in bulk. A 50-pound bag of rock salt sells for about $10 to $15 at retail, and a January 2026 wholesale price list from Hersch’s shows 50-pound bags of IceAway rock salt at $9.95 to $14.85. A 50-pound bag of calcium chloride costs more: the same list shows Peladow calcium chloride at $18.75 to $26.00, a Northern Tool listing shows SnowJoe pellets at $54.97, and a Home Depot reviewer reported paying about $40 in January 2026. All prices were checked on November 5, 2026, and they vary by store and region.
Do the math for your home. If you only need to clear two steps a few times a winter, homemade mixes win: you spend a few dollars all season. If you clear a long driveway after every storm, a bag of calcium chloride wins: one bag covers the whole winter, works in deep cold, and costs less per storm than mixing batch after batch of alcohol and hot water.
When to Skip the DIY Mix and Buy a Commercial De-Icer
Homemade mixes are a backup plan, not a winter-long system. Buy a bag when any of these is true.
- The forecast drops below 15 degrees. No homemade mix works well that cold. Calcium chloride keeps working down to minus 25 degrees.
- The ice is thick, more than 1/2 inch deep, or covers a whole driveway. A bag of pellets melts thick ice faster than any bucket of liquid.
- You need to treat the same area every day. Mixing hot water batches every morning gets old fast, and the cost adds up.
- Someone in the house has trouble walking. A fall on ice can cause a serious injury. When safety is on the line, use the strongest product that works in that temperature.
- You have roof ice dams as well as ground ice. Ground mixes do nothing for a roof. Our guide on how to remove ice dams explains the roof side of the problem and when to call a roofer.
When you shop, read the bag, not the front label. Look for the active ingredient and the lowest working temperature. A bag that says calcium chloride works to minus 25 degrees. A bag that says “ice melt” but lists mostly sodium chloride is just pricey rock salt.
Common Mistakes to Avoid
- Pouring hot water alone on ice and walking away. The water refreezes into a slicker sheet.
- Using more salt than the recipe calls for. Extra salt does not melt ice faster below its limit, and it damages concrete and plants.
- Treating new concrete with any salt mix. Wait until the concrete is at least a year old.
- Mixing rubbing alcohol near a flame or a hot stove. Alcohol is flammable, so mix it outside or far from open flame.
A Short Safety Note
Homemade ice melt uses household chemicals, so treat the job with respect. Keep rubbing alcohol away from open flames, never mix it with bleach or other cleaners, and store it out of reach of children and pets. Wear gloves when you handle salt brine or vinegar mixes, and wash your hands after you finish. If a pet eats de-icer or a child swallows any mix, call your vet or Poison Control right away.
Related Guides
How Do You Remove Ice Dams? Safe Methods That Work · Best Snow Blowers 2025: Our Top Picks, Updated for 2026 · How to Stay Warm Without Power: A Winter Outage Guide That Puts Safety First
Frequently Asked Questions
Can you use vinegar to melt ice?
Yes, but only on thin ice in mild cold. Mix equal parts white vinegar and hot water in a spray bottle, spray the ice, wait 5 to 10 minutes, and scrape the softened layer away. Vinegar works slowly and quits below about 25 degrees, so the rubbing alcohol mix is a better choice when you have it.
Will homemade ice melt solutions damage concrete or plants?
They can, but less than heavy rock salt. Salt mixes cause the most harm: salt water seeps into concrete pores and burns lawn edges and shrub roots. The alcohol and soap mix is kindest to old concrete, and grit adds no chemicals at all. Never use any salt melt on concrete less than a year old.
Are there eco-friendly commercial ice melt products available?
Yes. Several brands sell ice melt billed as eco-friendly or pet-friendly, usually based on calcium magnesium acetate, magnesium chloride, or beet juice blends. Read the ingredient list rather than the marketing tagline, because some “pet-friendly” bags still contain mostly rock salt. Beet juice blends are among the gentlest options for surfaces and pets.
When should you use deicing products?
Use them during the day, when the sun helps the melting along. Daytime sun warms dark pavement and keeps the mix working, while a mix poured at night can freeze again before it finishes. Clear the snow first, apply the mix, wait a few minutes, and shovel the slush away before dark.
What is the best homemade deicer?
The rubbing alcohol and dish soap mix is the best homemade deicer for most homes: 1/2 gallon of hot water, 1/4 cup of rubbing alcohol, and a few drops of dish soap. It works fast on thin ice, costs about $1 to $2 per batch, and leaves little residue. It still needs mild cold, above about 20 degrees, and thin ice to do its best work.
Cold weather tests more than your walkway. When a deep freeze hits, your furnace works harder too, and our guide on why your furnace quits on the coldest night of the year can help you spot trouble before the heat goes out. Mix a batch tonight, clear the walk before the next storm, and keep a bag of calcium chloride on hand for the nights when homemade mixes stop working.