
A Christmas village display turns an ordinary tabletop, mantel, or shelf into a tiny holiday town that glows after dark. You build one by picking a sturdy spot near an outlet, laying a snowy ground cover, setting the tallest buildings at the back, and adding warm lights and small details that make the scene feel alive. That is the whole secret. The rest is just care, patience, and a few simple choices about height, light, and spacing. If you have a box of Christmas village decorations waiting in the attic, this guide will help you turn it into the corner of the room everyone gathers around.
💡 Practical Home Tip: Step back and look at your village from across the room before you call it done. What looks perfect from two inches away can look crowded from the doorway, and one small shift often fixes it. Dim the room lights for a minute, too, because a village only shows its true glow in the dark.
Pick the Right Spot for Your Christmas Village Display
Learning how to display a Christmas village well starts with the spot, not the houses. A good spot is stable, near an outlet, and easy to see without leaning over furniture. Eye level, or slightly below it, wins every time, because you want to look into the little streets, not down on the rooftops.
Mantels, console tables, sideboards, and deep shelves all work well. Under the tree works, too, and we cover that below. Before you place a single house, measure the space with a tape measure and leave room above the tallest building, because a church steeple squashed against a shelf above it looks wrong all season.
Keep the spot out of direct sunlight, which fades paint and fabric over the years. Keep it out of the busiest path through the room, since one bumped elbow can topple a whole street. If you have small kids or pets, choose a higher shelf or a spot behind glass, and keep the most fragile pieces farthest from the edge.
Ask one question before you commit: can everyone see the village from where they actually sit and walk? A display tucked behind a sofa helps no one, however pretty it looks up close.
Build the Ground: Platforms, Levels, and Snow
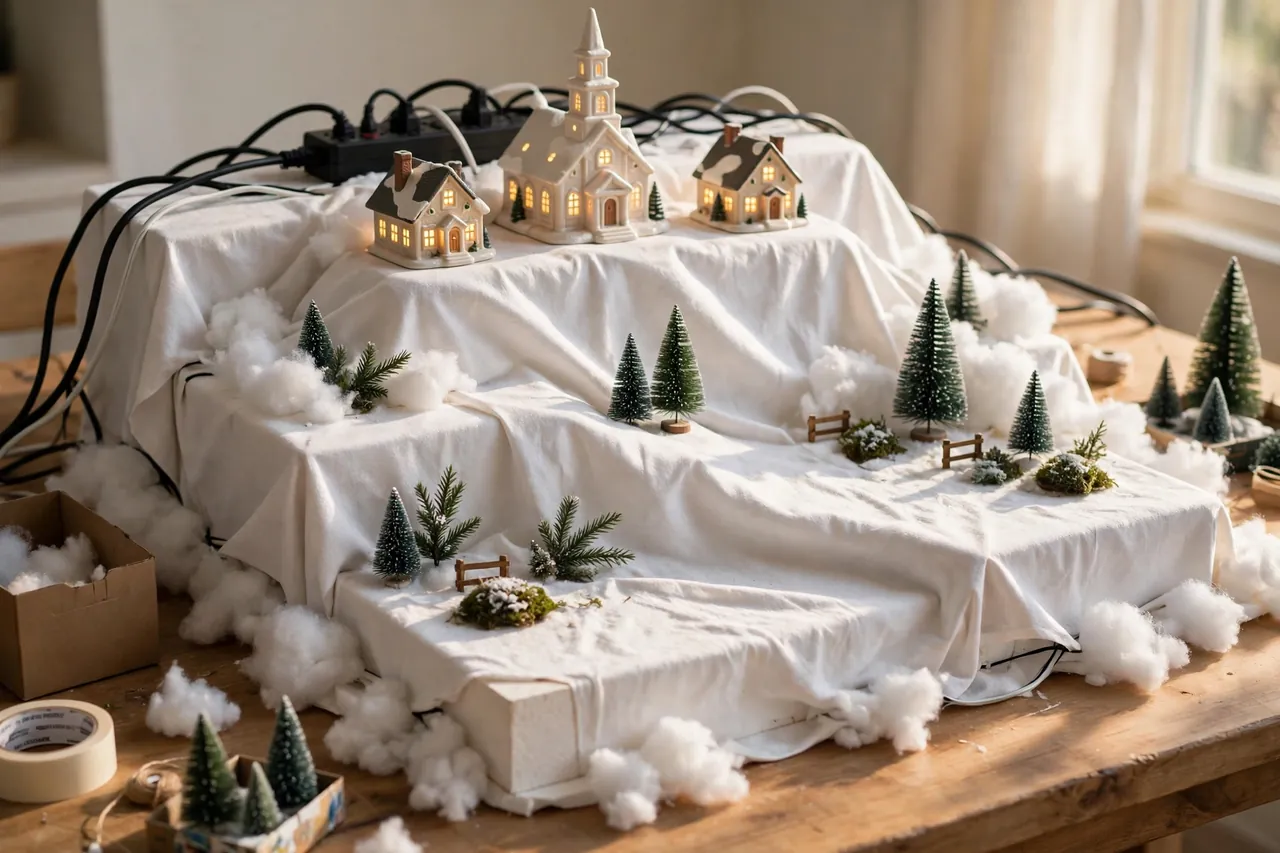
Every good village starts with the ground. Lay a plain white cloth or a sheet of white felt over your surface first. It protects the furniture, and it gives you a smooth base for the snow to sit on.
Next, build your levels. Flat villages look flat, and that is the most common beginner mistake. Hide risers under the snow cloth to raise the back of the village: foam boards, sturdy boxes, a stack of books, or short crates all work. Put the tallest buildings on the highest riser at the back, and let the ground slope gently down toward the front edge.
Run your cords before the snow goes down, not after. Set a power strip at the back edge where you can still reach it, and run each building cord under the cloth to the strip. Test every light before you cover anything, because finding a dead bulb under a finished snowdrift is nobody’s idea of fun.
Finally, lay your snow. A snow blanket or a layer of cotton batting makes a soft winter ground. Tuck it around the risers so the hills look like hills, not boxes wearing a sheet, and keep the front edge of the cloth tidy so it does not pool where people walk.
Lay Out Your Village Like a Real Town
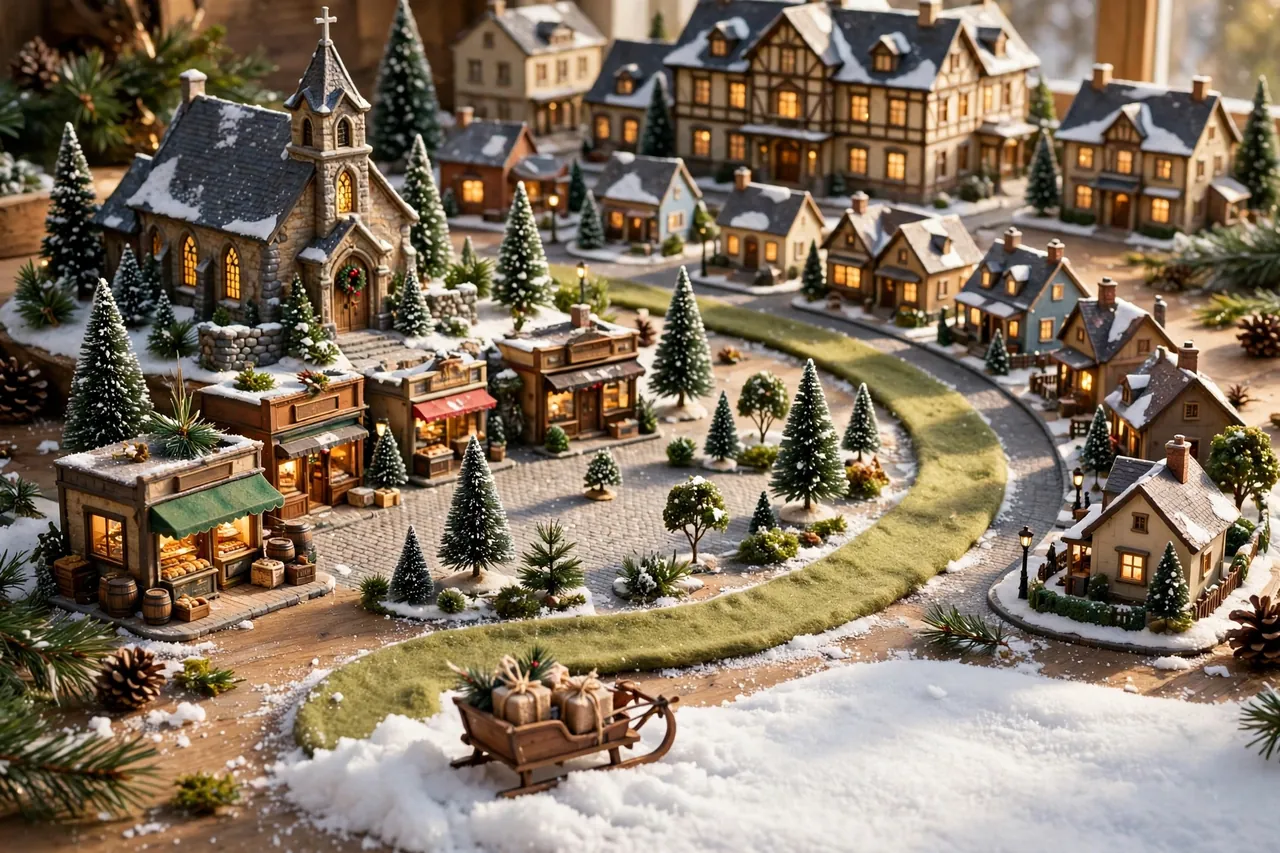
Now comes the part that separates a collection from a town. Pick a focal point first: the church, the town hall, or your tallest shop, placed at the back and slightly off-center. The eye needs one place to land before it wanders.
Then group the rest by zones, the way a real town grows. Shops and market stalls gather around a small square. Homes form a crescent or a quiet side street. The church stands slightly apart, the way churches do. These Christmas village layout ideas share one simple rule: the village should read as a place, not as a shelf of houses.
Build depth in three layers. Put the big buildings at the back, people and trees in the middle, and small things like a sleigh or a snowdrift at the front. A complete setup guide stresses the same point: layers are what turn a row of houses into a scene with distance in it.
Curve your paths. A strip of felt, a line of fine gravel, or a ribbon of sand that bends between the buildings feels natural, while a straight road down the middle feels stiff. And leave breathing room. Not every inch needs filling. A patch of open snow lets the eye rest, and it makes the lit windows beside it shine brighter.
If your collection is large, sketch the layout on paper first. Ten minutes with a pencil saves an hour of shuffling ceramic houses, and it stops you from discovering too late that the bakery hides the church.
Light It So the Village Glows After Dark
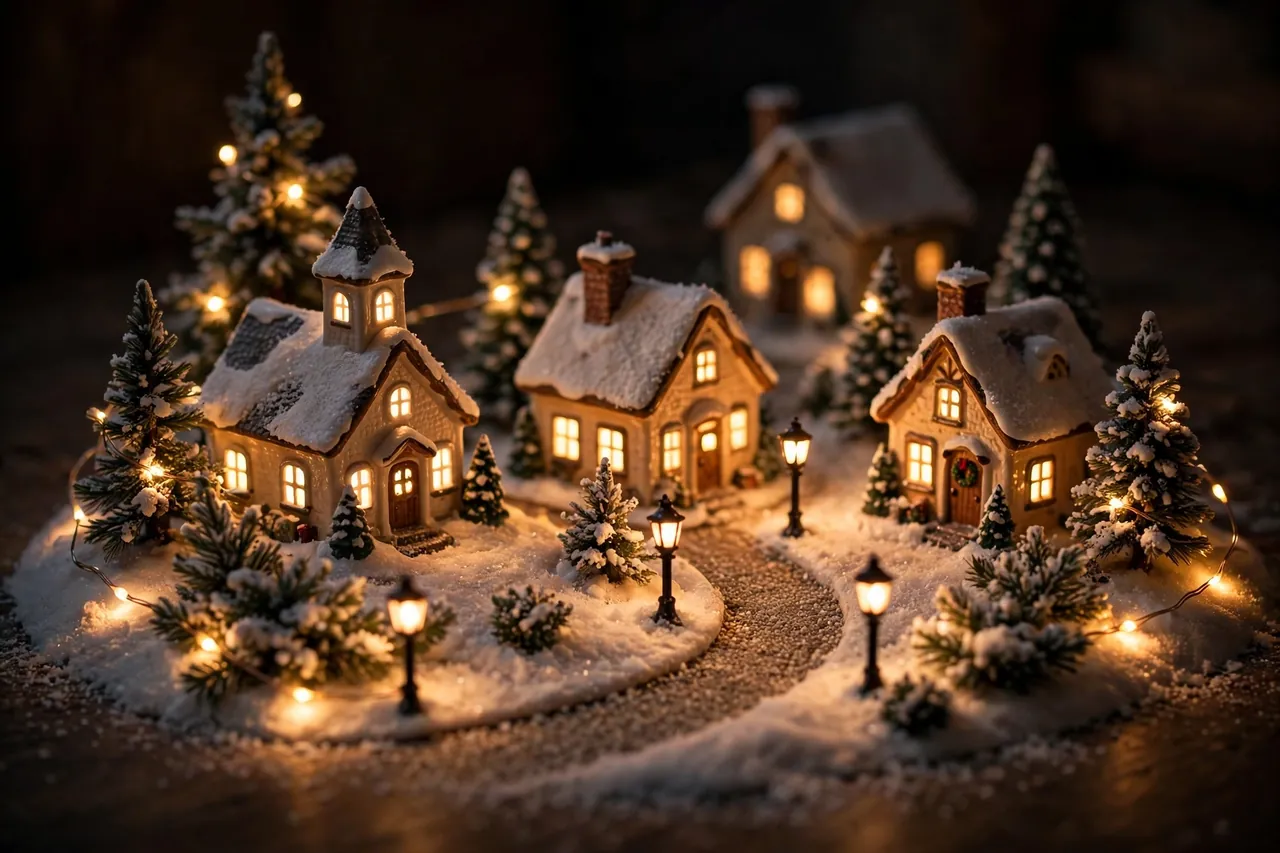
Light is what turns a nice display into a magical one. Start with the building lights, because glowing windows are the heart of the scene. Then add street lamps along the paths, and finally weave a few fairy lights low through the trees and snow.
Stick to warm-white lights. Cool white light makes snow look blue and fake, while warm light feels like lamplight and candlelight, which is exactly the mood a village wants. Put the whole display on a timer so it glows at dusk and rests overnight, instead of burning all day while no one looks at it.
Test everything after dark before you call the village finished. Dim the room lights and walk around the display. Shadows will show you where light is missing, and one dark house in a glowing street stands out more than you would think.
Be careful with power, because a village has more plugs than people expect. Use one power strip, never plug a strip into another strip, and keep every plug where you can reach it without moving houses. Hide battery packs under the base, and never run a cord across a walkway where someone can trip on it in the dark.
Add the Details That Make People Lean In
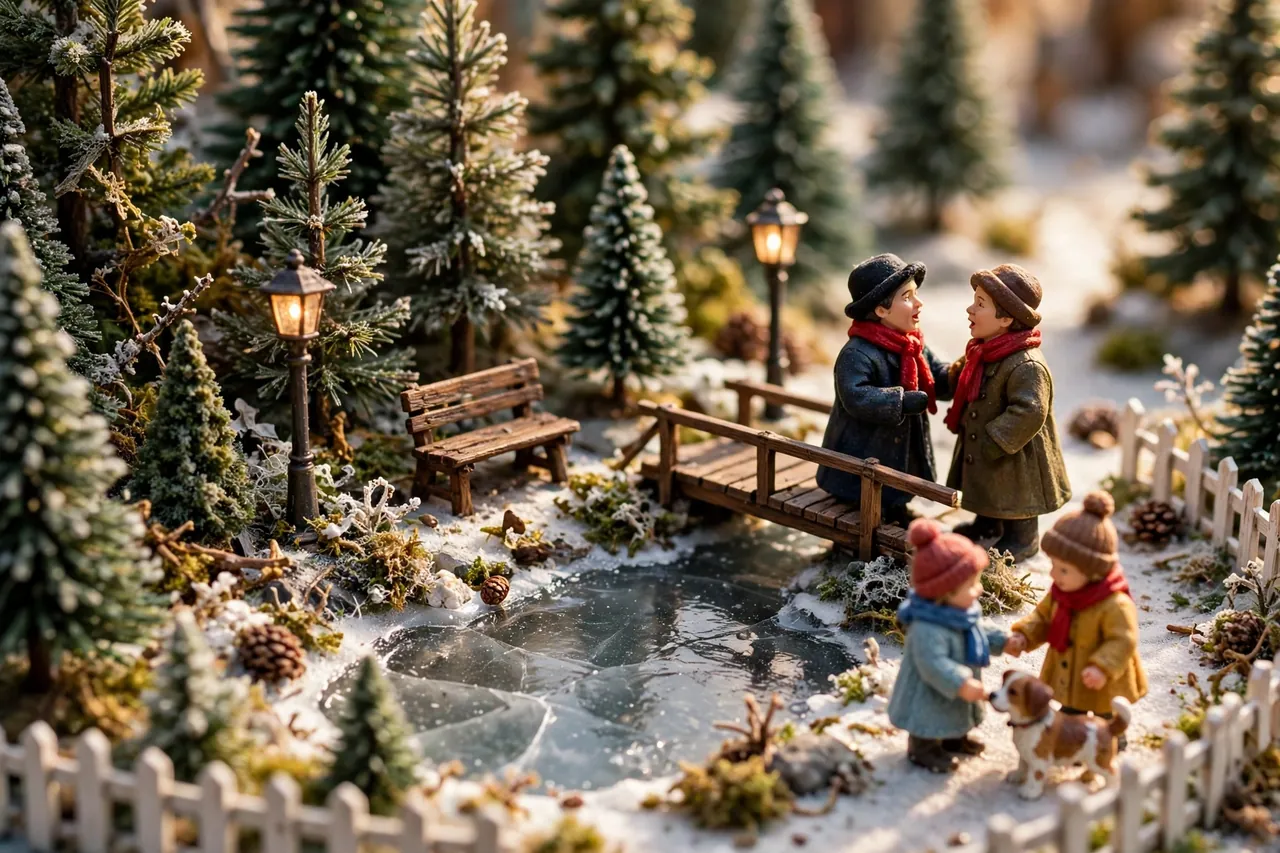
Details are the reason guests stop, bend down, and point. Start with trees, and plant them in clusters of different heights, the way real trees grow. A row of identical trees looks like a fence, while a mixed cluster looks like a wood.
Give your figures something to do. Carolers should face each other, not the room. Children can hold hands beside a dog pulling its leash. A couple can share cocoa on a bench. Figures posed mid-moment tell a story, while a straight row of figures facing forward looks like a lineup.
Add the small street furniture that sells the illusion: fences, bridges, lamp posts, benches, and a tiny sign or two. A small mirror makes a perfect frozen pond, and a strip of blue fabric makes a river that a bridge can cross. If you own a train, run it around the edge of the village, but only if you have a clear loop, because a track that cuts through the town square wrecks the scene.
Animated pieces, like a carousel or a Ferris wheel, work best as a single focal point. One moving piece delights everyone. Five moving pieces compete with each other, and the village starts to feel like a fairground.
If you collect a named series, let it shape the story. Department 56 makes whole series, including Snow Village, Dickens Village, North Pole Village, and Christmas in the City, plus licensed lines with characters like the Grinch, Mickey, and Peanuts, as listed on a Department 56 village guide. Matching your village theme to your tree theme pulls the whole room together, so a Dickens-style village pairs beautifully with classic ornaments rather than bright modern ones.
Christmas Village Display Ideas for Small Spaces and Big Collections

Small space? You can still have a village. A single shelf tier, one mantel row, or a bookcase shelf holds a beautiful small scene, and a handful of Xmas village decorations arranged with care beats a crowded table every time. These Christmas village ideas work at any size, because the rules stay the same and only the footprint changes.
A Christmas tree village display is the classic choice, and it needs one extra step: measure around the tree stand before you place anything. Gifts, low branches, and the stand itself all eat floor space, so plan the tree lights and the village cords together, and keep the power connections where you can reach them. A guide to villages under the tree walks through measuring, clearance, and wiring in detail.
Big collection? Do not try to show everything at once. Pick one theme or one series for this year, and rotate next year. A shelf per series looks curated, while every piece you own crammed onto one table looks like storage. Narrow walls love vertical tiers: a ladder shelf or a stack of crates gives you three villages in the footprint of one.
However you display it, remember that there are many ways to display a Christmas village, and the right one is the one that fits your room, your collection, and the way your family actually lives in the space.
Keep Your Village Safe and Standing All Season
A village has to survive six weeks of daily life. Press a small dab of museum putty under light pieces on slick shelves so a slammed door does not send them sliding. Keep the display away from radiators and fireplace heat, which dry out paint and warp delicate parts over time.
Dust once a week with a soft brush, and check the bulbs as you go. One dead window in a glowing street breaks the spell, and a quick swap keeps the magic intact. If a piece has a cord, check that it has not worked loose or slipped into a walkway.
Let the timer do its job at night. Lights resting overnight last longer, use less power, and keep the village safer while everyone sleeps. A village that glows every evening and rests every night is a village that still looks wonderful on Christmas Eve.
When something looks off, fix the simple cause first. A leaning building usually means the riser under it shifted, so level the riser before you blame the house. A dark house usually means a loose plug or a dead bulb, so check both before you assume the piece broke. And if the snow cloth keeps slipping, tape its edges under the base at the back, where no one sees the tape.
Pack the Village Away Without Breaking It
Before you take anything down, take a phone photo of the finished village from the front and from above. That photo is next year’s map, and it saves you from reinventing the whole layout in December.
Wrap each building in tissue or plain paper, and pack figures in small boxes of their own so they do not rattle against ceramic walls. Coil each cord with its own building, so next year you are not untangling a mystery pile. Original boxes are best when you still have them, and a label on every box turns next year’s setup from a chore into a pleasure.
Store the boxes in a cool, dry place, and never stack heavy boxes on top of fragile village pieces. Your future self, opening those boxes next Christmas, will be very grateful to the person who packed them with care.
Related Guides
- Christmas Ideas for Decorating a Fireplace Mantel
- Decorating Ideas for a Living Room for Christmas
- Christmas Tree Themes
- Indoor Christmas Decorations
- Decorating a Fireplace at Christmas
Indoor Christmas Decorations: A Room-by-Room Guide to a Warm, Festive Home · Decorating Ideas for a Living Room at Christmas
| Part of the display | What to do | Why it matters |
|---|---|---|
| Spot | Stable surface near an outlet, at eye level | Everyone sees it, and cords stay safe |
| Ground | Cloth, snow cover, and hidden risers | Levels create depth instead of a flat row |
| Layout | One focal point, zones, curved paths | The scene reads as a real town |
| Light | Warm-white lights on a timer, tested at night | The village glows instead of glaring |
| Details | Figures with a job, one story moment | Guests stop, lean in, and point |
| Power | One strip, cords hidden, plugs reachable | Safe all season, easy to fix |
Frequently Asked Questions
Where should I put a Christmas village?
Put it on a stable surface near an outlet, at eye level or slightly below, where people can see it without leaning over furniture. Mantels, console tables, sideboards, and deep shelves all work well. Keep it out of direct sunlight and out of the busiest path through the room, and choose a higher shelf if small kids or pets can reach it.
How do I keep a Christmas village display from looking flat?
Build levels. Hide risers like foam boards, sturdy boxes, or books under the snow cloth, and set the tallest buildings on the highest riser at the back. Layer the scene in three depths: big buildings behind, people and trees in the middle, and small details at the front. Height and depth do more than extra houses ever will.
How do you light a Christmas village safely?
Use warm-white LED lights, put the whole display on a timer, and test every bulb before you finish the scene. Use one power strip, never plug a strip into another strip, and keep plugs reachable without moving houses. Hide battery packs under the base, and never run a cord across a walkway where someone could trip in the dark.
Can I put a Christmas village under the tree?
Yes, and it is a classic choice, but measure first. The tree stand, low branches, and gifts all take floor space, so plan the tree lights and the village cords together before you lay any snow. If the collection is too big for the space under the tree, display part of it there and move the rest to a shelf or a tiered stand.
How do I store a Christmas village after Christmas?
Photograph the finished layout first, then wrap each building in tissue or plain paper and pack figures separately so they do not chip ceramic walls. Coil each cord with its own building, use the original boxes when you have them, and label every box. Store the boxes in a cool, dry place, with nothing heavy stacked on fragile pieces.
Start small this weekend: pick the spot, measure it, and set out one box of pieces. Once the first street glows at dusk, you will understand why people build these little towns year after year, and why guests always end up standing in front of yours. That glow, that tiny world, that moment when someone leans in and smiles, is the whole point.