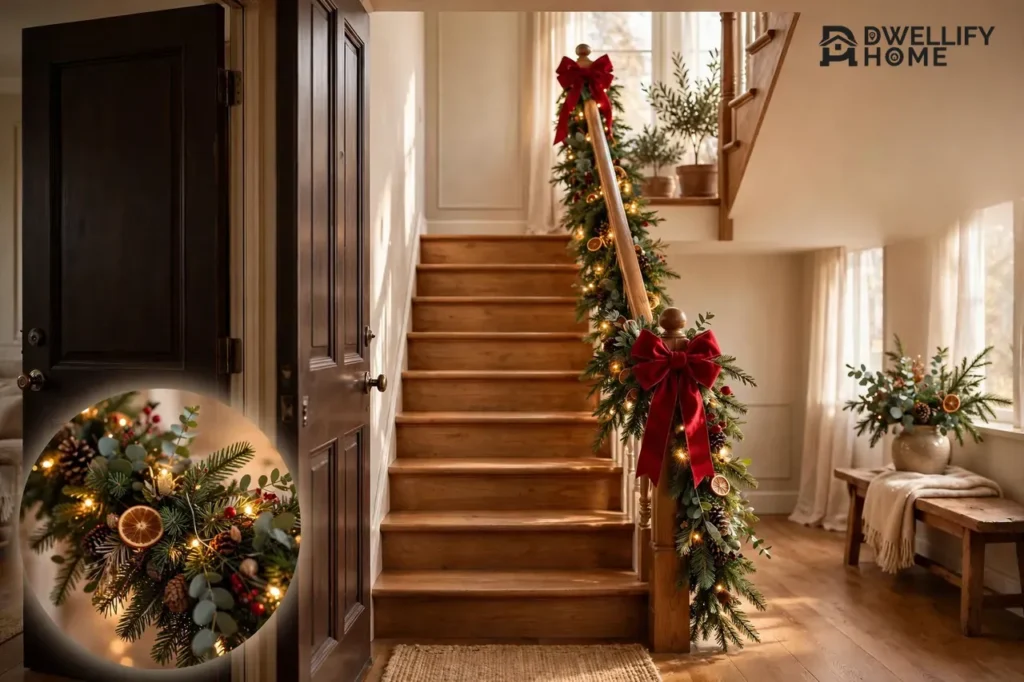
To decorate stairs for Xmas, run a garland along the banister, fasten it every foot or so with soft ties, and keep every step and the handrail itself clear. That is the whole trick. A staircase dressed this way looks magical from the front door, yet it still works like a staircase, even on a busy Christmas morning.
There is a moment on Christmas morning when everyone comes down the stairs at once, half asleep and fully excited. Your staircase sets that scene. This guide shows you how to dress it up beautifully without turning it into an obstacle course. You will measure first, pick the right garland, hang it so it stays put, add lights safely, and style the newel post and railings. One safety rule runs through everything: if your railing wobbles or feels loose, fix it first, or get help, before you hang anything heavy on it.
💡 Practical Home Tip: Hang your garland a week before your big gathering, not the night before. You will spot the sagging spots and the bare patches while you still have daylight and patience, and by party day the stairs will look like they have always looked that way.
Measure First: How Much Garland Your Stairs Actually Need
Every good Christmas staircase starts with a tape measure, not a shopping cart. Walk up your stairs slowly and measure the full length of the handrail, from the bottom newel post to the top one. Write that number down. Then add one to two extra feet, because swags and dips eat up length fast, and a garland that ends six inches short of the landing looks unfinished.
While you measure, count your balusters too. The balusters are the small vertical posts under the handrail, and they decide where your ties go. On most staircases, a tie at every second or third baluster holds the garland steady. If your stairs turn at a landing, measure each straight run on its own and add the extra foot to each run, since a turn swallows more garland than a straight stretch.
Stair Garland at a Glance
| Job | Simple rule | Why it matters |
|---|---|---|
| Measure | Rail length plus 1 to 2 extra feet | Swags and turns use more garland than a straight run |
| Fasten swagged garland | A tie every 12 to 18 inches | Loops stay even and nothing slides downhill |
| Fasten a straight run | A tie about every 3 feet | Enough grip without a forest of visible ties |
| Lights | LED strands, battery powered when no outlet sits nearby | No cords crossing the steps, no warm wires |
| Safety check | Treads clear, handrail grippable, ties checked weekly | The stairs stay safe for every trip, all season |
Here is the part people skip, and it costs them a second trip to the store: lay the garland on the floor next to the stairs before you hang a single tie. You will see right away whether it looks full enough, whether the length works, and whether the color sits well against your walls. Fixing all that on the floor takes two minutes. Fixing it halfway up the rail takes twenty.
Pick the Right Garland for Your Staircase
Not every garland suits a staircase. A thick, heavy garland looks grand on a wide stair, but on a narrow stair it crowds the handrail and leaves no room for a hand. A slim garland, on the other hand, can look lost on a wide staircase. Hold your hand next to the rail and picture it: you want greenery that dresses the rail without swallowing it.
Faux garland wins for most staircases, and the reason is simple. It does not shed needles on the steps, it does not dry out over three weeks, and you can pack it away and use it again next year. Fresh garland smells wonderful and looks alive, but it sheds, it dries, and it needs a watchful eye near anything warm. If you love the real thing, use fresh garland on the newel post, where you can see it and reach it, and faux garland along the long rail.
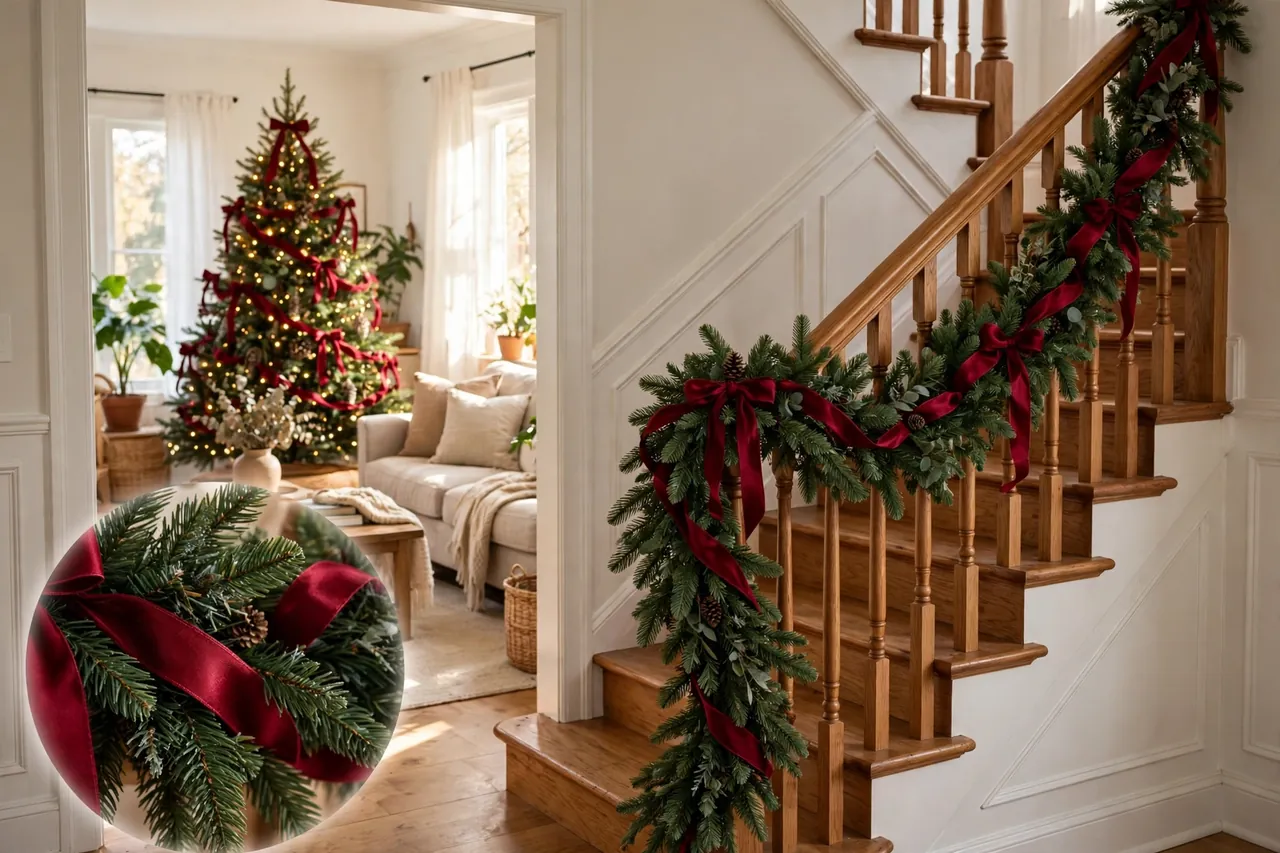
Pre-lit garland saves a whole step, since the lights already sit inside the greenery. Unlit garland gives you more control over the color and spacing of your lights. Either way, pick warm white lights for a classic look, or multicolor lights if your house leans playful. And here is a styling trick the pros use: match your stair garland to your Christmas tree. When the garland carries the same kind of needles, the same ornaments, and the same ribbon as the tree, the whole house feels like one thoughtful design instead of two separate decorations.
Before you buy, think about weight. A garland loaded with ornaments, pinecones, and lights gets heavy, and that weight hangs on your rail for weeks. If your rail is older or a little loose, keep the dressing light: greenery, ribbon, and a few ornaments, and save the heavy pieces for the newel post, which can carry them.
Hang the Garland on the Banister, Step by Step
Now comes the satisfying part. Clear the stairs completely first, so you can walk up and down freely while you work. Put on shoes with good grip, not socks, because you will be on the steps themselves. Then follow these steps, and your garland will look like it grew there.
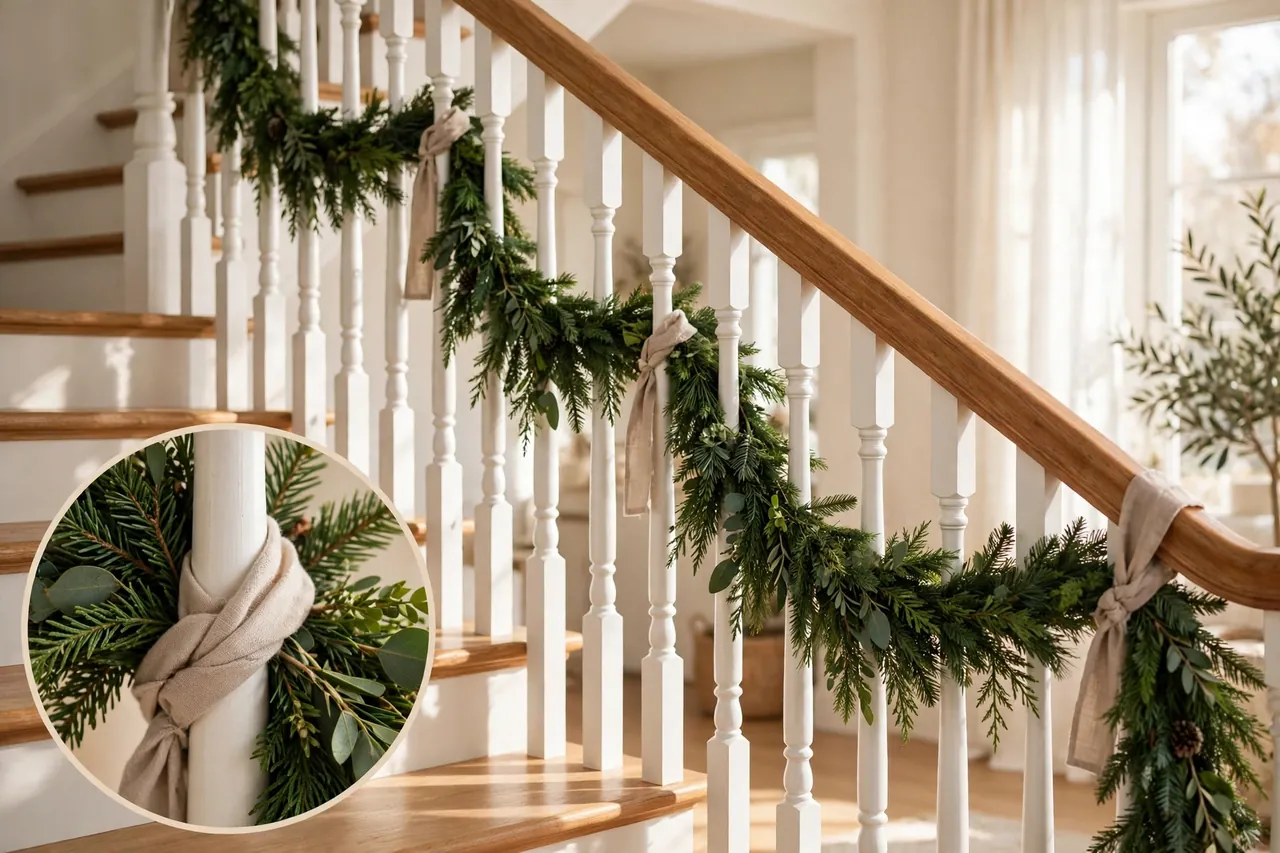
- Start at the bottom newel post. Anchor the end of the garland there with a soft tie, so the whole run has something solid to hang from.
- Work your way up, not down. Going up keeps each finished section above you and out of your way, and the drape falls more naturally.
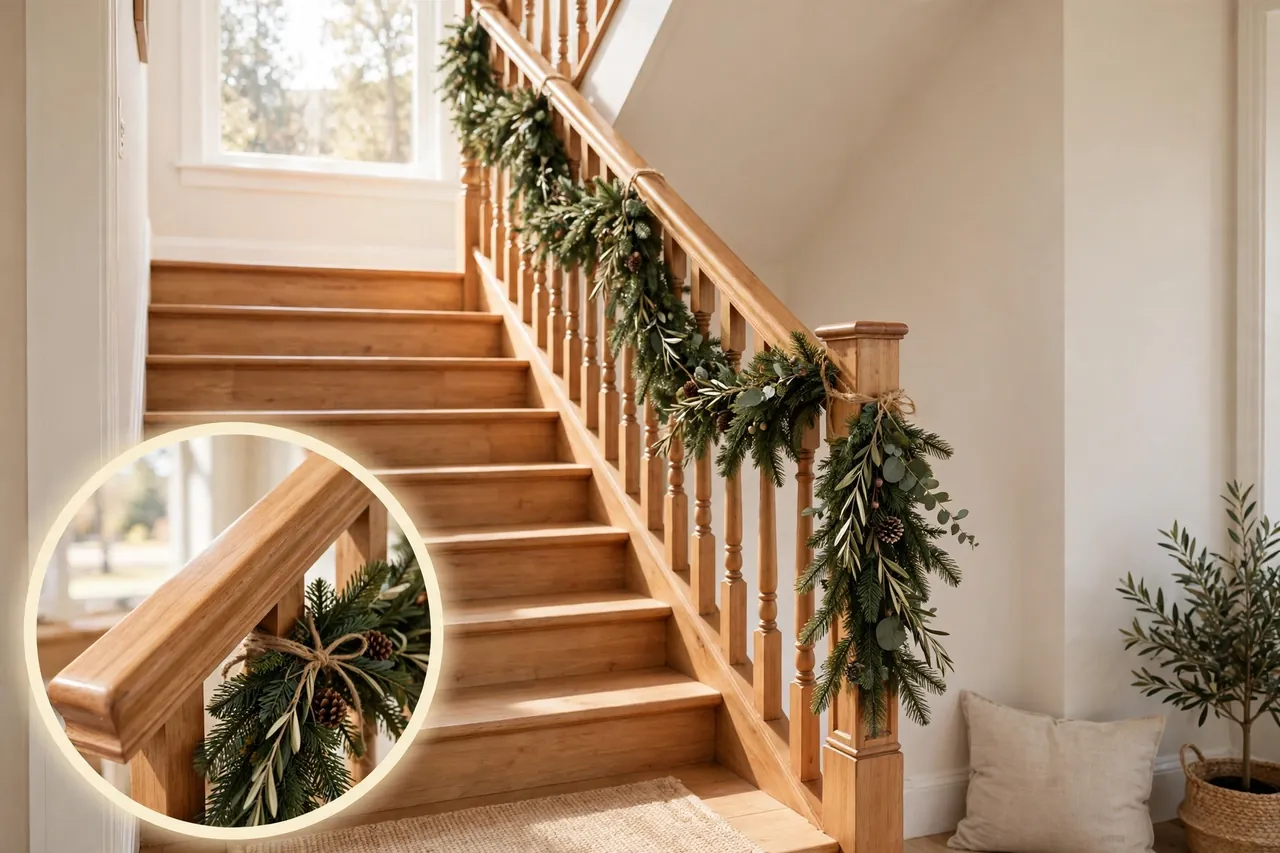
- Shape gentle swags between tie points. Let the garland dip in soft loops about every 12 to 18 inches, and never pull it drum-tight. A relaxed dip looks full and festive, while a tight line looks thin and strained.
- Fasten at every dip with a soft tie. Use zip ties, fabric-covered ties, floral wire, or ribbon, and tuck every tie end into the greenery so nothing sharp or shiny pokes out.
- Hide the hardware as you go. After each tie, fluff the branches over it and bend a few sprigs forward. A tie you can see is a tie you have not finished hiding.
- Step back to the bottom and look up. Check that the swags hang evenly, that no section sags lower than the rest, and that the garland sits on the outside of the rail, not draped over the steps.
- Give the whole run a gentle tug at three or four spots. If anything shifts more than a little, add a tie there. A garland that survives your tug will survive Christmas morning.
If you rent, or if your railing has a finish you love, skip nails, screws, and tape entirely. Soft ties and ribbon do the job without a single mark, and at takedown time your rail will look exactly the way it did before. Tape, even painter’s tape, can pull paint off after weeks on the rail, and hot glue is worse on a finished surface, so leave both in the drawer for this job.
Add Lights to Your Stair Garland Without the Risk
A banister garland with lights glows like something out of a storybook, and it is the single change that makes the biggest difference after dark. But stairs and electricity deserve respect, so a few rules matter more here than anywhere else in this guide.
Use LED strands. They stay cool to the touch, they sip electricity, and they will not warm the greenery around them. Battery-powered strands are the easiest choice on a staircase, because they need no outlet and no cord at all. If you use plug-in lights, keep every cord off the steps. A cord across a tread is a trip waiting to happen, and walking on cords wears down their insulation over time. Run cords along the wall side, never across the walking path, and never tape a cord to a step or hide one under a rug.
Before you weave lights into the garland, test the whole strand on the floor and check it the way fire-safety experts recommend: look for frayed wires, bare spots, cracked sockets, and worn insulation, and throw out any strand that fails the check. The National Fire Protection Association advises linking no more than three light strands together unless the directions say it is safe, and checking now and then that wires do not feel warm to the touch. If a wire feels warm, unplug it and replace the strand, because warmth means something is wrong. For more of the same guidance, the National Park Service page on decking the halls safely collects these fire-safety tips in one place.
Weave the lights into the garland before you hang it, or wrap them around it after it is up. Either order works, but weaving first hides the wire better. Keep the battery box or plug tucked at the top or bottom landing, out of the walking path, where you can reach it easily. And make switching the lights off part of your nightly routine. Unplug the stair lights before bed and before you leave the house, every time, without exception.
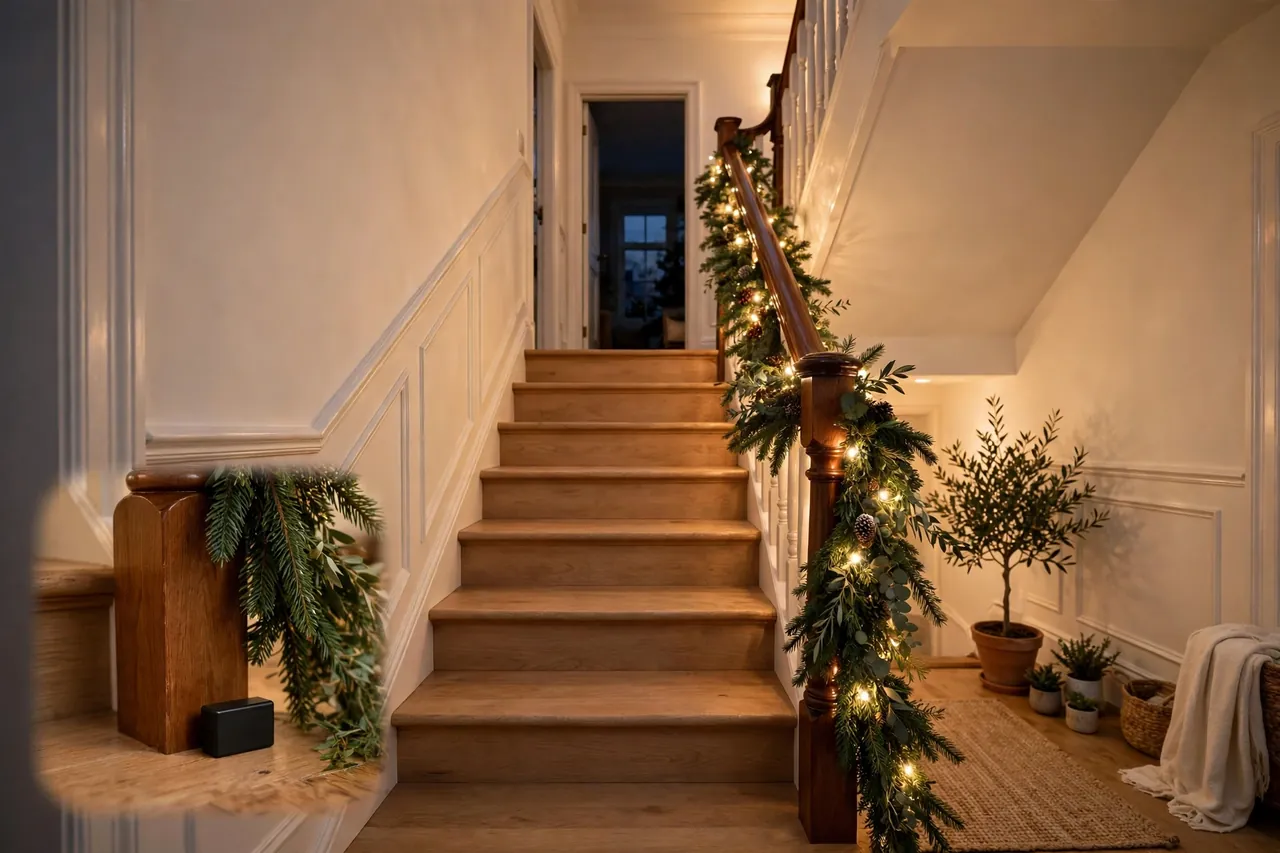
Style the Rest of the Staircase
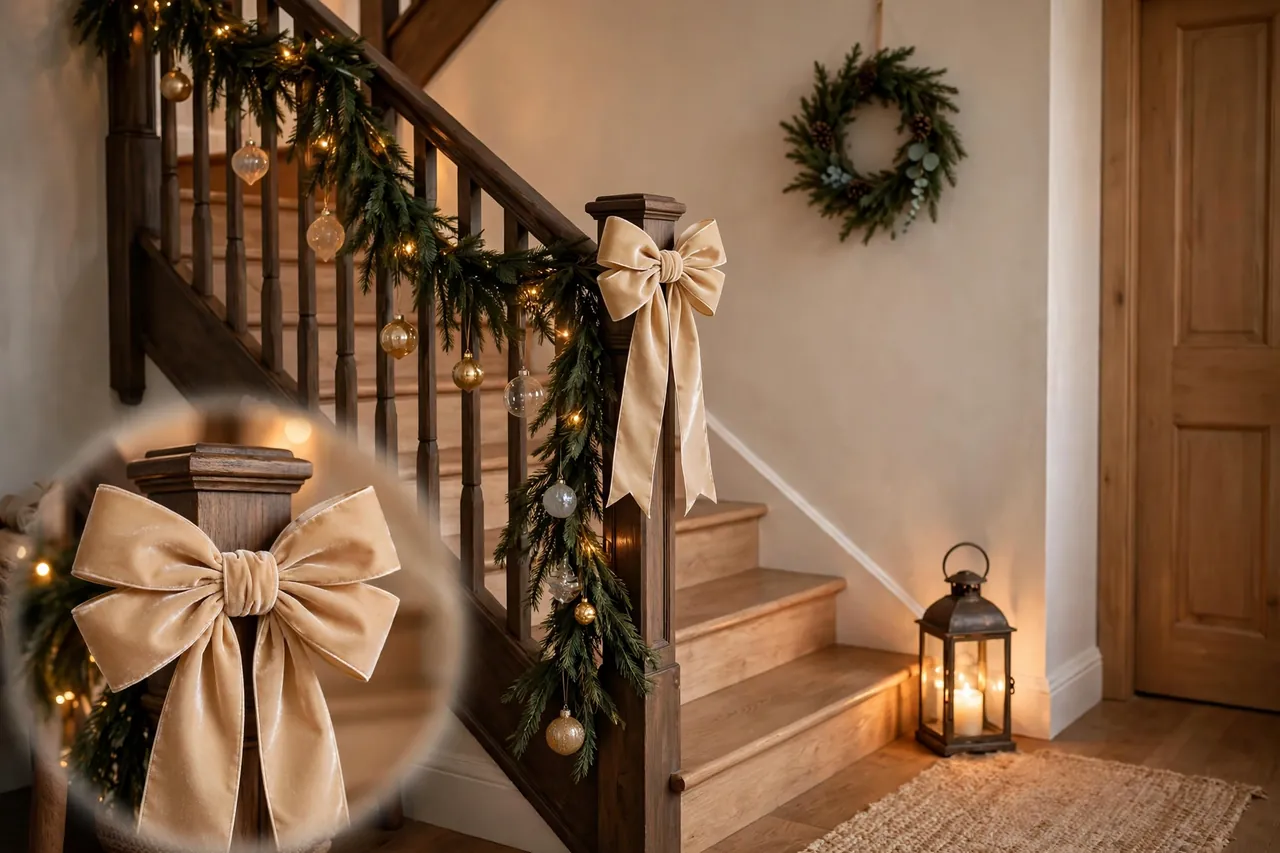
With the garland up and glowing, the rest of the staircase almost styles itself, and restraint is what keeps it beautiful. Tie a big bow at each newel post, top and bottom, in a ribbon that matches your tree. One bow at each end frames the whole run and gives the eye a place to land.
Hang a few ornaments from the garland itself, not from the rail and never over the steps. Shatterproof ornaments are the smart choice here, because anything hanging near a staircase can get bumped, and glass on a hard step breaks into a hazard. If you hang stockings along the rail, keep them flat against the garland and high enough that no foot catches them on the way up. Stockings look charming on a staircase, but a stocking that dangles over a tread is a snag waiting for an ankle.
Look at the wall beside the stairs, too. A small wreath on the stair wall, or a few framed winter prints you already own, can echo the garland without adding anything to the steps. At the bottom landing, a small tree in a basket or a lantern with a battery candle gives the whole scene a finishing point. Keep the base of the stairs clear of boxes, gifts, and shoes, because the landing is where everyone turns, and a clear landing keeps the whole staircase feeling calm instead of crowded.
If your front door already wears a wreath, carry one color from it up the stairs, and the entry and the staircase will feel like one welcome instead of two separate ideas. Our guide to Christmas decorations on your front door shows how to set that first impression, and your staircase picks up right where it leaves off.
Keep Your Stairs Safe All Season
A decorated staircase gets more traffic than a bare one, because everyone stops to look at it, and children run up and down it twice as fast in December. So safety is not a one-day job. It is a habit you keep until the decorations come down.
First, keep every tread completely clear. No ornaments, no candles, no gifts, no shoes lined up on the steps for a photo. The steps are for feet, and anything else on them turns a staircase into a hazard. Second, keep the handrail grippable along its whole length. If the garland covers the top of the rail so thickly that a hand cannot close around it, move the garland to the side of the rail instead. Guests, grandparents, and sleepy children all need that rail, and a rail you cannot grip is a rail that cannot help.
Third, keep anything dangling out of small hands’ reach. Ribbons, ornaments, and light strands that hang low become toys fast, and a pulled garland can come down on someone. Fourth, check your ties once a week. Walk the stairs, tug the garland gently, and tighten anything that has loosened, because garland settles and ties stretch over the season. Fifth, never put a real candle on or near the stairs, and keep the garland away from heaters, vents, and any open flame. The National Fire Protection Association’s standing advice is plain: keep decorations away from heat sources, and keep exits clear of decorations so nothing blocks an escape route. Your staircase is an escape route, so treat it like one.
One more honest check: if your railing is loose, cracked, or pulling away from the wall, do not load it with a heavy garland and hope for the best. Fix the railing first, or ask a professional to look at it. A beautiful staircase means nothing if the rail cannot do its real job.
Take It Down and Store It Right
When the season ends, take the garland down in the reverse order you hung it, starting at the top and working down. Snip the ties instead of yanking them, so the rail and the garland both survive. Coil the garland loosely, never crammed into a tight ball, and tuck the lights in with it if they are woven in. A labeled box, with the length written on the outside, saves you the measuring job next December.
While everything is down, give the rail a quick wipe and a look-over. If a tie left a mark, a little wood cleaner usually takes care of it, and you will catch any loose baluster before next year. Store the box somewhere cool and dry, away from damp basements and hot attics, and your garland will come out next Christmas looking just as full as it did this year. And while you are packing the season away, it is worth sorting the rest of the decorations too, including how you store your Christmas tree, so next December starts organized instead of tangled.
Related Guides
- Christmas Decorations on Your Front Door — set the entry to match the staircase.
- Christmas Tree Storage Bags — pack the season away neatly when the holidays end.
Frequently Asked Questions
How do you hang garland on a staircase without damaging the railing?
Indoor Christmas Decorations: A Room-by-Room Guide to a Warm, Festive Home · Decorating Ideas for a Living Room at Christmas · Christmas Decorations on Front Door: A Warm Welcome That Starts at the Door · Christmas Tree Storage Bags: How to Pack, Choose, and Protect Your Tree
How much garland do I need for my staircase?
Measure the full handrail length, then add one to two extra feet for swags and turns. If your stairs turn at a landing, measure each straight run separately and add the extra foot to each run. Lay the garland on the floor beside the stairs before hanging it, so you can confirm the length and fullness.
How do you keep garland from slipping on the stairs?
Anchor both ends firmly at the newel posts, then tie the garland at every dip, about every 12 to 18 inches for swagged runs. Test it with a gentle tug at several spots, and add ties wherever it shifts. Check the ties once a week, because garland settles and ties stretch over the season.
Can you put lights on stair garland safely?
Yes, with LED strands, which stay cool and use little electricity. Battery-powered strands are easiest, since they need no cord at all. Keep plug-in cords off the steps, inspect strands for frayed wires or cracked sockets before use, link no more than three strands unless the directions allow it, and unplug the lights before bed.
How much do Christmas staircase decorations cost?
It depends on your stair length and materials, but a realistic starting example from October 2026 puts a 6-foot garland plus a pack of fabric ties at about 45 dollars before tax. Longer stairs, pre-lit garland, and extra ornaments raise that figure, while a simple unlit garland with ribbon keeps it low.
Are stair decorations safe with small kids in the house?
They can be, with three rules: use shatterproof ornaments, keep nothing dangling within a small child’s reach, and keep every tread clear. Check ties weekly, since little hands tug at garland, and keep the handrail grippable so children and adults can hold on safely.
One Last Walk Up the Stairs
When the last bow is tied and the lights are on, walk down to the bottom and look up. That view is the one your family will remember, the glow on the rail, the bows at each end, the whole staircase dressed for the season. You did not just decorate a staircase. You made the path to Christmas morning feel like Christmas itself.
Please note: this guide covers decoration only. If your railing is loose, damaged, or pulling away from the wall, have it repaired by a qualified professional before hanging anything heavy on it, and never block a stairway or exit with decorations. Homes, railings, and budgets vary, so adapt every step to your own staircase and check anything you are unsure about.