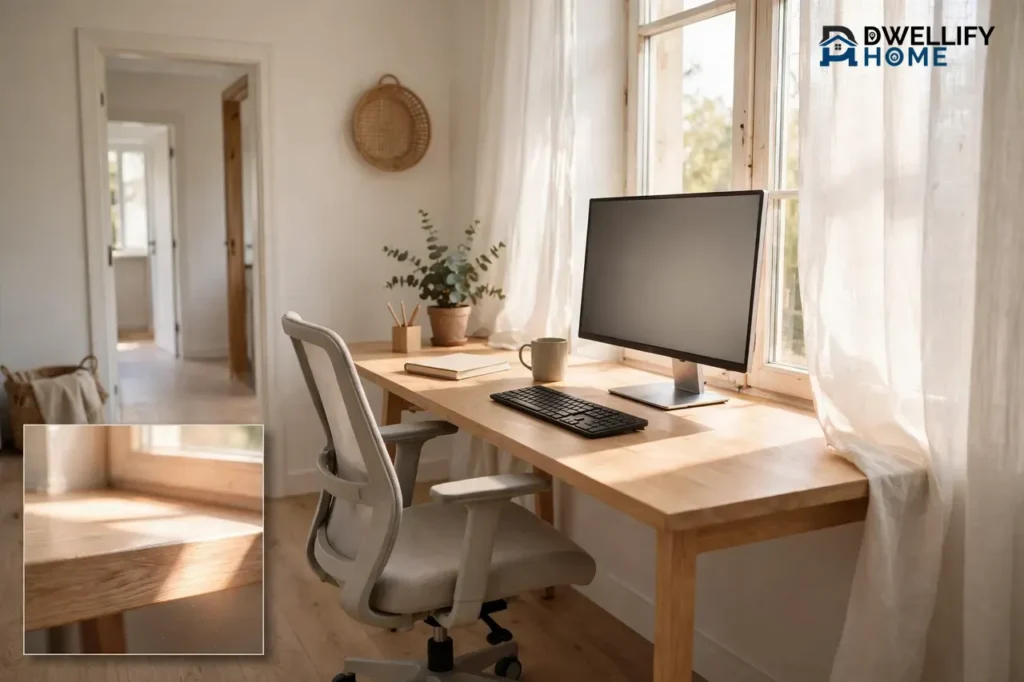
To organize office furniture, start with your desk, then build the rest of the room around it. Place the desk where you get good light without screen glare, keep a clear path to the door, and put the items you use most within easy reach. Add storage close to where you use it, tame your cables, and give every paper a clear home.
That simple order works in a full home office and in a small corner office too. You do not need new furniture to start. You need a plan for light, movement, focus, and storage, and then you need to test it by sitting down and working in it.
💡 Practical Home Tip: Before you move anything heavy, take a quick photo of your current setup and sketch the room on one sheet of paper. The photo shows you what to keep, and the sketch stops you from dragging a desk into a spot that blocks a door, a drawer, or an outlet.
Start With a Simple Plan Before You Move Anything
Good office layouts start on paper, not with heavy lifting. Measure the room first, then measure your largest pieces: the desk, the chair, and any bookcase or file cabinet. Write those numbers on your sketch, along with the doors, windows, closets, and power outlets.
Next, mark what cannot move. A door swing, a closet you open every day, a radiator, and a fixed outlet all shape the layout. If you ignore them, you will end up with a drawer that hits a wall or a chair that traps you against the desk.
Then list how you actually work. Do you spend most of your day on video calls? Do you spread papers across the desk? Do you print often, or do you work from one laptop? Your answers decide what sits near you and what can live across the room.
Finally, clear the room of anything that does not belong in an office. Old boxes, spare chairs, and outgrown equipment steal floor space and make every other choice harder. Move those items out first, and the real layout will show itself.
Place Your Desk First: Light, Door, and Focus
Your desk is the anchor of the room, so place it before anything else. Every other piece then finds its place around the desk, not the other way around. This one choice shapes your light, your view, and how easy the room feels to move through.
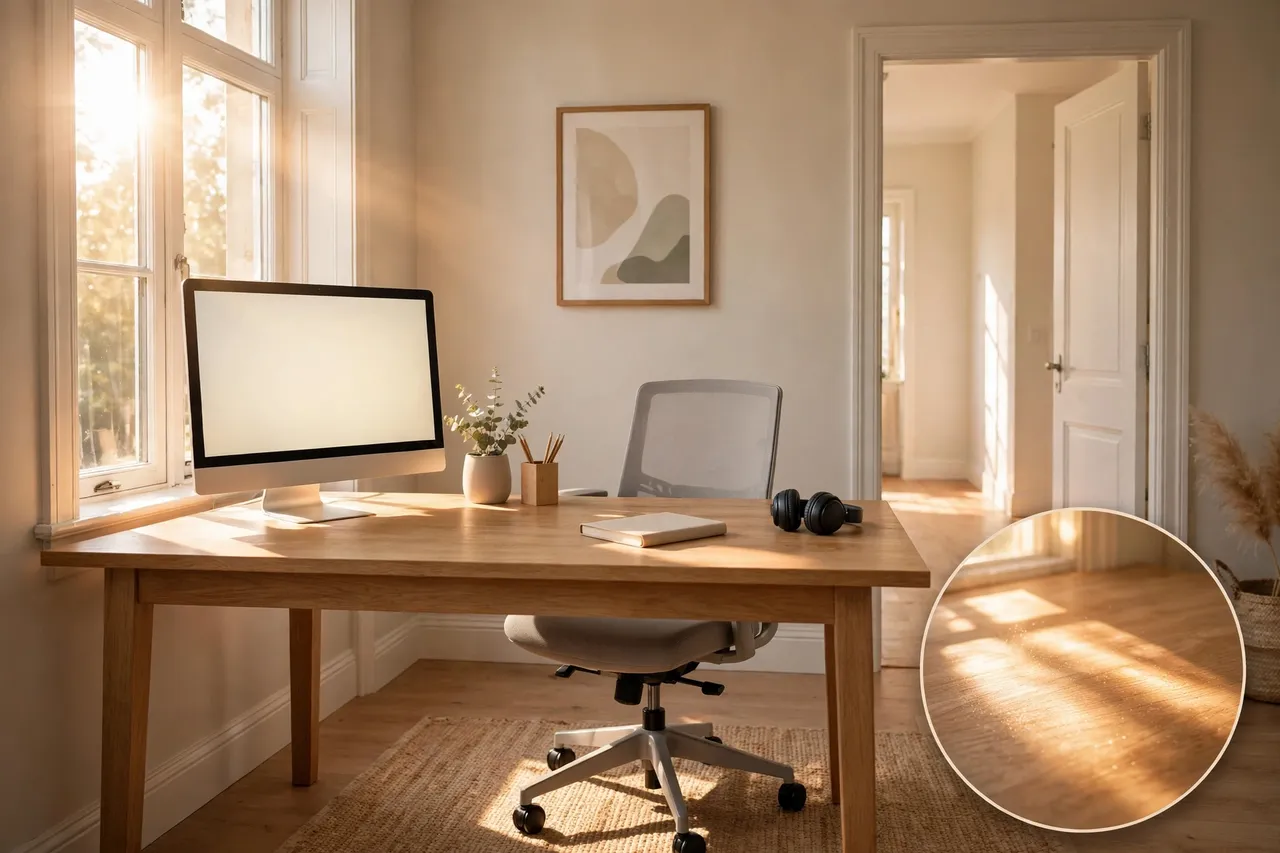
Light comes first. Natural light lifts your mood and helps you see your work clearly, but direct sun on your screen causes glare and eye strain. A desk set at a right angle to a window often gives you the best balance: you get daylight from your side without the sun shining straight into your eyes or onto your screen.
Facing the window can feel pleasant, but a busy street or a bright view can pull your attention away all day. Facing a blank wall can feel dull and closed in. If you must face a wall, hang one calm piece of art or a small board at eye level so your eyes have somewhere pleasant to rest during a break.
Next, think about the door. Many people work best when they can see the door without sitting directly in line with it. You notice someone coming in, yet foot traffic does not pass straight through your work zone. If your back must face the door, a small mirror or a desk position angled toward the room can help you feel less startled when someone walks in.
Leave room to move. You need space to pull your chair out, stand up, and walk around the desk without squeezing past furniture. Test this before you settle the desk: sit down, push the chair back, stand up, and walk to the door. If any step feels tight, shift the desk a few inches and test again.
Set Up Your Chair, Screen, and Keyboard for Comfort
Comfort is not a luxury in a home office. You sit in this chair for hours, so small setup mistakes add up fast. Set your chair, screen, and keyboard with care, and adjust them again after a week of real work.
Start with the chair. Adjust the seat height so your feet rest flat on the floor and your thighs sit roughly level. If your feet dangle, add a footrest instead of sitting on the edge of the seat. Sit back so the chair back supports your lower back, and keep your shoulders relaxed, not hunched up near your ears.
Place the screen directly in front of you, not off to one side. You should look straight ahead without tilting your head up, down, or sideways. The U.S. Occupational Safety and Health Administration (OSHA) advises placing the monitor where you can look straight ahead without tilting your head forward or backward, and keeping frequently used items within easy reach, as explained in its computer workstations guidance on chairs.
Set the keyboard and mouse at a height that lets your wrists stay straight and your elbows stay close to your body. Your forearms should rest in a relaxed, level position, not angled sharply up or down. If your wrists bend all day, move the keyboard, raise or lower the chair, or add a keyboard tray until the bend disappears.
Keep your most-used tools inside one easy arm sweep: keyboard, mouse, phone, pen, and notebook. Tools you use once a day can sit a little farther away. This simple reach rule cuts down on twisting, stretching, and clutter on the desk surface.
These are general setup tips for comfort, not medical advice. If you feel ongoing pain, numbness, or discomfort, stop trying to fix it with furniture alone and talk to a qualified health professional about what is going on.
Create Desk Zones That Keep Work Moving
A desk works best when each part has one job. Zones stop papers, chargers, and supplies from drifting into one messy pile, and they help you start work faster each morning.
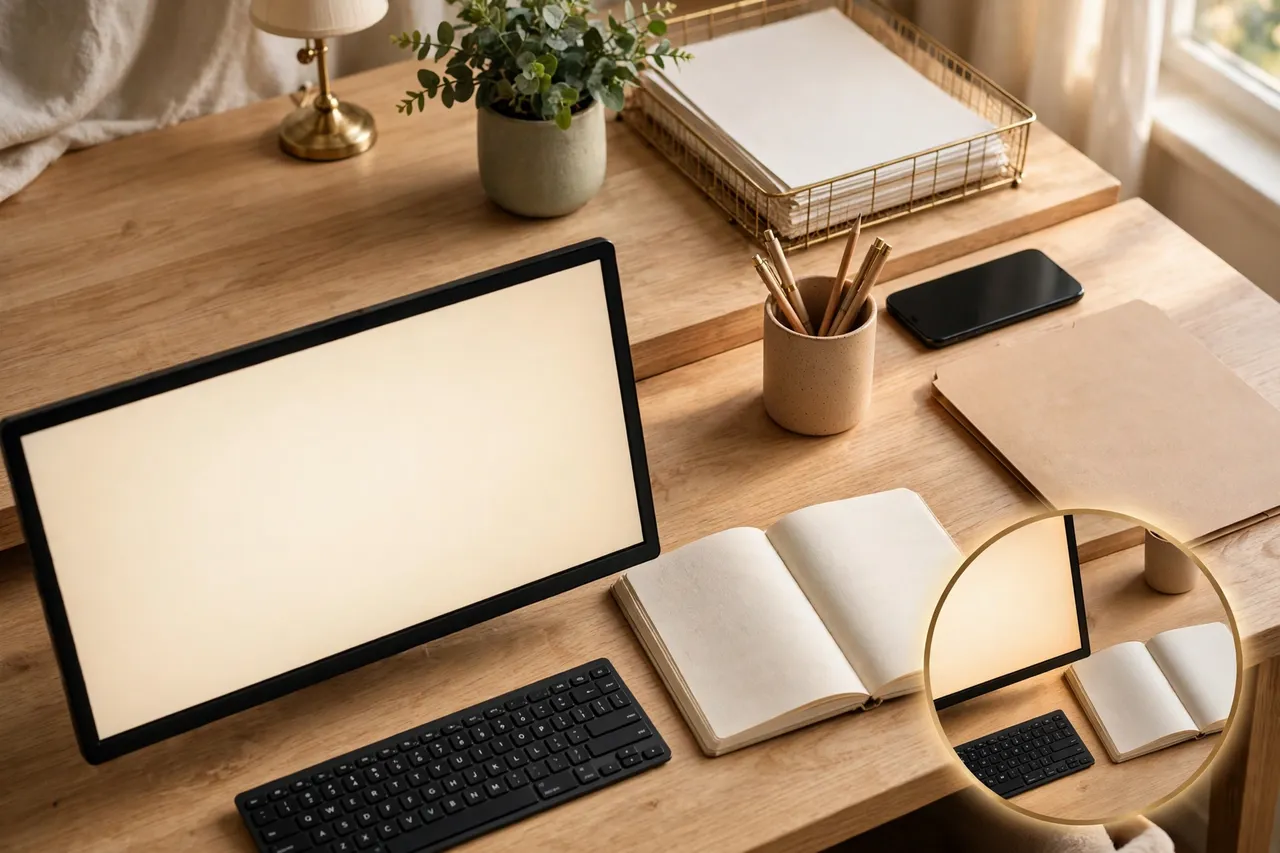
Try three zones. The main zone sits right in front of you and holds only your screen, keyboard, and the task you are working on now. The side zone holds the tools for today: a notebook, a pen, a phone, and one reference file. The back or outer zone holds items you reach for less often, such as a lamp, a plant, or a small tray for incoming papers.
Keep the main zone as clear as you can. A clear surface in front of you makes the next task easy to start, and it gives papers and devices a place to land without burying your keyboard. When a task ends, move its papers out of the main zone before you start the next one.
Use small containers to hold each zone together. A pen cup, a small tray, and one drawer divider do more than a large organizer that collects random items. Label the tray for incoming papers so mail and notes have one landing spot instead of five.
End each work session with a two-minute desk reset. Clear cups and trash, return tools to their zones, and place tomorrow’s first task in the main zone. That tiny habit makes the next morning feel calm instead of chaotic.
Tame Cables and Tech Without a Tangle
Cables cause more office mess than almost anything else. They snake across the floor, trap dust, and turn a tidy desk into a knot. A short cable plan fixes most of it in one afternoon.
Start by unplugging everything you no longer use. Old chargers, dead devices, and spare cables hide behind desks for years. If you cannot name what a cable powers, unplug it, label it, and store it in a box for a week before you throw it away.
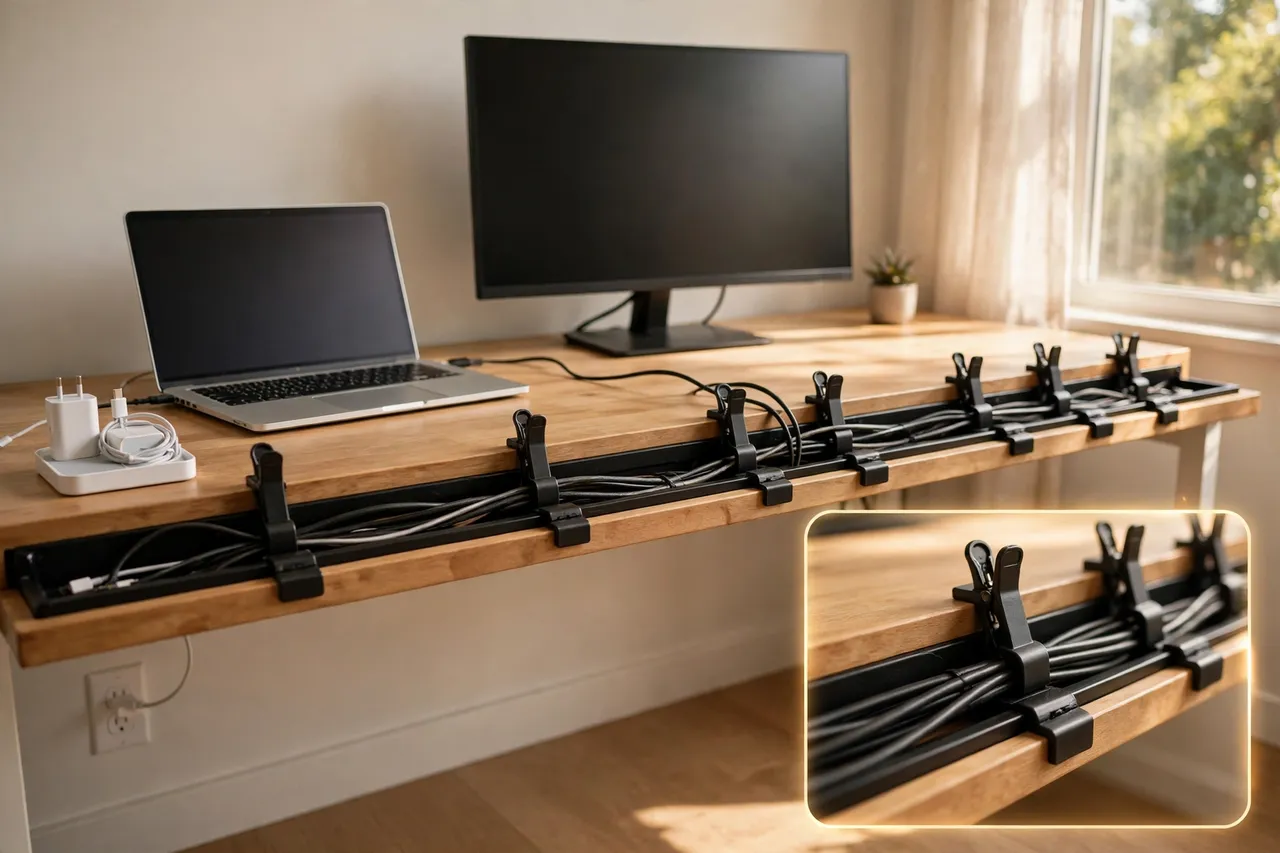
Next, gather the cables you keep. Run them along the back of the desk with clips, a cable tray, or a sleeve, and keep them off walkways where feet can catch them. Leave a little slack at each device so you can move a monitor or a laptop without yanking a plug loose.
Place shared tech where it serves you best. A printer you use daily belongs within arm’s reach or on a small stand beside the desk. A printer you use once a week can live across the room or on a shelf, where it will not eat up desk space. The same rule works for scanners, chargers, and external drives.
Use one charging spot for phones, tablets, and headphones. A single tray or small shelf near an outlet keeps chargers in one place and stops them from spreading across the desk. Label each charger if several look alike.
Take care with power safety. Do not overload a power strip, do not run cords under rugs or through doorways, and do not use a damaged cord or plug. If you need new outlets, a new circuit, or any wiring work, ask a qualified electrician to do it. That work sits beyond beginner do-it-yourself scope, and a safe install matters more than a fast one.
Give Every Paper a Home
Paper piles grow because paper has no clear next step. A simple paper system gives each sheet one of four homes: act on it, file it, read it later, or recycle it. When a paper lands on your desk, send it to one of those four places right away.
Set up three small spots near your desk. An inbox tray holds new papers. An action folder holds papers you must handle this week. A filing spot holds papers you need to keep, sorted by topic in a drawer, a binder, or a small file box. Keep the filing spot close, because a file drawer across the room soon turns into a pile on the desk.
Process paper in short, regular batches instead of one giant cleanup. Spend ten minutes at the end of each workday moving inbox papers into their homes. File what you must keep, shred or recycle what you no longer need, and carry only true action papers into the next day.
Cut paper at the source where you can. Switch bills and statements to digital copies when the sender offers them, and scan paper you must keep only if you truly need a digital backup. Fewer papers coming in means fewer piles building up.
Keep one notebook for quick notes, phone messages, and to-do lists. A single notebook beats five loose pads, because you always know where yesterday’s note went. Date each page so you can find it again later.
Put Storage Where You Actually Use It
Storage fails when it sits in the wrong place. A beautiful bookcase across the room will not help if your daily files live in a pile on the desk. Place storage by how often you use it, not by where it looks neat.
Daily items belong within arm’s reach: pens, notebooks, chargers, and this week’s files. Weekly items belong nearby: reference books, extra supplies, and folders you open a few times a week. Rare items belong farther away: archives, old tax files, and supplies you buy in bulk.
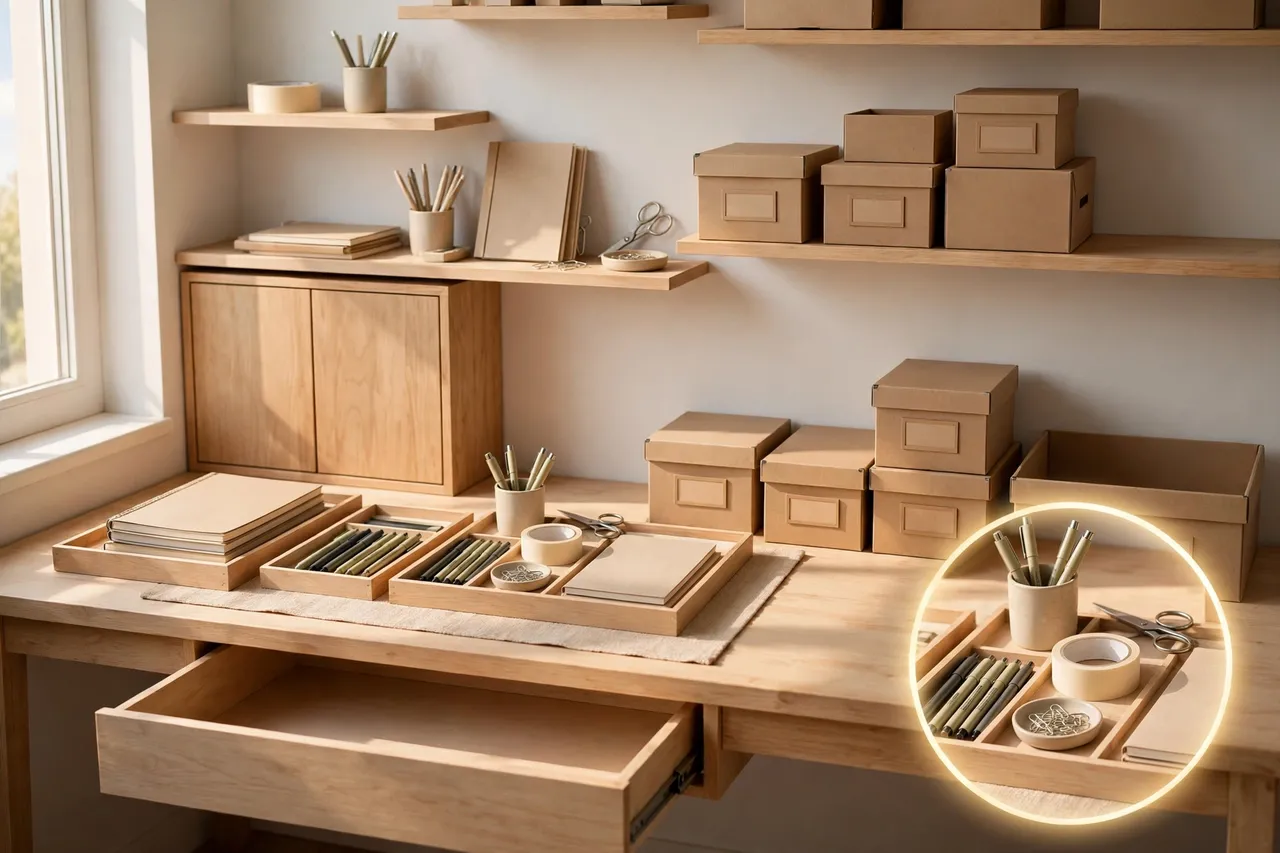
Use your walls before you buy more floor furniture. Wall shelves, a pegboard, or hooks above and beside the desk hold supplies without eating floor space. Keep wall shelves shallow enough that items stay easy to grab, and place heavy items low so nothing falls onto your work area.
Choose closed storage for visual clutter and open storage for items you grab often. A cabinet with doors hides cables, spare supplies, and archives. An open shelf or tray suits daily tools you reach for without thinking. Mix the two, and the room looks calm while your daily tools stay handy.
Label everything you cannot see into. A label on a box, bin, or drawer saves you from opening five containers to find one item. Keep labels short and plain: “Printer paper,” “Tax 2026,” “Cables,” or “Art supplies.” When a label stops matching the contents, change the label or move the contents.
Leave some empty space in every drawer and shelf. Full storage forces overflow onto the desk, and overflow is how a tidy office slides back into a mess. If a drawer will not close with ease, something in it belongs somewhere else.
Small-Office Layouts That Still Feel Open
Small offices need the same rules as large ones, only with tighter choices. Pick furniture that fits the room, protect one clear path, and let the walls do more work.
Start with a corner layout when floor space runs short. A corner desk or an L-shaped desk turns an unused corner into a full work zone and leaves the middle of the room open. If you want ideas for making a corner desk work harder, read this guide to corner desk ideas for small spaces on Dwellify Home.
Try a single-wall layout when the office shares a room with another use, such as a bedroom or a living area. Place the desk, shelves, and storage along one wall so the rest of the room keeps its own purpose. A rug or a small bookcase can mark the edge of the work zone without building a wall.
For two people, try desks on opposite walls or in an L-shape along two walls. Each person gets their own light and storage, and neither person stares straight at the other’s screen. Share one storage unit between the desks instead of buying two, and agree on a shared rule for noise and calls.
Pick slim, light-looking furniture for tight rooms. A desk with open legs, a chair without bulky arms, and narrow shelving all make a small room feel larger than heavy, solid pieces do. Light colors and a mirror near the desk can also brighten the room, but furniture size and clear paths matter more than decor.
Measure doorways and stairways before you buy a large desk or bookcase. A piece that cannot reach the room cannot help you, and returning heavy furniture wastes time and money. Note the measurements on your sketch, and check them against the store’s listed size before you order.
Fix Common Layout Problems Before They Grow
Most office layouts fail in the same few ways. Spot the problem early, and a small move often fixes it.
Quick-reference table: common office layout problems and simple fixes
| Problem | Likely cause | Simple fix |
|---|---|---|
| Screen glare all afternoon | Desk faces or backs onto a bright window | Turn the desk at a right angle to the window |
| Chair bumps a wall or drawer | Too little pull-out space behind the chair | Shift the desk forward or move the drawer unit |
| Papers pile on the desk | No inbox or filing spot near the desk | Add one inbox tray and one file drawer |
| Cables cross the walkway | Outlets sit far from the desk | Route cables along the desk back with clips |
| Room feels cramped | Too much furniture or blocked paths | Remove one piece and clear one full path |
| You lose focus often | Desk faces a busy doorway or TV | Angle the desk toward a calm wall or window side |
Work through the table from the top down. Fix the problem that bothers you most during real work, test the change for a few days, and then move to the next one. Changing everything at once makes it hard to tell which move actually helped.
If a layout still feels wrong after two or three small moves, check the basics again: light, path, reach, and storage. One of those four usually hides the real cause, and a fresh sketch often shows it faster than another round of pushing furniture.
Keep It Organized With a Quick Weekly Reset
A good layout only stays good with a small upkeep habit. Without one, papers creep back, cables loosen, and drawers fill up again. A weekly reset keeps the system working with very little effort.
Pick one regular time, such as Friday afternoon or Sunday evening. Set a timer for fifteen minutes and work through this short routine:
- Clear the desk surface and return every item to its zone.
- Move inbox papers into action, filing, reading, or recycling.
- Coil loose cables and check that no cord crosses a walkway.
- Empty the trash and recycling, and wipe the desk and keyboard.
- Open each drawer once and pull out anything that no longer belongs there.
- Place the next week’s first task in the main desk zone.
Once a month, go one step further. Check wall shelves for items you no longer use, test pens and chargers, and move seasonal or finished project files into archive storage. A monthly pass stops slow clutter from turning into a full reorganization project.
Finally, notice what keeps drifting out of place. If the same pile forms in the same spot every week, that spot needs a container, a tray, or a new home for those items. Your layout should bend to fit your real habits, not fight them.
Related Guides
How to Organize a Small Apartment · How to Organize a Bookshelf · Decluttering Checklist: A Room-by-Room Guide for Your Whole Home
Frequently Asked Questions
Where should a desk be placed in an office?
Place the desk where you get good side light from a window, can see the door without sitting directly in its path, and can pull your chair out with ease. A desk at a right angle to a window often balances light and focus best, because it avoids direct glare while keeping daylight close.
Which way should a desk face in a home office?
Face the room or the door side of the room when you can, so you can see who comes in without feeling startled. Avoid facing a blank wall all day if you have another option, and avoid sitting with bright sun shining straight onto your screen from behind you.
What is the best way to arrange furniture in a small home office?
Start with the desk in a corner or along one wall, add storage upward with wall shelves, and protect one clear walking path through the room. Choose slim furniture that fits the space, keep daily items within arm’s reach, and move rarely used items out of the room.
How do I arrange two desks in a small office?
Place one desk on each of two walls, or form an L-shape, so each person gets their own light and elbow room. Share one storage unit between the desks to save floor space, and keep cords routed along the walls so neither person trips over them or blocks the other’s path.
What kind of furniture works best in small home offices?
Compact desks, chairs without bulky arms, and storage that fits under or above the desk work best in small offices. Look for pieces that serve two jobs, such as a filing unit that doubles as a side table, and skip oversized furniture that blocks paths or drawer space.
A Calmer Office Starts With One Move
You do not need to rebuild your office in one weekend. Move the desk to better light, clear one path, and give your daily tools a fixed home, and the room will already feel easier to work in. Then fix cables, papers, and storage one small step at a time.
The Occupational Safety and Health Administration (OSHA) also notes that a properly adjusted workstation helps reduce awkward postures, with the monitor in front of you, frequently used items within easy reach, and feet and back well supported, as described in its computer workstations additional information. Use that check each time you move a piece: sit down, reach for your tools, and look straight ahead. If all three feel easy, the layout is working.
Start today with the desk. Measure the room, test the light, and try the new spot for a few full workdays before you judge it. A calm, tidy office grows from small, tested moves, not from one perfect plan on paper.