An underground sprinkler system waters your lawn on its own through buried pipes and pop-up heads. A typical professionally installed system costs $2,539 on average, according to NerdWallet’s sprinkler cost guide updated February 26, 2026, with underground systems ranging from $1,740 to $3,410.
If you are tired of dragging hoses and moving portable sprinklers around the yard, this guide covers the whole system for you. You will learn how it works, what each part does, how to plan zones, what it costs, how installation works, and how to keep it running year after year.
What Is an Underground Sprinkler System?
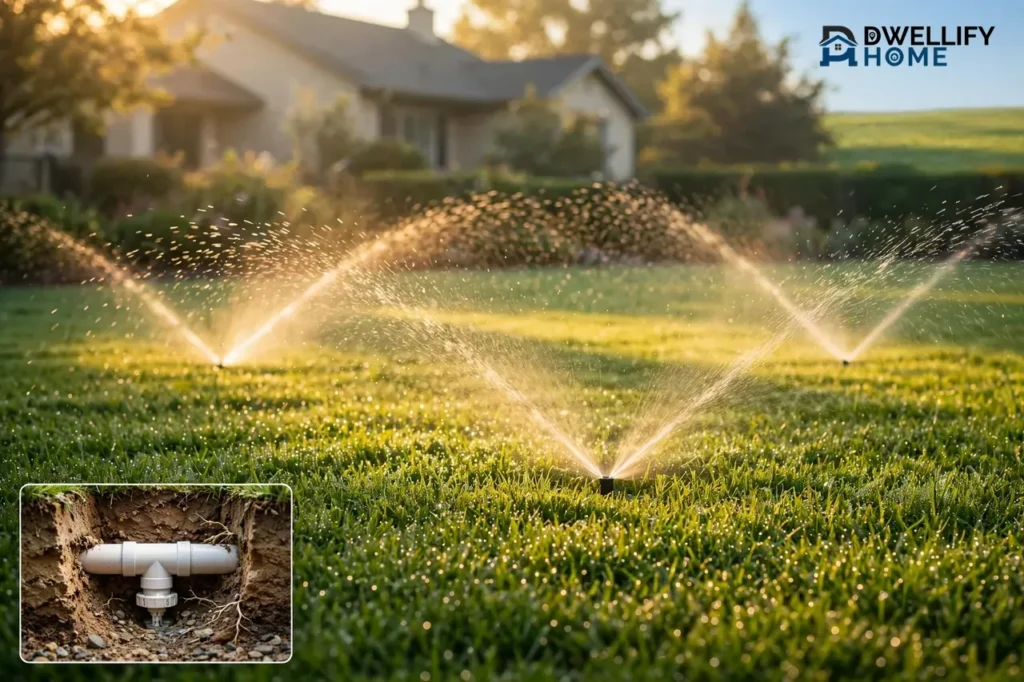
An underground sprinkler system is a permanent network of pipes buried under your lawn, with sprinkler heads that pop up to spray water and drop back down when they finish. A controller, which works like a timer, turns each part of the yard on and off on a schedule you set. When the system rests, nothing shows above the grass except small round caps, so the yard stays clean and open.
People also call it an in-ground sprinkler system or an underground irrigation system. All three names mean the same thing: water runs through pipes under the soil instead of through a hose on top of it.
This kind of system suits a lawn you water often, a yard with beds and grass mixed together, and any home where you want steady watering without daily work. It suits a small flat lot and a large sloped yard alike, as long as the design matches the yard. A hose and a portable sprinkler still work for a tiny patch of grass, but they cannot match the even coverage and the hands-off schedule of a buried system.
How an Underground Sprinkler System Works
Water enters the system from your home water supply or a well, passes through a backflow preventer that keeps irrigation water out of your drinking water, and reaches a set of valves. Each valve controls one zone, which is one section of your yard. When the controller opens a valve, water flows through buried pipes to the sprinkler heads in that zone, the heads pop up, and they spray until the controller closes the valve and moves to the next zone.
Zones exist because one water supply can only push so much water at once. A typical yard needs four to six zones, and each zone waters one area with similar needs, such as the sunny front lawn, the shady side strip, or the flower beds. The controller runs one zone at a time, so every area gets full pressure instead of a weak spray spread across the whole yard.
Most controllers let you set the days, the start time, and the run time for each zone. Smart controllers go further and check local weather, so they skip a run after rain. Early morning is the best time to water, because the water soaks in before the sun can dry it off the grass.
The Main Parts of the System
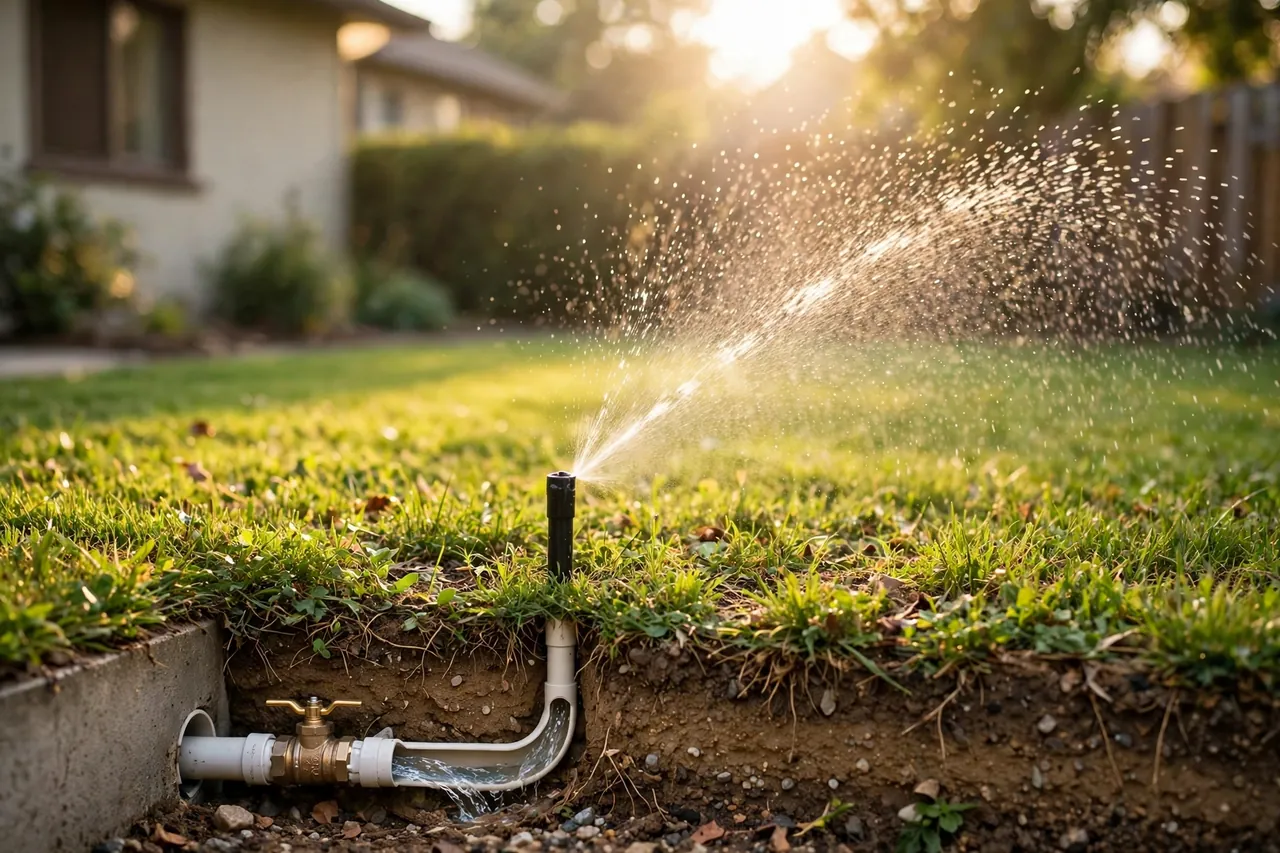
Every underground sprinkler system uses the same core parts. Knowing what each one does helps you talk with an installer, spot a problem early, and buy the right replacement part later.
Controller and Timer
The controller is the brain of the system. It holds your watering schedule and sends a low-voltage signal to open each valve in turn. Basic timers cost little and cover the essentials, while smart controllers add Wi-Fi control and weather-based changes. NerdWallet puts the extra cost of Wi-Fi control at $50 to $300, checked November 9, 2026.
Valves and Valve Box
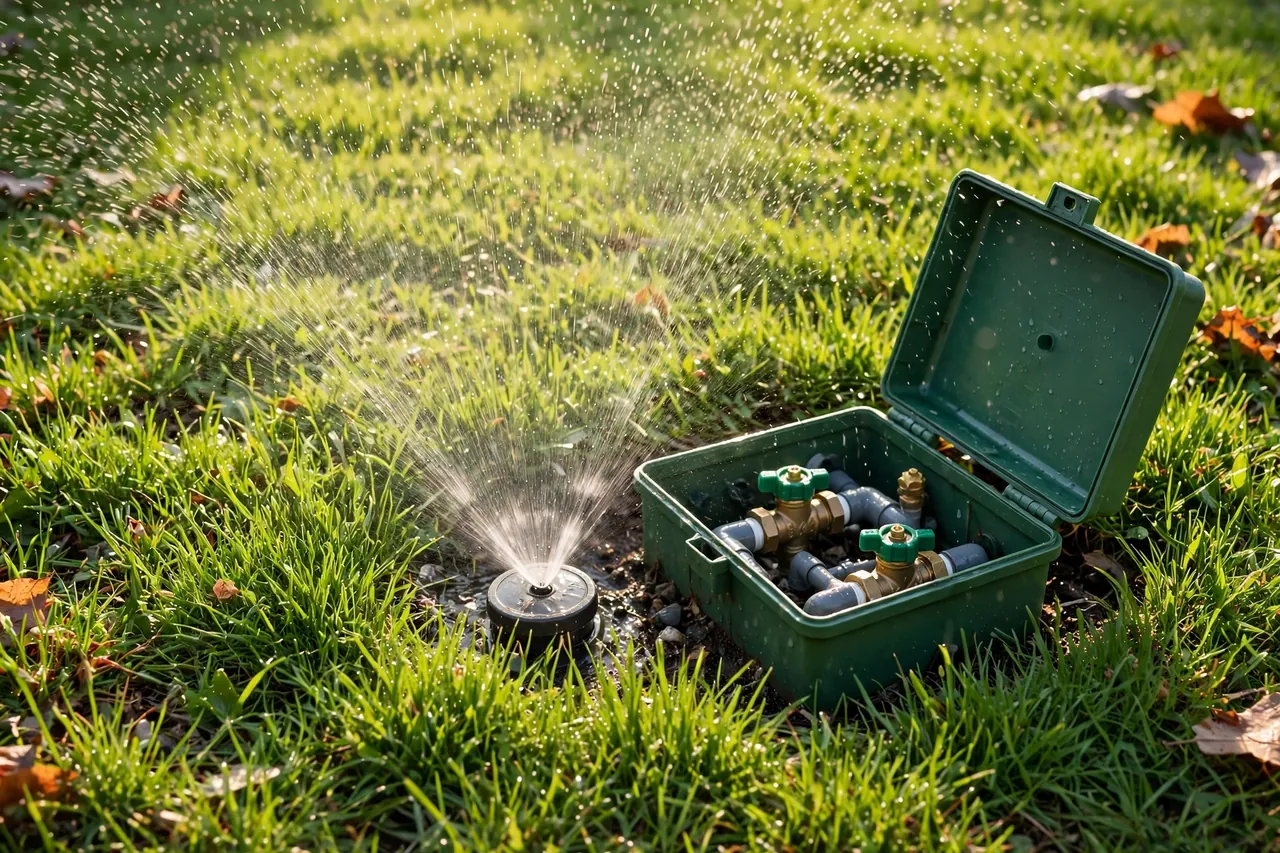
Each zone has its own valve, and the valves sit together in a buried valve box with a lid at ground level. The valve opens when the controller signals it and closes when the zone finishes. A valve that sticks open or shut is one of the most common reasons a zone stops working right.
Pipes
PVC pipe carries water from the valves to the heads. The main line runs from the water supply to the valves, and smaller lateral lines run from each valve to its heads. DripWorks notes that irrigation pipes usually sit 4 to 6 inches deep, which shields them from foot traffic, lawn mowers, and light frost, while cold-climate yards need deeper burial.
Sprinkler Heads
Sprinkler heads are the parts you actually see. They sit flush with the soil when they rest, pop up when water pressure rises, and drop back down when the zone shuts off. Spray heads and rotor heads are the two main types, and the next section compares them in detail.
Backflow Preventer
The backflow preventer stops irrigation water from flowing backward into your home drinking water. Most local codes require one, and many areas require a yearly test by a certified tester. Never skip this part to save money, because it protects your household water.
Rain and Soil Sensors
A rain sensor or a soil moisture sensor tells the controller to skip watering when the ground is already wet. NerdWallet lists these sensors at $25 to $50 each, checked November 9, 2026. They pay for themselves by cutting wasted water, and they matter most on sloped yards, where extra water can run off instead of soaking in.
Spray Heads vs. Rotor Heads: Which One Fits Your Yard?
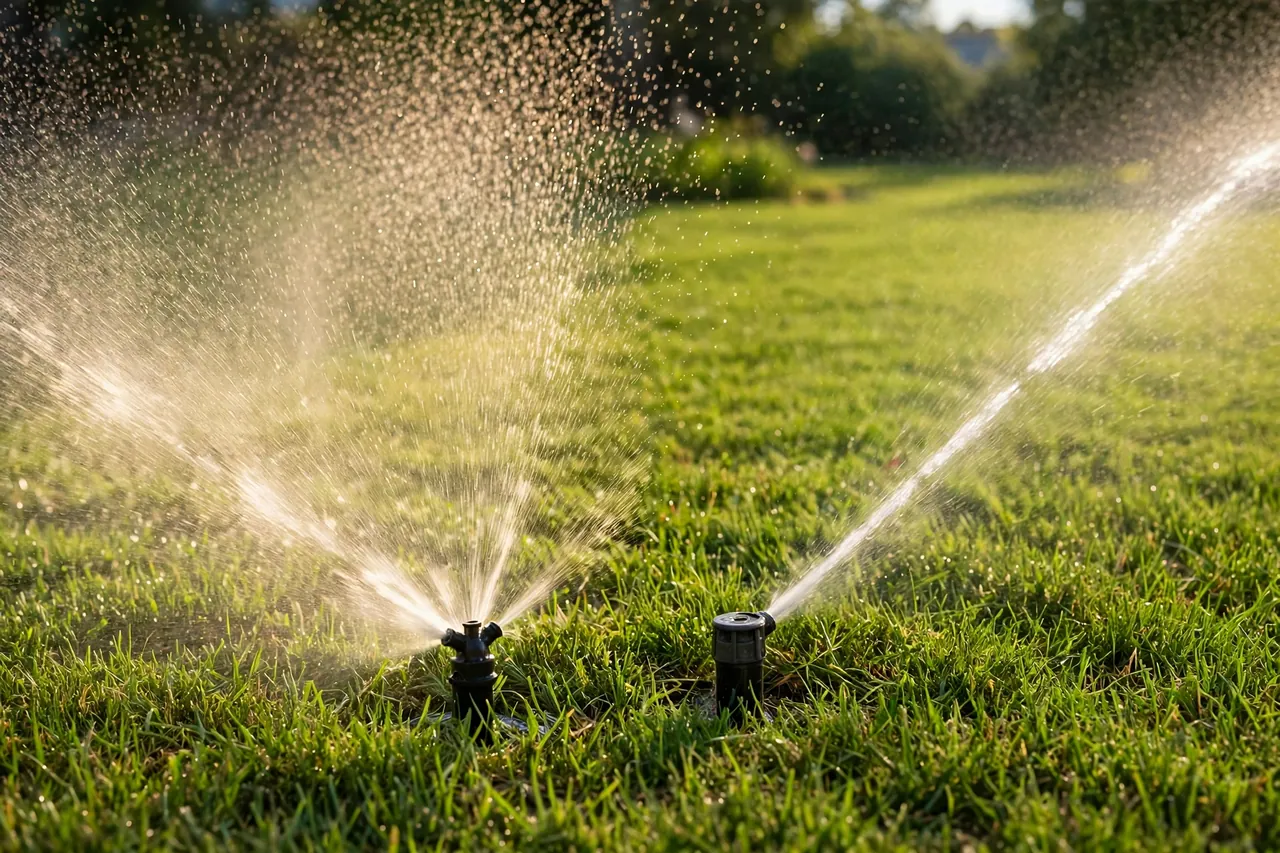
Spray heads and rotor heads do the same job in different ways, and picking the wrong one leaves dry spots or wastes water. Spray heads throw a fixed fan of fine water over a short distance, while rotor heads turn slowly and throw a single stream much farther. The table below shows how they compare.
Spray head and rotor head comparison
| Feature | Spray Heads | Rotor Heads |
|---|---|---|
| Throw distance | 3 to 15 feet | 18 to 55 feet |
| Best yard size | Small to medium lawns | Medium to large lawns |
| Water delivery | Fast, fine spray | Slow, steady stream |
| Best ground | Flat, even lawns | Slopes and slow-draining soil |
| Water pressure | Works at lower pressure | Needs about 45 to 50 PSI |
Throw distances and pressure figures come from DripWorks guides on pop-up and rotor sprinklers. Rotor heads apply water at about 0.5 to 1 inch per hour, which gives the soil time to absorb it, so they suit slopes and clay soil far better than spray heads. Spray heads suit small lawns, narrow strips, and beds where a short, even fan covers the area.
One rule matters more than any other: never mix spray heads and rotor heads in the same zone. The two types apply water at different rates, so a mixed zone always over-waters one part and under-waters the other. Pick one head type per zone and match the nozzles inside that zone to each other.
The standard pop-up height for most home lawns is 4 inches. Taller grass, thick ground cover, or deep mulch calls for a 6-inch or 12-inch pop-up so the spray clears the top of the plants.
How to Design Your Zones
Good design decides whether your system works well or wastes water for years. The design starts before you buy a single part, with two measurements: your water pressure and your flow rate. DripWorks stresses that most home irrigation parts work best between 30 and 50 PSI, and a yard with low flow needs more zones than a yard with strong flow, because each zone can only run as many heads as the supply supports. Measure first, then draw the zones around what your supply can actually feed.
Group Plants by Water Needs
Put areas with similar watering needs in the same zone. Sunny lawn, shady lawn, flower beds, shrubs, and vegetable rows each drink at a different pace, so they belong in separate zones. Irrigation pros call these groupings hydrozones, and the EPA’s WaterSense program recommends the same approach: group similar plants together and weigh plant type, watering method, and sun or shade before you pick a system for each zone. When you plan new beds, think about which plants will share a zone, and buy them with that plan in mind. Our guide to the best places to buy plants online can help you find the right plants for each bed once you know what each zone will water.
Use Head-to-Head Coverage
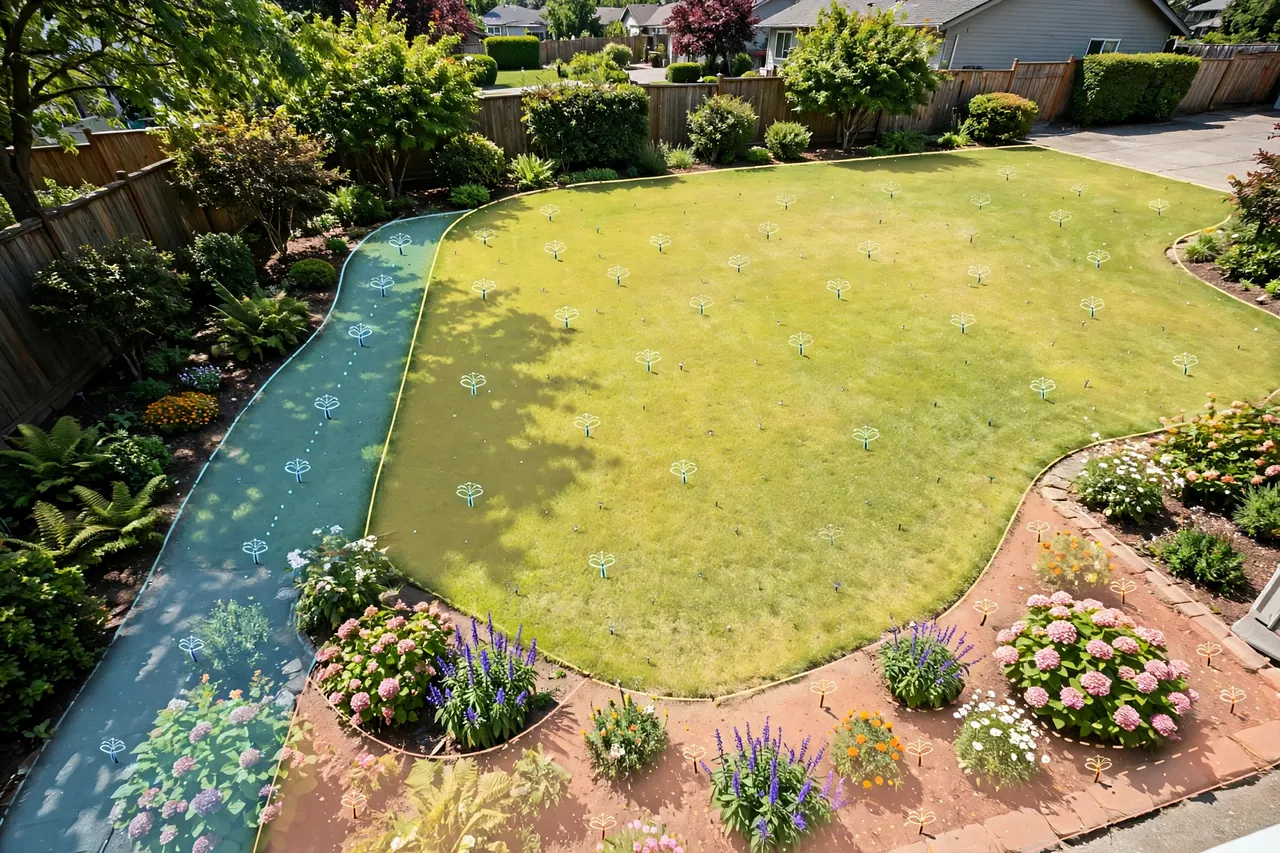
Place each head so its spray reaches the next head. This is called head-to-head coverage, and it stops dry spots between heads. A spray head with a 15-foot radius sits 15 feet from the next head, and a rotor with a 30-foot throw sits 30 feet away. Draw the yard on paper, mark each head, and check the spacing before you dig. A layout that looks right on paper saves you from moving buried pipe later.
Plan for Slopes and Tricky Spots
Slopes need slow water and short runs, so rotor heads or drip lines work better there than spray heads. Narrow side strips need strip-pattern nozzles instead of round spray, or the water lands on the driveway. Areas near a retaining wall or a patio need their own zone, because walls and paving hold heat and dry the soil beside them faster. If your yard has a wall on a slope, read our guide on how to build a retaining wall on a slope before you plan the zones around it, so the watering plan and the wall work together instead of fighting each other.
How Much Does an Underground Sprinkler System Cost?
A professionally installed underground sprinkler system costs $1,740 to $3,410 for a quarter-acre lot, according to NerdWallet’s cost guide updated February 26, 2026, and Angi’s cost guide updated October 27, 2026 gives the same range, with a national average of $2,549 and most projects landing between $1,636 and $3,595. All prices below were checked November 9, 2026. Your final price depends on yard size, zone count, soil, and local labor rates, so treat these as planning ranges and get three written quotes before you commit.
Underground sprinkler system cost by yard size
| Yard size | Installed cost |
|---|---|
| Quarter acre | $1,740 to $3,410 |
| Half acre | $3,480 to $6,800 |
| One acre | $6,960 to $13,600 |
| Per zone | $600 to $2,000 |
| Per square foot | $1.00 to $2.50 |
Yard-size ranges come from NerdWallet’s sprinkler system cost guide, and the per-zone and per-square-foot figures match HomeGuide’s cost guide from February 3, 2026. Thumbtack’s cost data, updated October 23, 2026, puts a quarter-acre underground system at $2,500 to $3,500 and a small two-zone system at $1,000 to $1,400, which lines up with the ranges above.
What Changes the Price?
Trenching is the biggest variable after yard size. Digging trenches costs $4 to $12 per linear foot, according to NerdWallet, and rocky or hard soil pushes the price up. Labor runs $50 to $100 per hour, and Angi notes that an underground install takes about 8 to 16 hours for a standard property, or one to two days. Permits cost $35 to $200 where your town requires one, and many towns do. Smart controllers, rain sensors, and drip zones for beds add to the bill, but they cut water use over time.
Professional Install or DIY Kit?
A professional crew handles the design, the trenching, the backflow preventer, and the permits, and most jobs finish in one to two days. A do-it-yourself kit costs far less in parts, but you still need to rent a trencher, measure pressure and flow, design the zones, and follow local permit and backflow rules yourself. DIY suits a small, flat, simple lawn. A large yard, a slope, low water pressure, or a tight timeline all point toward hiring a pro. Either way, get the design right first, because buried pipe is expensive to move.
How to Install an Underground Sprinkler System
Installation follows the same order whether a crew does it or you do it yourself. Do not skip the first two steps, because they protect you from the two most expensive mistakes: cutting a buried utility line and building a system your water supply cannot feed.
- Call 811 before you dig. Call 811 at least a few days before any digging, and your local utility companies will mark buried gas, electric, water, and cable lines for free. Never dig until the marks are down, and hand-dig near any mark.
- Check permits and local rules. Ask your town whether you need a permit and whether it requires a backflow preventer test. Some areas also require a licensed installer for the water connection.
- Measure water pressure and flow. Use a pressure gauge on an outdoor tap and a bucket test for flow. These two numbers set how many heads each zone can run.
- Draw the zone map. Sketch the yard, mark each zone, place every head with head-to-head spacing, and note the pipe runs. Mark beds, trees, paths, and slopes on the same drawing.
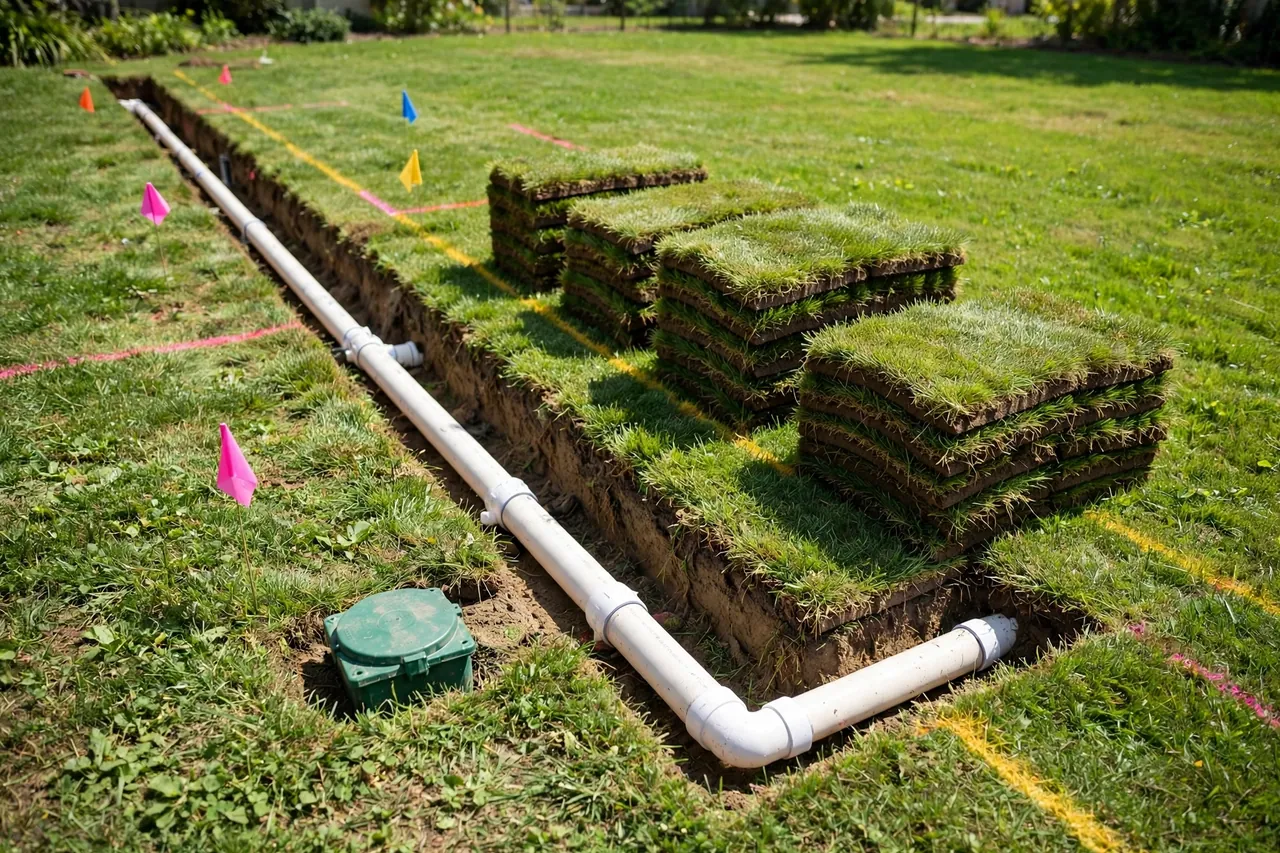
- Mark the yard. Use flags or spray paint to mark head spots, valve box spots, and trench lines on the grass.
- Dig the trenches. Cut the turf in strips so you can lay it back neatly, then dig trenches 6 to 12 inches deep for the pipe runs. Keep the depth even so heads sit level later.
- Lay pipe and fit valves. Set the main line from the water supply to the valve box, then run lateral lines to each zone. Glue PVC joints with primer and cement, and let them cure before you pressurize the system.
- Fit the heads and the backflow preventer. Set each head level with the soil surface, fit the backflow preventer at the water connection, and wire the valves back to the controller.
- Flush, test, and adjust. Open the water slowly, flush dirt from the lines through open ends before you fit the last heads, then run each zone and adjust every head for aim and arc. Fix leaks now, while the trenches are still open.
- Backfill and set the schedule. Lay the turf strips back, water them well, and program the controller with a start time, days, and run times for each zone. Walk the yard during the first full run and watch for dry spots or puddles.
Most pro crews finish a standard yard in one to two days. A DIY install on the same yard often takes a full weekend or longer, mostly because of the trenching.
DIY or Hire a Pro?
Choose DIY when your yard is small, flat, and simple, your water pressure is strong, and you are comfortable digging trenches and gluing pipe. Choose a pro when the yard is large or sloped, the pressure is low, the design needs many zones, or local rules require a licensed installer for the water connection. A pro also makes sense when you want a warranty on the work.
Either way, ask for a zone map and a parts list before work starts. A good installer shows you the design, names the head types, and explains the controller settings. If a quote has no zone plan at all, get another quote.
How to Maintain Your System Through the Year
A buried system needs little care, but the small care it needs keeps it alive for decades. Sprinkler heads last about 10 to 14 years, and a full system can last up to 20 years with steady care, according to Thumbtack’s cost guide. Follow the seasons below and most problems stay small.
- Spring: open the water slowly, run each zone, and check every head for cracks, clogs, and aim. Clean clogged nozzles and replace broken heads before the hot season.
- Summer: watch for dry spots and soggy spots each week. A dry ring means a head needs adjusting, and a soggy patch can mean a leak or a zone running too long.
- Fall: cut run times as the weather cools, and winterize before the first hard freeze. Winterizing usually costs $50 to $230 a year for a pro visit, according to NerdWallet, checked November 9, 2026. In cold areas, a pro blows compressed air through the lines to push the water out so pipes do not crack.
- Winter: leave the controller off or in rain mode, and keep the valve boxes clear of leaves and soil so you can reach them in spring. If your area gets hard freezes, read our guide on how to keep pipes from freezing without heat for extra freeze protection around the house.
Check the rain sensor each spring too. A sensor clogged with leaves or stuck in place will either water through a storm or refuse to water at all.
Common Problems and Quick Fixes
Most sprinkler trouble shows up as one of a few clear signs. Start with the cheapest and easiest check first, and call a pro when the fix means digging up pipe or touching the main water connection.
- Dry spots in a ring or a stripe: a head is clogged, misaimed, or blocked by grown grass. Clean the nozzle, reset the arc, and trim grass around the head.
- Soggy patches that never dry: a zone may run too long, or a pipe may leak underground. Shorten the run time first, and if the spot stays wet, check for a leak. Our guide on how to fix a soggy yard helps you sort out whether the water comes from the sprinklers or from poor drainage.
- Low pressure in one zone: a valve may not open fully, or a head may leak. Check the valve box first, then look for a head that bubbles or sprays weakly.
- A zone that will not turn on: check the controller wiring and the valve solenoid. A loose wire is a quick fix, while a dead solenoid needs a replacement valve part.
- Signs of a hidden leak: a water bill that jumps, soft ground, or water pooling far from any head. Read our guide on underground water leak detection to trace the source before you start digging.
- Heads that stay down: low pressure, a stuck stem, or dirt in the head. Rinse the head, check the zone pressure, and replace the head if the stem stays stuck.
For step-by-step fixes to broken heads, valves, and leaks, see our lawn sprinkler repair guide, which covers repair only. This article covers the full system, so the two guides work as a pair: build and plan here, fix there.
Is an Underground Sprinkler System Worth It?
For most homeowners with a lawn they water often, yes. You save time every week, the lawn gets even water, and the yard stays free of hoses. Smart controllers and rain sensors cut water waste, and a neat, green lawn lifts curb appeal.
Weigh the costs honestly, though. The install costs thousands, winterizing and repairs add yearly costs, and NerdWallet notes that a system may not pay back its full install cost when you sell. It adds value and market appeal, but it is not a money-making upgrade. It is worth it when you value the time saved and the healthier lawn more than the upfront cost, and when you plan to stay in the home long enough to enjoy it.
A Quick Safety Note
Installing an underground sprinkler system means digging near buried utility lines and working with your home water supply, so take the safety steps seriously. Call 811 before you dig, follow local permit and backflow rules, and hire a licensed pro for the main water connection or any electrical work beyond the controller’s low-voltage wiring. Homes, soil, and local codes vary, so treat this guide as general help, not a substitute for local rules or a qualified installer. If any step feels beyond your skill, stop and get help rather than risking a cut line or a flooded yard.
Related Guides
How to Fix a Soggy Yard · Underground Water Leak Detection · How to Build a Retaining Wall on a Slope · How to Keep Pipes From Freezing Without Heat · Best Places to Buy Plants Online · Lawn Sprinkler Repair · How to Put Fertilizer on Grass · Reseeding Lawn: How to Start Over and Grow Thick New Grass
Frequently Asked Questions
Is an irrigation system worth it?
For many homeowners, yes. An irrigation system saves time, waters evenly, and keeps the yard green without daily work. It can also cut water waste when it uses a smart controller and rain sensors. Weigh the install cost against how much you value the time saved and the healthier lawn.
How much value does an irrigation system add to your home?
It may raise your home value, but it depends on what buyers in your area want most. A smart sprinkler system can help a home sell faster, and some buyers pay more for a well-watered yard. Do not count on getting the full install cost back at sale.
How long do irrigation systems last?
Sprinkler heads last about 10 to 14 years, while a full system can last up to 20 years. The exact life depends on part quality and care. Regular checks, quick repairs, and yearly winterizing in cold climates stretch the life of the whole system.
Can you install a sprinkler system yourself?
Yes, you can install a sprinkler system yourself if you have the right tools and skills. It suits small, flat, simple lawns best. It is not an easy DIY project, though, and larger or sloped yards are often best left to the pros. Always call 811 before you dig.
How can I cut costs on a new sprinkler system?
Choose simple sprinkler heads with no extra features, and keep the zone count low by grouping similar plants together. You can also do part of the work yourself, such as digging trenches or getting permits, and ask installers about partial DIY options when you collect quotes. Get at least three quotes before you decide.
Start with the zone map and the pressure check, because those two steps shape everything else. Once the design fits your yard and your water supply, the rest of the system falls into place, and your lawn waters itself while you get your weekends back.