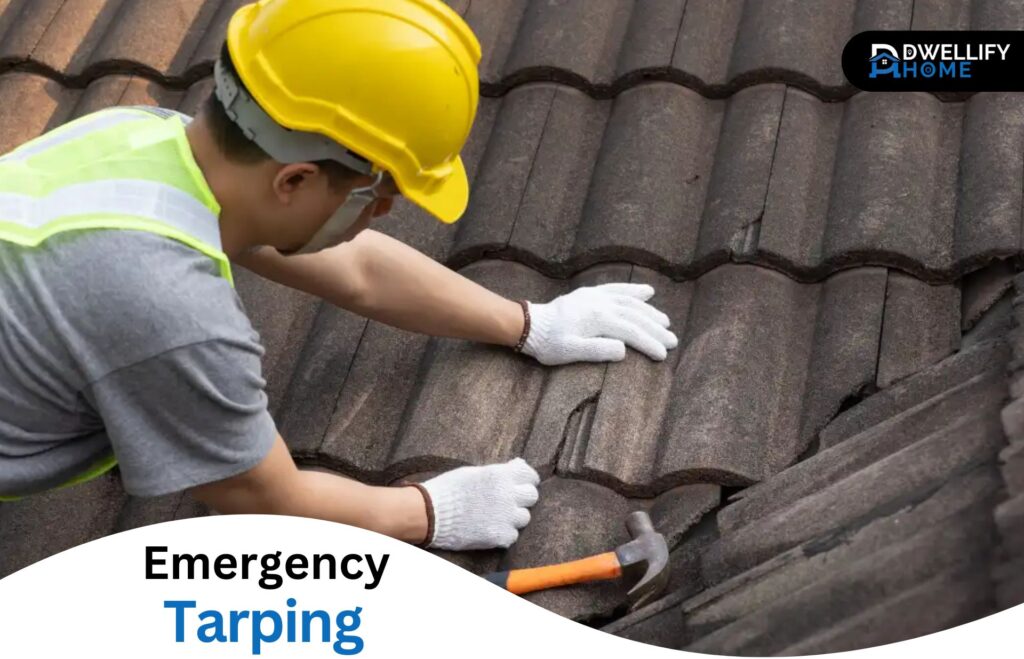
A storm can pass in minutes, but the damage it leaves behind can keep getting worse every hour your roof is exposed. That is where tarping comes in. Emergency tarping is a temporary protective measure, not a full fix, but it can be the difference between a repairable situation and a total interior mess. If you are dealing with missing shingles, lifted flashing, fallen branches, or hail impacts, tarping buys time until a qualified crew can perform a proper inspection and emergency roof repair.
Still, it helps to know what tarps can realistically do, what they cannot do, and what you should do before and after one goes on.
What “emergency tarping” actually means
Emergency tarping is the process of installing a heavy-duty waterproof tarp over damaged roof areas to reduce water entry. Done correctly, the tarp is secured in a way that resists wind uplift and channels water away from vulnerable spots.
A good tarp job is more than throwing plastic over a hole. The goal is to create a temporary weather barrier that:
- covers the damaged zone and surrounding area
- overlaps in the right direction so water sheds off the tarp rather than under it
- is fastened securely without creating more damage
- stays in place in wind, rain, and temperature swings
In many cases, tarping is performed as part of a broader “stabilize now, repair next” response. Think of it like boarding up a broken window after a storm. It is about preventing additional damage while you plan the right permanent solution.
What emergency tarping prevents (and why it matters)
1. Interior water damage
The most obvious benefit is stopping or reducing water intrusion. Water entering through a compromised roof does not just drip into one spot. It can travel along rafters, decking seams, insulation, and electrical runs before it shows up as a ceiling stain.
Tarping helps prevent:
- soaked insulation that loses its performance and can hold moisture
- ceiling drywall sagging, cracking, or collapsing
- water damage to flooring, furniture, and personal belongings
- short circuits and electrical hazards
Even one heavy rain after storm damage can turn a “roof problem” into an “entire-house problem.”
2. Mold-friendly conditions
Moisture plus time equals mold risk. Wet insulation and damp drywall can become a growth environment quickly, especially in warm conditions or poorly ventilated spaces.
Tarping reduces the duration of exposure. It does not dry existing moisture, but it can stop new water from feeding the problem. That time matters because drying and remediation get more complicated the longer materials stay wet.
3. Structural deterioration from ongoing saturation
Repeated wetting can weaken roof decking, framing members, and ceiling materials. Wood does not have to be submerged to be affected. It just needs persistent moisture.
By limiting repeated exposure, tarping helps reduce the chance that a localized damaged area becomes widespread rot or softened decking that needs larger replacement later.
4. Secondary damage from wind-driven rain
Storms rarely come as calm, straight-down rainfall. Wind-driven rain can push water into gaps around vents, chimneys, skylights, and roof-to-wall transitions.
A properly installed tarp can cover these vulnerable areas temporarily and help protect complex roof details that are harder to “patch” with quick fixes.
5. Insurance documentation clarity
This is not a legal promise and it varies by policy, but from a practical standpoint, tarping shows that steps were taken to prevent additional loss. Most insurers expect homeowners to mitigate further damage when it is safe to do so.
A tarp is not a substitute for documentation, but it can help keep the situation from snowballing while you gather photos, notes, and timelines of what happened.
What emergency tarping does NOT prevent (common misconceptions)
Emergency tarping is valuable, but it is not magic. Knowing the limits keeps expectations realistic.
1. It does not repair the roof
A tarp does not replace shingles, flashing, underlayment, decking, or ventilation. It is a cover, not a correction.
If the roof system has underlying issues, like damaged flashing, compromised underlayment, or structural displacement, tarping may reduce water entry but it will not restore the roof’s intended performance.
2. It does not guarantee a leak-free interior
Even with tarping, you may still see moisture issues. Why?
- water may already be inside the roof assembly
- damage may extend beyond the visible area
- wind can drive rain under edges if the tarp is installed incorrectly
- water can enter through other pathways, like siding, soffits, windows, or attic vents
Tarping improves the odds. It does not offer a guaranteed dry interior, especially in severe damage scenarios.
3. It does not stop existing moisture from causing damage
If insulation is soaked or drywall is saturated, those materials need drying and, sometimes, removal. A tarp prevents new water intrusion, but it does not reverse damage already done.
4. It does not fix hidden damage
Hail can bruise shingles, loosen granules, crack vents, or compromise flashing in ways that are not obvious from the ground. Wind can lift shingles and break seal strips without tearing anything off. Trees can impact rafters even if the exterior looks “mostly fine.”
A tarp covers symptoms, not the full diagnosis. A professional inspection is still needed.
5. It does not make the roof safe to walk on
After a storm, roofs can be slick, unstable, and full of hazards. Loose granules act like ball bearings. Damaged decking can give way. Power lines may be nearby. Even experienced crews treat storm-damaged roofs with caution.
If you are not trained and equipped, do not climb up there. This is one of those moments where doing nothing is safer than doing the wrong thing.
When you should consider tarping (and when you might not need it)
Good reasons to tarp
Tarping is often appropriate when you have:
- missing shingles or visible roof covering loss
- punctures from limbs or debris
- lifted or detached flashing with visible gaps
- active leaks that worsen during rain
- damage around roof penetrations (vents, skylights, chimneys)
- exposed underlayment or decking
Situations where tarping may not be necessary
Not every storm event requires a tarp. You might not need tarping if:
- damage is cosmetic only and the roof is not leaking
- you have small issues that can be addressed quickly with a standard repair appointment
- the roof is intact and the problem is elsewhere (for example, a clogged gutter causing overflow)
That said, if you are unsure, assume water will find the weak spot. It is often smarter to have a professional evaluate sooner rather than later.
What a proper tarp installation should include
If you ever watch a tarp job and it looks like a tarp loosely draped with a few nails, that is not the standard you want. A proper installation typically includes:
Using the right tarp
A heavy-duty tarp (often thicker material) is less likely to tear. The tarp should be large enough to extend beyond the damaged area by several feet in all directions when possible.
Correct overlap and water shedding
Water should flow over the tarp, not under it. That means the upper edge needs to be positioned and secured so wind and runoff do not drive water beneath it.
Secure fastening without excessive roof damage
Fastening matters. The tarp has to resist wind uplift. Many installers use boards or battens to secure the tarp edge and distribute tension. Random fasteners through a tarp can tear out under wind load, and unnecessary punctures can create new problems.
Edge sealing and tension
A tarp should be tight enough to avoid flapping. Flapping creates noise, tears, and loosening over time. Edges should be handled carefully because that is where wind gets underneath.
Safety practices
A good tarp job is also a safe job. That means proper ladders, fall protection, awareness of electrical hazards, and stopping work when conditions are unsafe.
The homeowner’s “do this now” checklist after storm damage
You can make the situation easier and safer without touching the roof.
- Stay off the roof. Even single-story roofs are dangerous after storms.
- Check for active leaks inside. Look at ceilings, attic access points, and upper walls.
- Move valuables away from leak zones. Use buckets, plastic sheeting, and towels.
- Take photos and video. Capture damaged areas from the ground, plus interior impacts.
- Document the timeline. Note when the storm hit and when leaks were observed.
- Limit additional moisture indoors. If safe, run fans and dehumidifiers to slow the damage.
- Look for hazards outside. Downed lines, hanging limbs, unstable trees, and debris.
If you do one thing, do documentation early. Conditions change quickly after a storm, and your first photos are often the most valuable.
How long can a tarp stay on a roof?
A tarp is temporary. How temporary depends on:
- quality of installation
- wind exposure
- roof slope and complexity
- frequency of rain
- sun and temperature extremes
In general, the longer a tarp stays, the more likely it is to loosen, tear, or allow water intrusion at edges. A tarp should be viewed as a short-term bridge to a real repair plan, not a “set it and forget it” solution.
If a tarp has been up for a while, it is smart to have it checked after major wind events. You do not want to discover it failed during the next storm.
Why “quick fixes” can backfire
After storm damage, homeowners sometimes try sealants, tapes, or patch kits. These can create a false sense of security and complicate repairs later.
Common issues with DIY quick fixes include:
- trapping moisture inside the roof system
- diverting water into new pathways
- voiding manufacturer requirements on materials
- making it harder to properly assess the damage
Tarping, when done correctly, is generally a safer temporary approach than smearing products onto wet or dirty surfaces.
The bottom line: tarping buys time, but it is not the finish line
Emergency tarping is one of the most practical first responses after storm damage because it reduces the chance of water turning a roof problem into a whole-home problem. It can prevent interior damage, slow mold risk, and protect structural components while you line up inspection and repairs.
At the same time, tarping does not repair the roof, does not guarantee a leak-free home, and does not replace a thorough evaluation. Treat it like a protective cover, not a cure.
If you are dealing with storm damage, the smartest approach is usually a two-step plan: stabilize the roof safely, then schedule a professional inspection to identify the full scope of repairs needed. That is how you move from chaos back to normal without surprises waiting in the attic.
Your next helpful read may already be waiting on Dwellifyhome.com! Please note that some links in this article may be affiliate or sponsored links, enabling us to earn a small commission from purchases. This support helps us create better content for our readers. The author’s views are their own and do not necessarily reflect the views or policies of Dwellifyhome.com.