
You improve home insulation by sealing air leaks first, then adding insulation to the attic up to your climate zone’s R-value — and the EPA’s ENERGY STAR program estimates that combination saves the average household 15% on heating and cooling costs.
Most homeowners do it backwards. They buy insulation before they find the leaks, so warm air keeps slipping out through the same gaps and the new insulation never pays off. This guide does it in the right order: find where heat escapes, seal the leaks, measure what you already have, then add the right material to the right depth. The cheapest fix on this list costs about $12 — a tube of silicone caulk — and it saves more per dollar than the $2,100 attic job. That fix is in the sealing section below.
Start With an Energy Audit, Not a Shopping Cart
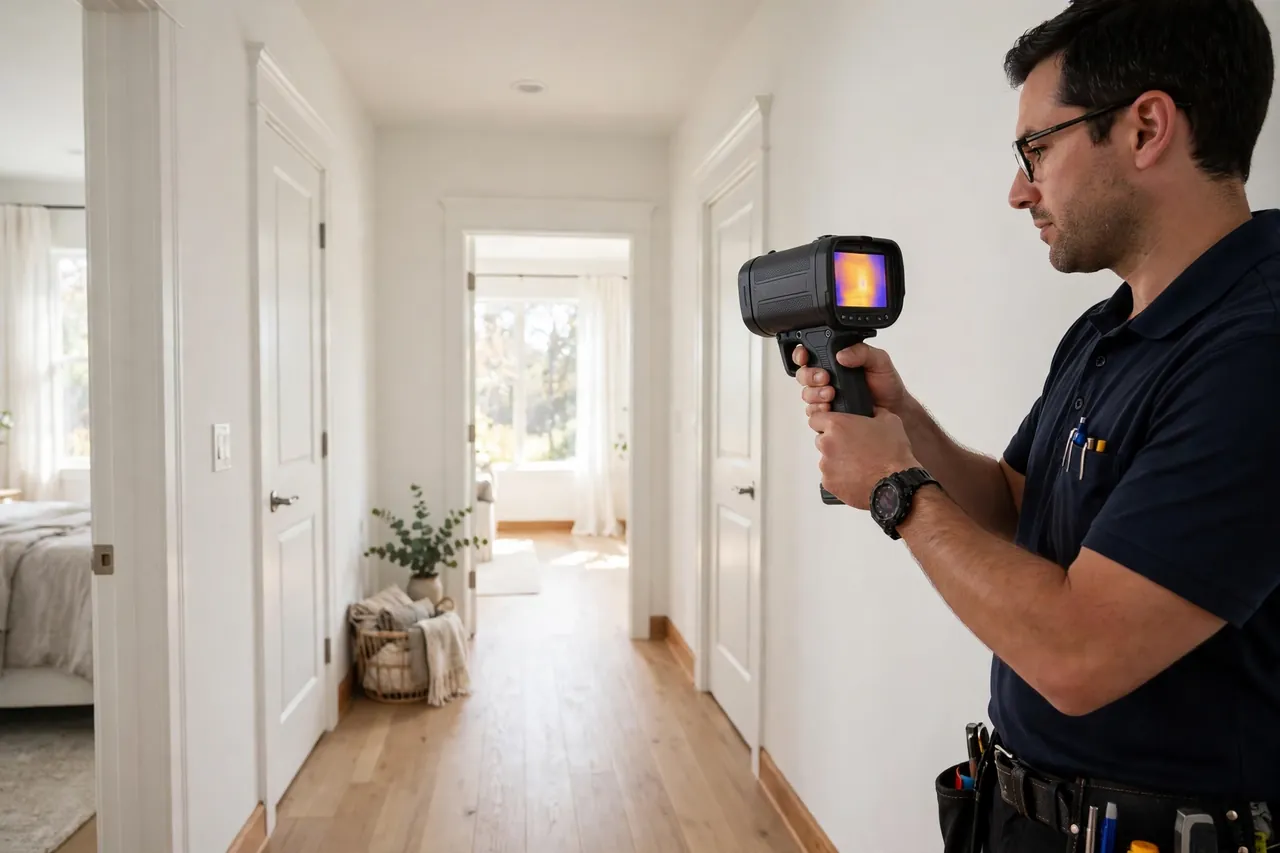
An energy audit finds where your house actually loses heat before you spend a dollar on materials. A professional auditor runs a blower door test, which pressurizes the house and measures total air leakage, and scans the walls and ceilings with a thermal camera to spot missing insulation and cold spots. The U.S. Department of Energy’s home energy audit guide recommends an audit before any major retrofit.
The audit gives you a ranked list of leaks and thin spots, so you fix the biggest losses first instead of guessing. A typical audit also checks the attic, the walls, the rim joists where the house sits on its foundation, and the ducts for disconnected or leaky runs. You can also do a simple walk-through yourself. Feel for drafts around windows and doors on a windy day, look for gaps where pipes and wires pass through walls, and check the attic hatch for daylight.
An audit costs far less than the insulation job it guides, and it stops the most common waste in this whole project: insulating the wrong spot. Fix the biggest leak first, not the easiest one. But the audit only tells you where the problem is — the next section is the work that actually stops the heat from leaving.
Seal the Air Leaks Before You Add a Single Batt
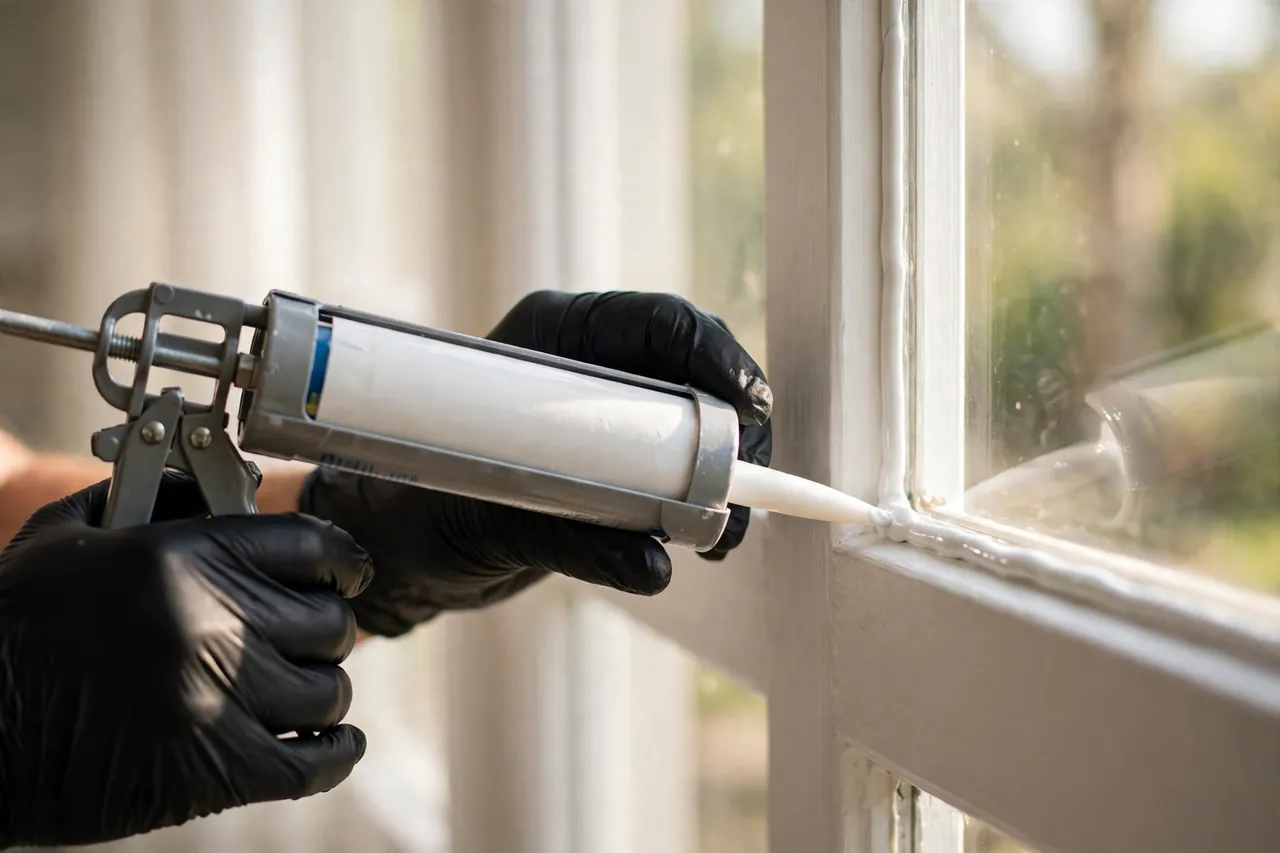
Air sealing comes first because insulation traps still air, but it cannot stop moving air. Warm air escapes through gaps the size of a pencil, and that defeats even thick insulation. Sealing is also the cheapest work in this guide: a tube of caulk, a roll of weatherstripping, and a pack of foam outlet gaskets together cost less than one bag of blown-in insulation.
Start with the spots that leak most. Check the gaps around window and door frames, the cracks where the foundation meets the sill plate, the openings around pipes, wires, and vents, and the attic hatch and recessed lights. Press foam gaskets behind outlet and switch plates on exterior walls, run weatherstripping around doors and windows until no daylight shows, and caulk the visible cracks around frames and baseboards.
One warning belongs here, before you touch anything: never seal a gas appliance flue or a combustion air vent. Sealing those can trap carbon monoxide inside the house. Leave anything near a furnace, water heater, or fireplace flue alone and let a licensed technician handle it. Here’s the problem with that warning, though — it scares some people off sealing entirely. Don’t let it. The flues are a small part of the house, and everything else is safe to seal yourself.
How Much Insulation Do You Already Have? The 5-Minute Ruler Test
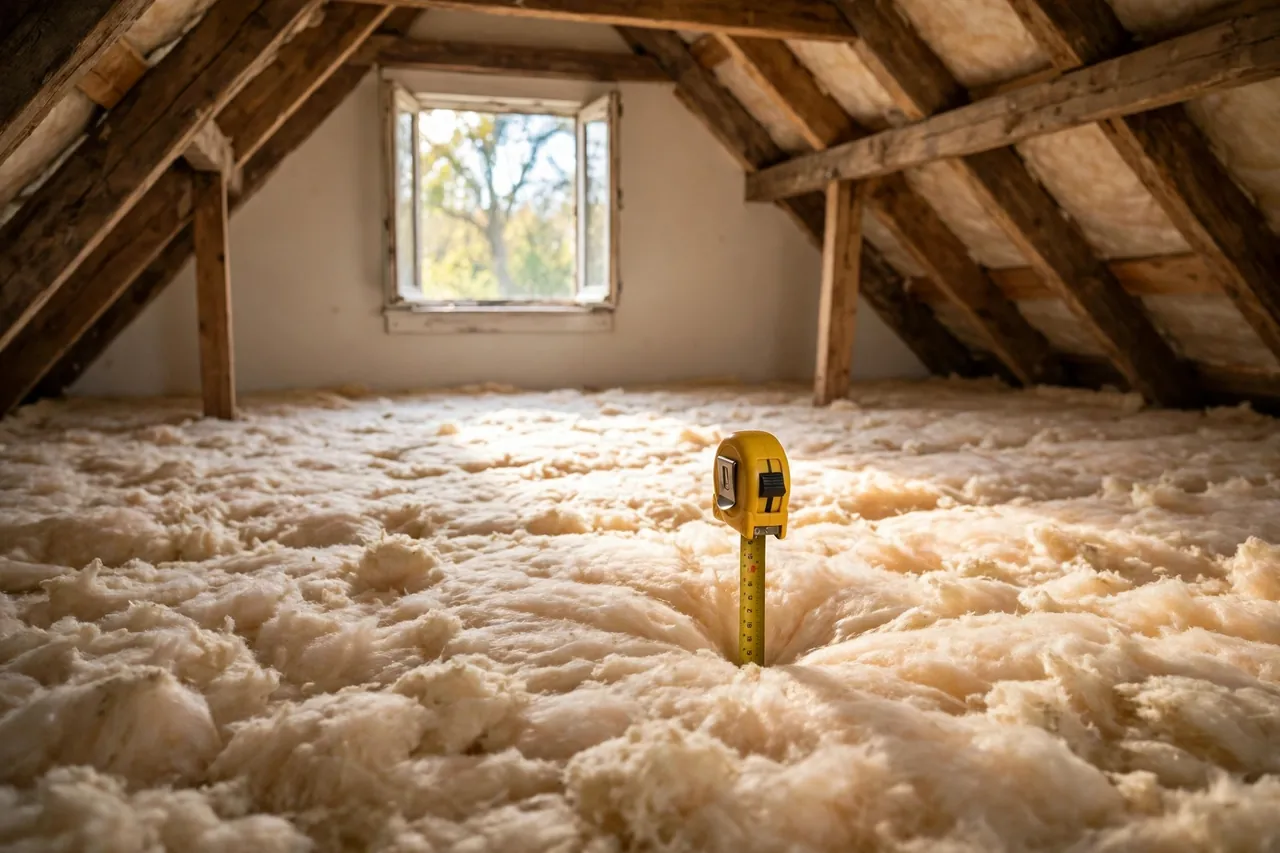
You measure what you already have with a tape measure and a ruler, and the test takes about five minutes. Climb into the attic with a flashlight, push the ruler down through the insulation to the attic floor, and read the depth in inches. Multiply that depth by about 2.5 for fiberglass to get a rough R-value — ENERGY STAR’s own guide uses that same 2.5-per-inch figure.
Then use the quick check ENERGY STAR publishes: if the insulation sits level with or below the attic floor joists, you probably need more. If you cannot see the joists at all because the insulation stands well above them, you probably have enough, and adding more may not pay for itself. That one look tells most homeowners whether the attic job is worth doing this year.
💡 Practical Home Tip — Before you buy a single bag of insulation, do the ruler test in your attic: push a ruler through the insulation to the floor and multiply the depth by 2.5. That one number tells you whether you need more insulation at all — and it stops a salesperson from selling you a job your house does not need.
Your target depends on where you live, not on a single national number. ENERGY STAR’s recommended levels for an uninsulated attic run from R-30 in the warmest zone to R-60 across the cold half of the country, with a lower add-on target when you already have 3 to 4 inches in place.
Table: ENERGY STAR recommended attic insulation levels by climate zone
| Climate zone | Uninsulated attic | Attic with 3–4 inches already | Floor over unconditioned space |
|---|---|---|---|
| Zone 1 (Miami, Honolulu) | R-30 to R-49 | R-25 to R-30 | R-13 |
| Zone 2 (Houston, Phoenix) | R-30 to R-60 | R-25 to R-38 | R-13 to R-19 |
| Zone 3 (Atlanta, Dallas) | R-30 to R-60 | R-25 to R-38 | R-19 to R-25 |
| Zone 4 (Washington DC, Seattle) | R-38 to R-60 | R-38 | R-25 to R-30 |
| Zones 5–8 (Chicago, Minneapolis) | R-49 to R-60 | R-38 to R-49 | R-25 to R-30 |
Find your zone on the ENERGY STAR climate map before you buy anything, because the wrong target wastes money twice: too little leaves the bill high, and too much in a mild climate never pays back. Match the R-value to your zone, not to your neighbor’s house. And once you know the target, the attic is where the money goes first — the next section shows why.
The Attic Comes First — and Pays Back Fastest
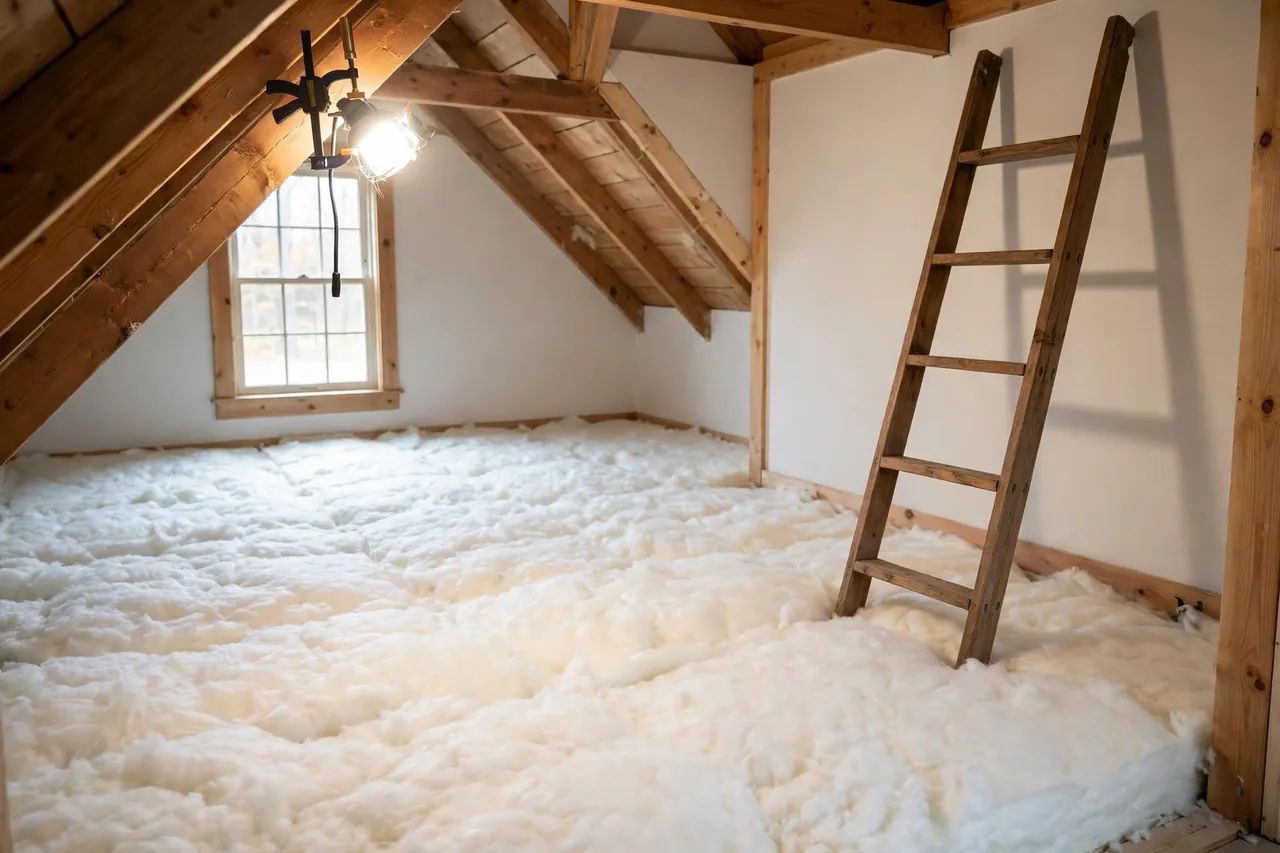
The attic is the best place to start because heat rises, the space is easy to reach, and the material is cheap. Blown-in fiberglass or cellulose fills the gaps around joists, wires, and pipes that batts cannot cover, and it works in tight spaces where a person can barely move. Aim for a deep, even layer at your zone’s target depth rather than a thin scatter.
Two details decide whether the attic job works. First, seal the attic floor before you blow anything in — the gaps around wires, pipes, and the hatch leak warm air straight past new insulation. Second, keep the soffit vents clear. Blocked soffit vents trap moisture, and wet insulation stops working and can rot the roof decking. Leave a clear path for air to move from the soffits up to the ridge vent, and fit baffles at the eaves so the new material never slides over the vents.
If your attic floor is open and unheated, insulate the floor, not the roof deck — that keeps the heat in the rooms below instead of warming an empty attic. Cathedral and vaulted ceilings are the exception: with no attic floor to insulate, the insulation goes in the roof deck itself, and that job needs a pro. For a full walkthrough of the attic job, see our guide on how to insulate an attic.
The attic is also where the numbers look best. Blown-in insulation costs about $1 to $4 per square foot installed, and Angi’s 2026 figures put a typical attic job at $1,700 to $2,500 — the cheapest R-value you will ever buy. But the attic is only one part of the envelope, and the next section covers the mistake that ruins even a good attic job.
What Most People Get Wrong About Insulation
The most common belief about insulation is wrong in a way that costs real money: most people think insulation stops drafts. It does not. Insulation slows heat moving through solid material, but air blows straight through fiberglass and cellulose. Only air sealing stops drafts, which is why the sealing section came before this one. A house with thick insulation and unsealed gaps stays drafty and expensive to heat.
The second mistake is squeezing batts to make them fit. A compressed batt loses R-value fast because the trapped air pockets that do the insulating get crushed out — the money spent on that batt is wasted. Cut batts to fit the space, or switch to blown-in material where the framing is irregular. And the third mistake is chasing the highest R-value everywhere. Each extra inch saves a little less than the one before it, so going from R-30 to R-49 saves far more than going from R-49 to R-60. Stop at your zone’s target and spend the rest where the audit found the next leak.
Guess which fix costs $30 and which costs $3,000? The $30 fix is a weekend of caulk and weatherstripping around one drafty floor of windows. The $3,000 fix is a spray-foam wall job on the same house. The cheap fix often saves more in the first year — and that is exactly why the order of this guide matters more than the size of any one job. But order alone does not pick the material, and the next section does that.
Pick the Right Material: Fiberglass, Cellulose, or Spray Foam
Three materials cover almost every home insulation job, and each wins in a different spot. Fiberglass batts are the cheapest and easiest to handle, cellulose fills irregular spaces better than any batt, and spray foam seals air and insulates in one pass at the highest price. The right choice depends on the space, the budget, and whether you hire the work out.
Fiberglass comes as batts or blown-in loose fill, with about 2.5 to 3.5 R-value per inch. It does not settle much, it does not absorb water easily, and it is the standard choice for open attic floors. Cellulose is shredded recycled paper treated with borate, at about 3.2 to 3.7 R per inch, and it packs tightly around wires and pipes — the better choice for dense-packing closed walls. For a head-to-head on those two, see our comparison of cellulose vs fiberglass insulation.
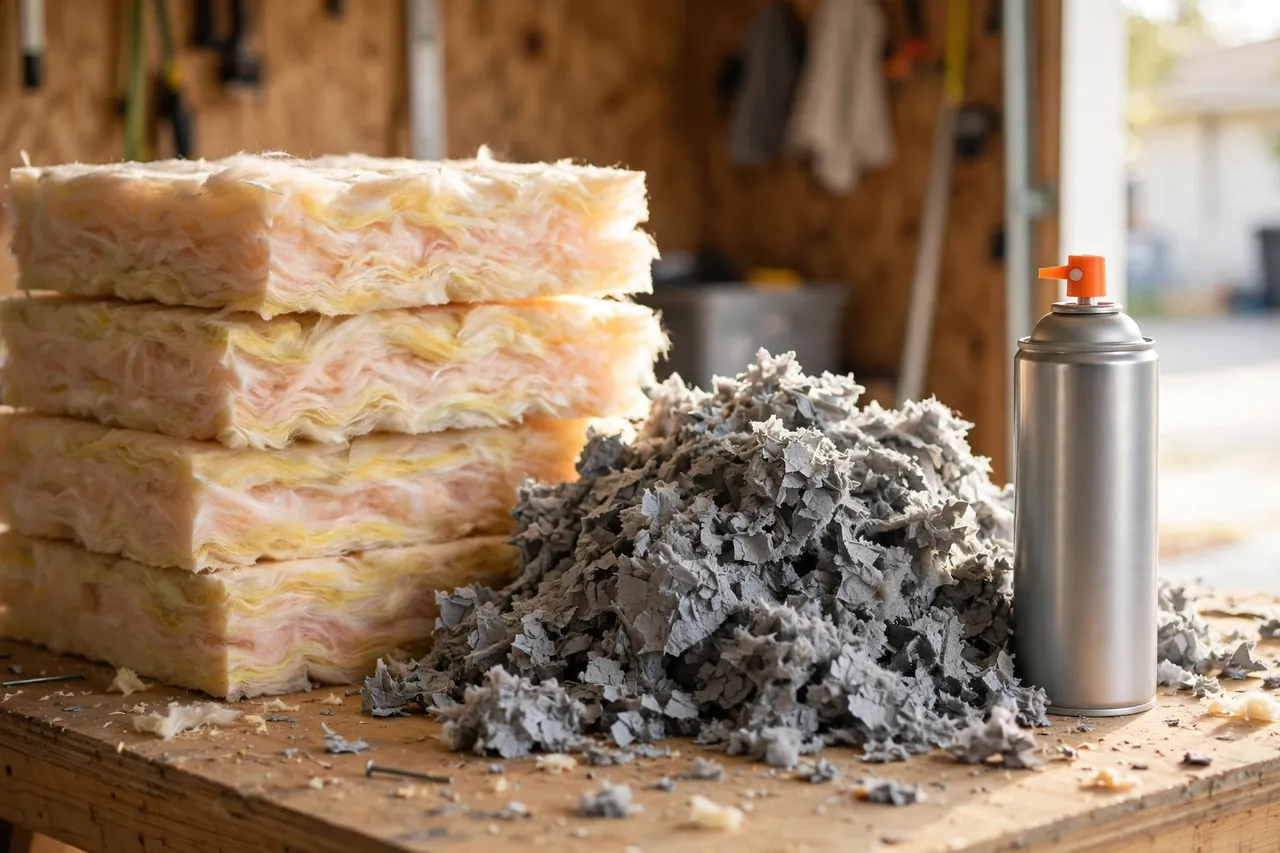
Spray foam is the premium option. Open-cell foam runs about 3.5 R per inch and closed-cell about 6.5, and both air-seal as they expand, which is why foam works well on rim joists and irregular cavities. The catch is the price and the install: foam needs proper equipment, full safety gear, and a trained crew, so it is never a DIY job. Mineral wool sits between the two on price, resists fire well, and handles moisture better than fiberglass — a solid pick for basement walls and around chimneys.
One more choice hides inside the fiberglass aisle: faced versus unfaced batts. The paper or foil facing is a vapor retarder, and it belongs on the warm side of the assembly — facing inward in cold climates — while unfaced batts suit attics where you add a layer over existing insulation. Picking the wrong facing traps moisture in the wall, so read our guide on faced vs unfaced insulation before you buy a single roll.
Table: Insulation materials compared (2026 figures)
| Material | R-value per inch | Material cost per sq ft | Best for | DIY? |
|---|---|---|---|---|
| Blown-in fiberglass | 2.5–3.5 | $0.50–$1.10 | Open attic floors | Yes, with a rented blower |
| Blown-in cellulose | 3.2–3.7 | $0.60–$1.80 | Attics, dense-pack walls | Yes, with a rented blower |
| Fiberglass batts | 2.5–3.5 | $0.50–$1.00 | Open framing, attics | Yes |
| Spray foam (open-cell) | ~3.5 | $1.50–$3.00 | Rim joists, odd cavities | No — pro only |
| Spray foam (closed-cell) | ~6.5 | $2.50–$4.50 | Thin spaces needing high R | No — pro only |
Costs are material only, from Angi’s September 2026 blown-in figures; installed prices run higher with labor. Cellulose wins on R per dollar in walls; fiberglass wins on price in open attics. The material decision is made — now the rest of the house needs the same treatment.
Walls, Floors, and the Rim Joist: the Rest of the Envelope
Walls, floors, and the rim joist lose less heat than the attic, but they decide whether the house feels even from room to room. Walls in a finished house get insulation without tearing the house apart: a crew drills small holes, dense-packs cellulose or injects foam into each cavity, and patches the holes. It costs more per square foot than attic work, but it lasts for decades and kills the cold-wall drafts that no thermostat setting fixes.
Floors over crawl spaces and unheated basements need insulation between the joists, with the vapor retarder facing the warm side. In a crawl space, rigid foam on the walls often beats batts under the floor, because it keeps the whole space warmer and drier. And the rim joist — the band of wood where the house sits on its foundation — is one of the leakiest spots in most homes. A can of spray foam or a cut piece of rigid foam board sealed at the edges stops cold air at the base of the house, and it is one of the cheapest pro jobs on this list.
Moisture is the rule that governs all of this. Wet insulation stops working, and adding insulation over a wet assembly traps moisture and grows mold. Fix roof leaks, plumbing drips, and grading problems before you insulate anything below the roofline. That one rule separates a job that lasts 30 years from one that rots the framing it was meant to protect — and the ceiling above your head has its own version of the same rule.
The Ceiling Question: What Goes Over Your Head
Ceilings decide how much heat your rooms keep, and the right insulation depends on the ceiling you have. A flat ceiling over an unheated attic takes the same blown-in or batt treatment as the attic floor, up to your zone’s R-value. A cathedral or vaulted ceiling has no attic above it, so the insulation must fit between the rafters — usually rigid foam or high-density batts with a ventilation channel above them so moisture can escape.
The mistake to avoid here is stuffing a cathedral ceiling full with no air path. Without ventilation above the insulation, moisture condenses on the cold roof deck and rots it from the inside. Leave a vent channel from the soffit to the ridge, or use closed-cell spray foam, which acts as its own vapor barrier and needs no channel. For the full breakdown by ceiling type, see our guide to the best insulation for ceilings.
Basement and garage ceilings follow the same logic in reverse: insulate the ceiling of an unheated garage or the floor above a cold basement, and the rooms above stay warmer for a fraction of the attic job’s cost. Every ceiling is an attic floor in disguise — insulate it like one. But knowing what to insulate is only half the decision; the other half is what it costs and how fast it pays you back.
What It Costs — and How Fast It Pays for Itself
Insulation is one of the cheapest big home improvements, and the national numbers prove it. Angi’s October 2026 figures put a professional attic insulation job at $2,100 on average, with most homeowners paying $1,700 to $2,500. Blown-in insulation averages $1,661 nationally, with most jobs landing between $987 and $2,335. Air sealing adds $250 to $750, and removing old insulation costs $1 to $1.50 per square foot when it is wet, moldy, or full of dust.
Table: Typical insulation costs in 2026 (Angi)
| Job | Typical cost | Notes |
|---|---|---|
| Attic insulation, professional | $1,700–$2,500 (avg $2,100) | $1–$3 per sq ft installed |
| Blown-in insulation | $987–$2,335 (avg $1,661) | $1.75–$7.50 per sq ft by material |
| Air sealing | $250–$750 | Do it before adding insulation |
| Old insulation removal | $1–$1.50 per sq ft | Only when wet, moldy, or damaged |
| Spray foam (whole attic) | $3,000–$7,000 | Highest R per inch, pro only |
Payback is simple arithmetic: divide the installed cost by the yearly energy savings. Take a household spending $2,400 a year on heating and cooling. At the EPA’s 15% average savings figure, better sealing and insulation saves about $360 a year. A $2,100 attic job then pays for itself in roughly six years — and the insulation keeps working for decades after that. That is my arithmetic from the published figures, not a contractor’s promise, and your own result depends on your climate, your fuel prices, and how leaky your house is now.
One honest note on money: the federal 30% insulation tax credit ended for improvements made after December 31, 2025, so do not count on it. Check your state energy office and your utility instead — many still run rebates for attic insulation and air sealing, and those can cut the payback by a year or more. Better insulation also shrinks the heating system your house needs, so read our home heating guide before you size your next furnace or heat pump. But before you spend anything, decide who does the work — and that line is about safety, not skill.
DIY or Hire a Pro? The Line That Keeps You Safe
Some insulation jobs belong to homeowners and some belong to pros, and the line between them is safety, not skill. DIY makes sense for weatherstripping doors and windows, caulking visible cracks, and laying batts in an open attic you can stand in. Those jobs need basic tools, a dust mask, and an afternoon.
Leave the rest to a licensed crew: blown-in insulation and dense-packing walls, duct sealing, spray foam, and anything near gas appliances or combustion vents. A pro also finds the leaks you cannot see — the blower door test in the audit shows exactly where the house leaks, and the crew seals those spots before the insulation goes in. Installation quality decides the savings: a badly installed batt or a missed air gap can waste half the material’s value.
Two safety rules cover the DIY side. First, fiberglass dust irritates skin, eyes, and lungs, so wear gloves, long sleeves, safety glasses, and a proper respirator — not a paper dust mask — and shower and wash your work clothes separately when you finish. Second, attics get dangerously hot and the floor between joists will not hold your weight, so work in the morning, lay boards across the joists to stand on, and never step on the ceiling drywall below. If the attic is tight, hot, or full of wiring, hire it out. The money you save doing it yourself is not worth a fall through the ceiling or a lungful of fiberglass dust.
A short disclaimer belongs here. Insulation work involves dust, fiberglass fibers, and tight hot spaces, and some homes hide knob-and-tube wiring, vermiculite insulation, or mold behind the walls. If you find any of those, stop and call a licensed professional — vermiculite can contain asbestos, and old wiring under new insulation is a fire risk. This guide is general information, not a substitute for a professional assessment of your house.
Related Guides
Faced vs Unfaced Insulation: Which Batt Belongs in Your Walls? · How to Insulate an Attic: A Step-by-Step Guide · Cellulose vs Fiberglass Insulation: Cost, R-Value, and Which Wins · Best Insulation for Ceilings: Flat, Vaulted, and Basement Ceilings · Home Heating Made Simple: Pick the Right System, Cut Your Bill, and Stay Warm All Winter
Frequently Asked Questions
What are the most cost-effective ways to improve home insulation?
Start with air sealing, not insulation. Caulking and weatherstripping gaps around windows, doors, and penetrations is inexpensive and stops warm air from escaping before you spend on materials. After that, blown-in attic insulation delivers the biggest R-value gain for the money in most homes. (Source: Rich’s Plumbing FAQ block, updated Nov 3, 2026.)
How does the R-value of insulation affect energy efficiency?
R-value measures thermal resistance — how well a material slows heat transfer. Higher R-value means more resistance, so less heat escapes in winter and less enters in summer. The right target depends on your climate zone and which part of the house you insulate; attics need the highest R-value, walls and foundations need less. (Source: Rich’s Plumbing FAQ block, updated Nov 3, 2026.)
How do I identify air leaks in my home?
On a windy day, hold a lit incense stick or a thin piece of tissue near window frames, door edges, electrical outlets, attic hatches, and where pipes enter walls. A flickering flame or moving tissue marks a leak. A professional energy audit uses a blower door test, which pressurizes the house and measures total air leakage. (Source: Rich’s Plumbing FAQ block, updated Nov 3, 2026.)
Is it worth adding insulation to an older home?
Usually yes, but the order matters. Older homes often have air leakage and under-insulated attics, so sealing gaps and adding blown-in insulation first gives the fastest improvement in comfort and energy savings. Have an energy audit first so you know which areas are actually underperforming, and check that ventilation and moisture control are handled. (Source: Rich’s Plumbing FAQ block, updated Nov 3, 2026.)
How do I know if my house needs better insulation?
Watch for fluctuating indoor temperatures, high energy bills, drafts, and cold spots on walls or floors. If your house was built more than 10 years ago, its insulation likely does not meet current standards. The ruler test in this guide — measure your attic depth and multiply by 2.5 — gives you a rough R-value in five minutes. (Source: Storables FAQ block, updated Oct 31, 2024.)