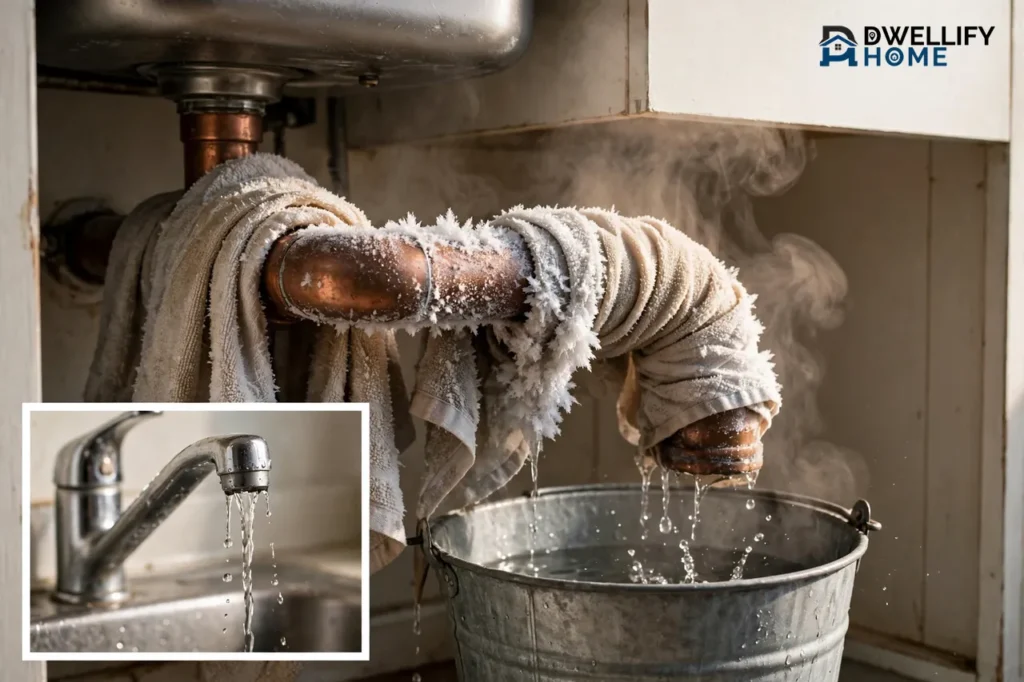
To unfreeze frozen pipes, open the faucet the frozen pipe feeds, find the frozen section, and warm it gently from the faucet end back toward the blockage with a hair dryer or towels soaked in hot water. Keep the faucet open and keep heating until full water pressure returns. Never use an open flame, a torch, or a kerosene or propane heater, and call a licensed plumber if the pipe may have burst or you cannot find the frozen section.
A frozen pipe is an emergency, but it is one you can often fix yourself if you act fast and stay gentle. Water expands as it freezes, so pressure builds between the ice and a closed faucet, and that pressure can split the pipe. The danger often shows up when the ice melts and full water pressure returns, so check for leaks as you thaw. This guide walks you through the safe order: confirm the freeze, check for damage, thaw with the safest method first, and know when to stop and call a plumber.
First, Confirm the Pipe Is Frozen — and Check for a Burst
Do not start heating a pipe until you know what you are dealing with. A trickle or nothing at all from one faucet while other faucets work fine is the classic sign of a frozen pipe. Frost or a bulge on an exposed pipe, a toilet that will not refill, and gurgling or banging sounds when you open a faucet all point the same way.
Check every faucet in your home, hot and cold. If one pipe froze, others may have frozen too, and you need the full picture before you start. Trace the pipe back from the dead faucet and feel along exposed runs with your hand. The coldest spot, often against an outside wall, in a crawl space, in the garage, or where the water line enters through the foundation, is usually where the ice sits.
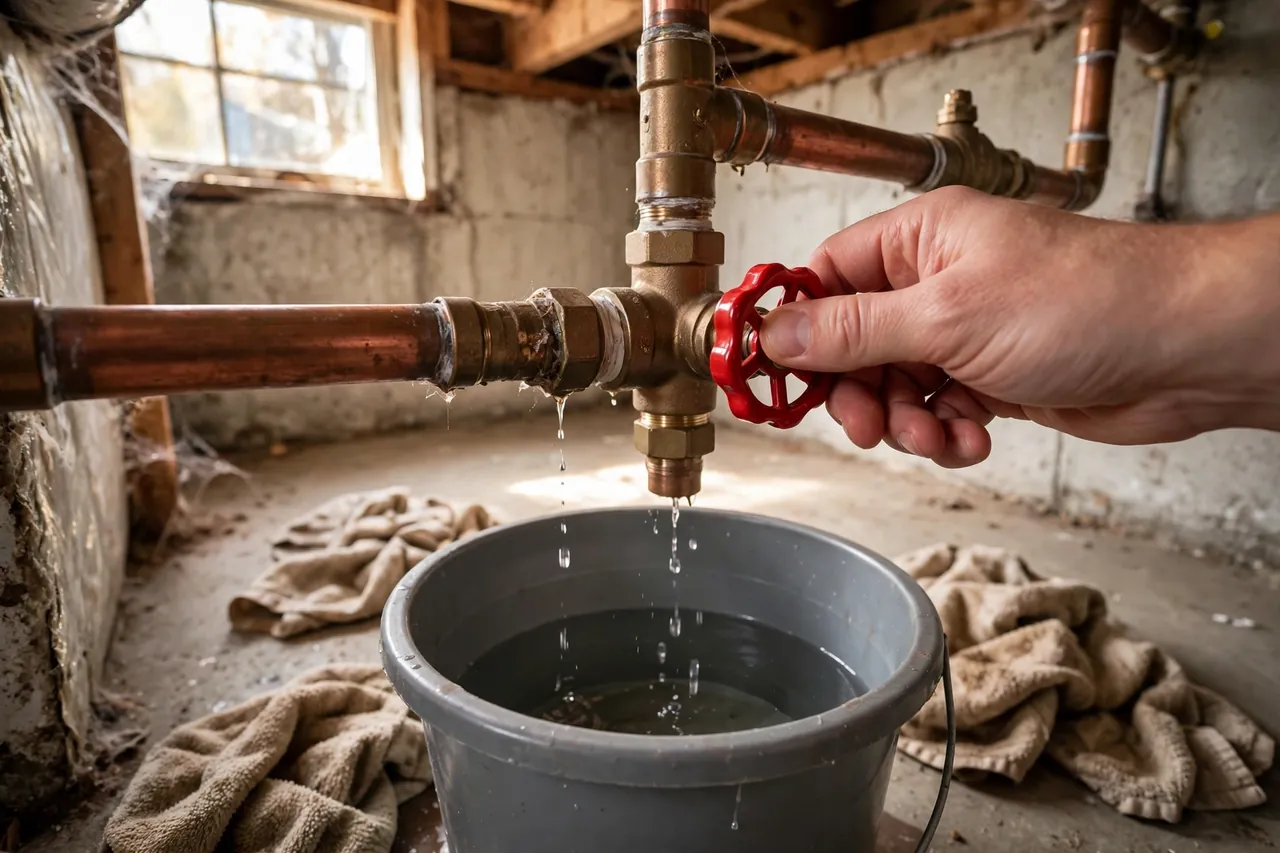
Before you apply any heat, find your main water shutoff valve and make sure you can turn it. It usually sits where the water line enters your home, often in the basement, a utility room, or near the water meter. If the pipe split while it was frozen, you will need that valve the moment the ice melts. Look closely at the frozen section for a split, a bulge, or a joint that has pushed apart. If you see damage, do not thaw the pipe. Shut off the water and call a licensed plumber, because water will spray out as soon as the ice melts.
Water freezes at 32°F, but a pipe does not freeze the moment the air outside hits that number. What matters is how cold the pipe itself gets, and pipes in unheated spaces freeze first. Our guide to what temperature water pipes freeze at explains the risk in full, so this article stays focused on the thaw.
What You Need Before You Start
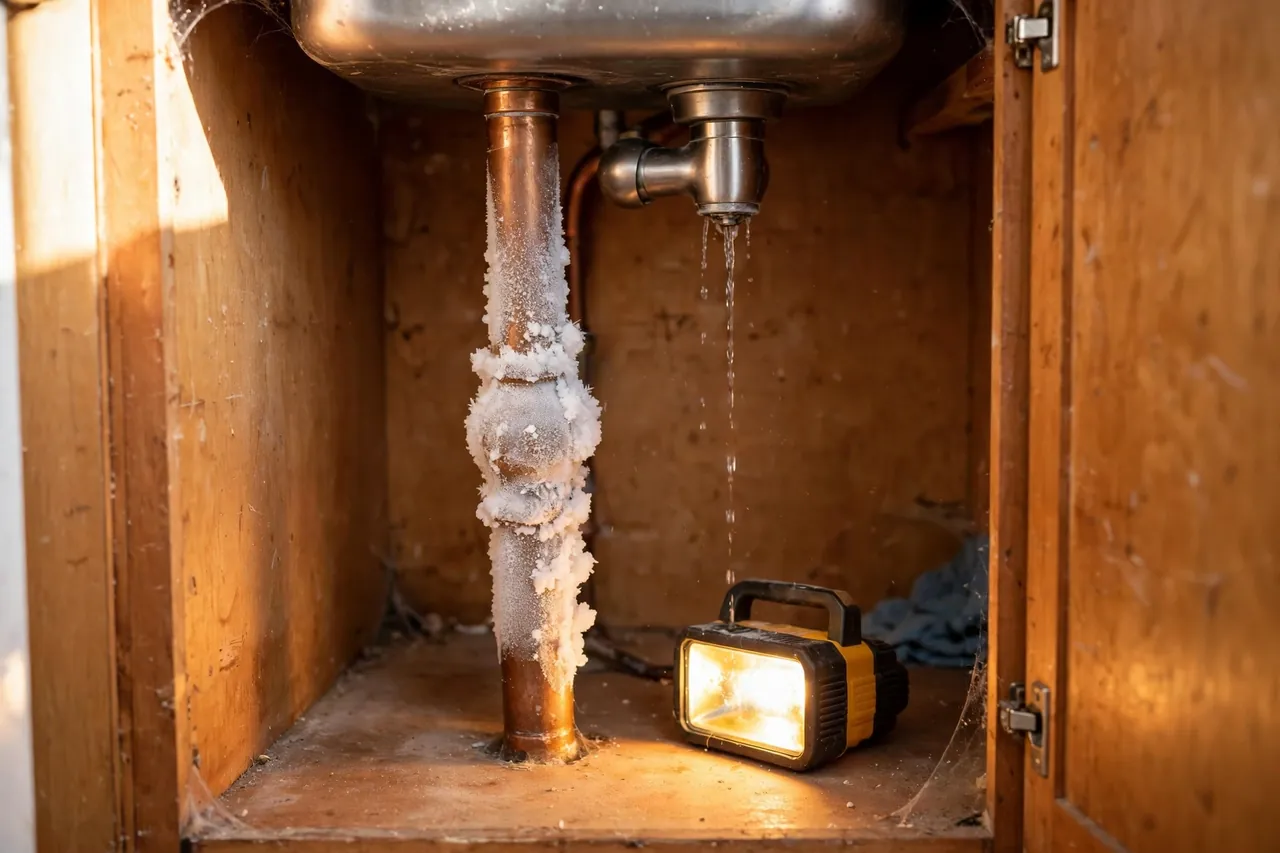
Gather these items before you touch the pipe, so you do not have to leave a thawing pipe to hunt for supplies:
- Several old towels and a bucket of hot tap water
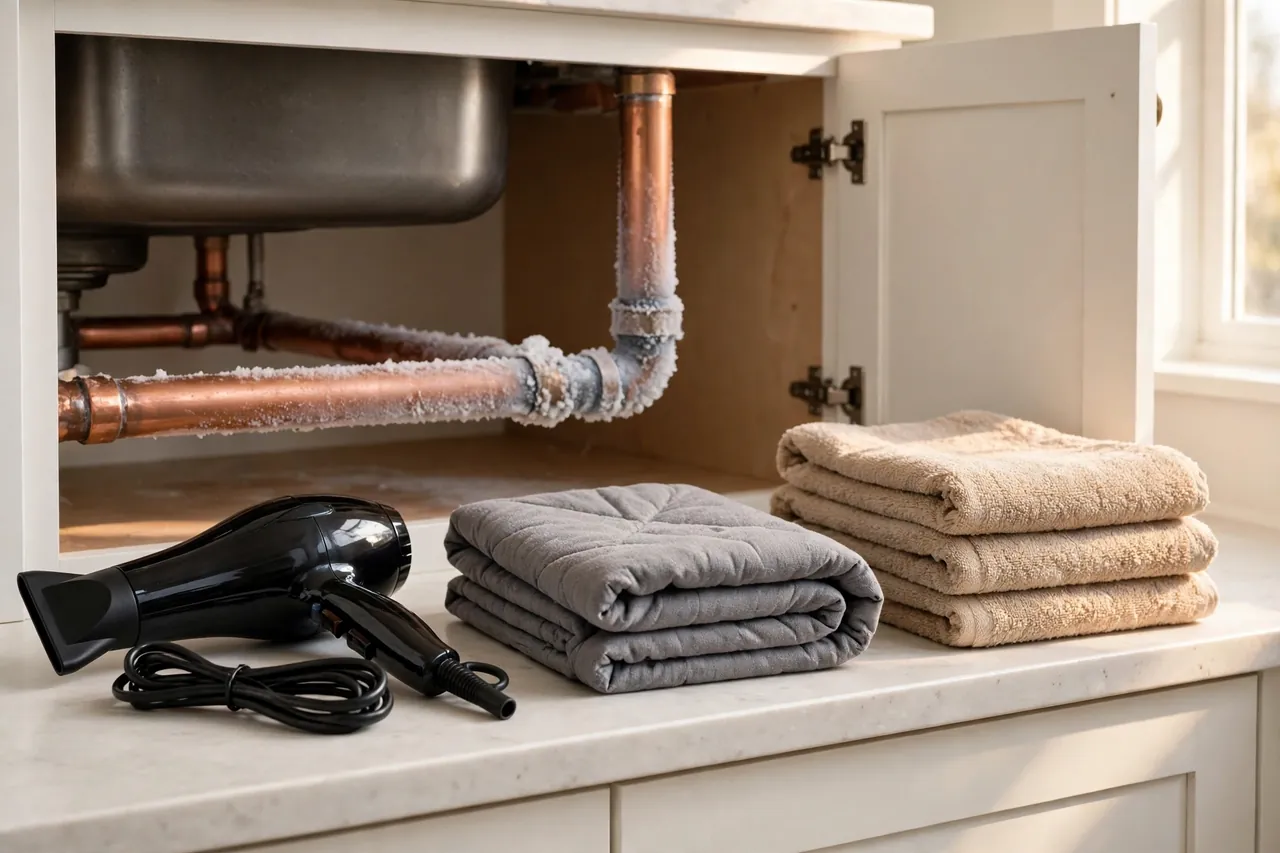
- A hair dryer with a low or medium setting
- An electric heating pad, if you have one
- A portable space heater, if the frozen pipe sits in a cold room or cabinet
- Old towels, a mop, and a bucket to catch drips
- A flashlight for dark spots such as crawl spaces and basements
- Your plumber’s phone number, in case the pipe bursts or will not thaw
Open the cabinet doors under sinks on outside walls so warm room air can reach the pipes. If your heat is off, turn it back on and raise the thermostat. If your furnace quit during the cold snap, read our guide on why your furnace quits on the coldest night of the year before you go further, because no thawing method works well in a house that keeps getting colder.
How to Thaw Frozen Pipes Step by Step
Thaw frozen pipes with slow, gentle heat, and work in this order: cheapest and safest first. Start at the faucet end and move back toward the frozen section, a little at a time. That way the melting water has somewhere to go, and pressure cannot build behind the ice. Expect an exposed pipe to take about 30 to 60 minutes. A pipe inside a wall takes longer, and patience beats speed every time, because fast, harsh heat can crack a pipe or boil the water inside it.
Step 1: Open the Faucet the Frozen Pipe Feeds
Open both the hot and cold handles on the faucet the frozen pipe feeds, even if nothing comes out yet. The American Red Cross gives this as the first step in its frozen-pipe guidance: keep the faucet open, and as the frozen area melts, water will begin to flow through it, and running water helps melt the rest of the ice. An open faucet also relieves pressure, which lowers the risk of a burst. Leave it open for the whole thaw.
Step 2: Wrap the Pipe in Towels Soaked in Hot Water
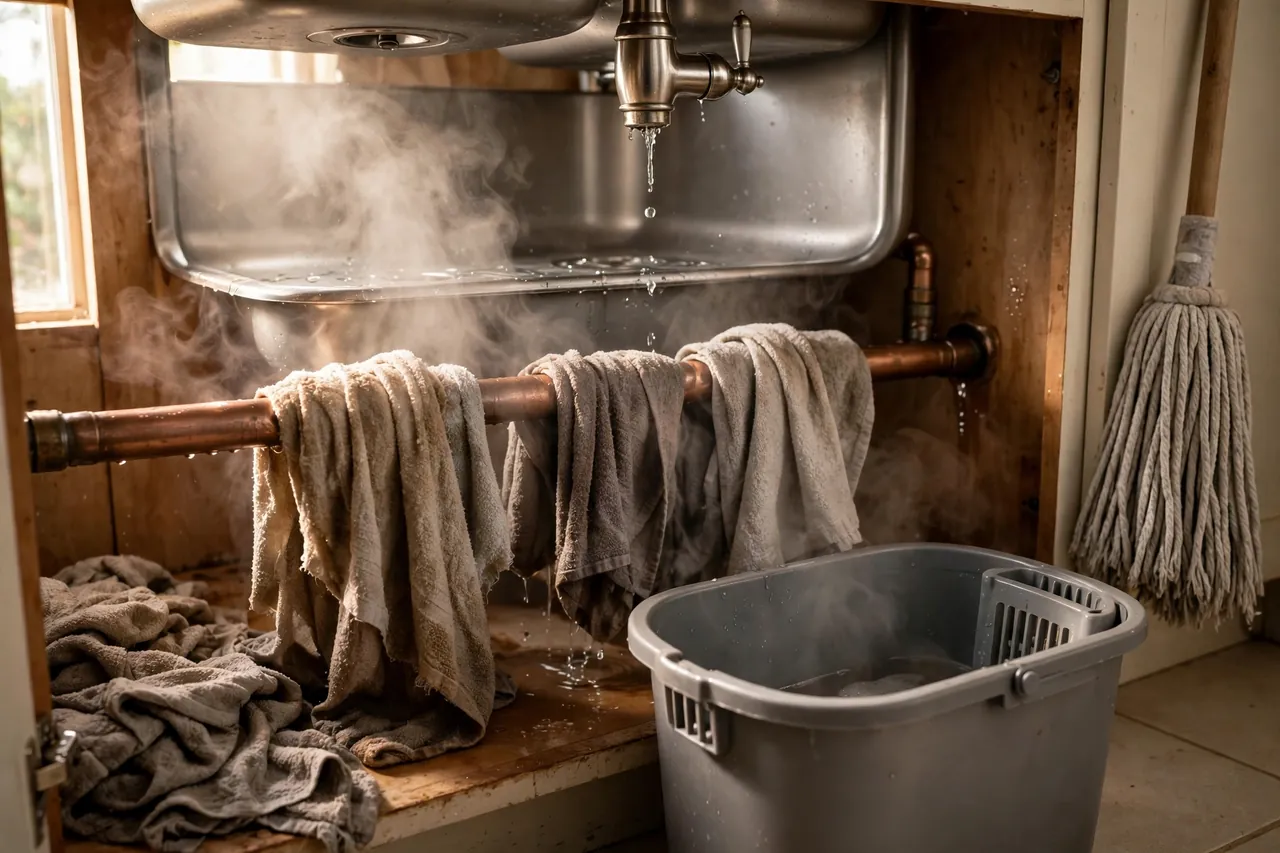
Soak towels in hot tap water, wring them out, and wrap them around the frozen section of pipe. Replace them with freshly soaked towels every few minutes as they cool. This is the gentlest method you have, it costs nothing, and it works well on a short exposed run under a sink or in a basement.
Use hot tap water, not boiling water. Boiling water hits one spot with sudden, extreme heat, and that shock can crack a cold pipe, especially an older one. If the pipe feels warm to the touch and the faucet starts to drip, keep going. The drip means the ice is melting, and the flow should grow stronger as the blockage clears.
Step 3: Use a Hair Dryer on Low or Medium
Hold a hair dryer a few inches from the pipe and move it slowly back and forth over the frozen section, starting at the faucet end and working back toward the blockage. Keep the dryer moving and never hold it still on one spot. A low or medium setting is enough. High heat does not thaw a pipe faster in any safe way. It only raises the risk of damage, and it is a real risk on plastic pipe, which softens under too much heat.
Caution: keep the hair dryer, its cord, and your hands dry, and never let the dryer touch standing water. Water and electricity together can electrocute you. If water starts to spray from a crack while you work, switch the dryer off at once, move it away from the water, and shut off the main water valve.
Step 4: Warm the Room with a Space Heater
If the frozen pipe sits inside a cold cabinet, a crawl space, or an unheated room, warm the whole space. Set a portable space heater in the room, aim it toward the open cabinet or the area around the pipe, and let the warm air do the work. Open the cabinet doors wide so the heat can reach the pipe. This method is slow, but it is safe, and it thaws pipes you cannot reach by hand.
Caution: keep the space heater well clear of curtains, bedding, boxes, towels, and anything else that can catch fire, and keep it off a wet floor. Never leave a space heater running in a room you cannot watch, and never plug it into an extension cord. If you want to know what a heater costs to run, our guide on do space heaters use a lot of electricity breaks it down.
Step 5: Use a Heating Pad or Heat Tape
Wrap an electric heating pad around the frozen section and switch it on low, or fit UL-listed heat tape to the pipe exactly as the maker directs. Heat tape, also called heat cable, is a plastic-coated wire that warms the pipe along its length, and it is handy for a long exposed run in a crawl space or garage that freezes again and again. Keep the faucet open while it works, and keep heating until full water pressure returns.
Caution: treat heat tape with respect, because the U.S. Consumer Product Safety Commission estimates that heat tapes and pipe heating cables are involved in about 3,300 home fires a year, with 20 deaths, 150 injuries, and $27 million in property losses, and says improperly installed tape causes many of those fires. Read the full CPSC guidance on inspecting electric heat tapes before you install any cable. Use only tape listed for your pipe size and type, plug it into a grounded outlet with ground-fault protection, never wrap it over itself unless the maker says you can, and replace any cable with cracks, charring, or bare wire at once.
How to Thaw Frozen Pipes in a Wall, Outside, or in a Mobile Home
Some frozen pipes are harder to reach, and the method changes with the spot.
Frozen Pipe Inside a Wall
A pipe inside a wall is the hardest case, because you cannot see it or check it for damage. Turn up the heat, open the faucet it feeds, and open any cabinet doors on that wall so warm air can reach the pipes. A space heater aimed at the wall from a safe distance can help, and so can an infrared or heat lamp held well clear of anything flammable. If the pipe has not thawed after a few hours of gentle heat, call a licensed plumber. A plumber can find the blockage and may need to open a small section of drywall to reach it, which is far cheaper than a burst pipe inside a wall.
Frozen Outdoor Pipes and Hose Bibs
Outdoor pipes, hose bibs, and pipes that run to a detached garage or barn freeze first and thaw the same slow way. Check for cracks before you start, because a cracked outdoor pipe will spray water once it thaws. If you see no damage, warm it with a hair dryer or hot towels, starting at the faucet end. Once it thaws, cover the pipe with thick foam pipe insulation right away so it does not freeze again the same night. Shut off and drain outdoor hose bibs before the next cold snap, and store hoses indoors.
Frozen Pipes in a Mobile Home
Pipes in a mobile home freeze more easily, because the walls are thinner and the pipes often run under the floor in a cold space. Work back from the faucet toward the main water supply, warming each section with hot towels, a hair dryer, or a space heater set safely in the room. Once the water flows again, keep the heat up, open the cabinets, and let one faucet drip so the water keeps moving. Check any heat tape under the home each fall, and replace damaged cable before winter. The CPSC’s heat-tape safety guidance focuses on mobile and vacation homes, where these cables are commonly used.
What NEVER to Do When You Thaw Frozen Pipes
The wrong method can burn your house down or burst the pipe you are trying to save. The American Red Cross is blunt on this point: never use a blowtorch, a kerosene or propane heater, a charcoal stove, or any other open-flame device to thaw a pipe. Its guidance, published on the American Red Cross news page on cold-weather safety, lists the safe methods as an electric heating pad, an electric hair dryer, a portable space heater kept away from flammable materials, or towels soaked in hot water, and nothing with a flame.
| Never do this | Why it is dangerous |
|---|---|
| Blowtorch or any open flame | Starts fires inside walls and can boil the water in the pipe, which can make the pipe burst |
| Kerosene or propane heater | Open flame plus carbon monoxide risk, and far too much heat for one spot |
| Charcoal stove or grill | Open flame and carbon monoxide, and never safe indoors |
| Boiling water poured on the pipe | Sudden heat shock can crack a cold pipe |
| Heat gun on high, held still | Overheats one spot fast and can melt plastic pipe |
| Space heater left running unwatched | Can tip over or ignite anything too close to it |
Do not thaw a pipe with a torch even if a neighbor swears by it. Water damage is far better than a house fire. Do not use antifreeze in your water lines either, unless the maker or installer of the line directs it, because antifreeze is harmful to people, pets, and plants.
How to Tell the Thaw Worked
You will know the thaw worked when the faucet runs at full pressure again, steady and clear, with no sputtering. Keep the faucet open and watch the flow grow from a drip to a trickle to a full stream. That is the sign the ice has cleared.
Do not walk away yet. Watch the pipe and every joint along it for at least 30 minutes after the water returns, and look under sinks, along baseboards, and on the ceiling below for drips or damp spots. A pipe can split while frozen and leak only once the ice melts, so a slow drip is easy to miss. Check every other faucet in the house too, because if one pipe froze, others may still be frozen, and a second blockage can burst later.
If you find a leak, shut off the water at the main valve and call a licensed plumber. If you cannot tell where the water is coming from, our guide on how to trace a hidden leak to its source walks you through finding it step by step.
What to Do If a Pipe Burst
A burst pipe can flood a home fast, so act in this order and do not panic.
Caution: if water has reached outlets, appliances, or your breaker panel, do not step into the water. If you can reach the panel from a dry spot, switch the power off. If you cannot reach it safely, leave the area and call your power company and a plumber.
- Shut off the main water valve. Turn it clockwise until the water stops. This is the single most important step, and it is why you found the valve before you started thawing.
- Open all the faucets. Open the cold taps first to drain the lines, then the hot taps. Flush the toilets once to drain the tanks.
- Move valuables out of the water. Lift rugs, boxes, electronics, and furniture away from the water if you can do it safely.
- Catch and mop up the water. Use towels, buckets, and a wet vacuum if you have one. Open windows and run fans to start drying, because damp walls and floors grow mold fast.
- Take photos and notes. Photograph every wet wall, floor, ceiling, and damaged item before you move or throw anything away. Your insurer will need this record.
- Call a licensed plumber, then your insurer. A plumber cuts out the split section and fits a new length of pipe. Call your homeowners insurer while the plumber is there, so the plumber can describe the damage and your claim starts moving at once.
A burst pipe is also the moment to think about early warning for next time. A flood sensor placed near your water heater, washing machine, and main shutoff can alert you to a leak before it soaks a whole room.
How to Prevent Frozen Pipes Next Time
A pipe that froze once will freeze again unless something changes, because the cold air that reached it is still there. The fix is to keep the cold away from the pipe and the heat on in the house. Our full prevention plan lives in our guide on how to winterize a house, and these are the steps that matter most right after a thaw.
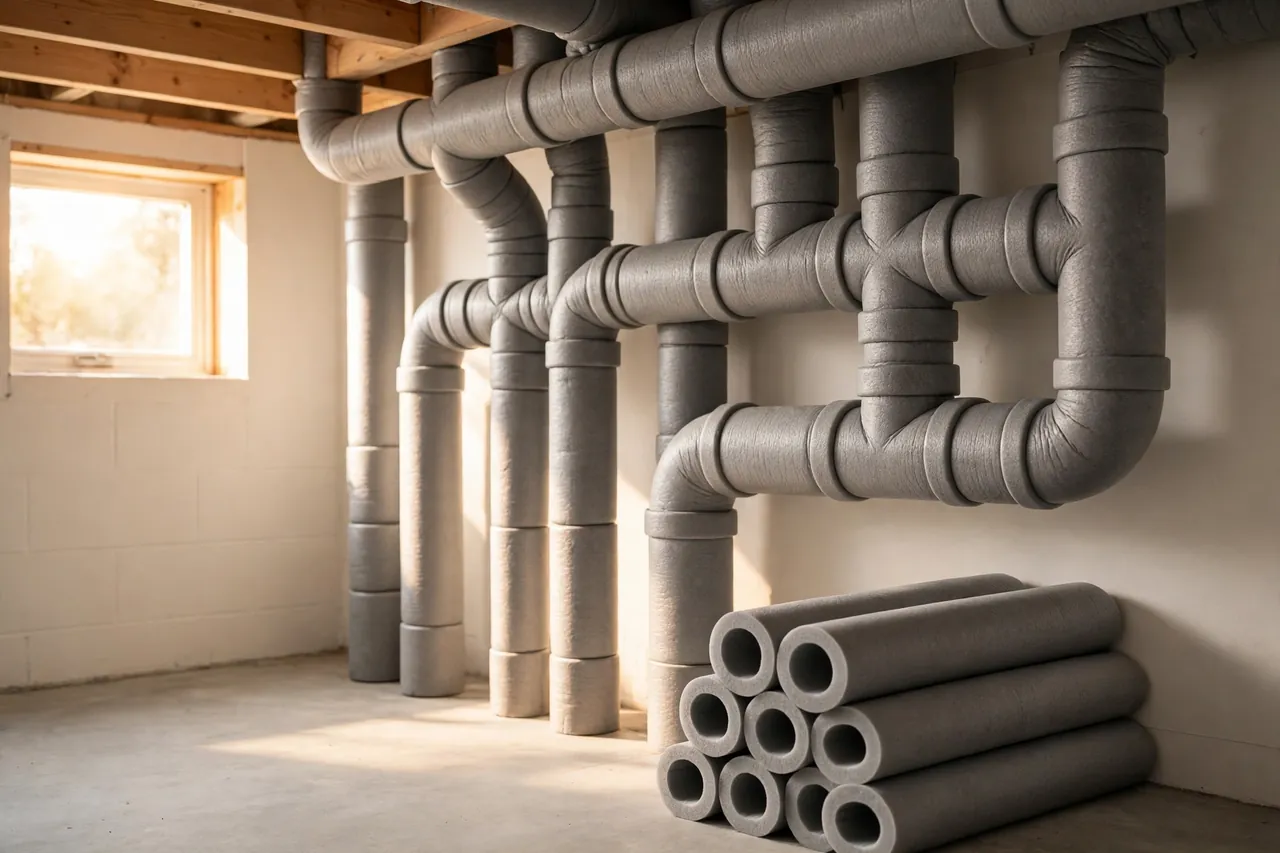
- Insulate exposed pipes. Fit foam pipe sleeves on every exposed run, especially in crawl spaces, garages, attics, and along outside walls. Cover elbows and joints too, because a bare elbow is a common freeze point. Our guide to faced vs. unfaced insulation explains which insulation goes where.
- Seal the drafts. Caulk and seal gaps where cold air blows in around pipes, at the rim joist, and around holes where pipes pass through walls.
- Keep the heat steady. The American Red Cross advises keeping the heat on and set no lower than 55°F, even when you are away from home. A steady temperature beats a thermostat that swings up and down.
- Open cabinet doors on cold nights. Let warm room air reach the pipes under sinks on outside walls.
- Let a faucet drip. On the coldest nights, let the cold tap served by exposed pipes run at a slow drip. Moving water freezes far less easily than still water.
- Drain outdoor lines each fall. Shut off and drain hose bibs and sprinkler lines before the first hard freeze, and disconnect and store hoses.
- Fix the cause, not just the symptom. Ask your plumber what made that spot freeze and whether the run can move to the warm side of the insulation. A repair in the same cold spot will fail again.
Quick Reference: Thawing Methods at a Glance
Use this table to pick the right method for your pipe. Every method below starts the same way: open the faucet first, and warm the pipe from the faucet end back toward the blockage.
| Method | Best for | Watch out for |
|---|---|---|
| Hot towels | Short exposed runs under sinks | Re-soak every few minutes; never use boiling water |
| Hair dryer, low or medium | Most exposed pipes, any room | Keep it moving; keep it dry and away from water |
| Space heater | Cold rooms, cabinets, pipes you cannot reach | Keep it clear of anything flammable; never leave it unwatched |
| Heating pad | A short frozen section you can wrap | Use low heat; keep the cord dry |
| UL-listed heat tape | Long runs that freeze again and again | Follow the maker guide; never overlap it; check it each fall |
Disclaimer
This guide gives general home advice only, and every home is different. If a pipe may have burst, if you cannot find or reach the frozen section, or if you feel unsure at any point, stop and call a licensed plumber. Do not work with electricity near standing water, and do not use any open flame to thaw a pipe.
Related Guides
What Temperature Do Water Pipes Freeze At? · How to Winterize a House: The Complete Room-by-Room Checklist · Faced vs Unfaced Insulation: Which One Belongs in Your Walls, Attic, and Floors?
Frequently Asked Questions
What is the fastest way to thaw frozen pipes?
The fastest safe way is a hair dryer on low or medium, moved slowly along the pipe from the faucet end back toward the blockage, with the faucet open. Do not rush it with high heat or a flame. Fast, harsh heat can shock and crack the pipe, and a slow thaw is the one that ends with full pressure and no leak.
Can frozen pipes thaw without bursting?
Yes, often. If the pipe only partly froze and has no cracks, gentle heat can thaw it with no damage at all. The risk is highest when the pipe froze solid or already split, and the leak often shows only when the ice melts. Watch the pipe for at least 30 minutes after the water returns, and call a plumber if you see any leak.
How long does it take a frozen pipe to thaw?
An exposed pipe often takes 30 to 60 minutes with gentle heat, such as a hair dryer or hot towels. A pipe inside a wall takes longer, and a long run in a cold crawl space can take hours. If the pipe has not thawed after a few hours of steady gentle heat, stop and call a licensed plumber.
Will a frozen pipe burst?
Not always, but freezing can split a pipe, and the leak often appears only when the ice melts. Ice expands as it forms, and the pressure builds between the ice and a closed faucet. Know where your main shutoff valve is before you start thawing, so you can stop the water fast if the pipe does split.
Should I call a plumber to thaw frozen pipes?
Yes, if you cannot find or reach the frozen section, if the pipe is damaged, or if it has not thawed after gentle heating. Call a plumber at once if you see a split, a bulge, or water spraying from the pipe. A plumber can find a hidden blockage, repair a split, and check the rest of the run for weak spots.
Now you know the safe order: open the faucet, check for damage, warm the pipe gently from the faucet end, and watch for leaks once the water flows again. If anything feels wrong, or the pipe will not thaw, stop and call a licensed plumber. Then, before the next cold snap, insulate the pipe and seal the draft that let it freeze, so you never have to thaw it twice.