
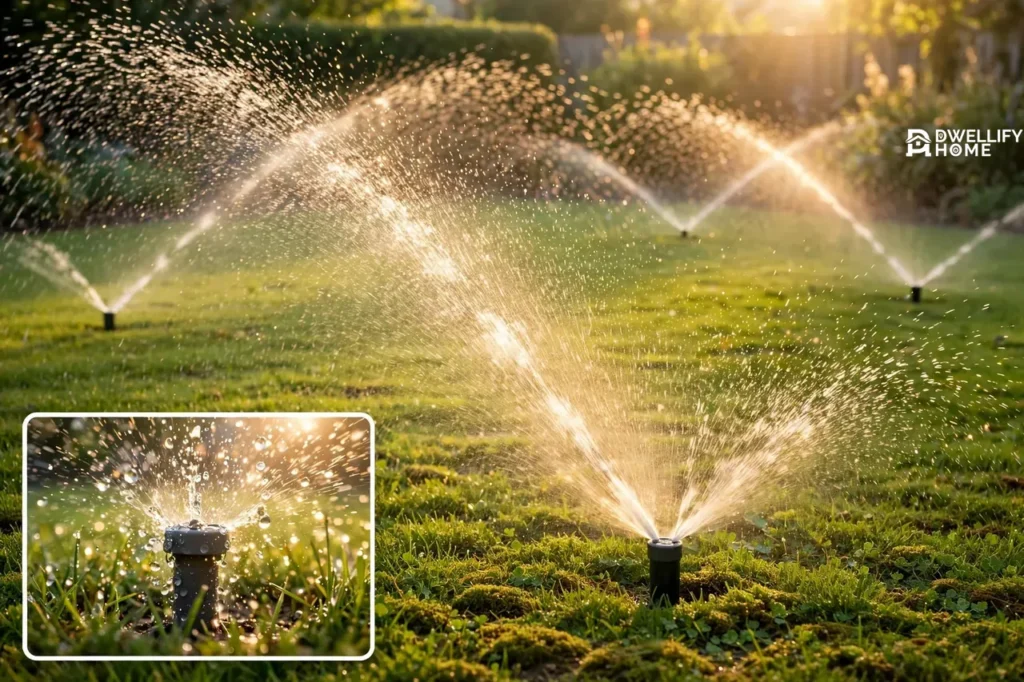
Most lawn sprinkler repairs cost $137 to $422, with homeowners paying $278 on average in 2026, according to Angi’s data from 36,233 verified projects. Most sprinkler problems come from a short list of causes: clogged or broken heads, a bad valve, a leak in an underground pipe, or a controller or wiring fault. You can fix many of these yourself in under an hour with basic tools, and this guide shows you how to find the problem, fix it, and know when to call a pro instead.
A sprinkler system is a simple machine. A controller tells valves when to open, valves send water to each zone, and heads spray that water on your lawn. When one part fails, the symptom tells you where to look. A dry patch means one head or zone is not working. A soggy patch means water is leaking somewhere it should not. A zone that never turns off points to a valve. Learn the symptom, and the repair gets much easier.
How to Tell What Is Wrong With Your Sprinkler System
Start with a quick test before you dig anything up. Turn on each zone from the controller, one at a time, and walk the yard while it runs. Watch every head in that zone. Write down what you see: which heads spray weakly, which heads do not pop up, where water pools, and which zone acts up. This five-minute walk finds most problems.
Check the easy things first. Make sure the main water supply to the system is fully open. Check that the controller has power and the right program. Look at the rain sensor, if you have one, because a stuck sensor can keep the whole system off. Then check the backflow preventer for drips. These quick checks solve a surprising number of “broken” systems with no digging at all.
Next, match the symptom to the cause:
- Dry brown patches: a clogged or broken head, or low pressure in that zone.
- Soggy spots or pooling water: a leaking head, a cracked pipe, or a valve that will not close.
- One whole zone does not run: a bad valve, a cut wire, or a dead solenoid in that zone.
- Water runs all the time: a stuck valve or a faulty solenoid.
- Weak spray everywhere: a partly closed main valve, a pressure problem, or a leak in the main line.
- Mist or fog around heads: water pressure is too high, or the nozzle is the wrong size.
If one zone works fine and another does not, the problem sits in the bad zone, not in the main supply. That one fact saves a lot of wasted digging.
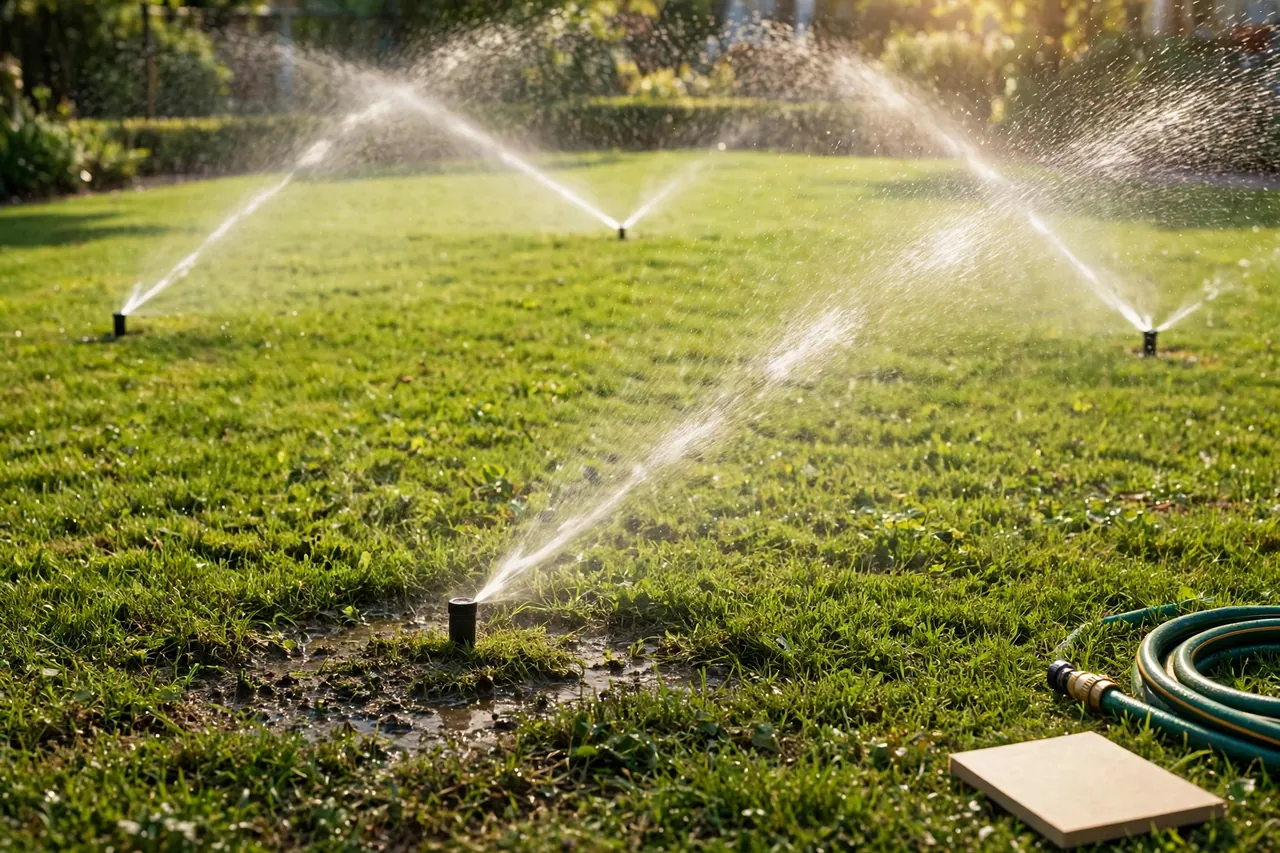
Common Sprinkler Problems and How to Fix Them
Nearly every sprinkler repair falls into one of six buckets. Work through them in order, cheapest and easiest first. Fix the simple thing before you assume the worst.
Clogged or Dirty Sprinkler Heads
Dirt, grass clippings, and mineral deposits block nozzles more than any other problem. A clogged head sprays weakly, sprays to one side, or does not pop up at all. The fix takes about ten minutes.
Turn off the water to that zone. Pull the head up by hand and unscrew the nozzle or cap. Rinse the small filter screen under clean water and brush the nozzle with an old toothbrush. Pick out stuck grit with a toothpick, but do not poke the nozzle hole wider. Put the parts back, turn the water on, and watch the spray. If the pattern looks even, you are done.
Clean your heads once a year, in spring, before the watering season starts. A yearly cleaning stops most clogs before they start.
Broken Sprinkler Heads
Mower wheels, foot traffic, and freezing weather crack heads and snap risers. A broken head leaks at its base, sprays straight up like a fountain, or stays buried in the soil. You cannot repair a cracked head. Replace it.
Buy a replacement head that matches the old one: same brand, same type (pop-up, rotary, or fixed spray), and same spray pattern. Mismatched heads water unevenly and leave dry spots. Take the old head to the store if you are not sure what you have.
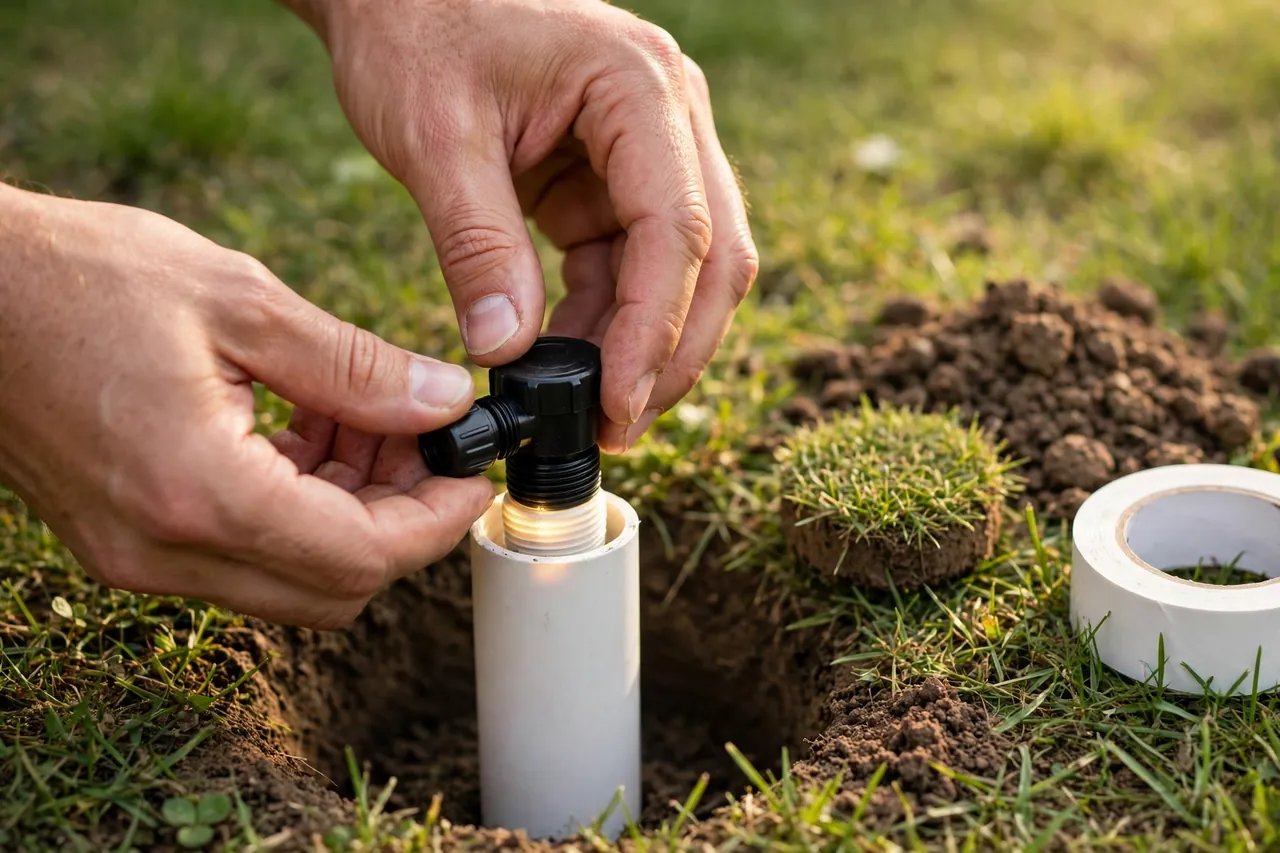
Dig a small hole around the head, about 5 to 6 inches down, and keep the grass plug so you can put it back. Unscrew the old head counterclockwise from the riser. Wrap the riser threads with plumber’s tape, screw the new head on clockwise, and set it so the top sits level with the soil. Turn the water on and check the spray before you fill the hole back in.
Low Water Pressure in One Zone
Low pressure shows up as heads that barely rise or spray only a few feet. First, check the obvious: is the main shutoff valve fully open? Is another tap running in the house? Then look for a leak. A hidden pipe leak steals pressure from the whole zone, so a soggy patch near the weak heads is a strong clue.
Clean every nozzle and filter in the weak zone, because a few clogged heads can drag the whole zone down. If pressure is low in every zone, the problem is upstream: a partly closed main valve, a failing pressure regulator, or a problem with your home’s water supply. If only one zone is weak and the heads are clean, suspect a cracked pipe or a valve that only opens partway.
A Zone That Will Not Turn Off
Water that keeps running after the controller shuts off almost always means a valve problem. The valve’s rubber diaphragm may be torn, or grit may be stuck inside it so it cannot close. A bad solenoid can cause the same symptom.
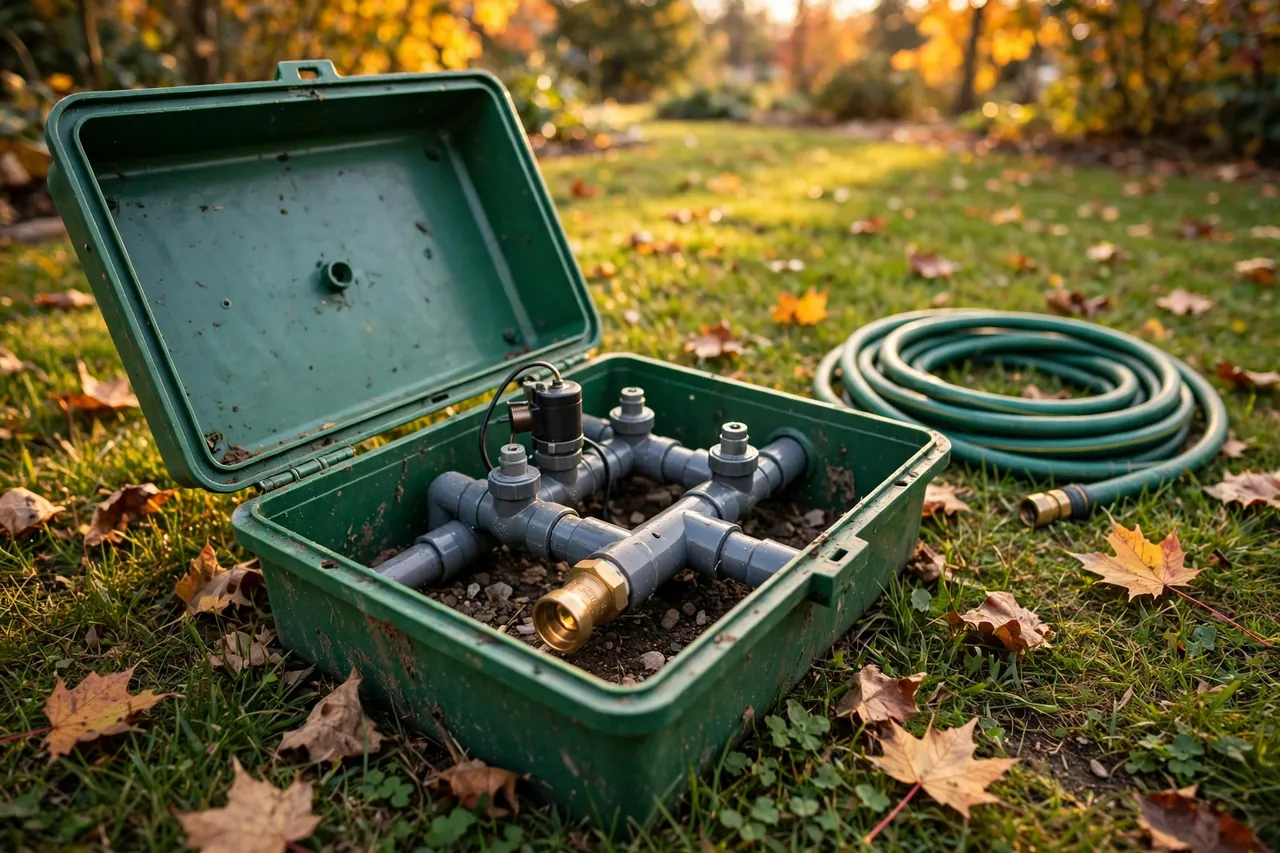
Turn off the water at the main shutoff first so you stop wasting water. Open the valve box and unscrew the bonnet screws on top of the valve. Lift out the diaphragm and look for tears, cracks, or grit. Rinse it clean, or swap in a new diaphragm of the same size and type if it looks worn. A new diaphragm costs far less than a whole new valve and fixes this problem most of the time.
If the diaphragm looks fine, test the solenoid. It is the small cylinder on top of the valve with two wires. Turn the solenoid counterclockwise by hand to open the valve manually, then clockwise to close it. If the valve still will not close, the solenoid or the valve body itself has failed, and a pro should take over.
Leaking Underground Pipes
Underground leaks are the hardest problem to find and the most expensive to ignore. A leak wastes water, drives up your bill, and can wash out soil under paths and patios. Signs include a soggy patch that never dries, water bubbling up from the lawn, a sudden jump in your water bill, or a zone with very low pressure.
Find the leak before you dig. Turn off all the water in the house and watch the water meter. If the meter still moves, water is leaking somewhere. Run the suspect zone and look for the wettest spot. Probe the soil gently with a long screwdriver: soft, muddy soil marks the leak. If you need help tracing it, read our guide on underground water leak detection and our guide to tracing a hidden leak to its source.
Call 811 before you dig anywhere in your yard. The free service marks buried utility lines so you do not hit a gas or electric line. Once you find the cracked pipe, cut out the damaged section with a PVC pipe cutter and join a new piece with a coupling, primer, and solvent cement. Let the joint cure fully before you turn the water back on. A leak under a driveway, patio, or tree roots is a job for a pro, because the repair needs special tools and the digging can damage the surface.
Controller, Wiring, and Solenoid Problems
When a zone does not respond to the controller at all, the fault is often electrical. Check the controller first: is it plugged in, does the display work, and is the program set right? A dead backup battery can wipe the program after a power cut, so replace the battery and re-enter your watering schedule.
Next, check the wiring at the valve box. Look for chewed, corroded, or loose wires. Rodents and lawn edgers cut wires more often than people expect. Reconnect loose wires with waterproof wire nuts, never with bare twists. If the wires look fine, the solenoid may be dead. A new solenoid costs about $10 to $20 for the part, according to Angi, and you can swap it in minutes: unscrew the old one, screw in the new one, and reconnect the two wires the same way.
Stop here if you find burnt wiring, a buzzing transformer, or a controller that trips a breaker. Those are electrical faults, and a licensed electrician or irrigation pro should handle them. Water and electricity are a dangerous mix, and a wrong guess can damage the controller or hurt you.
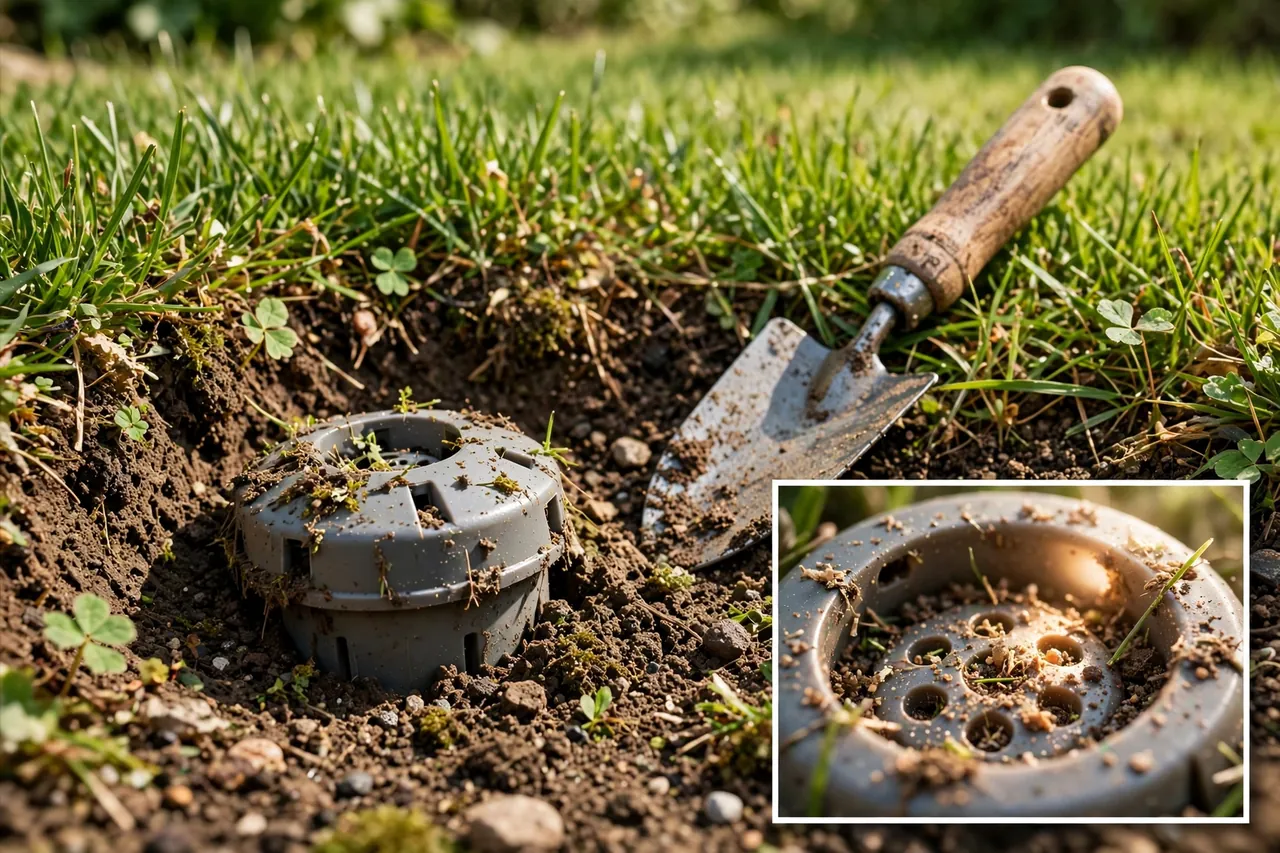
How Much Does Lawn Sprinkler Repair Cost?
Most sprinkler repairs cost $137 to $422, and the average homeowner pays $278, according to Angi’s 2026 data from 36,233 verified projects. HomeGuide puts the typical range at $100 to $400. Labor usually runs $50 to $100 per hour, and most repairs take one to two hours. Many companies charge a $50 to $150 minimum service fee, so it pays to bundle small jobs into one visit. All prices below are verified US prices, checked Nov 9, 2026.
Common sprinkler repair costs by job type (HomeGuide):
| Repair job | Average cost |
|---|---|
| Sprinkler head replacement | $65 – $90 |
| Broken sprinkler pipe | $150 – $400 |
| Water pressure issues | $50 – $500 |
| Damaged wiring | $60 – $100 |
| Sprinkler valve replacement | $70 – $300 |
| Backflow preventer replacement | $450 – $1,700 |
A single head replaced by a professional can cost $130 to $275 per head, according to HomeGuide, when the visit and service fee are included. The part itself is cheap: sprinkler heads cost $3 to $30 each, a valve costs $15 to $150, and a solenoid costs about $10 to $20. That is why simple DIY fixes save so much. You pay for parts only, not the service call.
Some jobs are worth paying a pro for. A backflow preventer replacement costs $450 to $1,700 and is the most expensive common repair, partly because local codes often require a licensed installer and a test after the work. Emergency calls outside business hours can cost $150 to $300 per hour, so a weekday appointment saves real money when the problem can wait a day.
When damage is heavy, compare repair with replacement. Angi puts a full new sprinkler system at $1,600 to $4,000. If your system is over 20 years old and needs a new valve, new heads, and pipe repairs all at once, a new system may cost less over the next five years than patching the old one again and again.
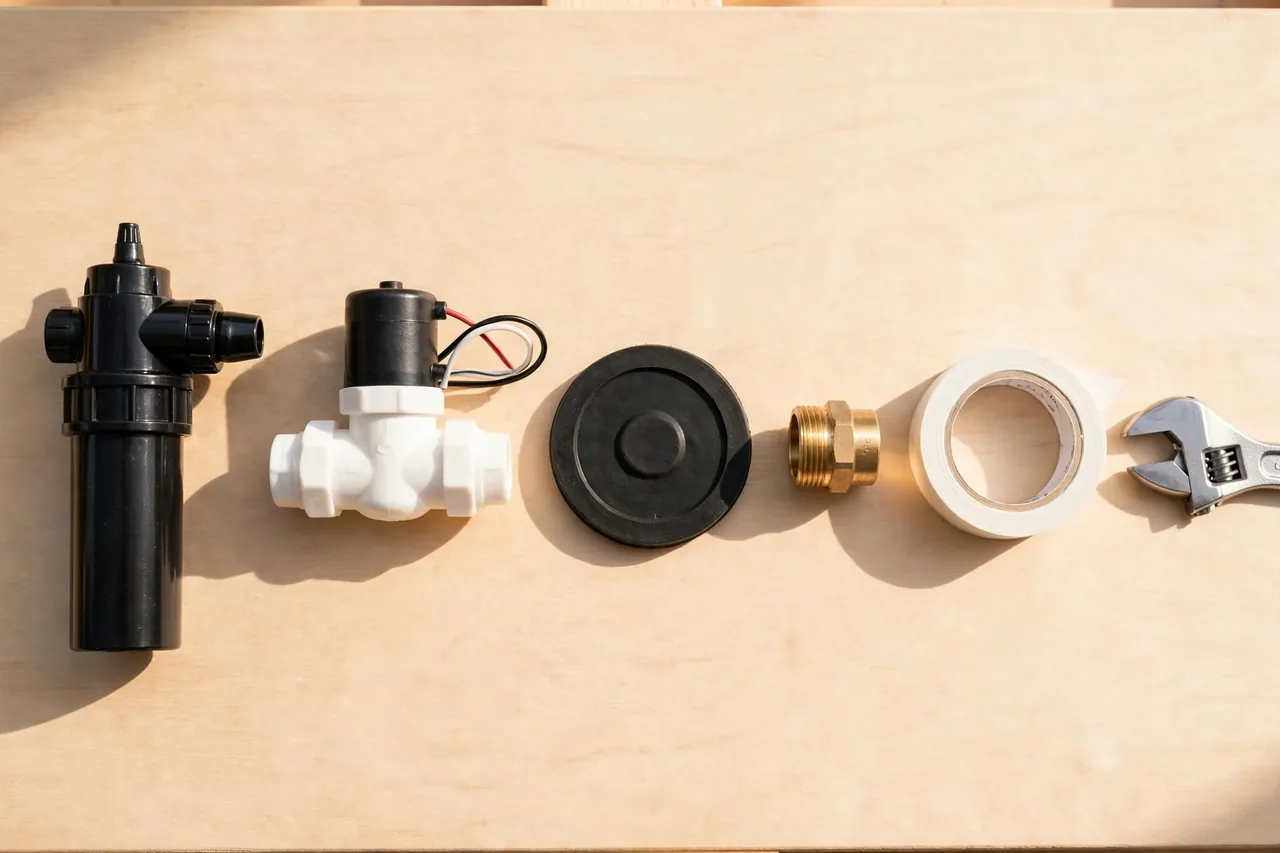
Tools and Parts You Need for a Basic Sprinkler Repair
Most DIY sprinkler repairs need only a small kit. Gather it once and you can handle the common fixes for years.
- Small shovel or hand trowel for digging around heads
- Adjustable wrench and slip-joint pliers
- Screwdriver set (flat and Phillips)
- PVC pipe cutter and hacksaw
- PVC primer and solvent cement, plus slip couplings
- Plumber’s tape (Teflon tape) for threaded joints
- Old toothbrush and toothpicks for cleaning nozzles
- Waterproof wire nuts for wiring fixes
- Spare heads, nozzles, and a spare diaphragm that match your system
- Work gloves and a bucket for muddy parts
Buy parts that match your system exactly. Heads, valves, and diaphragms are not universal. The brand and model are printed on the old part. If the label is worn off, take the part to the store and match it side by side.
Step-by-Step: How to Replace a Broken Sprinkler Head
Replacing a head is the most common sprinkler repair, and it takes about 20 minutes once you know the steps. Follow them in order.
- Turn off the water. Shut off the water to the sprinkler system at the main valve or backflow preventer. Do not skip this step, or the zone will flood the hole while you work.
- Mark the head. Push a small flag or stick into the ground next to the broken head so you can find it again after you start digging.
- Dig around the head. Cut a neat circle of grass around the head and lift the plug out. Dig down 5 to 6 inches until you can see the riser below the head. Set the soil aside on a tarp or bucket.
- Unscrew the old head. Grip the head and turn it counterclockwise until it comes off the riser. If it is stuck, use pliers, but grip gently so you do not crack the riser.
- Check the riser. Look inside the riser for dirt or grit. Flush it briefly by turning the water on for a few seconds, then off again. Clean threads mean a tight seal later.
- Wrap and fit the new head. Wrap the riser threads with plumber’s tape. Screw the new head on clockwise until snug. Do not over-tighten, or you can crack the plastic fitting.
- Set the height. The top of the head should sit level with the surrounding soil. Add or remove a little soil under the head until it sits right. A head set too high gets hit by the mower, and one set too low gets buried.
- Test before you backfill. Turn the water on and run the zone. Watch the spray pattern and the arc. Adjust the nozzle direction and arc while you can still see the head. Then fill the hole, press the grass plug back in, and water it well.
If the new head sprays weakly, the nozzle may be clogged from dirt in the line. Pull the nozzle, rinse it, and test again. If it still sprays badly, the riser or pipe below may be cracked, and that needs a deeper dig.
How to Drain Your Sprinkler System Before Winter
Water left in the pipes freezes, expands, and cracks pipes, heads, and valves. In any place where the ground freezes, you must drain the sprinkler system before the first hard freeze. This job is called winterizing or blowing out the system, and it saves far more than it costs. HomeGuide puts a professional winterizing visit at $50 to $150.
The basic drain-down works for many home systems. First, turn off the water supply to the sprinkler system. Then open the drain valves at the lowest points of the system and open every manual drain on the valve manifold. Run each zone from the controller for a minute so gravity pulls water out of the lines. Leave the valves open over winter so any leftover water can escape.
Many systems also need a compressed-air blowout to clear water from low spots that gravity cannot drain. This step is risky if you get it wrong: too much air pressure can crack pipes and blow fittings apart, and a compressor hose can whip loose. If your system has a blowout port and you own a compressor, keep the pressure under 50 PSI for PVC pipe and under 80 PSI for polyethylene pipe, and work through one zone at a time. If you do not have the right compressor or you are unsure, hire a pro for the blowout. It is a once-a-year job and a cheap one.
Finish the job by turning the controller to “off” or “rain” mode so it does not run all winter, and insulate any exposed backflow preventer and above-ground pipes. Our room-by-room winter checklist covers the rest of the house too: how to winterize a house. If a pipe does freeze, do not force it with a torch: read how to unfreeze frozen pipes safely first.
When to Call a Professional Instead of Fixing It Yourself
DIY saves money on heads, nozzles, diaphragms, and solenoids. Some jobs are not DIY jobs. Call a licensed irrigation pro or plumber when you face any of these:
- A leak under a driveway, patio, or sidewalk
- A broken main line or a leak you cannot find after a meter test
- A backflow preventer that needs repair or replacement (local codes often require a licensed installer)
- Burnt wiring, a buzzing transformer, or a breaker that trips when the system runs
- Freeze damage across several zones at once
- A system over 20 years old that needs many repairs at the same time
- Any digging near marked gas, electric, or sewer lines
Get three quotes for any job over $300, and ask each company if it is licensed, bonded, and insured. Ask whether the quote includes parts, labor, and any service fee, and ask what warranty the work carries. A good pro will walk you through what broke, why it broke, and how to stop it happening again. That short talk is often worth as much as the repair itself.
How to Keep Your Sprinkler System Working Longer
Most sprinkler systems last 15 to 25 years when they are properly maintained, according to HomeGuide. Heads wear out faster: high-end heads last 10 to 15 years, and cheap ones last 2 to 3 years. A little care each season stretches that life a long way.
Walk your system every spring before the first watering. Run each zone, watch every head, and fix small problems while they are small. A $10 nozzle in April beats a $300 valve job in July. Clean heads and filters once a year, and check the spray pattern after every mow, because mower wheels knock heads out of line.
Set your controller to water deeply and less often, in the early morning. Deep watering grows deep roots, and morning watering loses less to evaporation. The US Environmental Protection Agency’s WaterSense program recommends checking your system each spring for leaks and broken heads and watering only when the lawn needs it, which also keeps your water bill down.
Watch where the water goes. Puddles on a path or a strip of lawn that stays soggy mean water is landing where it should not, or a drain is not carrying it away. If a low corner of the yard holds water after the sprinklers run, read our guide on fixing a soggy yard — the fix may be drainage, not the sprinkler. And if your yard slopes, water runs downhill fast, so a retaining wall on a slope can shape the ground so water soaks in instead of washing away.
A Quick Safety Note
Please read this before you dig or touch any wiring. Sprinkler repair mixes water, electricity, and digging, and each one carries a real risk. Always shut off the water and the controller power before you open a valve box or touch a wire. Always call 811 before you dig so buried gas, electric, and sewer lines get marked first — it is free, and hitting a line can hurt you and cost thousands. Never work on wiring that looks burnt or melted, and never use a torch to thaw a frozen pipe. This guide covers common homeowner repairs, not professional work. If a step feels beyond your skill, stop and call a licensed irrigation professional. A service call costs far less than a flooded yard or an injury.
Related Guides
Underground Water Leak Detection: Signs, the Meter Test, Equipment, and Costs · Leak Site Identification: How to Trace a Hidden Leak to Its Source · Fix a Soggy Yard: Drainage That Actually Works · How to Winterize a House: The Complete Room-by-Room Checklist · How to Unfreeze Frozen Pipes Safely (Step-by-Step Guide) · Hose Faucet Types, Uses & How to Choose the Right One · Yard Drainage Solutions · Low Voltage Landscape Lights · Cost of Mowing Grass
Frequently Asked Questions
How do I know if my sprinkler system needs a repair?
Watch for low water pressure, spraying that looks wrong, a jump in your water bill, pooling water, soggy or muddy spots, pop-up heads that do not come up, or any visible damage to heads and pipes. One clear sign is enough to check the system. Catching the problem early usually means a cheap fix.
How long do sprinkler systems last?
Most sprinkler systems last 15 to 25 years when properly maintained, according to HomeGuide. Sprinkler heads wear out sooner: high-end heads last 10 to 15 years, while basic or cheap heads last 2 to 3 years. Yearly cleaning and spring checks help a system reach the top of that range.
Who can repair sprinkler systems?
Plumbers with sprinkler experience, irrigation companies, landscaping companies, and professional sprinkler-repair technicians can all repair sprinkler systems. For valve or wiring work, an irrigation company is usually the best fit. For backflow preventer work, check local rules, since many areas require a licensed installer.
Can I DIY a sprinkler repair job?
Yes, for many common jobs. Cleaning or replacing a head, swapping a nozzle, changing a diaphragm or solenoid, and fixing a small pipe crack are all doable with basic tools. In-ground repairs are harder than above-ground ones, and anything involving buried lines, backflow preventers, or electrical faults is better left to a professional.
How much will sprinkler repair cost?
Sprinkler repair costs between $130 and $420, according to Angi, but the actual cost depends on the damage, how hard the repair is, and the parts needed. Angi’s 2026 average is $278 from 36,233 verified projects. Simple DIY fixes cost only the price of parts, often $10 to $30 for a head.
A sprinkler system that works right keeps your lawn green without wasting water or money. Start with the five-minute zone test, fix the small things first, and call a pro for the jobs that involve buried pipes, backflow preventers, or electricity. Your lawn — and your water bill — will show the difference within a few weeks.