Do it yourself outdoor Christmas decorations are yard pieces you build with your own hands, and the best first projects are a pallet Christmas tree, a plywood yard cutout, PVC candy canes, a simple light frame, and a decorated planter. You need only basic tools, outdoor-rated lights, and weatherproof paint or sealant to make pieces that look store-bought from the street and survive rain, snow, and wind. Start with one anchor piece, such as the pallet tree, and add smaller builds around it.
If you have never built anything for the yard before, this guide walks you through each project step by step. You will learn what to build first, which materials hold up outside, how to weatherproof your work, and how to light it safely. By the end, you will have a yard that feels personal, because you made every piece in it.
Pick Your First Build Before You Buy Anything
Beginners do best when they pick one anchor piece and finish it before they start the next project. An anchor piece is the one large decoration that draws the eye, and everything else supports it. A five- to six-foot pallet tree works well as an anchor, because it reads clearly from the street and costs little when you use reclaimed pallet wood.
Smaller builds then fill the gaps around the anchor. Candy canes line a walkway, cutouts add character near the porch, and planters soften the edges of steps and doorways. This order keeps the yard from looking scattered, and it keeps your weekend project list short enough to finish.
Skip builds that fight your climate. Paper decorations, untreated cardboard, and indoor-only lights fail fast outside, so save those materials for indoor crafts. Choose wood, PVC, metal, and outdoor-rated lights for anything that stays in the yard.
Table: Five beginner yard builds at a glance
| Build | Best spot | Skill level |
|---|---|---|
| Pallet Christmas tree | Front yard or porch | Beginner |
| Plywood yard cutout | Lawn near the porch | Beginner |
| PVC candy canes | Walkway edges | Beginner |
| Light frame | Porch wall or fence | Beginner |
| Decorated planter | Steps and doorway | Easiest |
Gather Your Tools and Materials First
Most diy outdoor christmas decor projects share the same small toolkit, so gather it once and reuse it for every build. You need a saw, a drill, a measuring tape, a pencil, sandpaper, exterior screws, and a sturdy work surface. A jigsaw handles curved cuts for cutouts, while a handsaw or circular saw handles straight pallet boards.
Buy materials that already suit outdoor life. Use exterior-grade plywood or heat-treated pallet wood, exterior paint, exterior wood glue, and rust-proof screws or nails. Pick lights and extension cords rated for outdoor use, and check the label before you buy, because indoor strings look the same on the shelf and fail fast in wet weather.
Set up a dry workspace before you cut anything. A garage, carport, or covered patio keeps boards dry while glue and paint cure, and it keeps sawdust out of the house. Lay out each project’s parts and fasteners before you start, so you never stop mid-build to hunt for a missing screw.
Check Pallet Wood Before You Use It
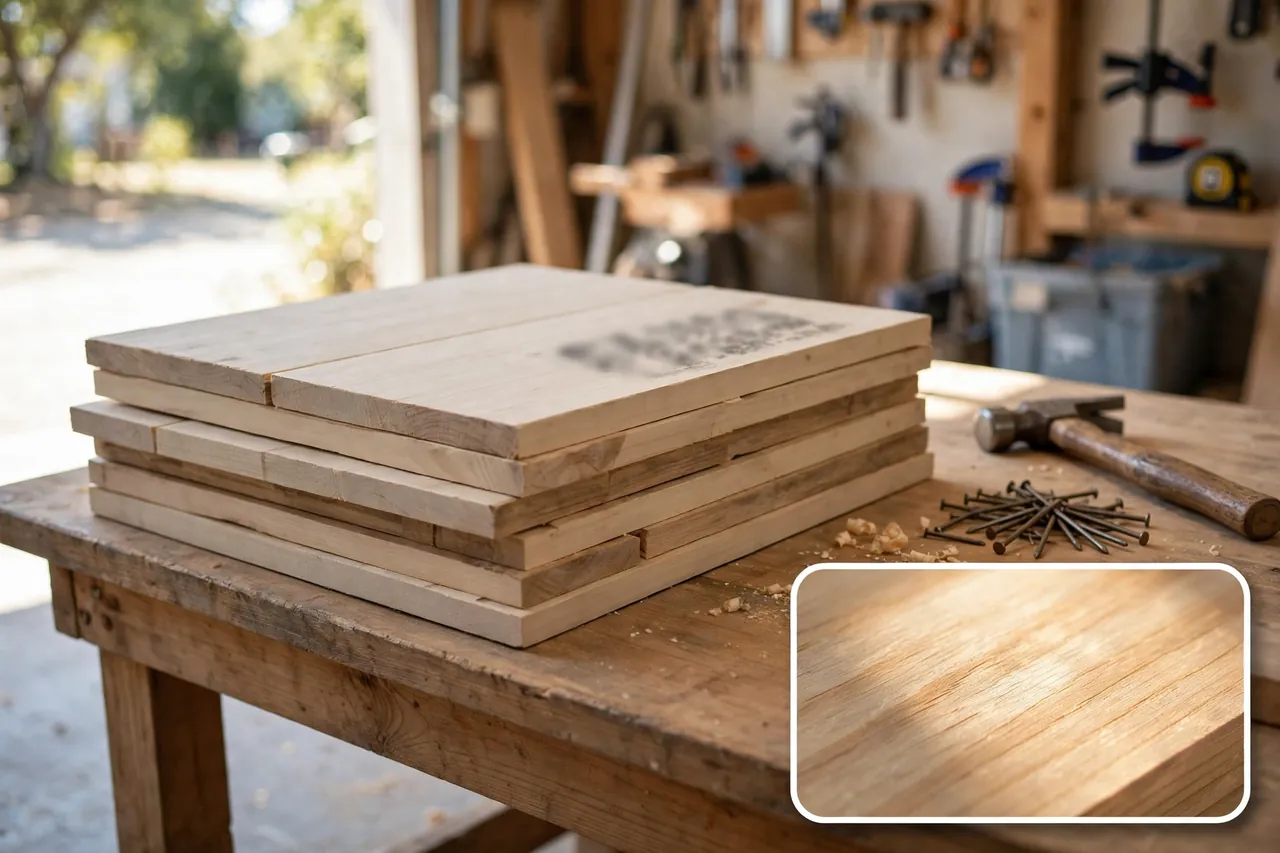
Look for a heat-treatment stamp on any pallet you plan to use, and skip pallets with spills, stains, or a strong chemical smell. Heat treatment kills pests in the wood, but it does not weatherproof the boards, so you still need to seal every finished piece. Pull or hammer flat any stray nails before you saw, because a hidden nail can damage a blade and throw the cut off line.
Build a Pallet Christmas Tree
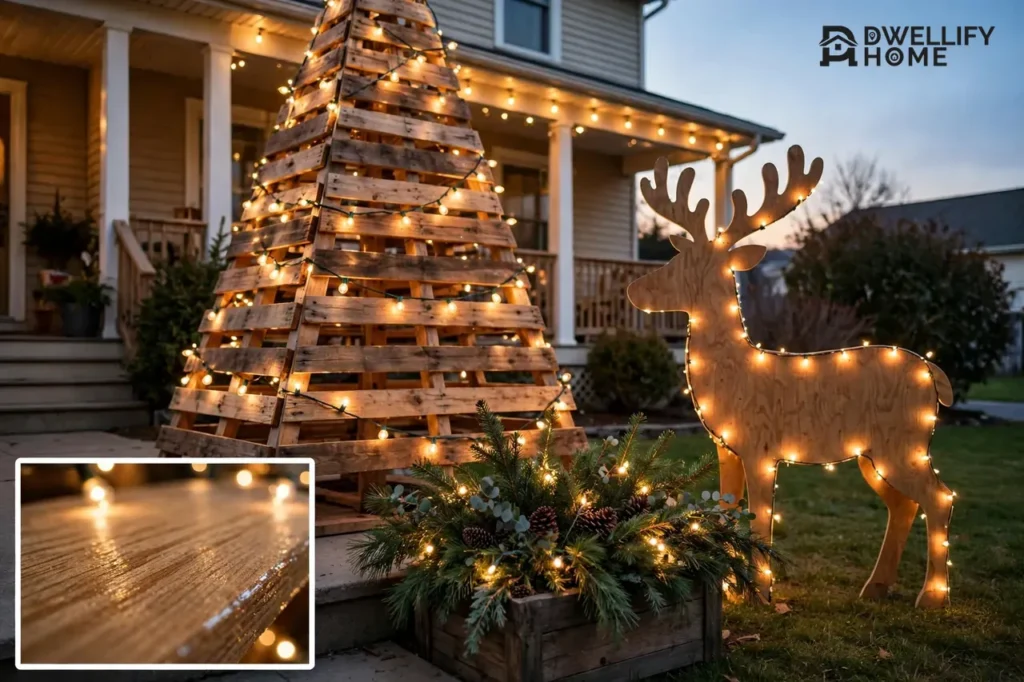
The pallet tree is the classic first project in christmas diy outdoor decorations, and you can finish one in a single afternoon. Start with one or two clean pallets and break them down into flat deck boards. Cut the boards to descending lengths, with the longest board at the bottom and each board above it a little shorter, so the shape reads as a triangle.
Lay the cut boards face down on the ground in tree order, leaving small gaps between them for a rustic slatted look. Screw two vertical battens across the back of the boards to hold the shape together, and add a short trunk board at the bottom center. Screw two crossed boards at the base to form a stand, or mount the tree on a weighted base if your yard gets strong wind.
Sand every edge smooth before you paint, because rough pallet wood splinters easily and grabs paint unevenly. Paint the tree green for a classic look, or leave the wood natural and let warm-white lights carry the color after dark. Wrap the lights back and forth across the slats, tuck the wire into the gaps, and clip the cord to the back of the tree so it stays off wet ground.
Before you lift the tree into place, check it from the street. A tree under four feet often disappears against a house, while a five- to six-foot tree holds its own beside a porch. If the tree wobbles, widen the base or stake it before you add lights, because a top-heavy tree only gets harder to steady once it is decorated. For a second take on the same build, see this step-by-step guide to making a pallet Christmas tree and compare its board layout with yours.
Cut Wooden Yard Cutouts That Read From the Street
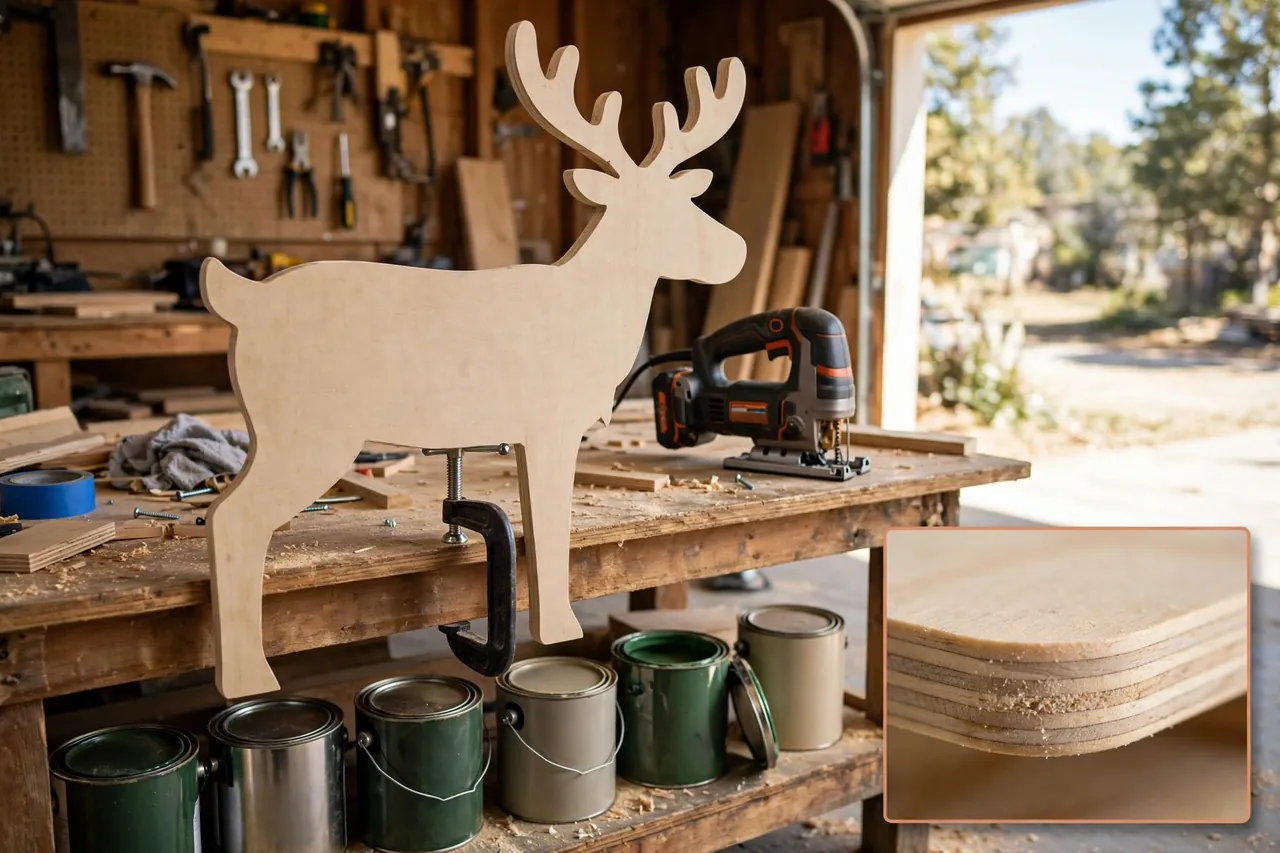
Wooden cutouts give your yard its personality, and simple shapes work better than detailed ones. A reindeer, a snowman, a star, or a tall sign with a holiday greeting all read clearly from the curb, while fussy small details vanish at that distance. Pick one shape, draw it large on exterior plywood, and cut it out with a jigsaw.
Before you cut, clamp the plywood firmly to your work surface and keep both hands clear of the blade path. Cut slowly around curves, and let the blade do the work instead of forcing it through the wood. Sand every edge with medium-grit sandpaper until no splinters catch your hand, and round the sharp corners slightly so the piece survives bumps during storage.
Paint the cutout with exterior paint, and paint the back and the edges too, not just the front. Rain reaches the back of a yard piece just as easily as the front, and unpainted edges soak up water first. Let each coat dry fully before you add the next one, and finish with a clear exterior sealant for extra protection.
Mount the cutout on stakes driven into firm ground, and angle it slightly toward the street so drivers and walkers see its full face. In soft or frozen soil, use a wider base or a pair of stakes instead of one, because a single narrow stake twists in wind. Add lights only after the piece stands steady on its own.
Make PVC Candy Canes for the Walkway
PVC candy canes are one of the easiest diy christmas decorations for the yard, and a row of them turns a plain walkway into a candy lane. Use white PVC pipe for the straight section and elbow fittings to form the hook at the top. Dry-fit every piece before you glue anything, so you can check the height and the curve of each cane.
Once the shape looks right, glue the joints with PVC cement in a well-ventilated space, and let the joints cure fully before you paint. Wrap painter’s tape in diagonal stripes around the pipe, then spray or brush red exterior paint over the exposed sections. Peel the tape off while the last coat is still slightly tacky for the cleanest stripe edges, and add a clear exterior sealant once the paint dries.
Anchor each cane so wind cannot topple it. Push a length of rebar into the ground beside the walkway and slide the hollow pipe over it, or set the cane in a weighted base filled with sand or concrete. Space the canes evenly along both sides of the path, and step back to check the line before you lock the last one in place.
For a lit version, drill holes along the front of the pipe before painting, feed an outdoor-rated light string through the pipe, and poke one bulb through each hole. Keep the plug end at the bottom near the ground, and run the cord along the back of the row where feet cannot catch it. If you want a taller, more detailed cane, this collection of outdoor pallet builds shows how makers scale simple yard pieces up without changing the basic method.
Build a Light Frame That Holds Its Shape
A light frame is a simple wooden or PVC outline, such as a star, a tree, or a snowflake, wrapped in outdoor lights. It gives you a glowing focal point without the weight of a solid wooden cutout, and it stores flat after the season. Build the frame on the ground, measure each side twice, and join the corners with screws or PVC fittings.
Wrap diy outdoor christmas light decorations tightly enough that the lights follow the frame, but loosely enough that you can replace a dead bulb later. Zip-tie the light string to the frame every few inches so wind cannot pull loops free, and keep all plugs and connectors on the back side. Hang the frame on a porch wall, a fence, or two sturdy posts, and check it at night before you call it done, because gaps in the light show up only after dark.
Choose warm white lights for wood frames and a single accent color for PVC frames, because mixed colors on a rustic frame often look busy. If one section glows dimmer than the rest, check that section’s connections first, since a loose plug causes most uneven lighting.
Dress Up Planters for the Porch and Yard
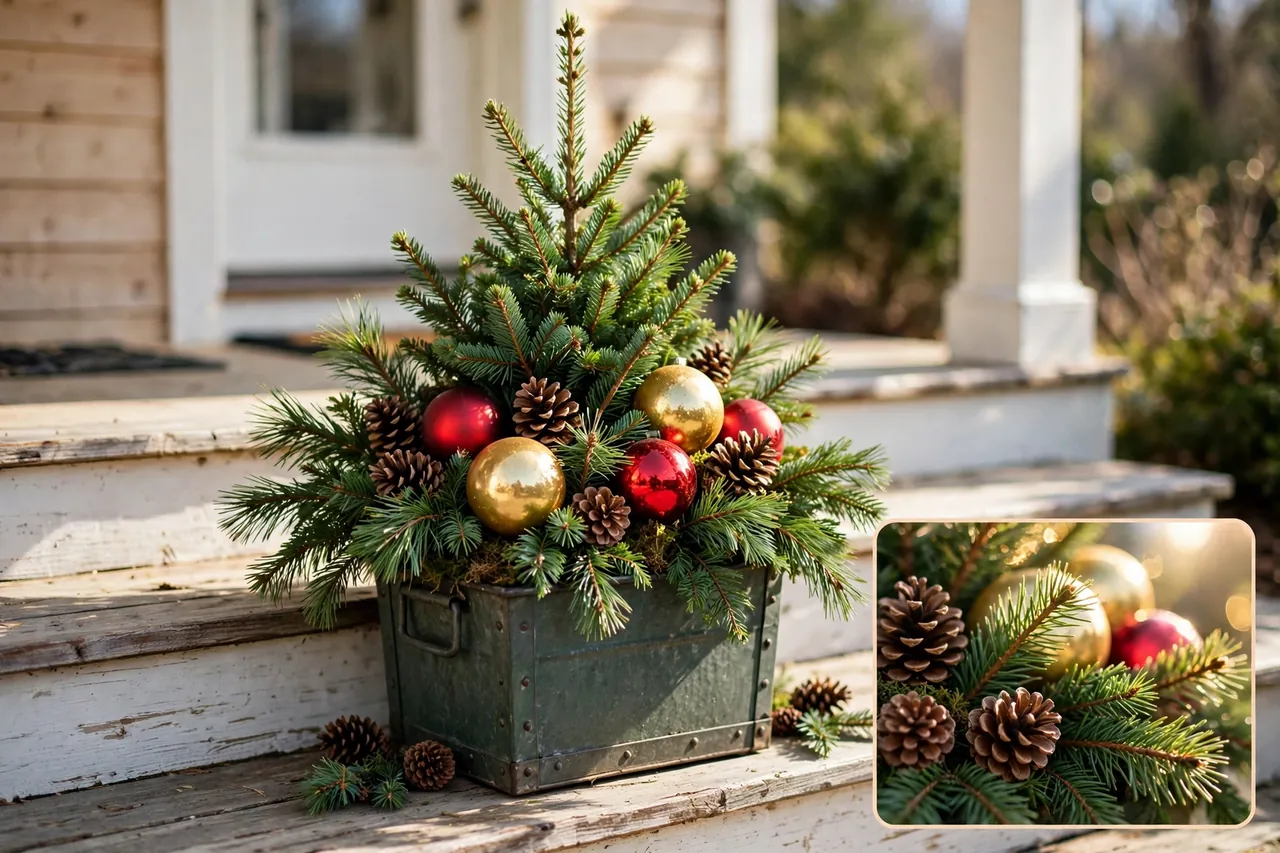
Planters are the fastest way to make a porch feel finished, and they need no power tools at all. Start with a sturdy outdoor planter, empty out dead summer plants, and fill it with fresh evergreen branches, pinecones, and a few weatherproof ornaments. Push the tallest branches into the center and shorter pieces around the edges, so the arrangement reads as a small tree from the porch.
Wrap a battery-operated outdoor light string through the branches if you want glow without running a cord across the steps. Battery lights also suit renters, because they leave no holes and no cords behind. Add a wide weatherproof ribbon or a wooden star on a short stake for a finishing touch, and keep ornaments large enough that wind cannot scatter them.
Water the planter lightly if the branches are fresh, and check it after the first storm. Fresh branches settle as they dry, so push any leaning stems back into place and tighten loose ribbon before the arrangement goes lopsided. When the season ends, compost the branches and store the ornaments with your other outdoor pieces.
Weatherproof Every Build So It Lasts the Season
Weatherproofing is the step that decides whether your builds return next year or rot in the garage. Seal all wood with exterior paint or a clear exterior sealant, and coat the end grain twice, because end grain drinks water faster than flat surfaces. Keep finished pieces off wet ground on pavers, bricks, or stakes, so melting snow never sits against the wood.
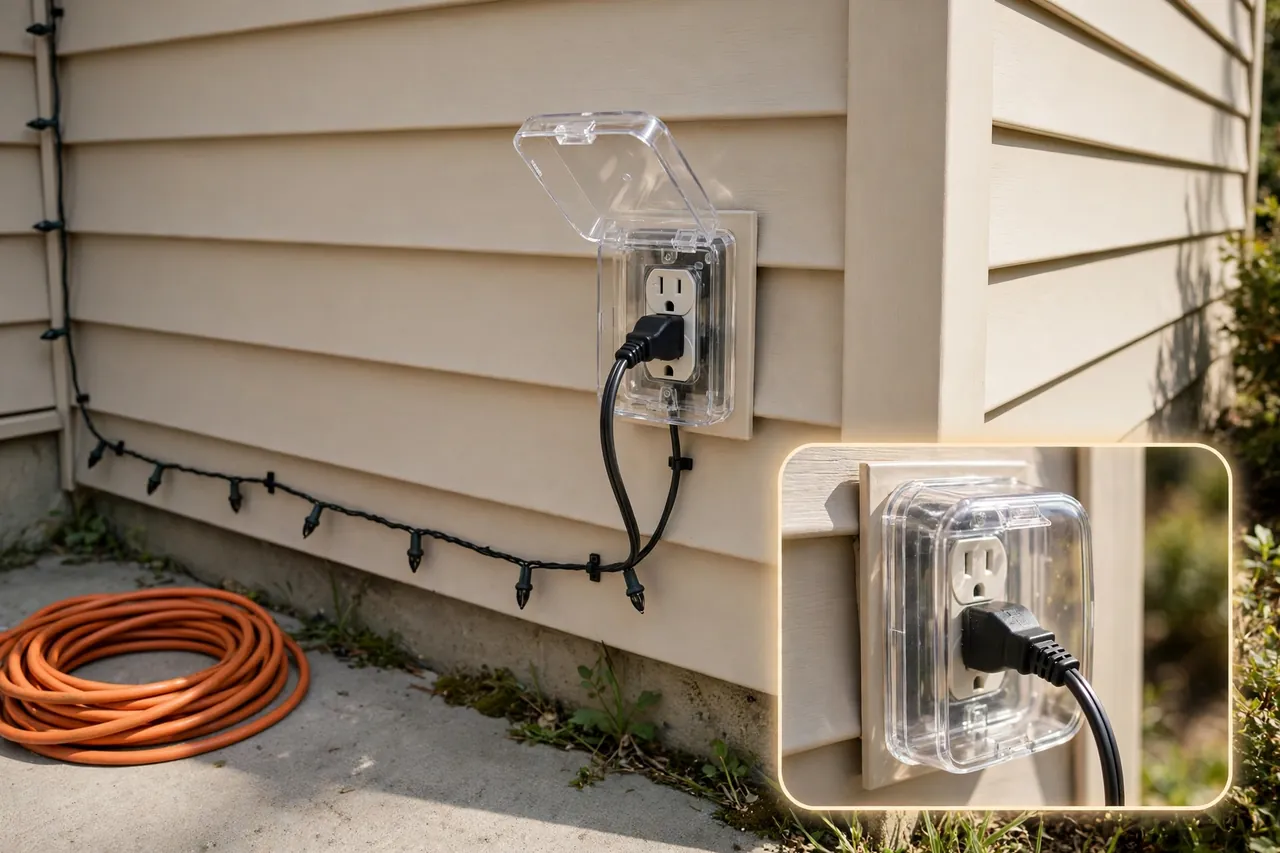
Protect every electrical connection from rain. Use weatherproof covers on outdoor plugs, keep connections off the ground, and point plug openings downward so water runs away instead of pooling inside. Bring battery packs and timers indoors during heavy storms, and check cords after wind for cuts, cracks, or exposed wire.
Store pieces dry when the season ends. Brush off dirt, wipe metal parts dry, coil light strings loosely, and stack flat pieces with cardboard between them so paint does not stick. Label each box by build, because a labeled box saves you a full afternoon of guessing next December. For ideas on storing finished pieces safely, see our guide to Christmas decor boxes.
Light It Safely Outdoors
Outdoor lights make the whole yard glow, but they need more care than indoor lights. Use only lights and cords rated for outdoor use, and inspect every string before you hang it. Throw out any string with cracked sockets, frayed wire, or loose connections, because a damaged string never gets safer with use.
Plug outdoor lights into a ground-fault circuit interrupter (GFCI) protected outlet, which cuts power fast if current leaks through water or damaged wire. Test the GFCI with its test button before the season starts, and use a weatherproof cover on the outlet. Never run indoor extension cords outside, and never lay cords across walkways where feet can catch them.
Do not overload a cord or an outlet. Read the wattage limit on the cord and on the light packaging, add up the strings you plan to connect, and stay well under the limit. Use an outdoor-rated timer so lights switch off on their own late at night, and switch all lights off when you leave the house or go to bed. Safety guidance from the U.S. Consumer Product Safety Commission covers the same points: outdoor lights belong on GFCI-protected circuits, cords must match their intended use, and damaged sets belong in the trash, as these holiday decorating safety tips explain.
Climb Ladders With Care
Before you climb a ladder to hang a frame or high lights, set the ladder on firm, level ground and lock its feet in place. Keep your hips between the side rails, move the ladder instead of leaning sideways, and never stand on the top two rungs. Ask another person to hold the ladder base when you work above head height, and come down before wind or ice makes the rungs slick.
Plan Your Yard Layout Like a Scene
A good yard display reads as one scene, not a row of unrelated objects. Place your anchor piece where the eye lands first, usually near the porch or at the center of the front lawn. Then place medium pieces, such as cutouts and light frames, on either side of the anchor, and use small pieces, such as candy canes and planters, to lead the eye along the walkway.
Leave open space between groups so each piece shows clearly at night. Crowded pieces blur into one bright blob after dark, while a little breathing room lets each shape glow on its own. Check the layout twice: once in daylight for balance, and once at night for light. Move any piece that blocks a path, a mailbox, or a house number, because guests and delivery drivers still need those clear.
Match your materials across the yard for a pulled-together look. If your anchor tree uses natural wood and warm-white lights, carry that same wood tone and light color into your cutouts and frames. One repeated material and one light color tie very different builds together without any extra cost.
Fix the Usual Problems Before They Ruin the Display
Most outdoor build problems show up in the first week, and each one has a simple fix. Work through this list in order, starting with the cheapest and easiest check first, and test the display at night after each fix.
- Piece tips over in wind: widen the base, add a second stake, or move the piece to a sheltered spot near the house.
- Paint peels or bubbles: sand the bare spot, let the wood dry fully, repaint with exterior paint, and seal the edges.
- Wood feels soft or dark after rain: lift the piece off wet ground, dry it indoors, seal the end grain twice, and check for rot before you put it back.
- One light section stays dark: check the plug and the first bulb in the dark section, swap in a known-good bulb, and replace the string if the socket looks damaged.
- GFCI trips when lights switch on: unplug the strings one at a time to find the faulty one, dry all connections, and replace any string with cracked wire.
- Display looks flat at night: add a second light color only as an accent, move a frame closer to the walkway, or add a lit planter near the door for depth.
When a fix needs new wiring, a taller ladder than you can handle safely, or work near overhead power lines, stop and call a qualified electrician or contractor. A yard decoration never justifies a risky climb or an unprotected electrical repair.
Choose the Right Material for Your Climate
Different materials suit different winters, so match your build to your weather. Exterior plywood and sealed pallet wood handle cold, wet winters well when you seal them and keep them off the ground. PVC shrugs off rain and snow, which makes it a strong choice for walkway pieces in wet climates, while untreated wood and paper fail fast in the same conditions.
Metal pieces suit windy yards because they hold their shape, but they need rust-proof paint and secure stakes, since a metal cutout catches wind like a sail. If you want to compare outdoor materials before you commit, our guide to outdoor metal Christmas decorations covers how metal pieces behave outside. For a broader look at wood builds, see our guide to wood Christmas decorations outside.
Table: Outdoor materials compared
| Material | Strength | Watch out for |
|---|---|---|
| Sealed wood | Warm, rustic look | Rot if unsealed |
| PVC pipe | Rain-proof, light | Wind lift |
| Coated metal | Strong in wind | Rust if chipped |
| Fresh greenery | Natural scent | Dries out fast |
Related Guides
If you want to round out the entryway beside your yard builds, our guide to ideas for DIY Christmas wreaths covers handmade wreaths for the front door. When the season ends, pack every build away properly with our guide to Christmas decor boxes.
A Quick Safety Note
Take care with saws, drills, and ladders, and keep children and pets clear of cutting areas and wet paint. Use outdoor-rated lights and cords on GFCI-protected outlets, and never work on electrical parts with wet hands. Homes, yards, and weather vary, so adapt these steps to your own conditions, and call a qualified professional for electrical work, structural mounting, or any job that feels beyond your skill.
Frequently Asked Questions
What are the easiest do it yourself outdoor Christmas decorations for a beginner?
Start with decorated planters, PVC candy canes, and a simple pallet tree. Planters need no power tools, candy canes need only cutting, gluing, and painting, and a pallet tree needs straight cuts and screws. Finish one project fully before you start the next, so your yard gains one solid piece at a time.
What materials hold up best for outdoor Christmas decorations?
Sealed exterior wood, PVC pipe, coated metal, and fresh greenery hold up best outside. Seal all wood with exterior paint or clear sealant, coat end grain twice, and keep pieces off wet ground. Use outdoor-rated lights and cords only, because indoor materials break down fast in rain, snow, and sun.
How do I keep outdoor Christmas lights safe and weatherproof?
Use lights and cords rated for outdoor use, plug them into a GFCI-protected outlet, and cover every connection from rain. Inspect strings for cracked sockets and frayed wire, throw out damaged sets, and keep cords off walkways. Switch lights off when you leave the house or go to bed.
How do I stop wooden yard decorations from rotting or blowing over?
Paint and seal every surface, including backs and edges, and seal end grain twice for the best protection. Keep pieces on pavers or stakes instead of wet soil, and widen the base or add a second stake for tall pieces. Store pieces dry after the season so they return in good shape next year.
When should I put up DIY outdoor Christmas decorations?
Build pieces indoors during fall, then set them outside between Thanksgiving and early December for the best balance of effort and display time. Setting up too early wears pieces down, while waiting until late December shortens the season. Take pieces down soon after the holidays to protect them from deep winter weather.
Pick your anchor piece this weekend, gather the shared toolkit once, and build that one piece well. Then add a walkway row of candy canes or a pair of dressed planters, and check the whole scene at night before you add anything else. Your yard will glow with pieces you made yourself, and next year you will start from a box of proven builds instead of a blank lawn.