Frozen pipes start forming when the outdoor temperature falls to 20°F, according to the University of Illinois Building Research Council — and a crack as small as 1/8 inch can release up to 250 gallons of water a day, according to the Insurance Institute for Business & Home Safety (IBHS). The water inside the pipe freezes at 32°F, but the pipe itself usually holds until the cold soaks through the wall, the insulation, and the still air around it.
Here is the part most homeowners miss: a pipe rarely bursts where the ice forms. It bursts between the ice plug and a closed faucet, where trapped water has nowhere to go — and the one habit that builds that pressure is the same habit that feels like the safe thing to do. That habit is in the thawing section below.
This guide covers the whole freeze, start to finish: the exact temperatures that matter, how fast a pipe can freeze, which pipes go first, how to spot a freeze before it bursts, how to keep pipes safe with no heat at all, how to thaw a frozen pipe step by step, what to do when one bursts, and what it all costs in 2026.
At What Temperature Do Pipes Freeze?
Pipes freeze when the water inside them turns to ice, and the danger starts well above the coldest nights of the year. Water freezes at 32°F, but the University of Illinois Building Research Council puts the temperature alert threshold for household pipes at 20°F — below that, exposed pipes in unheated spaces start forming ice within hours.
Think of the gap between 32°F and 20°F as your safety margin. The wall, the insulation, and the warm air inside your home keep the water in the pipe warmer than the air outside. Take that protection away — a pipe in an uninsulated attic, a crawl space, a garage, or against a bare exterior wall — and the margin shrinks fast. Wind makes it worse, because it strips the thin layer of warmer air off the pipe and drives cold into every gap.
Three numbers are worth memorizing, because the whole prevention plan hangs on them:
| Outdoor temperature | What it means for your pipes |
|---|---|
| 32°F and below | Water can freeze. Finish outdoor prep: disconnect hoses, cover spigots, drain sprinkler lines. |
| 20°F and below | Alert threshold. Exposed pipes in unheated spaces start freezing within hours. Run the full checklist. |
| Below 0°F | Even insulated pipes in unheated spaces can freeze overnight. Drip the coldest taps and keep the heat steady. |
Southern homes freeze more often than northern ones, and the reason is simple: their pipes were never built for it. In the February 2021 Texas freeze, pipes running through unheated attics and garages burst across the state, because the building stock assumed winter would stay mild. A house in Minnesota has its plumbing buried deep inside heated walls. A house in Dallas or Atlanta often does not. The forecast matters more than the map — when your forecast low drops to 20°F, your house is a cold-climate house for that night.
For the full temperature story — including which rooms and wall types cross the line first — see What Temperature Do Water Pipes Freeze At?. The next question is the one that decides whether you have hours or days to act.
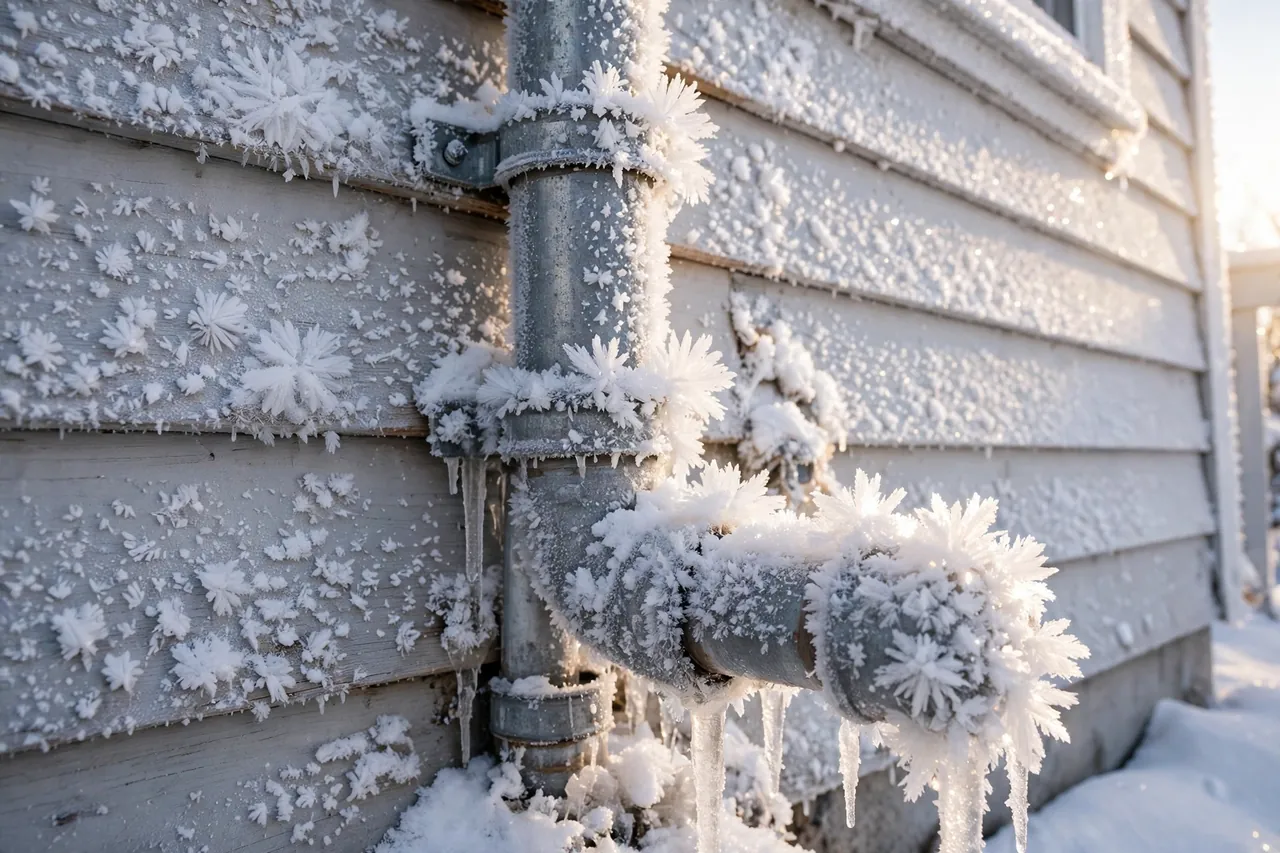
How Long Does It Take for Pipes to Freeze?
An exposed pipe can freeze in as little as six hours once the outdoor temperature holds at 20°F or below, according to widely cited Red Cross and insurance-industry guidance. An insulated pipe inside a heated wall can hold for days. A bare copper line in a drafty crawl space can freeze overnight.
Four things set the clock. First, exposure: a pipe with cold air on all sides freezes far faster than one tucked inside a heated wall. Second, insulation: foam sleeves and a warm wall buy hours, sometimes a full night. Third, water movement: still water freezes first, which is why a slow drip from the tap is such a powerful defense — moving water has to lose far more heat before it turns to ice. Fourth, the pipe material itself: rigid copper and CPVC split when ice expands inside them, while PEX tubing can stretch a little and often survives a freeze that would crack a rigid pipe.
That six-hour number is the one to plan around. If the forecast says the temperature will sit below 20°F from midnight to dawn, the pipes in your coldest spots are already on the clock by bedtime. The good news is that the same math works in reverse: a few hours of steady heat, a dripping tap, or a foam sleeve can push the freeze past sunrise, and sunrise usually ends the danger.
For the full timeline — how each factor stretches or shrinks it, and what to do at each hour — see How Long Does It Take for Pipes to Freeze?. But knowing the clock is only half the job. You also need to know which pipes it is ticking on.
Which Pipes Freeze First?
The pipes that freeze first are the ones with the least protection between them and the cold: supply lines in unheated attics, crawl spaces, basements and garages, pipes against exterior walls, and anything outdoors — hose bibs, sprinkler lines and pool supply lines, according to the American Red Cross.
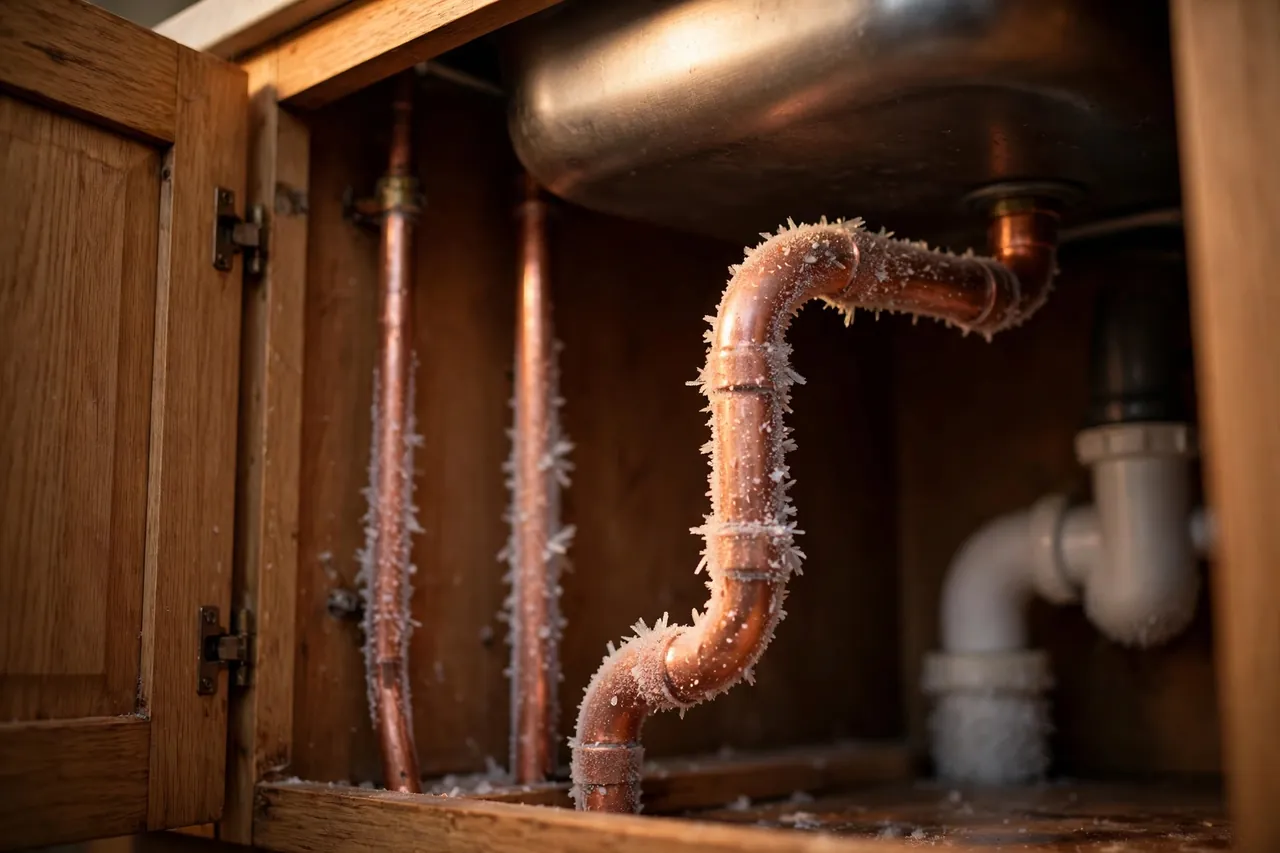
Inside the house, the usual victims are the pipes you never think about. Kitchen and bathroom supply lines that run inside cabinets on an exterior wall sit in a cold pocket: the cabinet door seals them off from the room’s heat, and the wall behind them is the coldest surface in the house. The same goes for a laundry room on an outside wall, a bathroom over an unheated garage, and any pipe that runs through a wall with thin or missing insulation. The Red Cross lists basements, crawl spaces, attics, garages and even kitchen cabinets as the places frozen pipes show up most.
Outside, the list is shorter and more obvious, which is why people still miss it. A garden hose left connected to a spigot traps water in the hose bib, and that trapped water freezes first, then backs the ice into the pipe inside the wall. Sprinkler and pool supply lines hold water all winter unless you drain them. And a pipe that runs to a detached garage, a barn, or an outdoor kitchen has no heated house around it at all.
Walk your house once before the first hard freeze and find these spots. Open the cabinet under the kitchen sink on an outside wall and feel the back of it on a cold morning — if the wall is cold to the touch, the pipe behind it is colder than you think. That one check tells you where to aim the insulation, the drip, and the open cabinet door.
How to Spot a Frozen Pipe Before It Bursts
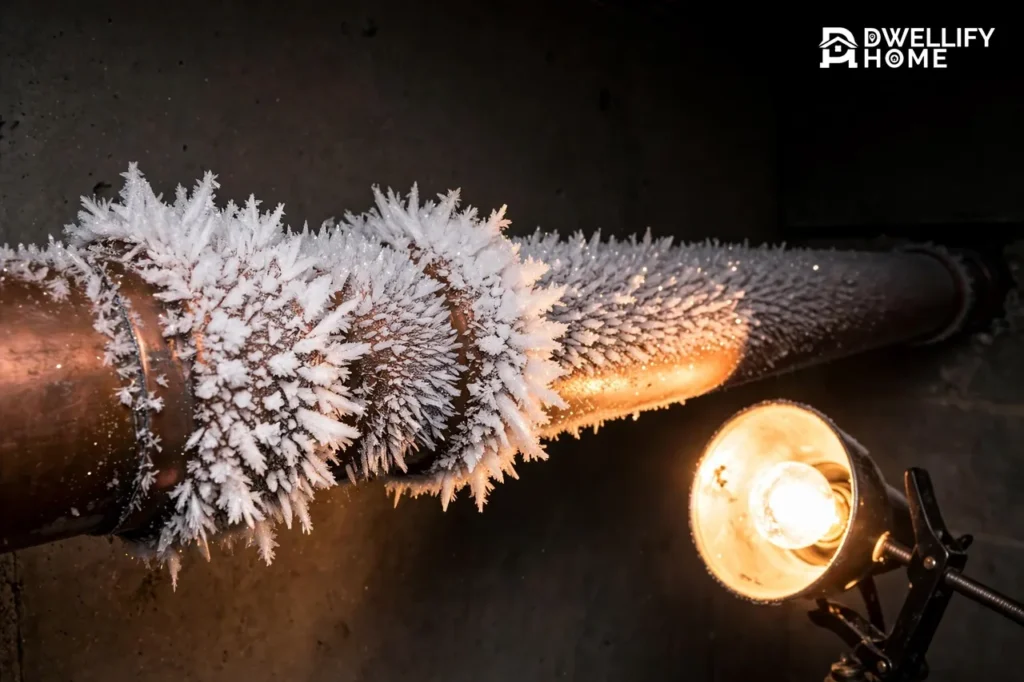
A frozen pipe usually announces itself before it bursts: a faucet that gives only a trickle or nothing at all, visible frost on an exposed pipe, a tap that sounds solid instead of hollow, or gurgling and clunks as water squeezes past a shrinking opening.
Start with the faucets. Turn on each tap, one at a time. A faucet with no water — or a thin stream where there should be full pressure — is the clearest sign of a freeze somewhere between the main and that tap. Check the other faucets too: if one pipe froze, the Red Cross warns that others may have frozen as well, because they share the same cold wall or the same unheated space.
Then look and listen at the exposed pipes. Frost on the outside of a pipe means the water inside is at or near freezing. Tap the pipe lightly: a pipe full of liquid water sounds hollow, while a pipe full of ice feels solid and heavy. And listen for gurgling or small clunks — that is water forcing its way through a narrowing gap, or small chunks of ice breaking loose inside the line.
This Old House plumbing expert Richard Trethewey shares a trick for finding the exact spot: run a damp rag slowly along an exposed pipe, especially in unheated areas or near exterior walls. When frost appears on the pipe surface under the rag, you have found your ice plug. Mark the spot — that is where the gentle heat goes in the thawing section below.
The warning sign people ignore most is the partial freeze: a tap that still works, just weakly. A trickle does not mean the pipe is fine. It means ice is already narrowing the line, and the next cold night can finish the job. Treat a weak tap the way you would treat a warning light — act on it the same day, not the next cold snap.
How to Keep Pipes From Freezing Without Heat
You can keep pipes from freezing even when the heat is off or the power is out: let a faucet on the exposed line drip, open cabinet doors so room air reaches the pipes, wrap exposed runs in foam sleeves, and shut off and drain outdoor lines before the first hard freeze.
The drip is the cheapest defense you own. The American Red Cross says to let cold water drip from a faucet served by exposed pipes when the weather is very cold — running water through the pipe, even at a trickle, helps prevent freezing, and it relieves pressure if ice does form elsewhere in the line. A slow drip costs pennies in water and can save thousands in repairs. Drip the tap farthest from where the water enters the house, so the water moves through the longest stretch of cold pipe.
Open the cabinet doors under kitchen and bathroom sinks on exterior walls, so warm room air can circulate around the plumbing. It looks untidy for a night; it is far tidier than a burst pipe. Keep the garage door closed if water lines run through the garage, and never close off an unused room that contains plumbing — the heat you save is not worth the pipe you lose.
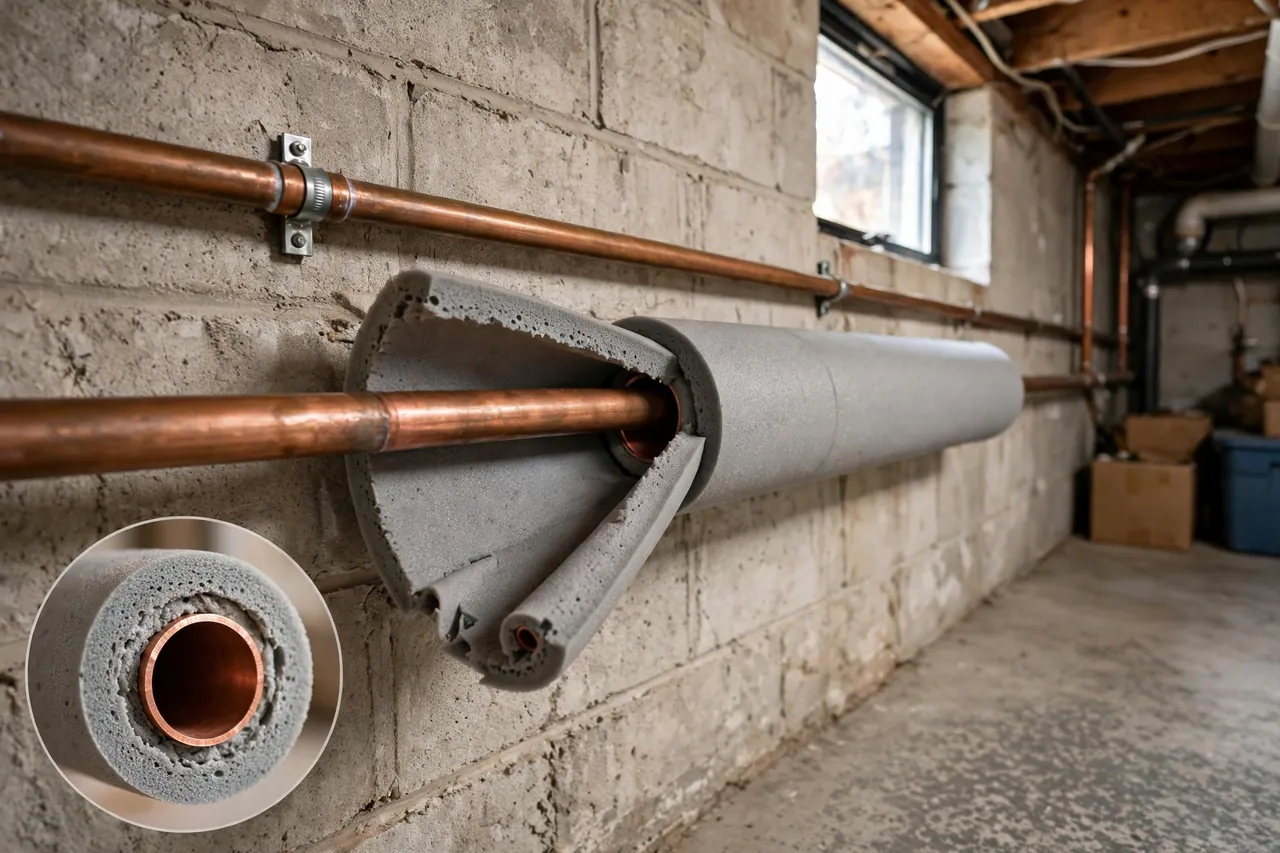
For the pipes themselves, foam sleeves are the best few dollars you will spend all winter. Slip them over every exposed run in the attic, crawl space, basement and garage, and miter the corners: Trethewey warns that most people run the foam right up to the elbow and stop, leaving the joint bare — and the elbow is the most popular place for a freeze. Wrap foam tape around the joint to seal it. For the highest-risk runs, UL-listed heat tape or heat cable adds gentle electric warmth under the insulation.
Outside, the job is shutoff and drain. Disconnect every garden hose and fit insulated covers on the spigots. Drain sprinkler and pool supply lines following the manufacturer’s directions — and never put antifreeze in those lines unless directed, because the Red Cross warns it is dangerous to people, pets, wildlife and landscaping.
For the full no-heat playbook — including what to do when the power is out for days — see How to Keep Pipes From Freezing Without Heat. But even the best prevention sometimes arrives a night too late. When it does, the next section is the one that matters.
How to Unfreeze Frozen Pipes Safely
To thaw a frozen pipe safely, open the affected faucet and warm the frozen section gently from the faucet end back toward the ice — with a hair dryer, a heating pad, or towels soaked in hot water — until full pressure returns. Never use an open flame: the Red Cross bans blowtorches and kerosene heaters for thawing.
Work in this order. It is the order plumbers and the Red Cross agree on, and the order matters more than the tool you pick.
- Open the faucet — and leave it open. As the ice melts, the open tap gives the meltwater and trapped air somewhere to go. A closed faucet is what turns a frozen pipe into a burst one.
- Look for damage before you heat anything. If you see a crack, a bulge, or water already leaking — or if none of your faucets work at all — shut off the main water valve first and call a licensed plumber. Do not thaw a burst pipe.
- Find the frozen section. Check the cold spots: pipes against exterior walls, in unheated spaces, and where the water line enters through the foundation. Frost on the pipe, a cold patch, or the damp-rag trick from the signs section will point at it.
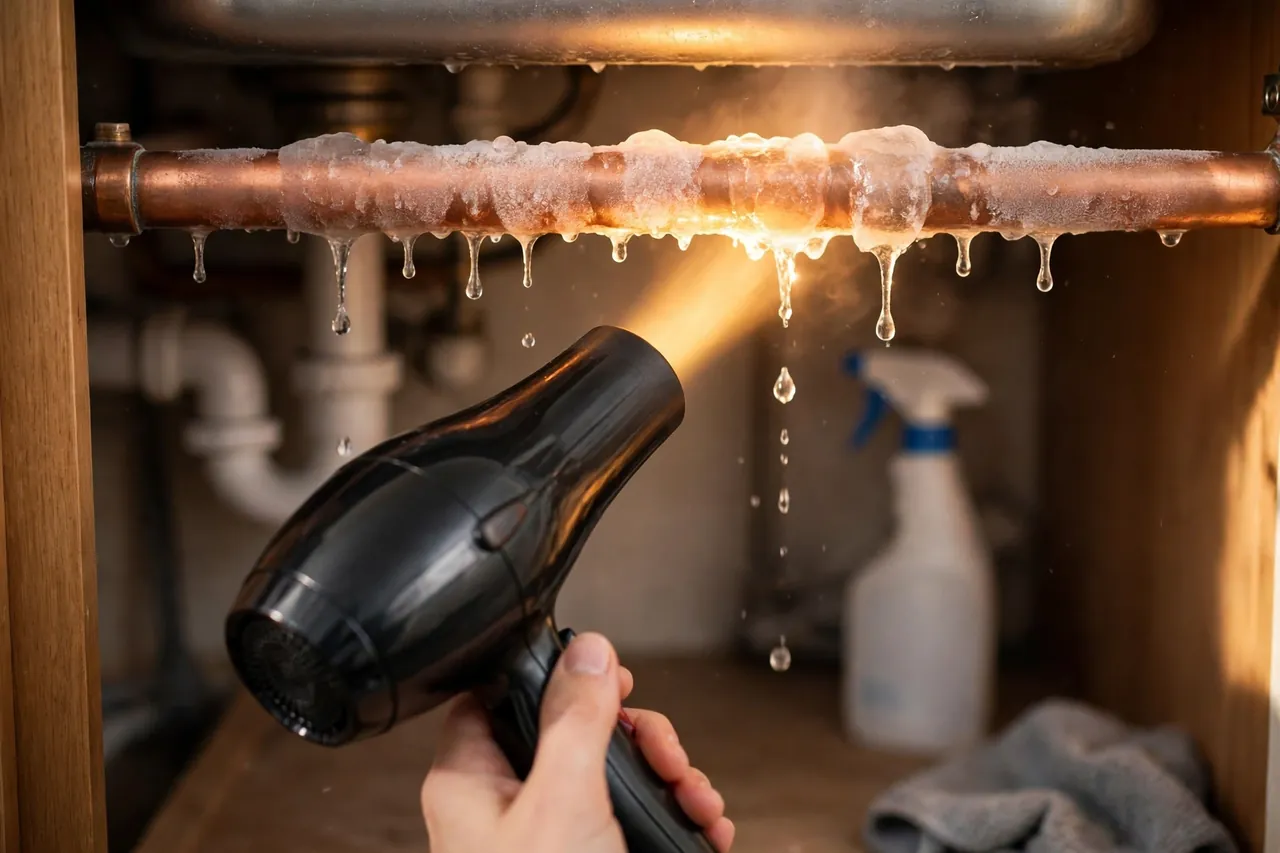
- Warm the pipe gently, starting at the faucet end and working back toward the frozen section. Use a hair dryer on a medium setting, an electric heating pad wrapped around the pipe, a portable space heater kept clear of anything flammable, or towels soaked in hot water and wrung out. Keep the heat moving — sweep the dryer slowly back and forth instead of parking it on one spot.
- Keep going until full, normal pressure returns. An exposed pipe usually thaws in 30 minutes to a few hours. If two hours of steady heat produce no trickle at all, stop and call a plumber — a pipe that will not thaw is telling you the freeze is somewhere you cannot reach.
- Inspect the whole run as it thaws. Watch every joint and every inch of the pipe for drips, seepage, or a hairline crack. Even a tiny split can flood a wall once full pressure is back.
- Check every other faucet in the house. One frozen pipe means others in the same cold space may be frozen too.
Three things to never do: never use a blowtorch or any open flame — flame can scorch the pipe, boil the water inside it, and start a fire inside a wall you cannot see. Never thaw from the coldest spot backward — melting ice needs an escape path, and heating behind the blockage traps water and steam until something splits. And never walk away from a space heater or heating pad left running on a pipe.
For the complete step-by-step guide with outdoor pipes, mobile homes and in-wall freezes, see How to Unfreeze Frozen Pipes Safely (Step-by-Step Guide) — that is the single most useful next read if you are standing in front of a frozen pipe right now. What follows is what to do when the thaw comes too late.
What to Do When a Pipe Bursts
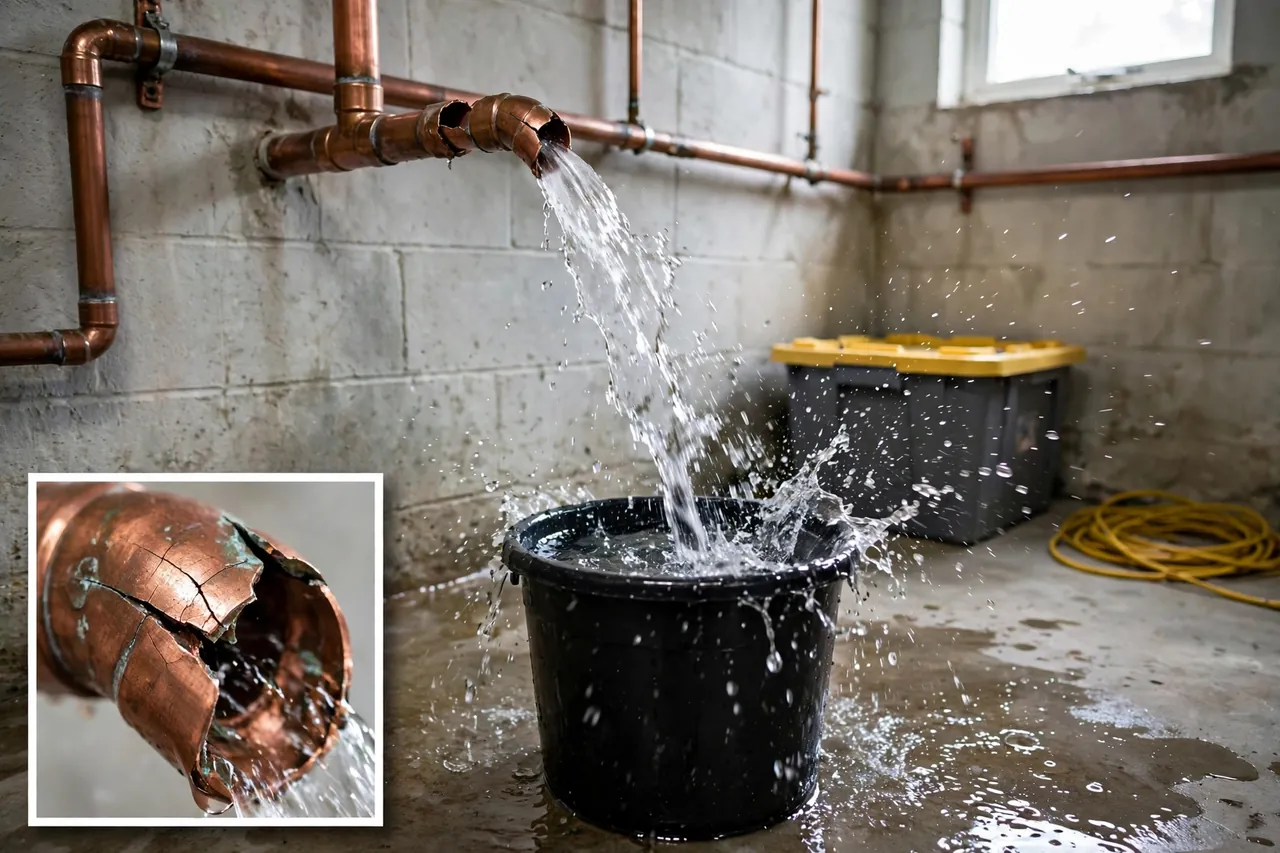
When a pipe bursts, shut off the main water valve immediately, then cut power to any area where water is near outlets or the breaker panel, and call a plumber. A burst line at normal household pressure (50 to 70 psi) can release 400 to 600 gallons an hour, per PuroClean’s 2026 guide.
First, stop the water. Every adult in the house should know where the main shutoff valve is before winter — usually where the main line enters the home, often in the basement or near the water meter. Turn it clockwise until it stops. If the burst is on a single fixture line and you can see its own shutoff, close that one too.
Second, think about electricity before you step into the water. If water is pooling near outlets, appliances, or the breaker panel, do not wade in. Shut off power to the affected area at the breaker if you can do it from a dry place, and never touch an electrical panel while standing in water. Call an electrician if the water has reached the panel itself.
Third, limit the damage while help is on the way. Move rugs, electronics and furniture out of the water. Mop and bucket what you can, and put towels or buckets under the break to catch the remaining flow. Open windows and run fans if the weather allows — moving air is the start of drying, and drying is the start of preventing mold.
Fourth, document everything before you clean it. Photograph the burst, the water line on the walls, and every damaged item, and keep the receipts for the plumber and any emergency work. Homeowners insurance typically covers sudden and accidental water damage from a burst pipe — the ruined drywall, flooring and belongings — but usually not the pipe repair itself, and not damage from wear, neglect, or a leak you already knew about. Your photos are the difference between a smooth claim and an argument.
Finally, watch the calendar. Wet drywall, insulation and flooring can start growing mold within 24 to 48 hours. If materials are still damp after two days, they need professional drying or removal — a dehumidifier and a fan are not enough once water has soaked into the wall cavity.
What Most People Get Wrong About Frozen Pipes
The most common mistake about frozen pipes is believing the pipe bursts where the ice forms. It usually does not — the break happens between the ice plug and a closed faucet, where trapped water pressure builds until the pipe splits. The ice is the cause; the pressure is the killer.
Three more beliefs cost homeowners every winter. The first is that it has to be far below freezing: no — 20°F is the alert threshold, and a drafty, uninsulated pipe can start freezing well before that. The second is that thawing faster is better: a blowtorch feels efficient, but it can crack the pipe, boil the water inside, and start a fire in a wall you cannot see — slow, gentle heat is the only safe speed. The third is that frozen pipes are a cold-climate problem: the February 2021 Texas freeze proved the opposite, because warm-climate homes run their plumbing through unheated attics and garages that were never built for a hard freeze.
One more quiet mistake: assuming a tap that still gives a trickle is fine. A thin stream is often a partial freeze, not a healthy pipe. Ice is already narrowing the line, and the next cold night can close it completely. A weak tap deserves the same response as a dead one — find the cold spot, warm it gently, and fix the protection before the next freeze.
What a Burst Pipe Costs in 2026
In 2026, a plumber’s thawing visit for a frozen-but-intact pipe runs $200 to $500, a burst pipe repair runs $500 to $2,000, and water damage restoration adds $1,000 to $5,000 or more — which is why a few dollars of foam insulation is the cheapest repair on this page (ABS Pipes, October 2026).
The bill grows in stages, and each stage is a different trade. Thawing is one visit. Replacing the burst section is another. Drying the house, replacing drywall and flooring, and fighting mold are the expensive part — and they are billed separately from the plumbing. Angi’s August 2026 pricing report puts the typical burst pipe repair itself at $200 to $3,000, averaging around $500, before any restoration work begins.
| Service | Typical 2026 cost |
|---|---|
| Professional thawing visit (pipe intact) | $200–$500 |
| Burst pipe repair, accessible pipe | $500–$1,000 |
| Burst pipe inside a wall or ceiling | $1,000–$2,000+ |
| Water damage restoration (drying, drywall, flooring) | $1,000–$5,000+ |
| Mold remediation, if damage sat unnoticed | $500–$3,000+ |
Read the table from the bottom up and the prevention math becomes obvious. A foam sleeve, a spigot cover, and a dripping tap cost less than a single hour of a plumber’s time. The most expensive frozen pipe is the one nobody looked at before the cold arrived — and the cheapest fix in home maintenance is the one you do in October, not the one you pay for in January.
Your Prevention Checklist Before the First Hard Freeze
Work this checklist before the first night the forecast drops to 20°F: insulate exposed pipes, disconnect hoses and cover spigots, seal air leaks near pipes, know where the main shutoff is, and set the thermostat to 55°F or higher day and night.
- Wrap foam sleeves on every exposed run in the attic, crawl space, basement and garage — and miter the elbows, because the joint is where freezes start.
- Disconnect every garden hose and fit insulated covers on all outdoor spigots.
- Drain sprinkler and pool supply lines, and never add antifreeze unless the manufacturer directs it.
- Seal air leaks around pipes where they pass through exterior walls, with caulk or foam.
- Open cabinet doors under sinks on exterior walls during a hard freeze, and keep garage doors closed if water lines run through the garage.
- Set the thermostat to the same temperature day and night, no lower than 55°F — even when you leave the house.
- Let the coldest tap drip during a hard freeze, and know exactly where the main water shutoff valve is.
- Walk the house once and write down where your pipes run — the map you make in October is the map you will be grateful for in January.
Do the checklist once, in one afternoon, before the cold arrives. Then, on the first night the forecast dips toward 20°F, you will not be guessing — you will be checking the thermostat, opening a cabinet, and going to bed knowing the pipes are covered. That is the whole job, and it is a small job compared with the one a burst pipe creates.
Disclaimer: This guide covers standard residential water supply pipes only. If a pipe has already burst, if water is near electrical outlets or your breaker panel, or if a frozen pipe sits inside a wall you cannot reach, stop and call a licensed plumber — and an electrician if water has reached any wiring. Never work on wires or panels while standing in water, and never use an open flame to thaw a pipe.
Related Guides
What Temperature Do Water Pipes Freeze At? · How Long Does It Take for Pipes to Freeze? · How to Keep Pipes From Freezing Without Heat · How to Unfreeze Frozen Pipes Safely (Step-by-Step Guide)
Frequently Asked Questions
What are the first signs of frozen pipes?
The first signs are low water pressure, visibly frosty pipes, and no water flow at all. You may also hear gurgling or clunks as water squeezes past the ice, or find that a tap sounds solid instead of hollow. Check every faucet: if one pipe froze, others in the same cold space may have frozen too.
What is the fastest way to thaw frozen pipes?
The fastest safe way is a hair dryer on a medium setting, swept slowly along the pipe from the faucet end back toward the ice, with the faucet left open. An exposed pipe usually thaws in 30 minutes to a few hours. Never rush it with a blowtorch or open flame — fast, uneven heat can crack the pipe and start a fire.
Can frozen pipes thaw without bursting?
Yes, often. If the pipe is only partially frozen and has no crack, gentle heat usually restores full flow with no damage. But a completely frozen pipe may already be split, and the leak only shows once the ice melts. Keep the faucet open, watch every joint as it thaws, and call a plumber if you see any seepage.
How can I prevent my pipes from freezing when I’m not home?
Keep the heat on at no lower than 55°F, day and night, and open cabinet doors so warm air reaches the plumbing. If you are away for a few hours, leave a faucet dripping. If you will be gone for several days, shut off the water at the main valve and drain the lines.
Should I call a plumber to thaw frozen pipes?
Call a plumber if the pipe is completely frozen, if you cannot find or reach the frozen section, if two hours of steady heat produces no water at all, or if you see any sign of a crack or burst. Hidden and in-wall freezes are professional jobs — the risk of a flood inside a wall is not worth saving one service call.
Tonight, before bed, walk to the coldest corner of your house and put your hand on the wall behind the kitchen sink. If it is cold, the pipe behind it is colder — and you now know exactly what to do about it before the next freeze does it for you.