You can organize a garage on a small budget if you work in the right order: declutter first, group what stays into zones, move storage onto the walls, and label every bin. Cheap garage organization ideas work best when you reuse what you already own and buy only the storage that solves a real problem you can already see.
That order matters because storage bins cannot fix clutter. If you buy shelves before you sort, you pay to store things you do not need, and the garage fills up again within months. Start free, spend little, and add one budget-friendly fix at a time.
Start by Decluttering Before You Buy Anything
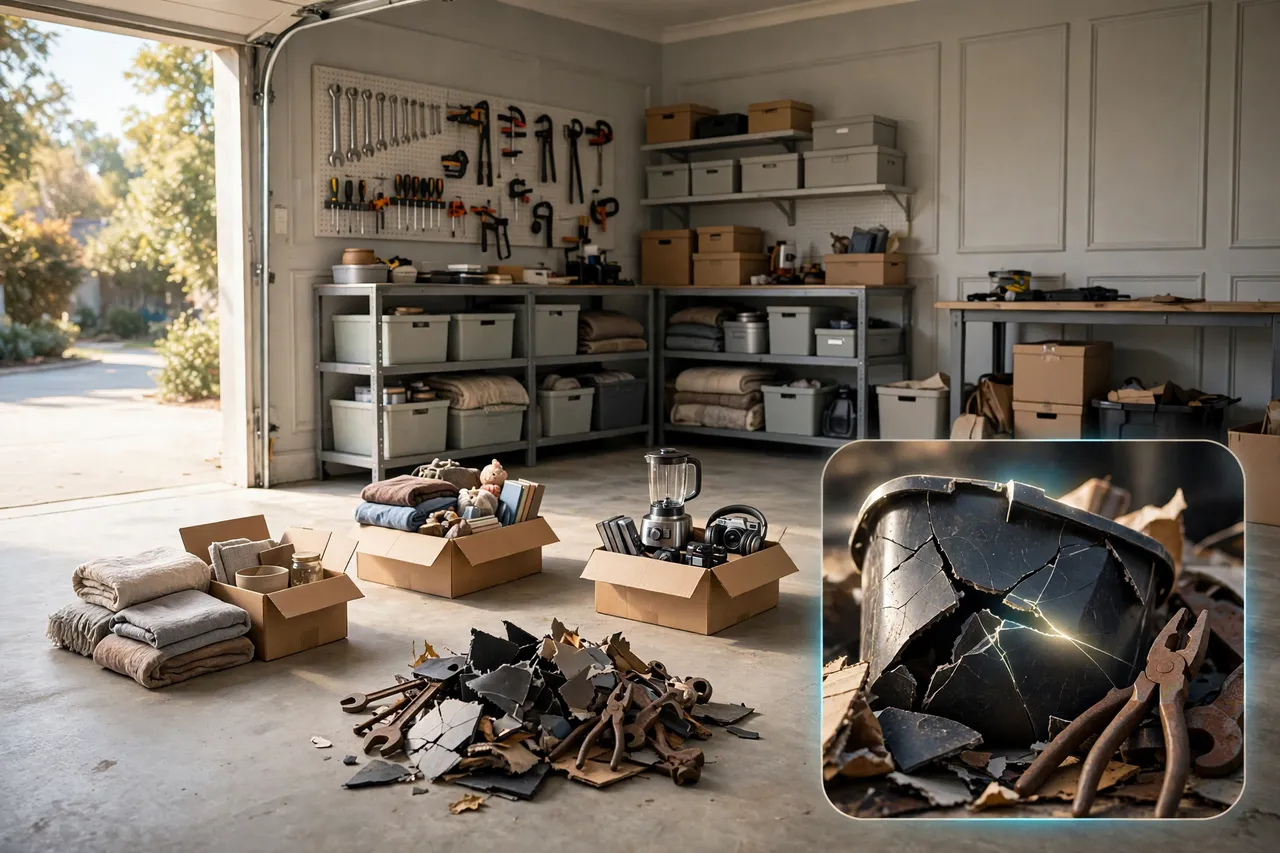
Decluttering costs nothing but time, and it shrinks every later step. Pull items out in small batches, and sort each batch into four groups: keep, donate, sell, and throw away. Be honest about anything you have not used in a year, because storing it costs you floor space every single day.
Work one wall or one corner at a time if a full empty-out feels too big. Set a timer for an hour, finish one batch, and move the donate and trash piles out of the garage the same day. Piles that sit in the garage tend to creep back onto the shelves.
Check broken items first, because they cause the most silent clutter. Toss cracked bins, rusted tools you will not repair, and dried-out paint you cannot use. Homes & Gardens quotes a professional organizer who calls decluttering one of the most overlooked steps, and notes that sorting into keep, donate, and trash groups makes the rest of the job far easier (Homes & Gardens on organizing a garage without spending anything).
Once you know what stays, count it in rough groups: tools, garden gear, sports gear, seasonal items, car supplies, and household overflow. Those groups become your zones, and they tell you exactly what kind of storage you need. A garage full of sports balls needs different storage than a garage full of hand tools.
Set Up Zones So Everything Has One Home
A zone is simply one spot for one kind of item. Put garden tools near the door you use for the yard, car supplies near the car, and sports gear where kids can grab it and put it back. When every item has one home, you stop piling things on the nearest flat surface.
Map your zones before you hang anything. Walk the garage and point to each wall, corner, and shelf, then name what lives there. Keep daily-use items at eye level and within easy reach, and push seasonal items higher up or farther back. Items you use once a year should never block items you use every week.
Think about how you move through the space, too. Leave a clear path from the house door to the car doors, and keep the floor area where you park free of bins. If you plan a larger layout one day, a guide to three-car garage layouts and storage ideas shows how zones and bays can work together, and the same zone logic applies in a single-car garage.
Five Zones That Cover Most Garages
- Tools and workshop: hand tools, power tools, fasteners, and project supplies.
- Garden and yard: rakes, shovels, hoses, pots, and soil.
- Sports and play: balls, helmets, bikes, and outdoor toys.
- Seasonal and holiday: decorations, camping gear, and off-season items.
- Car and household: cleaning supplies, emergency gear, and overflow from the house.
You can adjust these zones to fit your life. A garage without kids may skip the sports zone, while a garage with a workshop may split tools into woodworking and car repair. The point stays the same: one home per item, and no homeless piles.
The Budget-First Priority Order
When money is tight, the order you work in saves more than any single product. Do the free steps first, then spend on the fixes that clear the most floor space. This table gives you that order at a glance, so you can stop after any step and still have a better garage than you started with.
Step, what you do, cost level, and payoff
| Step | What you do | Cost level | Payoff |
|---|---|---|---|
| 1. Declutter | Sort into keep, donate, sell, and trash | Free | Frees the most space for nothing |
| 2. Zone | Group what stays and assign each group a spot | Free | Ends the pile-on-the-floor habit |
| 3. Wall hooks and rails | Hang long tools, bikes, and ladders on the wall | Low cost | Clears floor space fast |
| 4. Bins and labels | Contain each zone in labeled bins | Low cost | Makes finding things quick |
| 5. Pegboard or shelves | Add a tool wall or simple shelving | Low to moderate cost | Uses vertical space well |
| 6. Overhead storage | Move seasonal bins to ceiling racks | Moderate cost | Frees floor and shelf space |
Notice what comes last: overhead storage. It helps, but it only pays off after you know what truly needs storing. Many people buy ceiling racks first, then fill them with items they should have donated, and the clutter simply moves higher.
Wall Storage on a Budget
Walls hold your biggest budget win. Floor space fits your car, while wall space holds almost everything else, and simple wall storage costs far less than cabinets. Start with the wall you see first when you walk in, because a tidy first wall sets the tone for the whole garage.
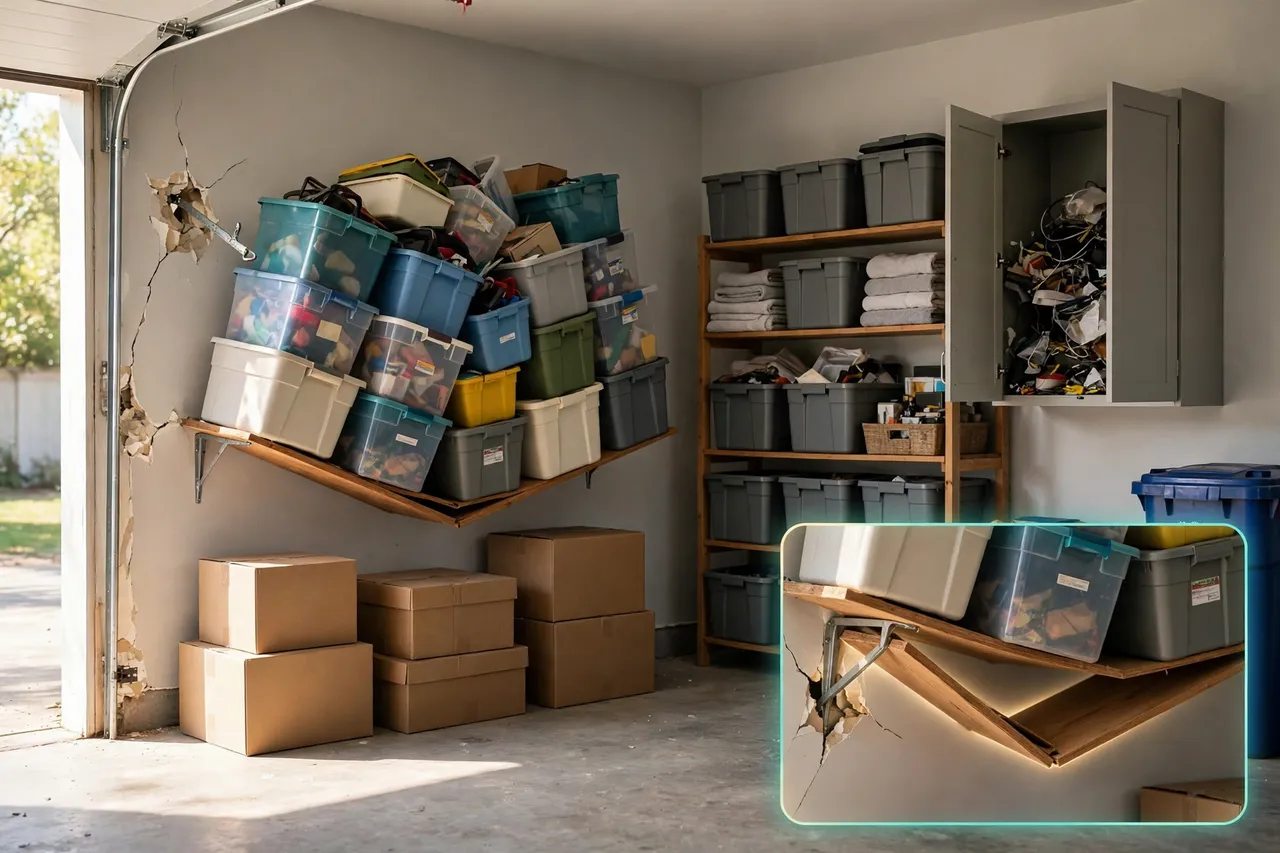
Before you hang anything heavy, find the wall studs and check the weight rating on every hook, rail, and shelf. Wall-mounted storage only stays safe when it anchors into solid framing and holds no more than its rated load. If you rent, check your lease before you drill, and lean toward freestanding shelves or removable hooks instead.
Hang a Pegboard for Hand Tools
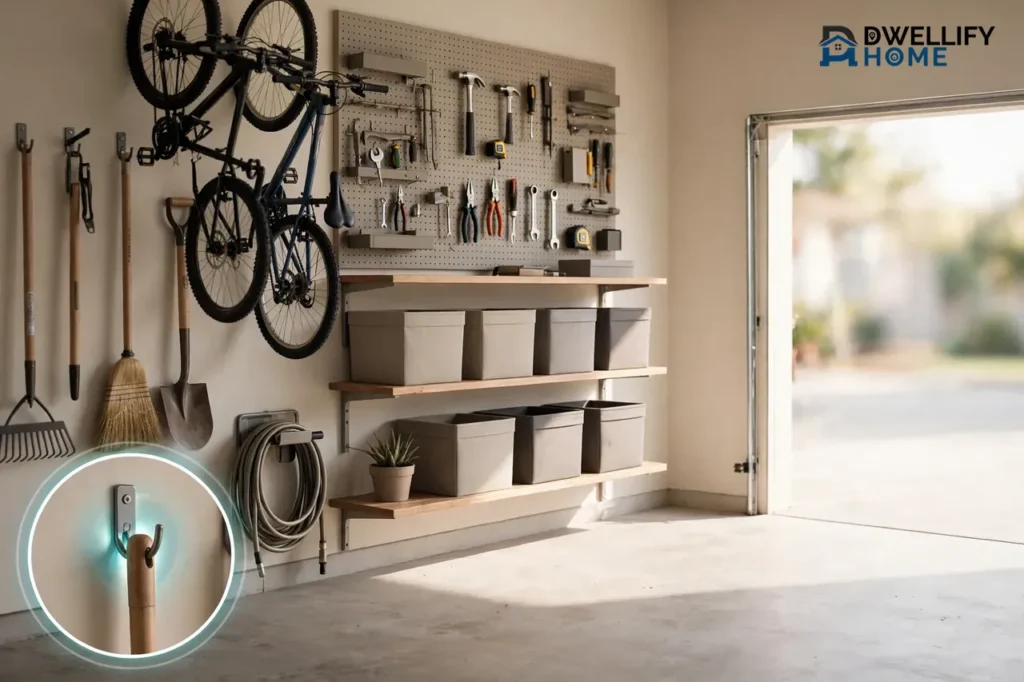
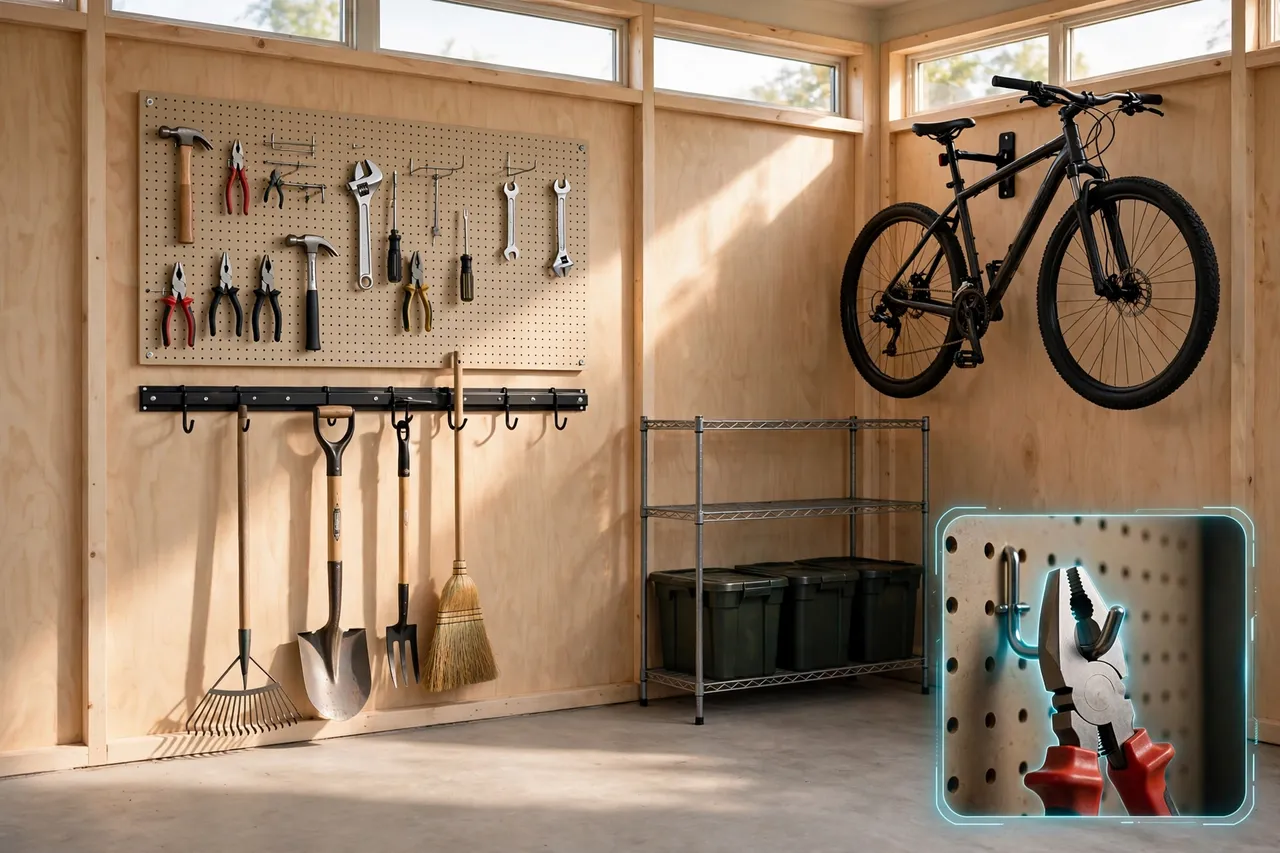
A pegboard turns a blank wall into a tool wall you can rearrange any time. Mount it on furring strips so hooks have room behind the board, then hang the tools you reach for most at eye level. Trace each tool outline on the board if you like, because the empty outline shows you at a glance what is missing.
Keep heavy tools low and close to the studs, and save pegboard hooks for lighter hand tools. A pegboard cannot carry the same load as a shelf bracket, so do not hang full paint cans or heavy power tools from small hooks. Group tools by job instead of by size, so all your garden tools sit together and all your workshop tools sit together.
Use Hooks and Rails for Long and Bulky Items
Long-handled tools cause more floor clutter than almost anything else, because they fall over and slide into corners. A simple wall rail with sturdy hooks solves this in an afternoon. Hang rakes, shovels, and brooms upright with the heads up, so you can grab one without pulling down three more.
Use the same idea for bikes, ladders, and folding chairs. Wall hooks lift them off the floor and free the space where you walk and park. Hang bikes by the frame or wheel with a hook rated for the bike’s weight, and keep the path under a hanging bike clear so nobody walks into a pedal.
Build or Buy Simple Shelving
Simple open shelving beats closed cabinets on a budget, because you can see everything and you pay far less. A basic freestanding metal shelf unit holds heavy bins well, while a pair of wall brackets and a sturdy board makes a cheap shelf for lighter items. Put heavy bins on the lowest shelf and light items up high.
Do not stack bins above your head, and never place a shelf where it blocks a door swing or a walkway. Leave a small gap at the top of each shelf so you can lift bins out without scraping. If a shelf bows or wobbles, move weight off it right away and fix the support before you load it again.
Bins and Labels That Save You Time
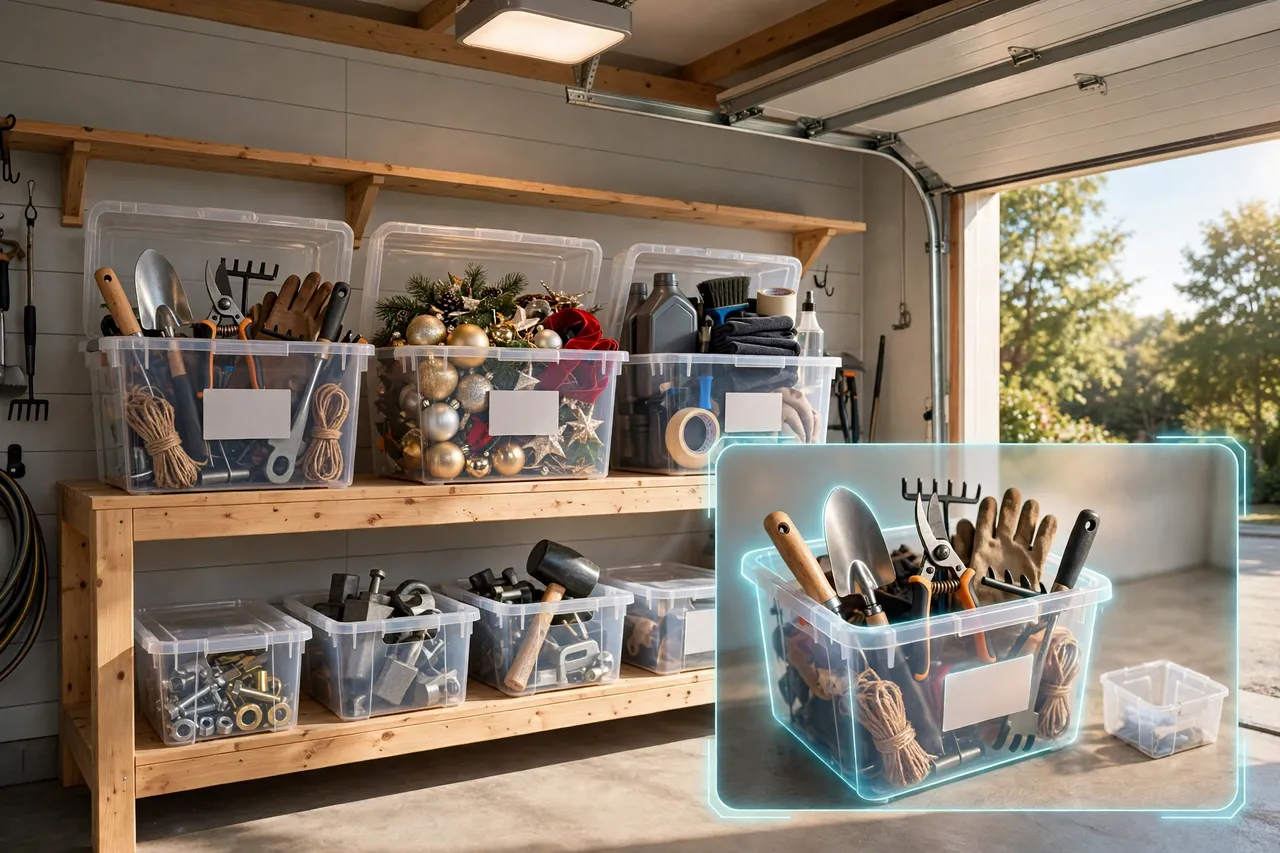
Bins work because they turn loose piles into single units you can move, stack, and find. Choose clear bins when you can, so you can see the contents without opening them, and use solid bins with lids for dusty items like holiday decorations. One size works better than five sizes, because matching bins stack neatly and swap places easily.
Label every bin on the side that faces out, not just on the lid. Use the same words every time, because “Christmas” on one bin and “Xmas” on another bin sends you hunting in two places. A simple label maker, masking tape, and a marker all work fine, so pick the method you will actually keep using.
PODS, a moving and storage company, gives the same advice in its garage guide: sort bins by category, label them, and group like items together so everything has one home (PODS on DIY garage organization ideas). That advice sounds simple, and it saves the most time of any step in this guide.
Pack bins by zone, not by whatever fits. A bin labeled “garden” should hold only garden items, even if it has room left over. Mixed bins feel efficient when you pack them, but they cost you time every time you search for one item buried under unrelated things.
Bin Rules That Keep the System Working
- One zone per bin, and one label per bin, written in the same words each time.
- Heavy items in small bins, so no bin grows too heavy to lift safely.
- Daily-use items in open bins or on hooks, not sealed inside stacked bins.
- A “donate” bin by the door, so outgoing items leave instead of piling up.
Small-Item Storage That Stops the Junk Drawer Effect
Small items cause outsized mess because they scatter, roll, and vanish into corners. Screws, nails, batteries, tape, and spare keys need tiny homes, or they end up in a junk drawer that nobody dares to open. Give small items a visible system, and the whole garage feels calmer.
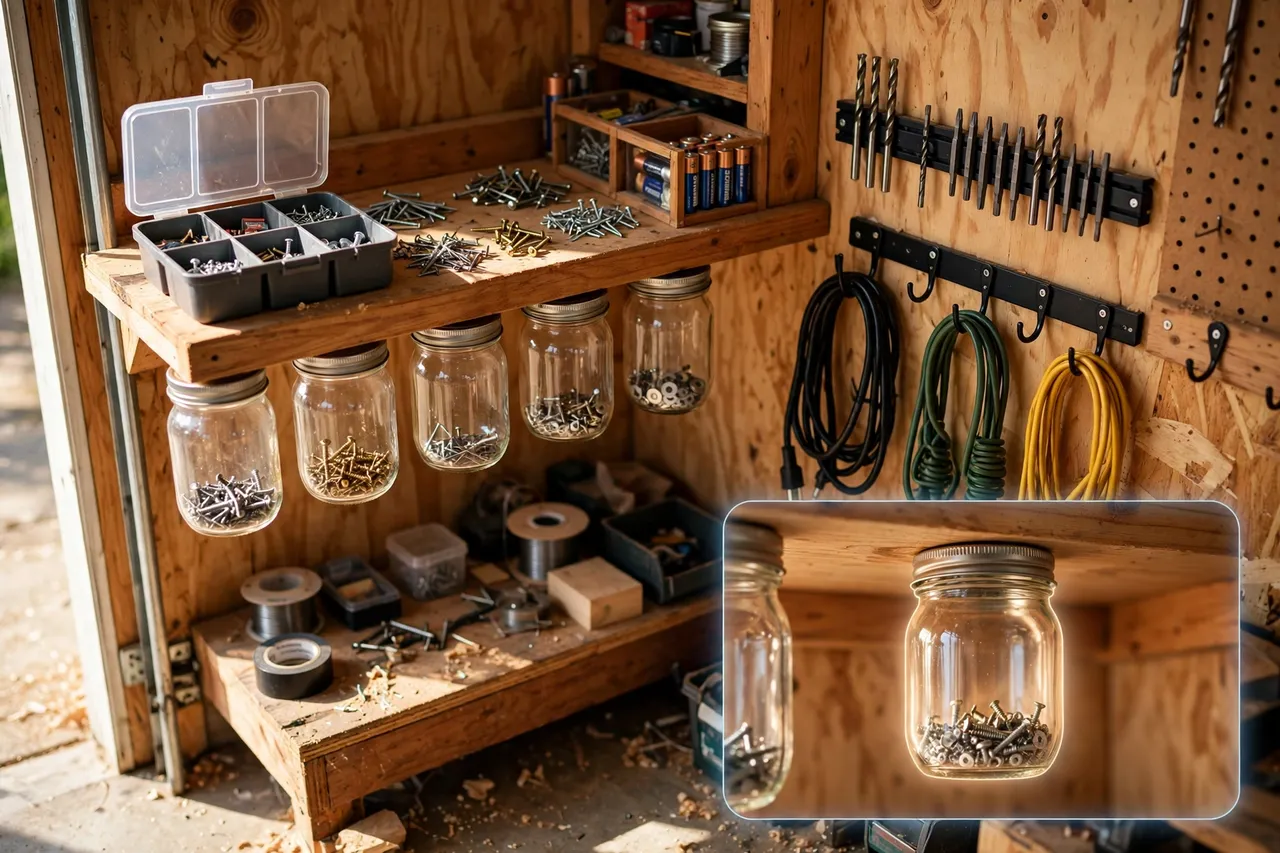
Screw jar lids under a shelf and twist the jars on and off for fast access to nails and screws. This old workshop trick costs almost nothing, uses dead space under shelves, and keeps tiny hardware visible. Keep jars for items you use often, and label each lid so you grab the right jar the first time.
Use small divided containers for fasteners, fuses, and batteries, and keep them on one shelf in your tool zone. A magnetic strip on the wall near your workbench holds metal tools and bits where you can see them, and it frees drawer space for items that cannot hang. Keep sharp items covered or hung high enough that children cannot reach them.
Corral loose cords, ropes, and hoses with hooks or a simple wall-mounted spool. Coil each cord the same way every time, and hang it in its zone instead of draping it over a shelf. Tangled cords waste time and hide the tools behind them, so a five-minute coil habit pays off daily.
Repurpose What You Already Own
Before you shop, walk through your house and garage with fresh eyes and look for storage you already own. An old bookshelf becomes a garage shelf for paint cans and cleaning supplies. A retired kitchen cabinet locks away chemicals and keeps them out of reach. Clean plastic buckets hold sports balls, rope, and car wash supplies.
Old furniture works best when you match it to the right zone. A sturdy dresser near the workbench holds small parts and rags, while a spare desk becomes a simple work surface for repairs. Check each piece for wobble and damage first, because garage floors are rough and a weak piece will fail under heavy bins.
Ask friends and neighbors before you buy, too. Many people give away shelves, cabinets, and bins when they move or remodel, and a free shelf in good shape beats a new shelf you did not need. Just measure your wall space first, so a free item actually fits where you planned to put it.
Repurposing also keeps your budget honest. Every item you reuse is one item you do not buy, and every dollar you save stays available for the one or two purchases that truly matter, like sturdy hooks or a solid shelf unit. Spend where the payoff is clear, and reuse everywhere else.
Keep It Organized With a Simple Routine
A garage stays organized through small habits, not big cleanouts. Put every item back in its zone the day you use it, because a one-minute return beats a weekend reset. When something new enters the garage, give it a home right away or decide it does not belong.
Run a quick seasonal check four times a year. Walk each zone, return strays to their homes, and pull out anything broken or unused. Seasonal checks catch problems early, like a bin that cracked, a label that fell off, or a shelf that started to bow. Fix small problems at once, and they never grow into a full reorganization.
Teach everyone in the house the zone system, because a system only one person follows will fail. Show kids where sports gear lives, and show guests where to put tools they borrow. Clear labels do most of this teaching for you, which is why labeling matters more than it seems.
If clutter returns, do not blame the system right away. Check whether one zone grew too big, whether a bin lost its label, or whether new items arrived without homes. Most relapses come from one small break in the routine, and fixing that break restores order fast.
Overhead Storage: Worth It Only After the Basics
Overhead racks free floor and shelf space by moving seasonal bins to the ceiling, and they suit items you touch once or twice a year. Holiday decorations, camping gear, and off-season sports equipment all fit well up high, because you do not need them weekly.
Use caution before you install any ceiling rack. Check the rack’s weight rating, anchor it into ceiling joists rather than drywall alone, and load it evenly without exceeding the rating. Use a sturdy ladder with a helper nearby, keep your footing steady, and never stand on the top rung. If your ceiling framing is unclear or the rack feels beyond your skill level, ask a qualified installer for help instead of guessing.
Label overhead bins clearly and keep a simple list of what sits up high, because you cannot see into ceiling bins from the floor. Store lighter bins overhead and heavier bins low, and never store fuel, paint, or chemicals where heat or a leak could turn dangerous. Keep hazardous items in a locked cabinet at ground level instead.
Mistakes That Waste Money
The most expensive garage mistake is buying storage before decluttering. Shelves, bins, and racks cost real money, and every unit you buy for items you later donate wastes that money twice: once at the store, and once in the floor space it occupies. Sort first, and let the sorted piles tell you what to buy.
Another costly mistake is buying a matched storage system for the whole garage at once. Matched systems look tidy in photos, but they lock you into sizes and layouts your garage may not need. Buy one piece, test it in its zone for a few weeks, and only then buy more of what actually works.
Skipping weight ratings wastes money and risks damage. A shelf that bows, a hook that pulls out of drywall, or a rack that sags all cost more to fix than a properly rated unit costs to buy. Check ratings, anchor into studs or joists, and move heavy items down low.
Finally, do not hide problems behind closed cabinets. A cabinet door can conceal a mess, but the mess still grows, and you still cannot find things. Open shelves and clear bins force honesty, and honesty keeps the system working. Use cabinets for chemicals and items you want out of sight, not for clutter you want to forget.
Related Guides
Decluttering Checklist: A Room-by-Room Guide for Your Whole Home · Under Stairs Storage Ideas · How to Organize a Junk Drawer That Stays Organized
Frequently Asked Questions
How can I organize my garage without spending money?
Declutter first, then reuse what you already own. Sort items into keep, donate, sell, and trash groups, group what stays into zones, and repurpose old shelves, jars, and buckets. You can clear a surprising amount of space with sorting and labeling alone before you spend anything.
Where do I start with a messy garage?
Start at the door and work inward, one small section at a time. Pull out items you know should go, set keepers aside in rough groups, and move donate and trash piles out the same day. A single finished corner builds momentum faster than a half-started whole garage.
How do I organize random stuff in my garage?
Give random items a small “miscellaneous” bin instead of scattering them across zones. Review that bin once a season, and move anything you use often into its real zone. If the bin keeps growing, it signals that a zone is missing or a declutter round is overdue.
What are the 5 steps to organize a garage?
Empty the space in batches, clean the floor and walls, declutter into keep, donate, sell, and trash groups, map zones for what stays, and then install storage and put everything back. Follow that order, because storage bought before sorting usually stores clutter you would have removed.
How can I organize my garage on a tight budget?
Work the budget-first order: free decluttering and zoning first, then low-cost wall hooks, bins, and labels, and only later pegboard, shelving, or overhead racks. Reuse furniture and containers you already own, buy one piece at a time, and test it before buying more.
💡 Practical Home Tip: Walk your garage once a month with a small bag and pull out anything broken, empty, or unused. This tiny habit stops clutter from rebuilding, and it keeps your zones honest without a big cleanout.
Your garage does not need a full makeover to feel useful again. Declutter one corner this weekend, set up zones for what stays, and hang the tools that clutter your floor. Each small step makes the next one easier, and your budget stays intact because you only buy what your sorted garage actually needs.
Please note: this guide covers general beginner-friendly organization ideas, and homes, budgets, and garage structures vary. For heavy overhead racks, ceiling framing questions, or any structural change, ask a qualified professional for help rather than guessing.