
Here is how to put Christmas tree back in box without a fight: take off every ornament and light you added, unplug a pre-lit tree, take the tree apart from the top down, fold every branch flat against the center pole, tie each section loosely, and slide the biggest section into the box first. Then you tape the box shut, label it clearly, and store it in a cool, dry spot. The whole job usually takes 30 to 60 minutes, and it saves you a bent, dusty, tangled mess next December.
Most trees refuse to fit for one simple reason. You fluffed the branches out at setup time, so the tree is now wider and fuller than it was in the factory box. That is normal, and you can fix it. You just need to press the branches back down in the right order and pack the sections in the right order. This guide walks you through every step, including pre-lit trees, trees with hook-on branches, and what to do when the original box is long gone.
What You Need Before You Start
Gather your supplies first so you do not leave a half-folded tree on the floor while you hunt for tape. You need very little, and you probably own most of it already.
- The original box, if you still have it, plus packing tape
- Soft ties, twine, or old fabric strips to hold folded branches in place
- An old sheet or a large plastic bag to wrap each section
- A marker and a label for the outside of the box
- A soft cloth or feather duster for a quick clean
- Small bags or boxes for ornaments, the tree topper, and the stand parts
Skip rubber bands for this job. They grip too hard, they can dent soft branches, and they often snap or stick after months in storage. Soft ties hold branches just as well, and they come off cleanly next year.
Prep Your Tree for Packing
Start with the topper, because it catches on everything if you leave it on. Lift it straight off, wrap it on its own, and put it in your ornament box. Then work your way down and take off every ornament, garland, ribbon, and pick. Check deep inside the branches too, because small ornaments hide there and they can snap when you fold a branch over them.
If your tree is not pre-lit, unwind your string lights next. Coil each strand loosely around your hand or a piece of cardboard, and store the coils in their own bag. Never wind lights tightly around a folded branch, because the wire can cut into soft needles and tangle into a knot you will fight next year. For ideas on where all those ornaments should live, see our guide to Christmas decor boxes.
Now give the tree a quick clean. Run a feather duster or a soft, dry cloth over the branches from top to bottom, and shake loose dust outside if you can. If you spot a sticky patch, wipe it with a barely damp cloth and let it dry fully before you pack. A tree that goes into a box damp can come out smelling musty, and dampness harms light wires over time.
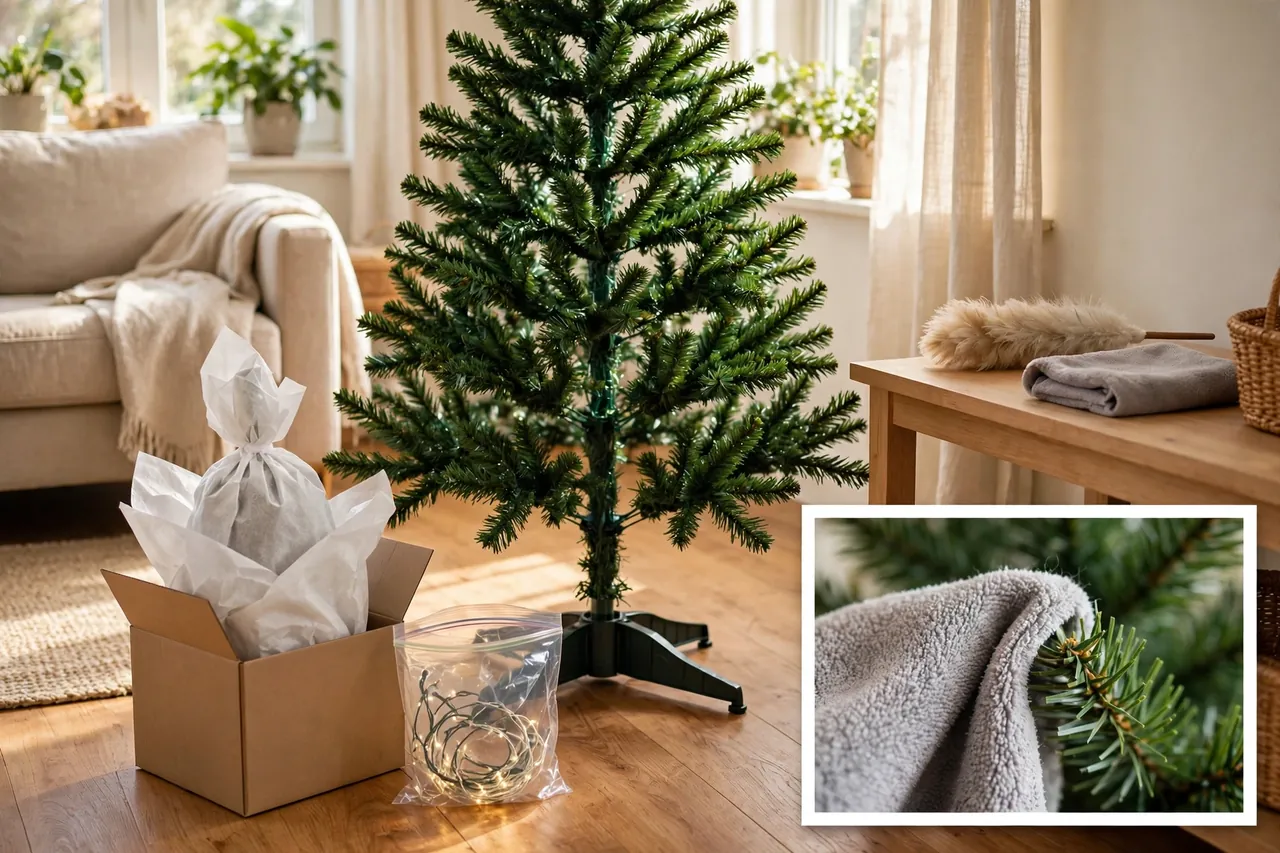
Flocked trees need a gentler touch in this step. Flocking sheds when you rub it hard, so dust a flocked tree lightly and never wipe it with a wet cloth. If you love the snowy look, our flocked Christmas tree decorating ideas can help you plan next year’s look while you pack this year’s tree away.
Take the Tree Apart in the Right Order
Always take a tree apart from the top down, which is the reverse of how you built it. Lift each section straight up and off the section below it, and never yank a stuck section sideways. If a pole joint sticks, twist it gently back and forth while you lift, and it will usually let go. Work on a clear floor so each section has room to lie flat.
Before you fold anything, check how your tree’s branches attach. The folding method depends on the type, and using the wrong one causes most breakage. Here are the three types you will meet.
Hinged Trees
Most modern artificial trees have hinged branches. Each branch swings on a hinge at the pole, so you fold it upward or downward until it lies flat along the pole, like closing a book. Start at the bottom row of a section and work your way up, and press each row flat before you move to the next one. Hinged branches fold fast, and they spring back open next year with a quick fluff.
Hook-On Trees
Older and cheaper trees often have hook-on branches. Each branch hooks into a small hole or slot on the pole, so you pull each branch off, one at a time. Keep the branches from one section together, and note which section they came from, because hook-on branches come in different lengths. A simple trick helps here: lay each section’s branches in a bundle and tie the bundle with a soft tie before you wrap it.
Pre-Lit Trees Need Extra Care
A pre-lit tree carries its lights on the branches, so you cannot strip it bare like an unlit tree. Unplug the tree from the wall first, and let the bulbs cool for a few minutes if they were just on. Then unplug the light connections between sections before you pull any section apart, because yanking a joined section can rip a plug or a wire loose.
Balsam Hill’s storage guide gives the same order: unplug the lights, compress the branches, then detach each section, and store the tree in a cool, dry place away from direct sunlight. Follow that order and you protect both the branches and the wiring. As you fold each pre-lit section, keep the wire runs loose and curved, and never fold a branch sharply right where a wire meets a bulb socket. If you find a dead bulb or a frayed wire while you pack, write it on the box label so you fix it before next setup, not during it.
One more pre-lit rule matters: leave factory lights on the tree. Pulling built-in lights off a pre-lit tree can void the warranty and makes reassembly far harder, because the wires run through the branches in a set pattern. You pack the lights with the tree, gently, and you store any spare bulbs and fuses in a small bag taped inside the box lid.
Fold and Roll the Branches Without Damage
Folding is where most trees lose their shape, so slow down for this step. For a hinged section, lay it on the floor and press the branches toward the pole in layers, starting with the lowest row. Think of it as hugging the section closed: firm, even pressure, straight toward the pole, with no twisting. If a branch resists, stop and check for a hooked ornament, a tangled wire, or a branch caught under another branch, because forcing it snaps tips.
Once a section lies flat, tie it loosely in two or three places with soft ties or fabric strips. Tie snug enough to hold the branches down, but loose enough to slide a finger under the tie. Ties that bite into the branches leave dents that show up as flat patches next year. Then wrap the section in an old sheet or a large plastic bag. The wrap keeps dust out and stops branch tips from snagging each other inside the box.
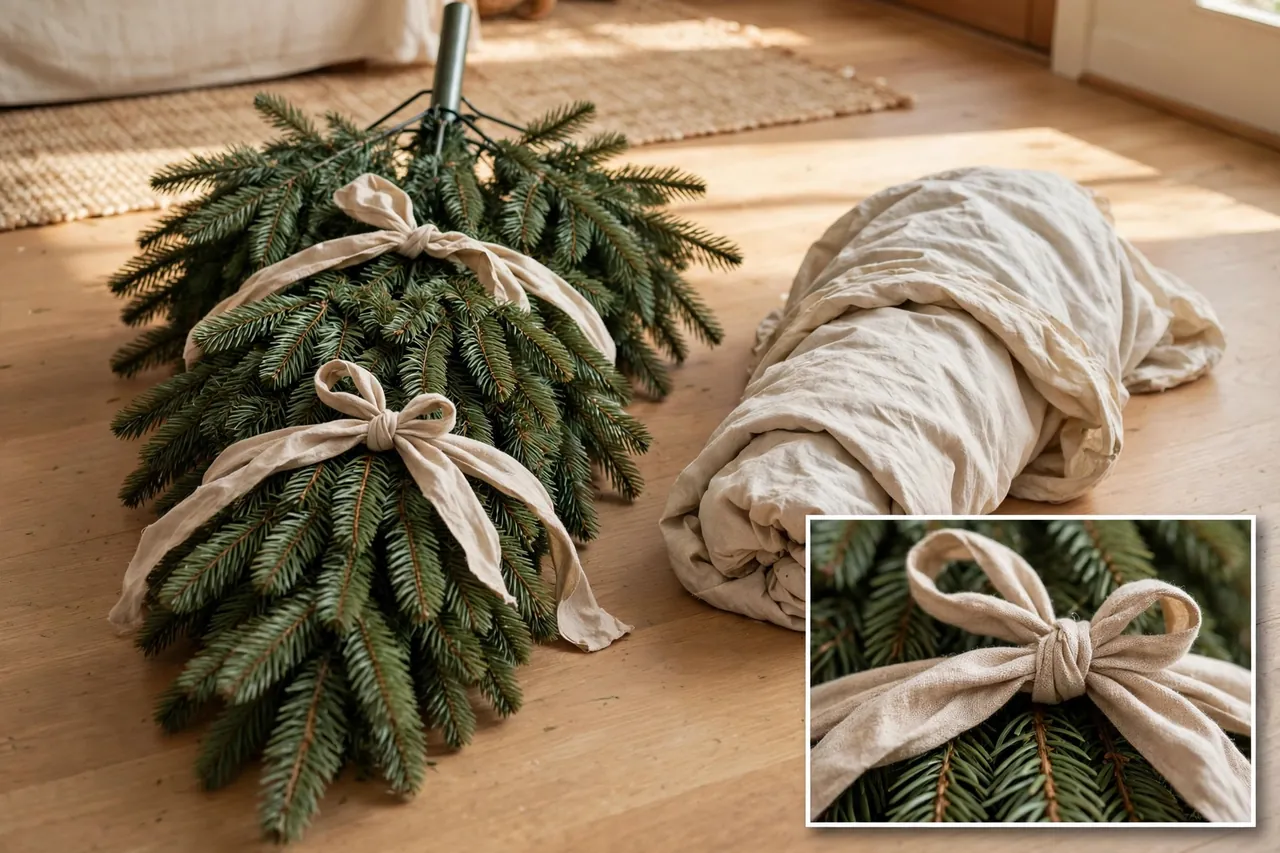
For a hook-on tree, bundle the loose branches in length order, longest at the bottom of the bundle, and wrap the bundle the same way. Label the bundle with the section it came from, such as “bottom” or “middle,” so setup next year takes minutes instead of guesswork. If your tree has a separate top piece, wrap it on its own, because its thin tip bends easily under heavier sections.
Getting It to Fit: The Tricks That Actually Work
Here comes the part everyone dreads: the tree looks bigger than the box. It usually fits, but only if you compress it in the right way. Try these tricks in order, and stop as soon as the section slides in.
- Press each section flat again, row by row, and retie it. Branches spring back open while you work, so a second press often buys you the inch you need.
- Roll the section gently instead of pressing it flat. For some trees, a loose roll packs narrower than a flat fold, so try both shapes and keep the one that measures smaller.
- Pack the box in section order: bottom section first, then the middle, then the top. The bottom section is the widest, so it sets the fit, and lighter sections rest on top without crushing the tips below.
- Stand the box on its end if the sections slide in better that way. Some boxes load easier upright, with the widest section going in first and the rest stacked on top of it.
- Remove the stand and pack it separately. The stand eats a surprising amount of box space, and it travels safely in its own bag with its bolts taped to it.
If a section still will not fit, do not sit on the box or force the flaps shut. Forcing the box crushes branch tips and can crack light sockets on a pre-lit tree. Instead, take the section back out, press it flat once more, and check for one sneaky cause: a branch row you missed, a tie that slipped, or a wrap that bunched up thick on one side. Learning how to put a Christmas tree back in the box gets easier every year, because you learn exactly how flat your own tree needs to go.
Another honest trick helps when the box itself has shrunk. Cardboard weakens with age, and a box that survived three moves may have lost a little width to dents and damp. If the flaps meet but will not close flat, tape the box with strong packing tape and add a second strip across the seam. If the flaps overlap by more than an inch, the section still needs more compression, so press it again before you tape.
Pack the Box Step by Step
With every section folded, wrapped, and tied, packing takes only a few minutes. Follow this order and the box will close without a wrestling match.
- Line the bottom of the box with a sheet or a layer of tissue if the box feels rough inside. This guards the lowest branches against scuffs.
- Slide the bottom section in first, widest end down, and push it gently until it sits flat.
- Add the middle section next, then the top section, with each wrapped section resting on the one below.
- Tuck the stand bag, spare bulbs, and fuses into the gaps at the sides, not on top of the branch tips.
- Close the flaps and tape the seam with two strips of packing tape for a box you will lift and carry.
- Write the label on the outside now, while you still remember what is inside.
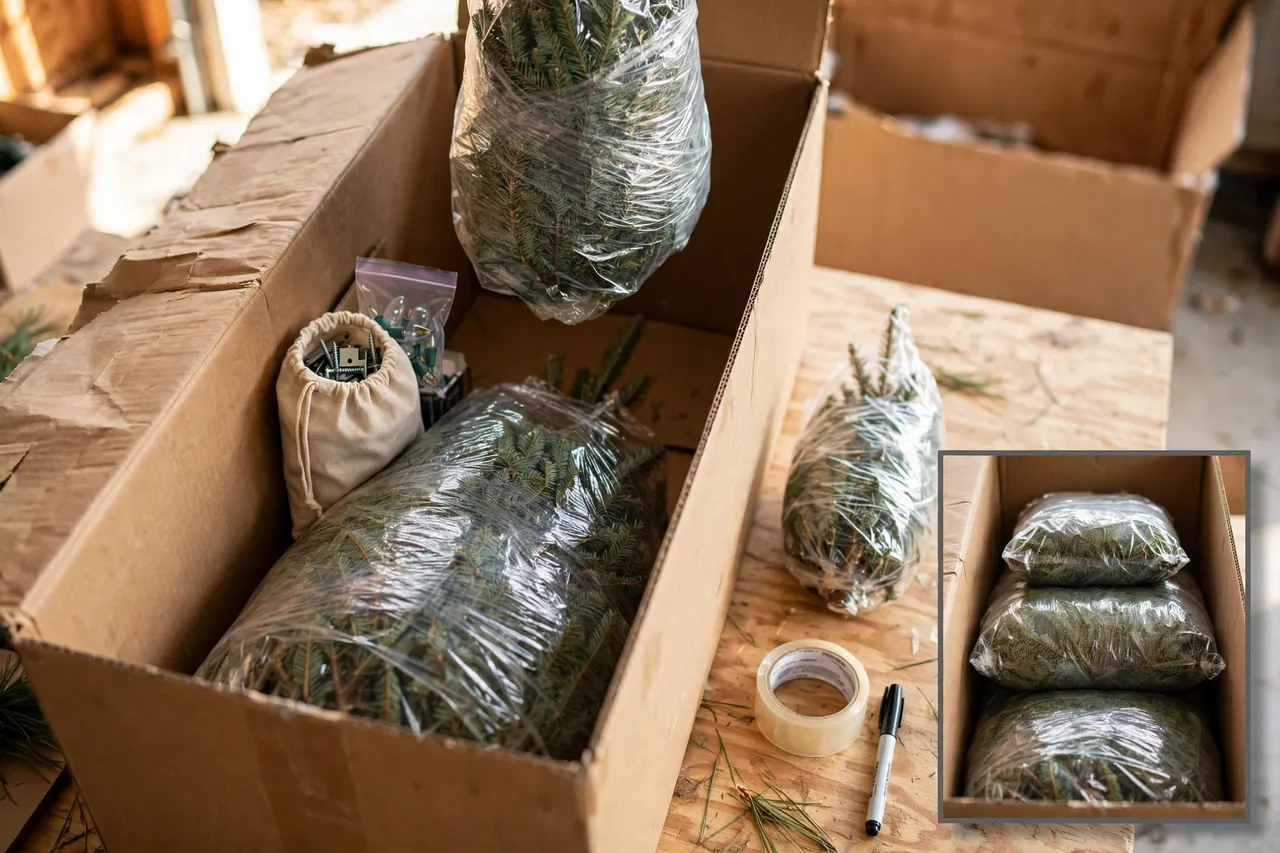
Keep the box upright while you carry it, and avoid stacking heavy boxes on top of it in storage. A tree box can hold its own weight, but a stack of book boxes will flatten the branches underneath over eleven months.
Box or Bag: Which Protects Your Tree Better?
The original box works fine for a season or two, but it is not the best long-term home for a tree. Cardboard absorbs damp, invites dust and pests, and weakens every time you open and tape it. A storage bag costs little, gives you more room, and usually has handles that make carrying a big tree far easier. Our guide to Christmas tree storage bags compares the options in detail.
Box or Bag at a Glance
| Feature | Original Box | Storage Bag |
|---|---|---|
| Room to fit | Tight, exact fit | Roomier, easier to close |
| Moisture protection | Poor, cardboard absorbs damp | Better, most bags resist damp |
| Carrying | Awkward, no handles | Handles, some bags have wheels |
| Cost | Free, you already own it | Low, a one-time buy |
| Best for | Short-term storage | Year after year storage |
If you go the bag route, you can still use everything you learned here about how to put Christmas tree back into box. Fold, tie, wrap, and stack the sections in the same order, and the bag simply gives you more breathing room. Choose a bag slightly larger than your tree, not a tight one, so you never have to force branches to zip it shut.
Label the Box Like Future You Will Thank You
A good label saves real time next December. Write the tree’s height, whether it is pre-lit, and the number of sections, plus anything that needs fixing. For example: “7 ft artificial tree, pre-lit, 3 sections, topper in ornament box, 2 dead bulbs on middle section.” Add the year you packed it, and note where you stored the stand if it travels separately.
Put the label on two sides of the box, not just one, because boxes turn around on shelves. If you store more than one tree, add a color or a room name, such as “living room tree” or “bedroom tree,” so nobody opens three boxes to find the right one. A photo of the tree fully decorated, taped to the box or saved on your phone, also helps you remember which box holds which tree.
Where to Store the Box
Pick a cool, dry place away from direct sunlight, and keep the box off a bare floor. Heat warps plastic branches, fades colors, and wears out light wiring over time, while damp invites mold and pests. A dry closet, a spare room, or a shelf in a dry basement all work well. Lay the box flat or stand it upright, whichever keeps weight off the branch tips, and never pile heavy items on top of it.
Attics and garages can work, but only if they stay reasonably dry and temperate. Home Depot’s use and care guide for a pre-lit tree states the same rule plainly: store the tree neatly in a cool, dry location protected from sunlight, and avoid strain on the wires and connections while you move it. If your attic bakes in summer or your garage floods in spring, choose a closet instead, even if it means a tighter fit. A hot attic can fade a white or flocked tree badly, and damp can ruin light strings long before you notice.
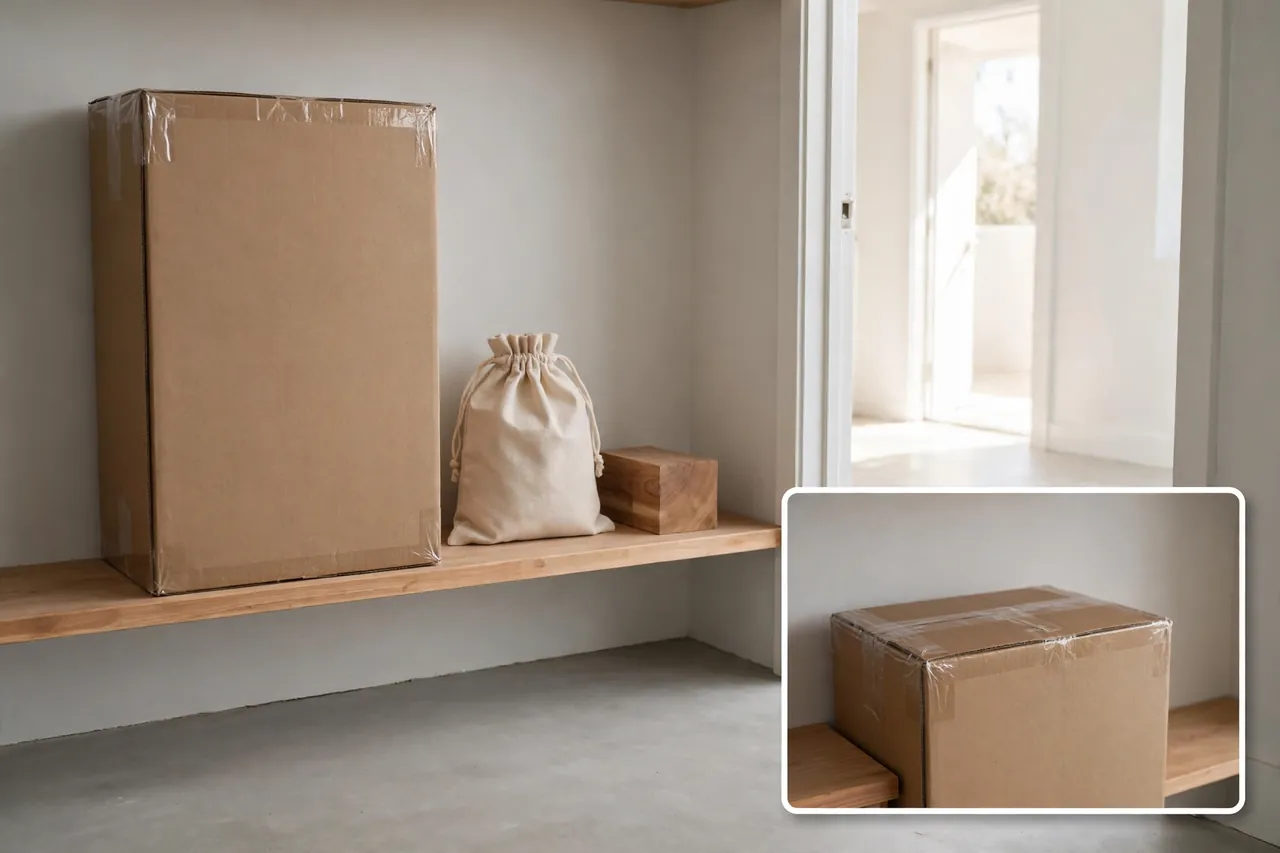
Two small extras keep the box fresh all year. Slip a pouch of baking soda or unused coffee grounds inside the bag or box to absorb odors, and tuck a dryer sheet or a cedar block nearby if pests worry you. Check the box once mid-year if it sits in a garage or attic, just to catch damp or pests early while you can still fix the problem.
What to Do If the Original Box Is Gone
Do not panic if the box vanished years ago. You have several good options, and most of them protect the tree better than a tired old box would.
- Buy a tree storage bag sized to your tree’s height, with a little room to spare.
- Use a large wardrobe moving box, which fits most sectional trees with room for the stand.
- Wrap each section in an old sheet or a mattress bag, then store the bundles on a high shelf.
- Keep a slim or pencil tree upright in a tall closet bag if you have the closet space, since it skips folding altogether.
If you plan to buy a new tree soon, look for one that packs down small. Hinged trees with a storage bag included save you this whole hunt next year, and our guide to the best artificial Christmas trees can help you compare types before you buy. Whatever container you pick, label it the same way you would label the original box, because an unmarked bag on a shelf is just as hard to find as an unmarked box.
Mistakes That Ruin a Tree in Storage
Most storage damage comes from a handful of avoidable mistakes. Skip these and your tree will look nearly new next year.
- Packing the tree while it is still dusty or damp, which locks in odors and mold risk.
- Leaving ornaments or the topper on, which snap branches when you fold them flat.
- Yanking pre-lit sections apart before you unplug the joins between them.
- Tying branches with rubber bands or wire that dents tips and sticks over time.
- Forcing the box shut, which crushes tips and cracks light sockets.
- Storing the box in a hot attic or a damp basement floor without checking it.
A quick safety note fits here too. Always unplug the tree before you handle its lights or wires, and never cut or rewire factory light strings to make a tree fold flatter. If a wire looks frayed or a socket looks cracked, set that section aside for repair or replacement instead of packing it away and forgetting it.
Set Yourself Up for an Easy Next December
Before you slide the box onto its shelf, take thirty seconds to help future you. Put the setup instructions, if you still have them, in a zip bag taped inside the box lid. Note the section order on the label, and store the stand bolts with the stand so nobody hunts for them. When December comes, you will open the box, fluff each section from the bottom up, plug in the lights to test them before you decorate, and enjoy a tree that looks like you just bought it.

Related Guides
Under Christmas Tree Decorations · Best Christmas Light Clips · Nostalgic Christmas Building
- Christmas Tree Storage Bags — pick a bag that fits your tree with room to spare.
- Christmas Decor Boxes — store ornaments, garlands, and the topper safely.
- Flocked Christmas Tree Decorating Ideas — plan next year’s snowy look.
- Christmas Tree Topper Ideas — find a topper worth wrapping with care.
Frequently Asked Questions
How do you put an artificial Christmas tree back in a box?
Take off all decorations and added lights, unplug a pre-lit tree, and take the tree apart from the top down. Fold each branch toward the center pole, tie each section loosely, wrap it, and slide the biggest section into the box first. Tape the box shut, label it, and store it in a cool, dry place.
Is it better to store a tree in a Christmas tree storage box or bag?
A bag usually wins for long-term storage. Bags give you more room, resist damp better than cardboard, and often have handles or wheels that make carrying easier. A box works fine short-term, but it weakens with age and invites dust, damp, and pests over many seasons.
Is it safe to store an artificial Christmas tree in the attic?
Yes, if your attic stays cool and dry all year. High heat can warp or fade branches, and humidity can harm light wiring, so the attic must have decent ventilation and the box or bag must seal well. If your attic bakes in summer, a dry closet or spare room protects the tree better.
Should I leave the lights on the tree when storing?
Yes, for a pre-lit tree, leave the factory lights on the branches. Removing built-in lights can void the warranty and makes reassembly much harder, since the wires follow a set pattern through the branches. Just unplug the tree, unplug the joins between sections, and fold the branches gently around the wires.
How do you get your Christmas tree back in the box without damaging it?
Never force it. Press each section flat row by row, retie it loosely, and try a gentle roll if a flat fold still measures too wide. Pack the widest section first, keep the stand separate, and check for a missed branch row or a bunched wrap before you tape. Patience here saves branch tips and light sockets.
Packing the tree away marks the real end of the season, but it also sets up the start of the next one. Take the hour, fold with care, label with love, and next December you will thank yourself the moment you open the box.