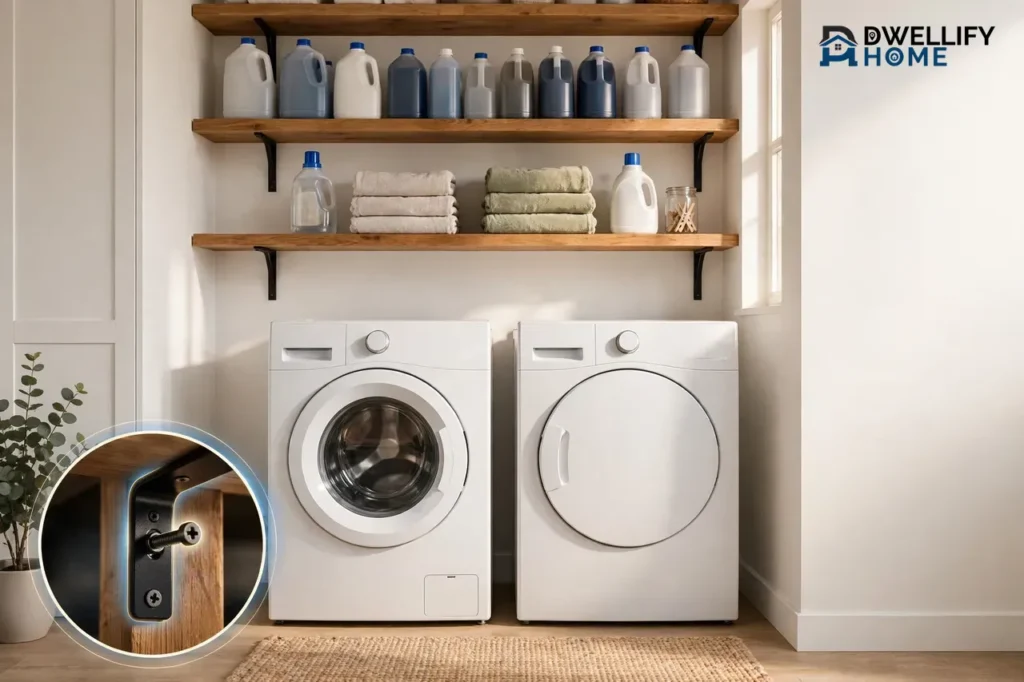
The best laundry room shelving is simple: sturdy shelves on the wall above or beside your machines, set at a height you can reach without a step stool, and strong enough for heavy detergent. For most homes, that means wall-mounted shelves above the washer and dryer, with everyday supplies at eye level and bulky backups up high. This guide walks you through measuring your space, comparing shelf types, getting the height right, and organizing what goes where, so your laundry room finally works as hard as you do.
💡 Practical Home Tip: Before you buy a single shelf, empty the top of your washer and dryer and sort everything into two piles: things you grab every wash day and things you only reach for once a month. That quick sort tells you how much daily shelf space you truly need, and it keeps you from buying shelves for clutter you should have tossed.
Measure Your Laundry Room Before You Buy Shelves
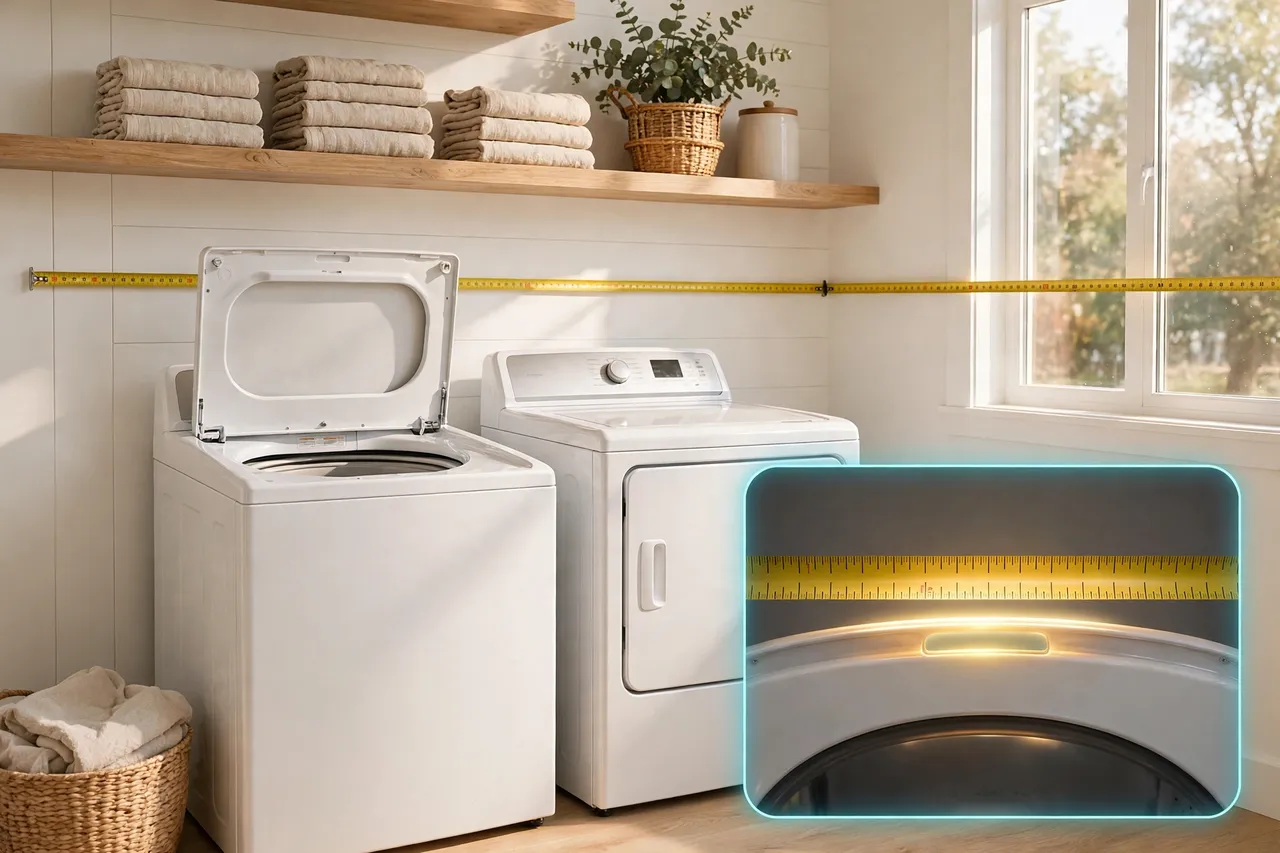
A tape measure saves more money than any sale. Shelves bought on a guess often end up too long for the wall, too deep for the room, or too low for a washer lid to open. Spend ten minutes measuring first, and every choice after that gets easier.
The Five Measurements That Matter
Start with the width of the wall where the shelves will go, from side to side, and note any trim, doors, or light switches in the way. Next, measure from the top of your machines to the ceiling, because that gap sets how many shelves you can fit. Then measure the depth of the room in front of the machines, so a shelf does not jut out into your walking path. Also measure the height of your tallest bottle, since your shelf spacing must clear it with room for your hand. Finally, measure the gap beside the machines, because a narrow gap can hold a slim cart that takes pressure off the shelves.
Write these numbers down and take them shopping, whether you shop in a store or online. A shelf that looks right in a photo can still fail in your room, but a shelf that matches your numbers rarely does. If two people use the room, check the reach of the shorter person too, because shelves only help when everyone can use them.
Front-Load or Top-Load? It Changes Everything
Your washer type decides how low your first shelf can sit. A front-load washer has no lid on top, so you only need enough room to reach over the machines and grab what you need. A top-load washer swings its lid up and back, so the shelf must sit above the fully open lid, not just above the closed machine.
Open your washer lid all the way and measure from the floor to the top of the open lid. That number is your real clearance line. Any shelf above a top-load washer must sit above it, with a little extra room so you can lift bottles on and off without bumping the lid. When in doubt, check your washer manual for its lid-open height, since models differ.
Laundry Room Shelf Types Compared
No single shelf type wins for every laundry room. The right choice depends on your wall, your budget, your machines, and whether you rent or own. Here is how the main options stack up, so you can pick with confidence instead of guessing.
Wall-Mounted Shelves on Brackets
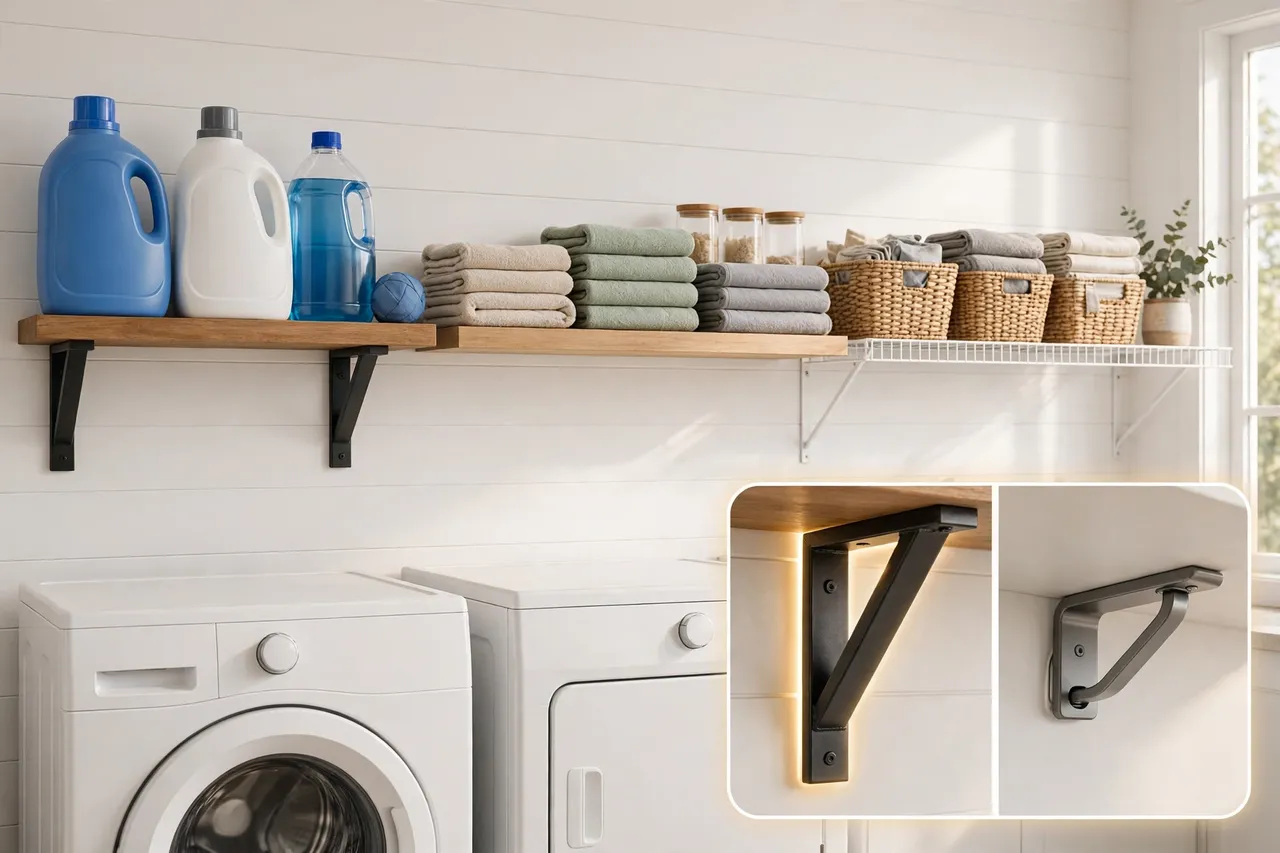
Shelves on visible metal brackets are the workhorse of laundry room shelving. A solid board on strong brackets, screwed into wall studs, holds heavy detergent jugs without sagging, and you can space the brackets to match your wall. They cost little, install fast, and suit almost any style, from plain utility to warm wood.
Their one drawback is looks: the brackets show. If that bothers you, paint the brackets to match the wall or the shelf, and they fade into the background. For heavy supplies, this is the type most people should start with.
Floating Shelves
Floating shelves hide their hardware, so they look clean and modern above a washer and dryer. They work best for lighter loads, such as folded towels, small baskets, and decanted supplies in jars. Their hidden brackets usually carry less weight than visible brackets, so read the weight rating on the package before you load them up.
Keep heavy detergent on a bracketed shelf or on the lowest, strongest shelf, and let floating shelves carry the light stuff. That split keeps the pretty shelves safe and the heavy bottles where they belong.
Wire Shelving
Wire shelving suits damp laundry rooms because air moves through it and moisture does not sit on a solid board. It is light, affordable, and easy to wipe clean, and many systems let you adjust shelf heights later. Small items can slip through the wires, though, so pair wire shelves with baskets or bins for pods, clothespins, and stain sticks.
Wire systems often use a wall track with vertical standards and brackets, which makes it easy to add or move a shelf later. Always follow the maker’s instructions for your wall type, and never exceed the weight rating printed for your system.
Freestanding Over-the-Washer Racks
A freestanding rack stands on the floor and straddles both machines, so it needs no drilling at all. That makes it the best pick for renters and for anyone who does not want holes in the wall. Most racks offer two or three shelves, and some add a hanging rod for air-drying shirts.
Measure carefully before you buy one. The rack must be wider and taller than your machines, with room for a top-load lid to open fully inside it. Keep the heaviest items on its lowest shelf, and check that it stands level, since a wobbly rack next to a spinning washer is a spill waiting to happen.
Adjustable Track Shelving
Track shelving pairs a horizontal wall track with vertical standards and movable brackets, so you can raise or lower shelves as your needs change. It is a smart pick when your storage changes over time, for example when a baby arrives and bottles give way to school uniforms and sports gear. The track must anchor firmly to the wall, ideally into studs, since it carries the whole system.
Track systems cost a bit more than a simple board and brackets, but they repay that cost in flexibility. You can start with two shelves and add a third later without drilling new holes.
Shelf type comparison:
| Shelf type | Best for | Load strength | Needs drilling |
|---|---|---|---|
| Shelves on brackets | Heavy detergent and daily supplies | High, when screwed into studs | Yes |
| Floating shelves | Light items and a clean look | Light to medium | Yes |
| Wire shelving | Humid rooms and adjustable storage | Medium, per maker rating | Yes, for track systems |
| Freestanding over-washer rack | Renters and no-drill homes | Medium | No |
| Adjustable track shelving | Changing needs and growing families | High, when anchored to studs | Yes |
How High and How Deep Should Shelves Be?
Height and depth decide whether your shelves feel effortless or annoying. Too high, and you need a step stool for detergent. Too low, and the washer lid hits the shelf. Too deep, and you bump your head or lose small bottles at the back. These ranges, drawn from shelf-maker and installer guides, give you a safe starting point, but your own measurements always win.
Height Above the Washer and Dryer
Over a front-load pair, many guides place the lowest shelf about 18 to 24 inches above the machines. That range keeps supplies within reach while leaving room to load and unload. Shelfology’s shelf guide for washers and dryers gives the same starting point: about 18 inches above a front-load pair and about 24 inches above a top-loader, after you open the top-load lid all the way to check its clearance.
Over a top-load washer, the open lid sets the height. Leave at least 24 inches above the machine in most cases, and confirm it against your own lid measurement. If your ceiling is low, you may only fit one shelf above a top-loader, and that is fine. One well-placed shelf beats two shelves you cannot reach or use.
Also think about who reaches the shelf. The bottom shelf should sit at a height the main user can reach without stretching on tiptoe. If you must use a step stool for daily detergent, the shelf is too high, and moving it down a few inches will change your whole laundry routine.
Depth: Match the Shelf to What It Holds
A depth of 10 to 12 inches suits most laundry supplies, including detergent jugs, spray bottles, and dryer sheets. That depth holds a full-size jug without letting it hang over the edge, yet it stays shallow enough that you can reach the back without leaning over the machines. For folded towels and bulky baskets, 14 to 16 inches works better, but only when the room has the floor space to spare.
Shallow shelves of 6 to 8 inches suit small items such as decanted jars and stain sticks. They also work well on a side wall in a narrow room, where a deep shelf would block the walkway. When you mix depths, put the deepest shelf lowest, where heavy and bulky items live, and keep upper shelves shallower and lighter.
Spacing Between Shelves
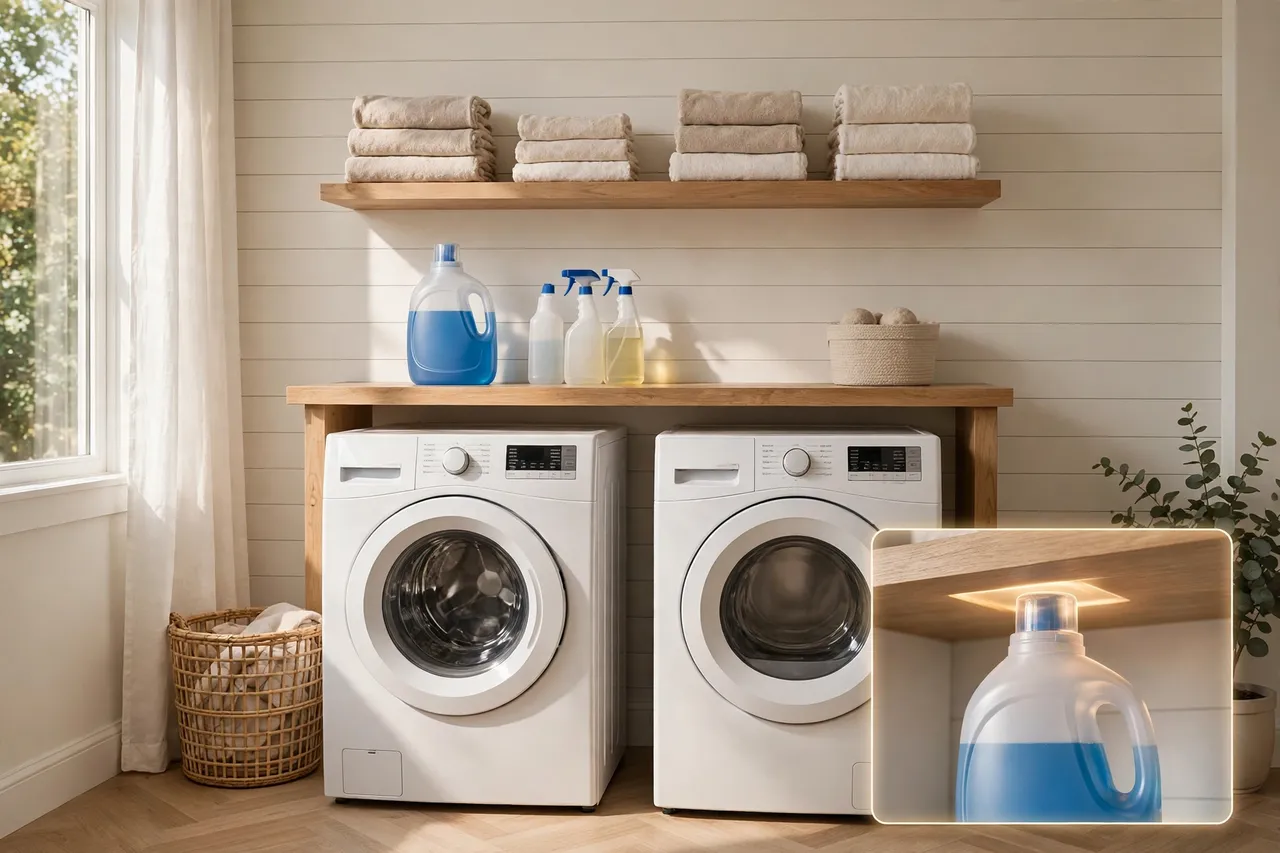
Space your shelves 12 to 15 inches apart, and check that gap against your tallest bottle plus room for your hand. A standard extra-large detergent bottle needs roughly that much room, and tight spacing turns every grab into a wrestling match. If you store tall baskets on one shelf, give that shelf extra room and tighten the spacing elsewhere.
Leave a few inches of open space above the top shelf too, so you can lift items up and off without hitting the ceiling. And remember that shelf spacing is not permanent with track systems, so you can adjust it later if your supplies change.
Installation Basics for Beginners
Installing a shelf is a beginner-friendly job when you pick the right fastener and anchor it well. The skill is not strength or speed. It is patience: find the studs, drill straight, check the level, and load slowly. If any step feels beyond you, stop and get help rather than forcing it.
Find the Studs First
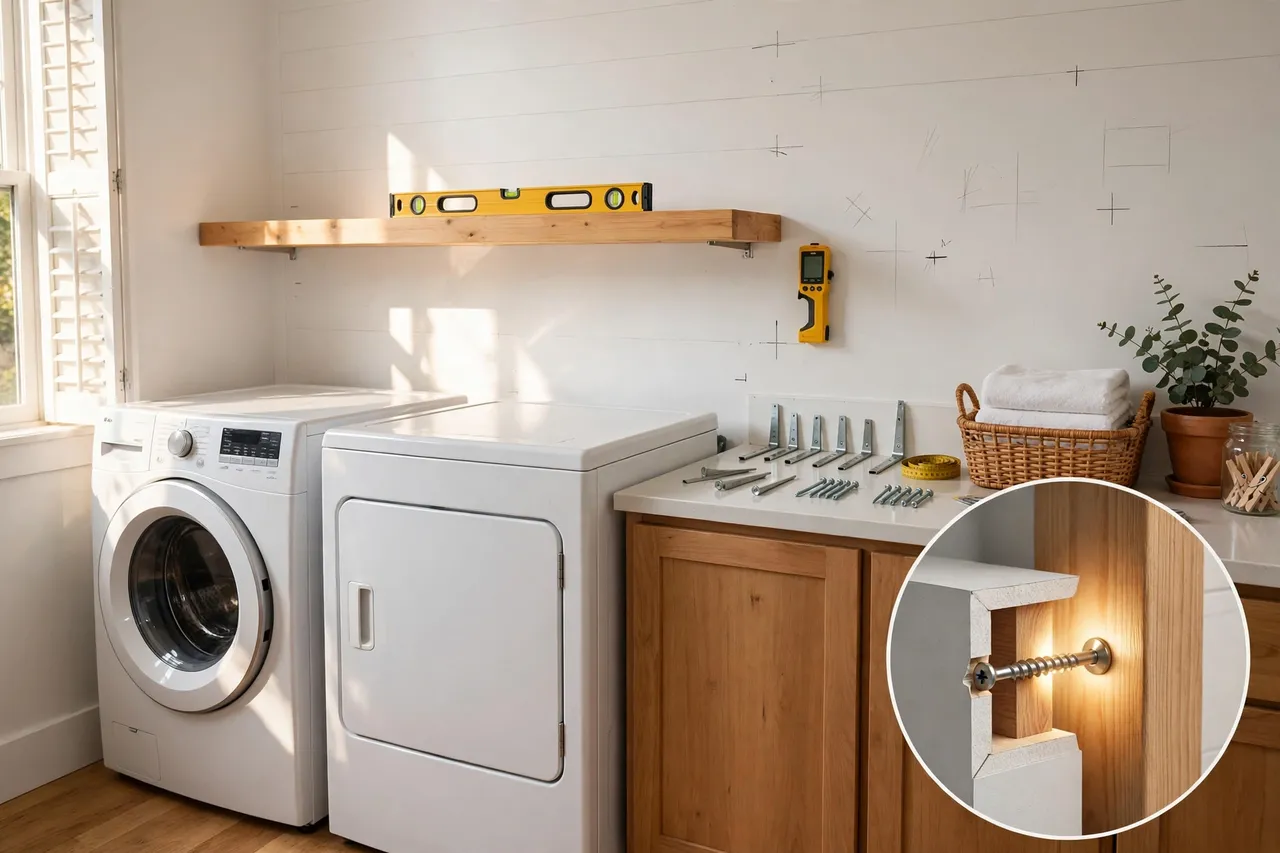
Studs are the vertical wood or metal frames behind your drywall, usually spaced 16 or 24 inches apart. Screwing into a stud gives a shelf its strongest hold, and heavy laundry shelves should always anchor into studs where possible. A simple stud finder, slid slowly across the wall, beeps or lights up over each stud. Mark each one lightly in pencil, and double-check by tapping: a stud sounds solid, while hollow drywall sounds empty.
Plan your shelf so at least two brackets land on studs. If your shelf is long, three brackets beat two, because the middle bracket stops the board from sagging under a row of full bottles. Mark your bracket holes on the wall before you drill, and hold a level across the marks so the shelf will sit straight.
Choose the Right Fastener for Your Wall
Your wall type decides your fastener, and using the wrong one is the most common reason shelves fall. Into a wood stud, use wood screws long enough to bite deep into the stud, following the shelf maker’s instructions for screw size. Into drywall with no stud behind it, use anchors rated for the weight you plan to hold, such as toggle bolts for heavier loads. Into concrete or brick, use masonry anchors made for that wall.
Read the weight rating on the shelf and on the anchors, and treat the lower number as your real limit. A shelf rated for light loads cannot carry a row of full detergent jugs just because the anchors could. When a track system is involved, Home Depot’s ClosetMaid ShelfTrack installation guide stresses the same rule: anchor the hang track into studs wherever possible, and use toggle bolts for the drywall sections between studs.
Hang It Level, Then Load It Slowly
Before you drill, pause and check for pipes, wires, and vent hoses behind the wall, especially above and beside a washer and dryer. If you are unsure what sits behind the wall, or if the wall feels soft, cracked, or damaged, do not drill. Call a qualified handyperson or contractor to check it first, since a shelf is never worth a burst pipe or a damaged wire.
Drill your pilot holes, drive the screws, and set a level on the shelf before you tighten everything fully. A shelf that tilts forward will slide bottles off during a spin cycle, so fix the tilt now, not after a spill. Then load the shelf slowly, starting with the heaviest items at the lowest point and near the brackets, and give it a firm tug test before you trust it with a full load.
If the shelf pulls away from the wall, sags, or feels loose at any point, unload it right away and re-anchor it. A shelf that fails with a full load of detergent can damage the machines below it and hurt anyone standing nearby, so never ignore a wobbly shelf.
Organize by Zone: What to Store Where
Shelves only stay tidy when every item has a zone. Without zones, clean shelves turn into a jumble within a month, and you end up buying a third bottle of stain remover because you cannot see the two you already own. Three simple zones solve that problem.
The Daily Zone: Eye Level, Within Arm’s Reach
The daily zone holds what you grab every wash day: detergent, stain remover, dryer sheets or wool dryer balls, and a small basket for items pulled from pockets. Put this zone on the lowest shelf, at eye level, right above or beside the machines. If you decant detergent into a smaller bottle or jar, keep the refill jug in the backup zone and only the daily bottle here, so the shelf never looks crowded.
Use small open baskets or bins to group tiny items, and label each basket if more than one person does laundry. A basket for stain sticks, one for clothespins, and one for dryer sheets keeps small things from sliding behind big bottles. Keep this shelf light on decor: every inch here should earn its place by getting used weekly.
The Weekly Zone: The Middle Shelf
The weekly zone holds folded towels, cleaning cloths, and supplies you reach for a few times a week, such as fabric softener, scent boosters, and the ironing spray. This shelf can sit a little higher, since you do not need it every single load. Folded towels stack neatly here, and a basket keeps washcloths from toppling.
This is also the right shelf for your stain-treatment kit: a brush, a spray bottle, and a small towel for blotting. When a stained shirt comes out of the hamper, you can grab the whole kit in one motion instead of hunting through three shelves.
The Top Shelf and Backup Zone
The top shelf holds backups and rarely used items: refill jugs, bulk detergent, extra baskets, and seasonal supplies such as heavy blankets’ wash bags. Keep the heaviest backups as low as you safely can, and never store a full, heavy jug on a high shelf you cannot lift down safely. If a backup is too heavy to lift down with one hand while you stand on the floor, it belongs lower.
Put a simple rule on this shelf: one backup of each product, no more. When you open the backup, add its replacement to the shopping list that same day. That habit stops the top shelf from turning into a warehouse and keeps your stock honest.
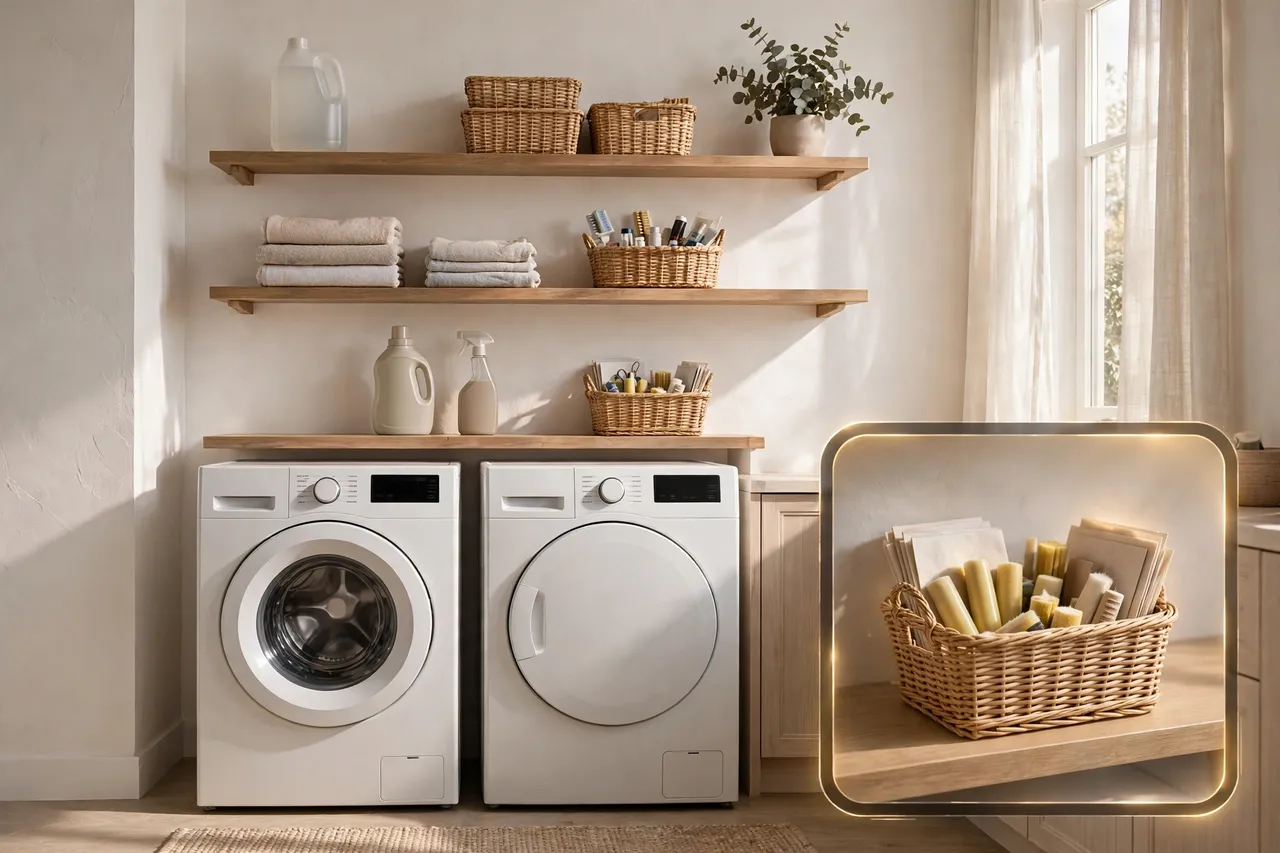
Small Laundry Rooms and Renter-Friendly Shelving
Small laundry rooms need shelves more than big ones do, because floor space is already gone. The trick is to use walls that other rooms ignore: the wall above the machines, the side wall beside them, and the back of the door. A single shelf above the machines plus a narrow shelf on the side wall can double your storage without touching the floor.
In a laundry closet, build beside the machines rather than only above them, since a stacked pair leaves little wall above. A tall, narrow shelf unit beside a stacked washer and dryer holds baskets and supplies, and a slim rolling cart slides into the gap between machines for detergent and stain sticks. For shelves for laundry room closets, shelving for the laundry room that fits a tight alcove often means one short shelf and one cart, not a full wall of boards.
Renters have strong no-drill options. A freestanding over-the-washer rack needs no holes, and a rolling cart needs none either. Over-the-door organizers hold small supplies, and a tension rod between two walls can hang freshly washed shirts. Always check your lease before you drill, and when you do get permission, use small anchors and keep the receipt for the shelf, so move-out repairs stay simple.
If you plan a bigger change, such as moving machines or adding cabinets, read a full renovation guide first. Dwellify Home’s guide to laundry room renovations walks through layout, lighting, and storage choices for a whole-room upgrade, which helps you decide whether shelves alone will solve your problem or whether the room needs a larger rethink.
Mistakes to Avoid With Laundry Room Shelving
Most shelving problems come from a handful of avoidable mistakes. Watch for these, and your shelves will last for years instead of months.
- Mounting the shelf before measuring the open washer lid, so the lid hits the shelf on the first wash day.
- Anchoring heavy shelves into drywall alone, with no stud behind them, so the shelf slowly pulls away from the wall.
- Putting the heaviest jugs on the highest shelf, where they are hard to lift and most likely to fall.
- Spacing shelves too tightly for tall bottles, so you cannot lift a jug out without tilting it and spilling.
- Overloading a shelf past its rated weight, especially floating shelves, which carry less than bracketed shelves.
- Skipping the level, so bottles slide forward every time the washer spins.
- Blocking vents, hoses, or shut-off valves behind a shelf, so a leak or repair turns into a shelf-removal job.
- Letting every shelf fill with backups and decor, until the daily supplies have nowhere to live.
Fix any of these early, while the shelf is still easy to adjust. A shelf moved down two inches today saves a year of annoyance, and a shelf re-anchored into a stud today saves a spill tomorrow.
Related Guides
How to Organize a Small Apartment · Cleaning the House: A Simple Room-by-Room System That Works · Decluttering Checklist: A Room-by-Room Guide for Your Whole Home
Frequently Asked Questions
How high should a laundry room shelf be above the washer?
Over a front-load pair, place the lowest shelf about 18 to 24 inches above the machines. Over a top-load washer, leave at least 24 inches above the machine, and always check the fully open lid first, since the lid sets the real height. Your own measurements beat any general range.
What depth is ideal for floating shelves in a laundry room?
A depth of 10 to 12 inches works well for most floating shelves in a laundry room, since it holds detergent bottles and small baskets without jutting too far into the room. Use 6 to 8 inches for small jars on a side wall, and 14 to 16 inches only for folded towels where floor space allows.
Are floating shelves safe for installation above appliances?
Yes, floating shelves can sit safely above appliances when you anchor them well and respect their weight rating. Keep heavy items on lower, bracketed shelves, anchor into studs where possible, and never exceed the maker’s rated load. If a shelf feels loose, unload it and re-anchor it at once.
What is the best storage for a laundry room with no cabinets?
Open shelving above the machines, a slim rolling cart for the gap beside them, and a freestanding over-the-washer rack cover most needs without cabinets. Add baskets to group small items, keep daily supplies at eye level, and use the back of the door for stain sticks and clothespins.
Can renters add laundry room shelving without drilling?
Yes. A freestanding over-the-washer rack, a slim rolling cart, and an over-the-door organizer add real storage with no holes in the wall. Check your lease first, and if drilling is allowed later, small anchors and careful patching at move-out keep the deposit safe.
A Quick Final Check Before You Drill or Buy
Before you commit, run through this short check. Measure twice, and confirm the open lid clears the first shelf. Match the shelf type to your wall and your load, and anchor heavy shelves into studs. Put daily supplies at eye level, backups up high, and nothing heavy where you cannot lift it down safely.
Start with one shelf if you are unsure, and live with it for a few wash days before you add more. One good shelf teaches you more about your real needs than a whole wall of guesses, and you can always add a second shelf once you know what belongs on it.
Laundry room shelving works best when it fades into the background and simply hands you what you need. Get the height right, anchor it well, and give every bottle a zone, and wash day gets a little calmer every single week.
Please note: homes, walls, and machines vary, so treat the heights and ranges in this guide as starting points, not rules for every home. For wall work beyond basic shelf mounting, such as damaged walls, unknown wiring or pipes, or heavy built-in units, ask a qualified professional for help before you drill.