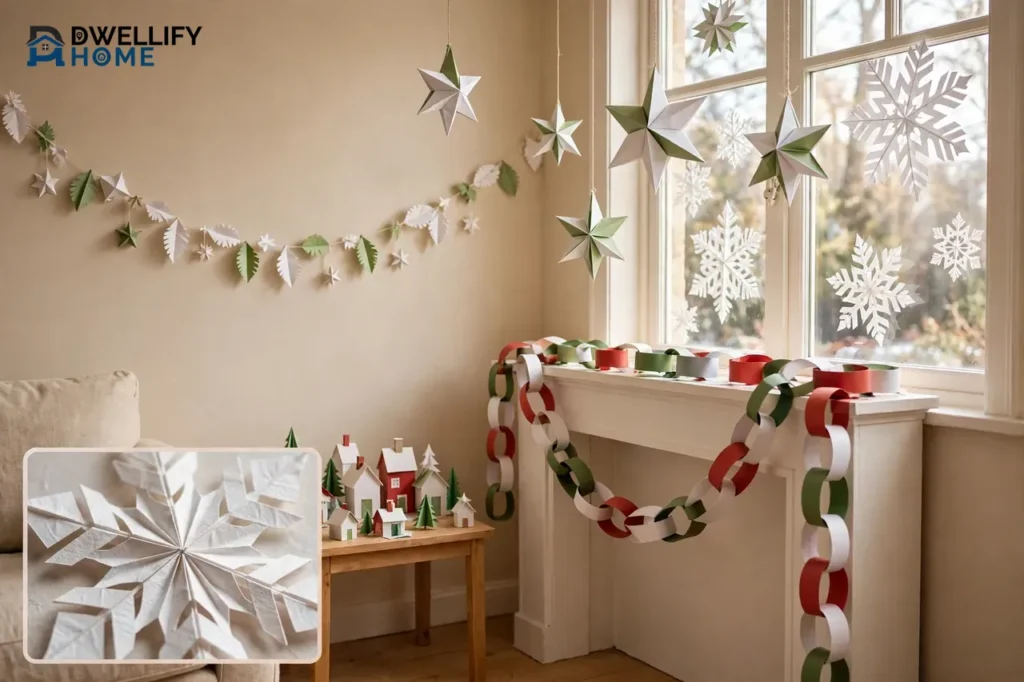
Christmas paper DIY decorations turn plain sheets of paper into snowflakes, garlands, stars, ornaments, and a glowing paper village. You need only paper, scissors, glue, and string, and most projects take less than an hour. This guide gives you clear steps for each project, the right paper for each one, and safe ways to display your work all season.
Start with one simple project, such as a paper chain or a snowflake, and add a harder project once your hands learn the folds. Paper crafts forgive mistakes well. A crooked cut becomes part of a snowflake pattern, and a short chain still looks lovely on a mantel.
Choose the Right Paper for Each Project
Paper weight decides whether your decoration holds its shape or flops over. Thin paper folds easily and cuts cleanly, so it suits snowflakes and chains. Thick paper holds a shape, so it suits stars, ornaments, and village houses.
Use plain printer paper or light colored paper for your first snowflakes. It folds crisply, and you can see your cut lines clearly. Move to construction paper when you want bold color on a chain or garland. Construction paper costs little, cuts easily, and looks cheerful from across a room.
Choose cardstock for anything that must stand up or keep a three-dimensional shape. A 3D star, a cone tree, or a village house needs that stiffness. Patterned scrapbook paper works well for flat ornaments and garland shapes, because the pattern does the decorating for you. Tissue paper suits soft, see-through accents, such as layered snowflakes or lantern panels, but it tears easily, so handle it gently.
Specialist paper guides recommend 160 to 250 gsm card for sturdy three-dimensional models, and 70 to 90 gsm origami paper for fine, precise folds. You do not need to memorize those numbers. Just remember this rule: thin paper for folding and cutting, thick paper for building. Papercraft-3D explains which paper weight suits each type of paper decoration.
Paper weights at a glance:
| Paper type | Best for | Watch out for |
|---|---|---|
| Printer paper | Snowflakes and practice folds | It wilts in damp rooms |
| Construction paper | Chains, garlands, and bold color | It fades in strong sunlight |
| Cardstock | Stars, ornaments, and village houses | It resists sharp folds, so score it first |
| Patterned scrapbook paper | Flat ornaments and garland shapes | Busy patterns hide small cuts |
| Tissue paper | Soft layers and lantern glow | It tears and creases fast |
Tools, Glue, and a Simple Workspace
Gather your tools before you cut your first sheet. You need sharp scissors, a ruler, a pencil, a glue stick or white craft glue, string or ribbon, and tape. A cutting mat protects your table when you use a craft knife, and a bone folder or the back of a spoon gives you crisp folds on cardstock.
Sharp scissors matter more than fancy scissors. Dull blades chew the paper edge and leave a fuzzy line on a snowflake. Test your scissors on scrap paper first. If they snag, switch to another pair or sharpen them before you start.
Use a glue stick for flat joins, such as chain links and layered snowflakes, because it dries fast and does not wrinkle thin paper. Use white craft glue for 3D joins, such as star points and house corners, because it grips stronger as it dries. Apply a thin line, press the join for ten seconds, and let it set before you hang the piece. Too much glue soaks paper, warps it, and leaves shiny stains.
Cover your table with newspaper or a craft mat, and keep a small trash bowl nearby for cuttings. Good light helps you see fold lines and small cuts, so craft near a window in daylight or under a bright lamp. If children join you, give each child blunt-tip scissors, keep craft knives out of reach, and let an adult handle every sharp cut.
Paper Snowflakes That Look Delicate, Not Messy
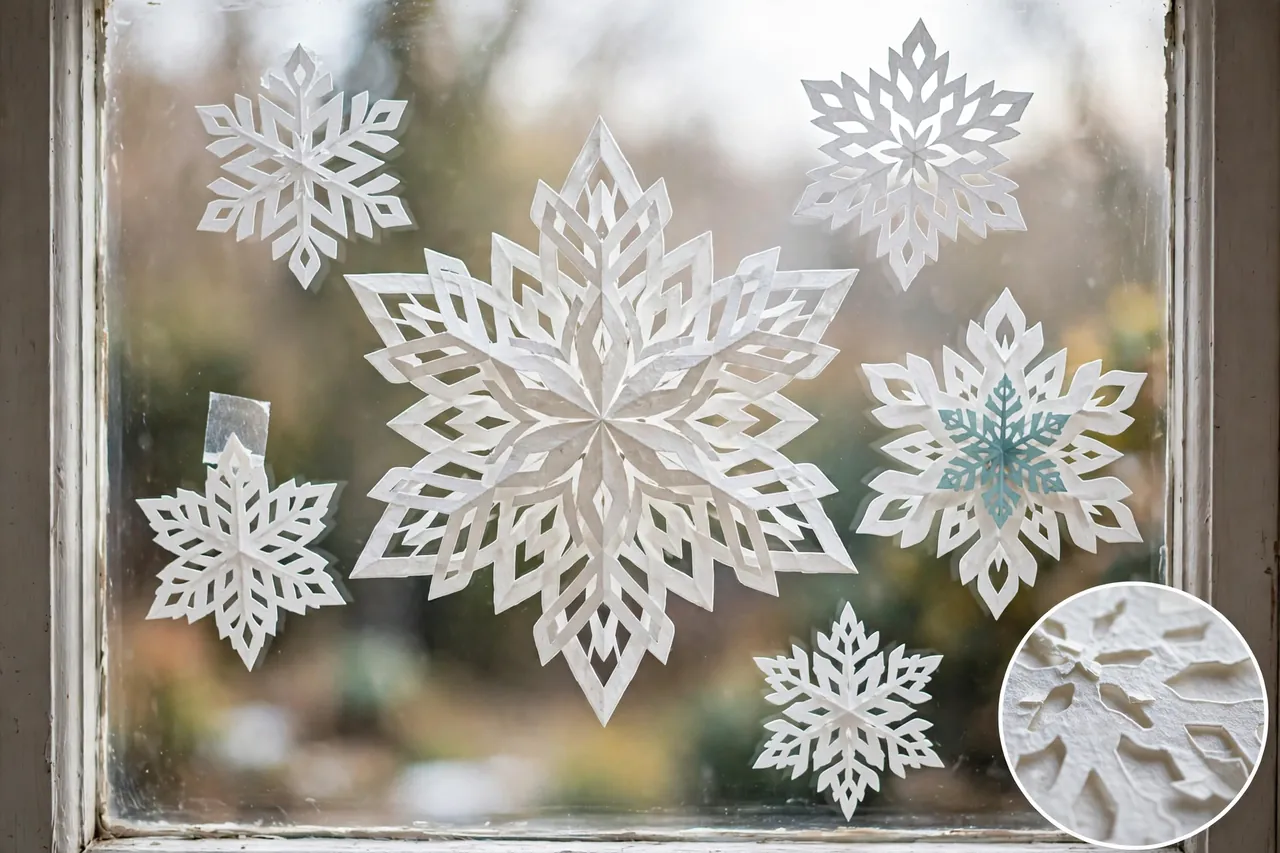
Snowflakes are the easiest place to start, and they teach you the two skills every paper project needs: folding straight and cutting with care. No two snowflakes come out alike, and that variety looks wonderful grouped on a window.
Follow these steps for a classic six-point snowflake:
- Cut a square from a sheet of paper. Fold one corner to the opposite edge, crease it well, and trim off the extra strip.
- Fold the square diagonally into a triangle, then fold that triangle in half again into a smaller triangle.
- Fold the triangle into thirds, like a fan, so you get a narrow wedge with one pointed end.
- Trim the wide end straight across, then cut small triangles, curves, and diamonds from the folded edges.
- Leave the folded sides joined at some points. If you cut all the way across a fold, the snowflake falls apart.
- Unfold the paper slowly, lay it flat, and press it under a heavy book for a few minutes.
Cut less than you think you need to on your first snowflake. Small cuts keep the shape strong, while big cuts near each other leave thin bridges that tear. Make three snowflakes in different sizes, and hang the largest in the center of your window with smaller ones around it. That size mix looks planned, not random.
For a softer look, layer two snowflakes: a large white one behind a smaller colored one, joined with one dot of glue in the center. For sparkle, brush a thin line of glue along a few edges and dust on a pinch of glitter over a tray, then shake off the extra. Let glitter pieces dry fully before you hang them, or glitter will drift onto your floor.
Paper Chains and Garlands That Fill a Whole Room
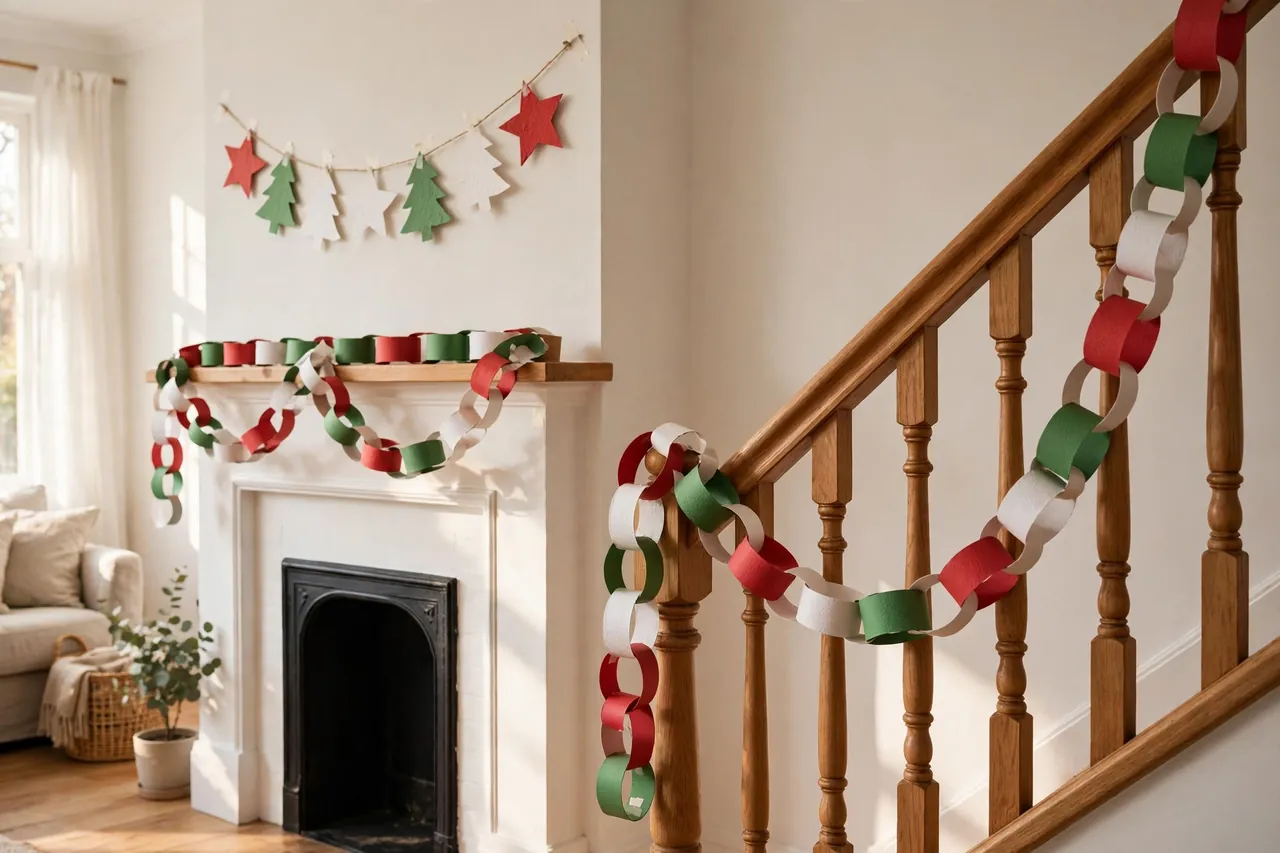
A paper chain is the fastest way to fill a long space with color. You link paper loops into a chain, and the chain drapes over a mantel, a doorway, or a staircase. Children love this project, and adults love how quickly a bare room turns festive.
Follow these steps for a classic paper chain:
- Cut paper strips about 1 inch wide and 8 to 10 inches long. Longer strips make fatter loops, and shorter strips make tighter loops.
- Form the first strip into a loop, overlap the ends slightly, and glue, tape, or staple them shut.
- Thread the next strip through the first loop, form it into a loop, and secure it the same way.
- Repeat the pattern, and alternate colors as you go, for example red, green, white, red, green, white.
- Measure your chain against the space before you hang it, and add links until it drapes with a gentle sag, not a tight pull.
Hallmark’s paper chain guide uses the same loop-and-link method and suggests writing a memory, a song title, or a countdown activity on each link for a family keepsake. Hallmark shows the classic paper chain method step by step.
For a shape garland, cut the same shape many times, such as stars, trees, or circles, punch a small hole near the top of each shape, and thread them on string or ribbon with even gaps between them. Hang shape garlands flat against a wall, where their outlines show clearly. Hang chains where they can drape and move, such as a mantel or a banister.
Plan your colors before you cut. A classic red, green, and gold chain suits a traditional tree, while white, silver, and pale blue shapes suit a snowy window. If your room already has a strong theme, match the chain to it rather than adding a new color. For theme ideas, read our guide to Christmas tree themes and how to pick a look you will love all season.
3D Paper Stars for the Tree and the Window
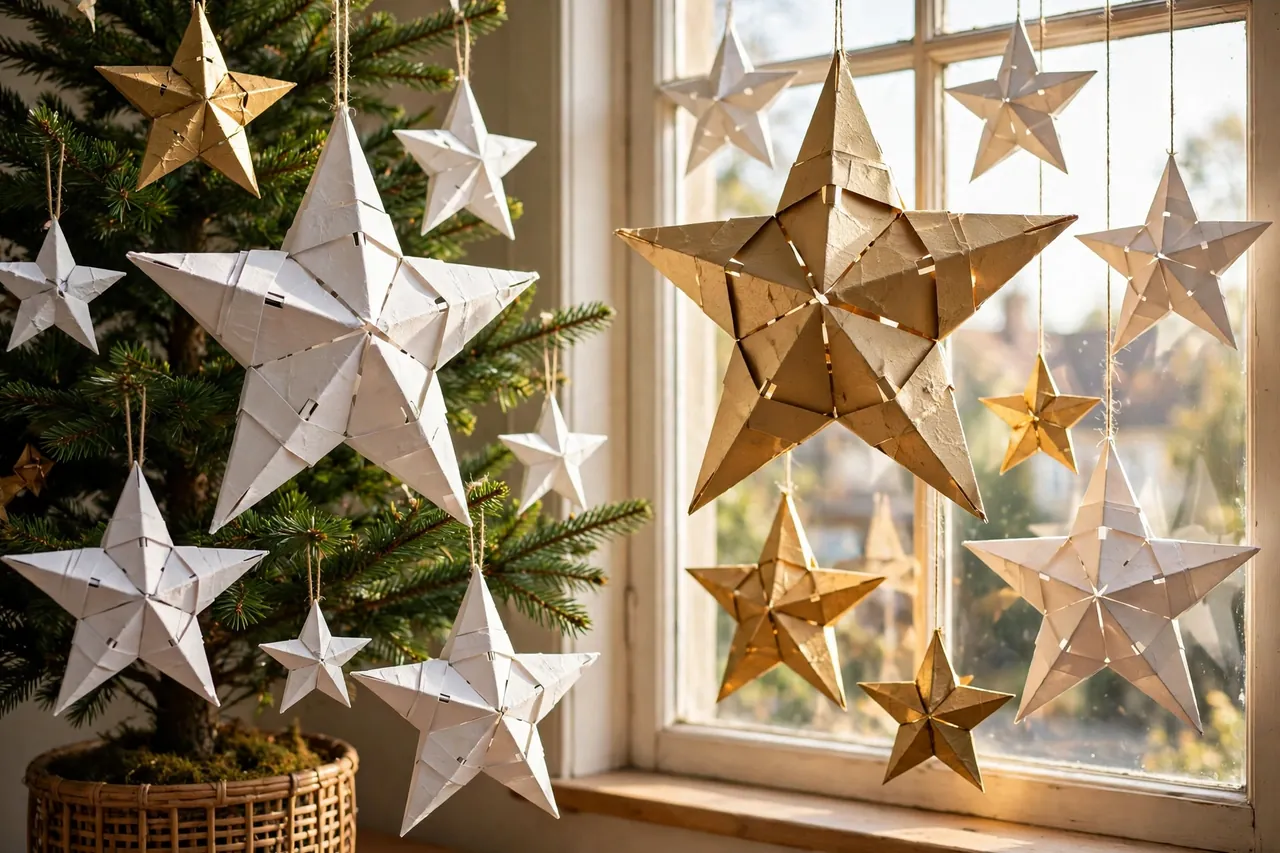
A flat paper star looks pretty, but a 3D star catches light from every side and becomes a real focal point. You can hang 3D stars on the tree, in a window, or from the ceiling over a table.
Follow these steps for a simple interlocking 3D star:
- Cut two identical five-pointed stars from cardstock, and fold each star gently along the lines from each point to the center.
- On the first star, cut a slit from the top point down to the center. On the second star, cut a slit from the bottom point up to the center.
- Slide the two stars together through the slits until they interlock and stand out in two directions.
- Add a small dot of glue where the stars cross, and let it dry before you hang the star.
- Thread string through one point, and hang the star where light hits it.
Make stars in three sizes for the best display. Hang large stars high, where they read as bold shapes, and hang small stars low on the tree, where guests can admire the folds up close. Metallic or glitter cardstock gives stars a glow without extra decoration, but plain white stars look striking against a dark window at night.
If a star point bends, do not force it back sharply, or the card will crease and weaken. Press it gently between your fingers, add a tiny piece of tape on the back, and hang that side toward the wall. If a slit tears, cut a fresh star rather than patching a weak joint, because a patched star often sags within days.
Paper Ornaments Beyond Snowflakes and Stars
Once you can fold and cut with confidence, branch out into ornaments that fill gaps on the tree. Flat ornaments work best here, because they hang neatly between branches without pushing other ornaments aside.
Cut simple shapes such as trees, bells, stockings, and candy canes from cardstock, and decorate them with markers, stickers, or a thin glitter edge. Punch a hole near the top, thread string through it, and tie a small loop for hanging. Write the year on the back of one ornament each Christmas, and you build a dated family collection without extra cost.
For a fuller ornament, roll paper strips into tight coils, glue each coil shut, and glue coils of different sizes together into a ball or a flat flower shape. This quilled style looks intricate, but it uses only strips, glue, and patience. Start with five coils, join them into a small cluster, and grow the shape one coil at a time.
Hang your lightest paper ornaments near the tips of branches, where heavier ornaments would droop. Hang sturdier cardstock ornaments deeper in the tree, where branches support their weight. Mix paper ornaments with your existing tree decorations rather than crowding one branch with paper alone, so the tree looks balanced. If you want a pale, glowing tree to show them off, see our ideas for white Christmas tree decorations that make your tree glow.
A Paper Village and Luminaries That Glow
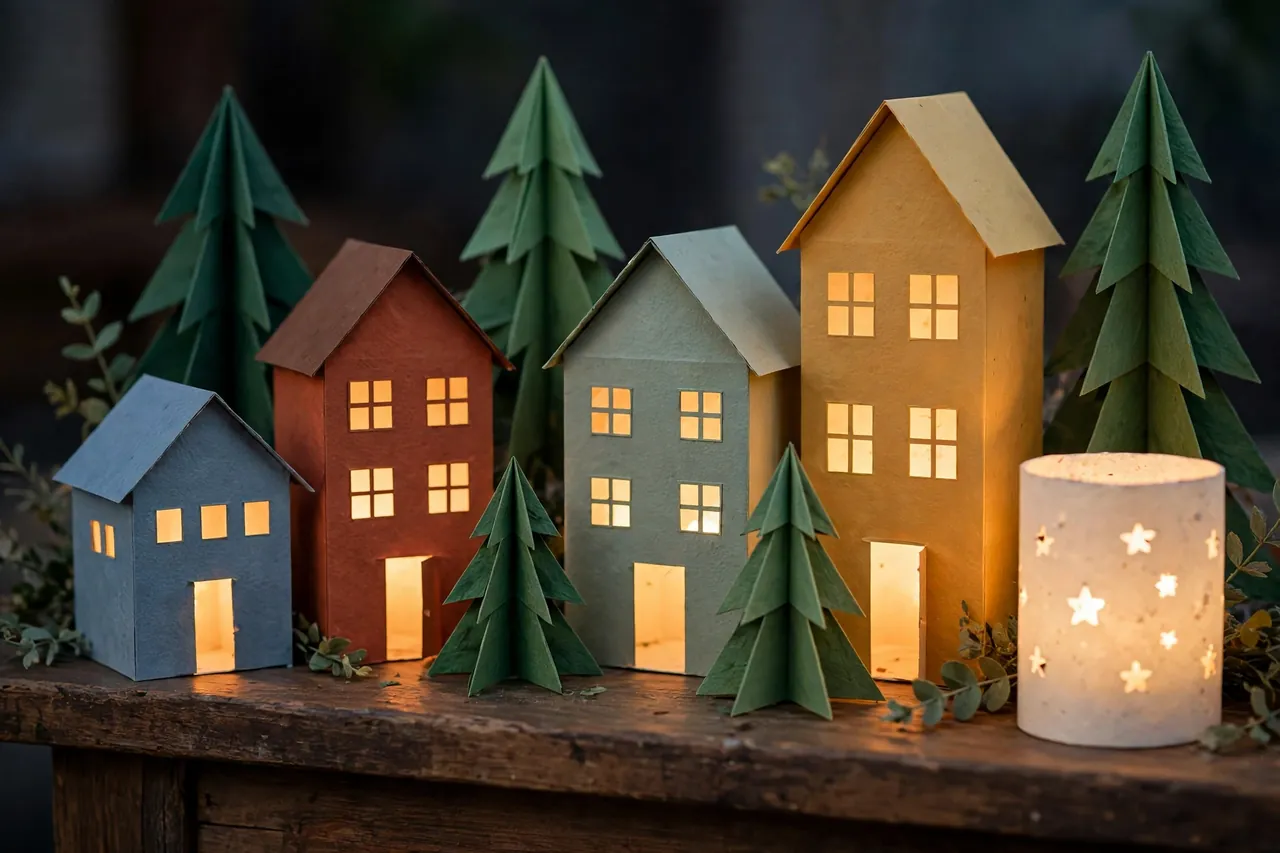
A paper village turns a mantel or a windowsill into a tiny winter town. You build small houses from cardstock, cut windows and doors from each house, and set the houses in a row with paper trees between them. At night, light from behind the houses shines through the cut windows, and the whole street glows.
Follow these steps for a simple paper village:
- Draw a simple house shape on cardstock: a rectangle with a triangle roof, plus tabs on the sides for gluing.
- Cut windows and a door from the house front with a craft knife on a cutting mat, and keep an adult on this step when children help.
- Score the fold lines with a ruler and a bone folder, fold the house into shape, and glue the side tab shut.
- Make three to five houses in different heights and colors, and add a church or a shop shape for variety.
- Cut simple triangle trees from green cardstock, fold each tree in half so it stands, and place trees between the houses.
- Set the village on a mantel or a windowsill, and place battery-operated LED lights behind the houses, never real candles inside paper houses.
For paper luminaries, wrap a sheet of plain or patterned paper into a cylinder, glue the seam, and punch a few small star holes around it with a hole punch. Place a battery-operated LED candle inside, and the punched holes throw star shapes onto the wall. Use LED candles only. Real flames and paper luminaries do not mix, and the glow from an LED looks just as warm from across the room.
Build your village in stages across a few evenings rather than in one long sitting. Houses take the most care, trees take the least, and you can add a new building each night. For display ideas that make a village the star of the room, read our guide to building a Christmas village display that glows.
Where to Hang and Display Paper Decorations
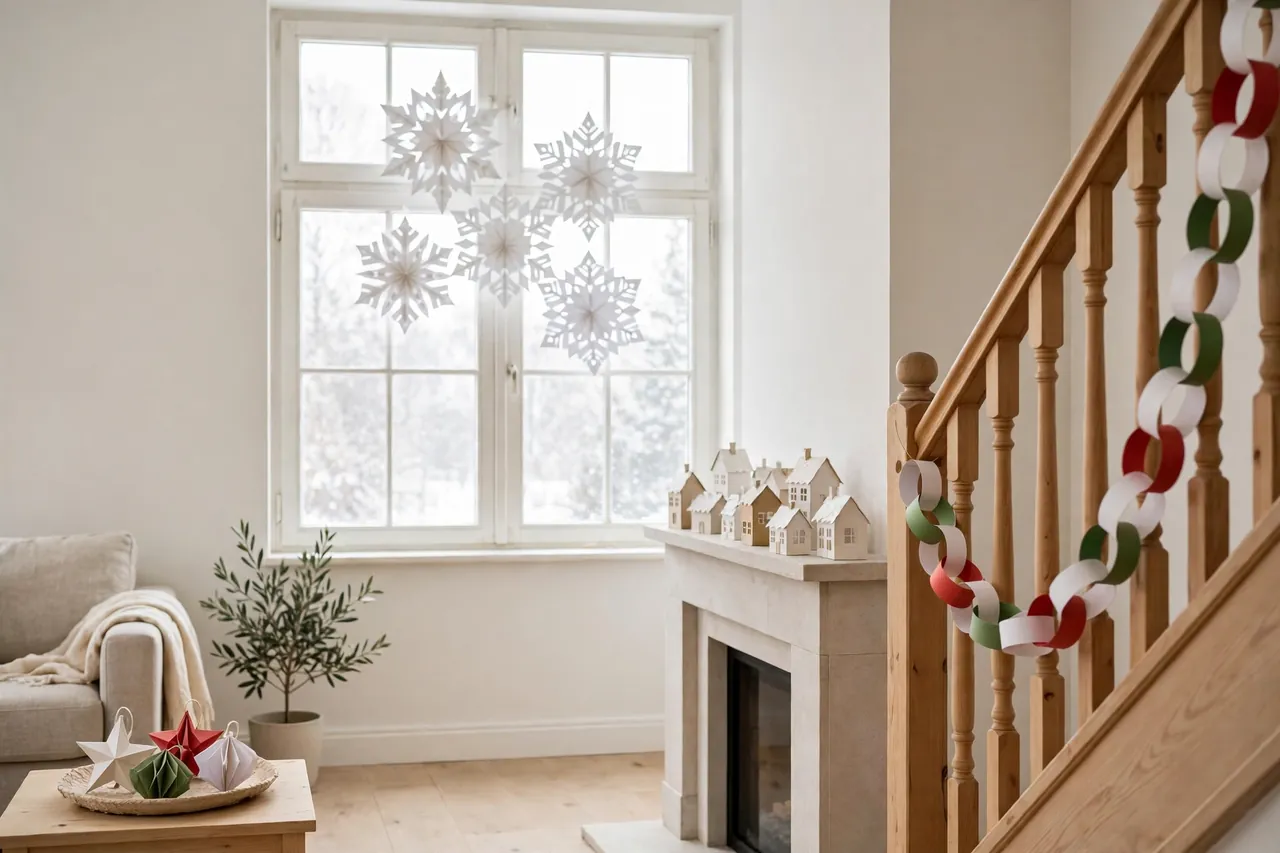
Placement decides whether paper decorations look charming or cluttered. Give each project a job, and let empty space do part of the work. A window full of snowflakes needs no garland beside it, and a mantel with a village needs only a simple chain, not three more projects.
Hang snowflakes on windows with small pieces of clear tape at one point only, so each snowflake can turn gently in warm air. Group them in odd numbers, such as three or five, and vary their sizes. String snowflakes on clear fishing line for a hanging curtain effect in a doorway, with the largest snowflake at eye level.
Drape chains and garlands with a gentle sag between two fixed points, and secure each end with a removable hook or tape. A chain pulled tight looks stiff, while a chain with a soft dip looks relaxed and festive. On a staircase, follow the slope of the banister and let the chain dip between each spindle.
Place the paper village where guests see it at eye level, such as a mantel or a side table, and keep it away from walkways where sleeves can brush it. Put table ornaments and small paper trees on a tray, so you can lift the whole display away when you need the table.
Mistakes That Ruin Paper Decorations (and Easy Fixes)
Most paper craft failures come from a few small habits, and each one has a quick fix. Learn them once, and your second batch will look far better than your first.
- Torn snowflakes: you cut too close to a fold, or you cut across the same fold twice. Cut smaller shapes, leave wider bridges of paper, and open the snowflake slowly.
- Wilting chains: damp air softens thin paper, and heavy glitter pulls loops down. Use construction paper or cardstock for chains in kitchens and entryways, and hang glitter pieces where air stays dry.
- Sagging stars: the slit cut runs past the center, or the glue never dried. Cut slits exactly to the center, add one dot of glue at the cross, and wait until it sets.
- Warped houses: too much glue soaked the card. Use a thin glue line, press the join, and let each house dry flat before you stand it up.
- Faded color: strong sunlight bleaches construction paper over weeks. Hang bright paper away from south-facing windows, or accept soft fading as part of a vintage look.
- Crushed ornaments: you stacked flat pieces under heavy boxes. Store paper pieces flat, as the storage section below explains.
How to Store Paper Decorations for Next Year
Paper decorations can last for several seasons when you store them flat, dry, and safe from crushing. Tissue paper pieces last the shortest time, because thin tissue creases and tears with handling. Cardstock stars, chains, and village houses last the longest, because their stiffness resists bending.
Take decorations down gently, and brush off dust with a dry, soft cloth. Lay snowflakes and flat ornaments in a single layer between sheets of plain tissue paper inside a rigid box. Coil chains loosely rather than crushing them into a ball, and place village houses upright with tissue paper between them so their roofs do not dent.
Label the box with the contents and the year, and store it in a cool, dry room away from attics that bake in summer and damp basements. Check the box once before next Christmas, replace any torn tissue, and repair small tears with clear tape on the back of the piece. A ten-minute check saves you from remaking a whole set.
Safety First: Scissors, Craft Knives, and Paper Near Flames
Paper crafts are low risk, but scissors, craft knives, and open flames deserve respect. Keep craft knives on a cutting mat, cut away from your body, and put the blade cover back on between cuts. Never leave a craft knife on a chair or a sofa where someone could sit on it. Give children blunt-tip scissors, and let an adult make every craft-knife cut.
Keep all paper decorations away from open flames, hot bulbs, heaters, and fireplaces. Paper catches fire fast, and a garland that drifts onto a candle can ignite in seconds. Fire safety guidance from the National Fire Protection Association, reported by State Farm, advises keeping candles at least 12 inches away from decorations and anything else that can burn, and using battery-operated candles for a similar look without an open flame. State Farm shares holiday candle and decoration fire safety tips based on NFPA guidance.
Use LED string lights and battery candles near paper, and check that no paper touches a warm bulb. Blow out real candles before you leave a room, and never place a paper luminary over a real candle. If you use paper near a fireplace mantel, keep the whole display well back from the firebox opening, and take paper pieces down before you light a fire.
Disclaimer: this guide gives general craft and home safety tips, not professional fire safety advice. When you feel unsure about a display near heat or flames, move the paper pieces farther away or switch to battery-operated lights.
Related Guides
If you enjoyed making paper decorations, these dwellifyhome.com guides help you place them in a finished holiday home. See Christmas tree themes to pick a color story, decorating ideas for a living room at Christmas to dress the whole room, Christmas village display ideas to make your paper village shine, and Christmas table settings your guests will love to place paper pieces without crowding the table.
Frequently Asked Questions
What types of paper are best for making Christmas decorations?
Cardstock suits sturdy ornaments, stars, and village houses, while construction paper suits chains and garlands. Tissue paper gives soft, see-through accents, and patterned scrapbook paper adds instant color to flat ornaments. Match thin paper to folding and cutting, and thick paper to building.
What tools do I need to make paper Christmas decorations?
You need sharp scissors, a ruler, a pencil, a glue stick or white craft glue, string or ribbon, and tape. A cutting mat, a bone folder, and a hole punch help, but they are not required for your first projects. Start simple, and add tools only when a project truly needs them.
What are some easy-to-make paper Christmas ornaments?
Paper snowflakes, paper chains, flat trees, bells, stockings, and simple 3D stars are the easiest ornaments to start with. Each one uses basic folds or cuts, and none needs special skill. Make one type well before you try a harder design.
How can I make a festive paper Christmas garland?
Cut shapes such as stars, trees, or circles from colored paper, punch a hole near the top of each shape, and thread them on string or ribbon with even gaps. Alternate colors for a bold look, and measure the garland against your mantel or doorway before you hang it.
What is the best way to make 3D paper Christmas decorations?
Start with a template, score your fold lines before you fold, and glue only at key points so the shape stays clean. Cardstock holds 3D shapes best, and a small dot of craft glue at each join beats a thick line that warps the paper. Let each join dry before you add the next piece.
How can I add extra sparkle and shine to my paper Christmas crafts?
Add sparkle with glitter, metallic paper, foil, or LED lights. Use craft glue for glitter, metallic markers for edges, or foil for small accents, and place LED lights behind stars and village houses for glow. Keep glitter work over a tray, and let pieces dry fully before hanging.
Start With One Snowflake Tonight
You do not need a craft room, a big budget, or years of practice to fill your home with handmade Christmas charm. Cut one snowflake tonight, link a short chain tomorrow, and fold your first star when you feel ready. Each small project teaches your hands a skill, and together they build a home that looks personal, warm, and truly yours. Pick your paper, clear a table, and start with the project that made you smile first.