
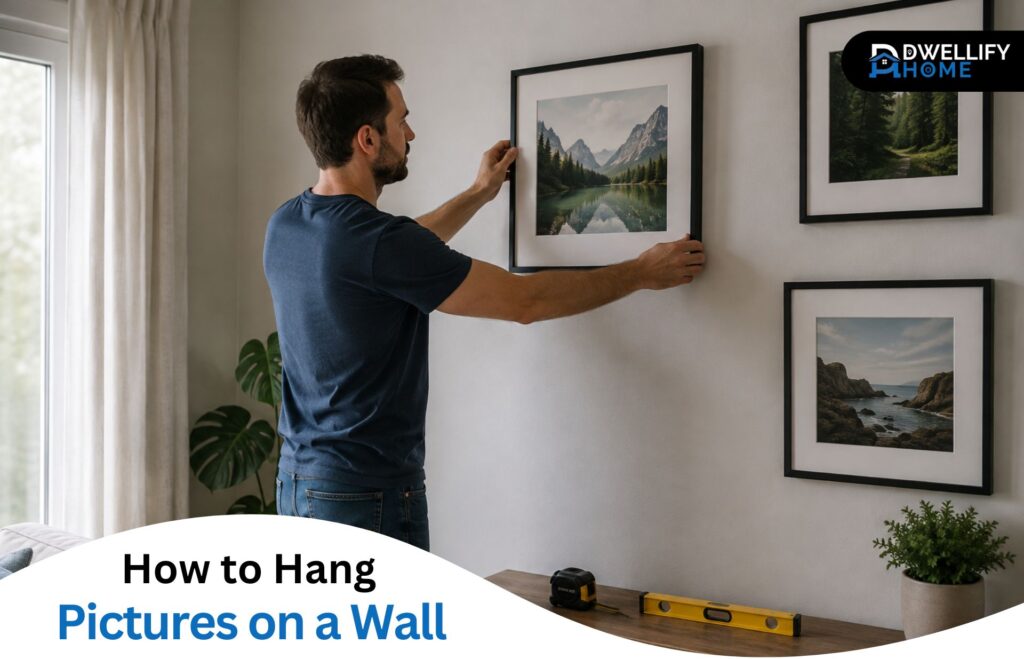
A picture that ends up slightly off-center, or a frame that slowly tilts sideways over a few weeks, almost always comes down to two things: guessing at the height instead of measuring it, and using hardware that doesn’t match the picture’s weight. Fix those two variables and the rest of the process is straightforward.
This guide covers how to hang pictures on a wall from start to finish — measuring, choosing the right hardware, working with different wall types, and getting the placement right — so the picture goes up once and actually stays there.
Short Definition
Hanging pictures on a wall means securing framed art or photos using hardware suited to the picture’s weight and the wall type, positioned at eye level so it sits straight and stays in place.Mission Statement
DwellifyHome helps homeowners, renters, and home lovers make practical, informed decisions for the spaces they live in, offering guidance that’s honest, clear, and genuinely useful for everyday home projects.
Quick Checklist
- Measure the frame’s center and the hardware gap, with the wire pulled taut
- Mark the wall at your calculated height, typically 57–60 inches to center
- Match hardware to weight: light, medium, or heavy
- Confirm your wall type — drywall, plaster, or brick/concrete — before drilling
- Hang the picture and check it with a level
Quick Answer: The Right Way to Hang a Picture
Center the picture at eye level, roughly 57 to 60 inches from the floor to the middle of the frame. Measure the distance from the top of the frame down to the hanging wire or hardware, subtract that from your target height, and mark the wall at that spot. Choose a hook, nail, or anchor rated for the picture’s weight, then hang it and check it with a level.
The details below explain each part of that process, including what changes depending on your wall type and how heavy the piece is.
What You’ll Need Before You Start
Most of this job comes down to a handful of basic tools:
- Tape measure
- Pencil
- A small level (or a laser level for a wall of multiple pictures)
- Hammer or drill, depending on the hardware you’re using
- Picture-hanging hardware matched to weight and wall type
- Painter’s tape, useful for marking without leaving pencil residue
A stud finder is helpful for heavier pieces, but it isn’t required for most lightweight or mid-weight frames. There’s a method for hanging without one later in this guide.
How to Measure and Mark the Wall for a Straight Hang
This is the step that most often gets rushed, and it’s the one that determines whether the picture ends up where you actually wanted it.
- Find the frame’s center. Measure the frame’s width and height, and note the vertical center point.
- Measure the hardware gap. Pull the wire taut with your fingers (not slack) and measure the distance from the top edge of the frame down to the wire at its highest point. If you’re using a hook or sawtooth hanger instead of wire, measure to the point where it will catch on the hardware.
- Calculate your wall mark. Subtract the hardware gap from your target height. For example, a target height of 58 inches minus a 4-inch gap means your nail or hook goes at 54 inches.
- Mark the wall and install the hardware. Use a pencil or painter’s tape to mark the exact spot, then drive the nail, screw, or anchor there.
- Hang the picture and level it. Hang the frame, then set a small level across the top edge and adjust until it’s straight.
The wire-tension detail in step two is the part most guides skip, and it’s the reason pictures that seemed carefully measured still end up crooked or a couple of inches off.
Choosing the Right Hardware for Your Picture’s Weight
The most common reason a picture falls or slides is hardware that isn’t rated for the weight it’s holding. Match the hardware to the picture before worrying about anything else.
Light Frames (Under 4 lbs)
Small prints, thin frames, and most standard photo frames fall into this range. Adhesive picture-hanging strips (the Command-style kind) work well here and leave no visible hole, which makes them a solid option for anyone hanging pictures on a wall without nails. Check the packaging for the weight limit before trusting it with anything borderline.
Medium Frames (5–30 lbs)
This covers most standard framed art and mirrors. A single picture hook and nail, or a two-hook setup for wider frames, is usually enough. A picture hanging kit — sold as a small pack with pre-sized hooks and nails — takes the guesswork out of matching hook strength to weight. Always check the rated capacity printed on the hook packaging rather than assuming.
Heavy Art and Mirrors (30+ lbs)
For anything in this range, don’t rely on a standard nail or hook. Locate a wall stud and screw directly into it, or use a heavy-duty toggle bolt or drywall anchor rated for the picture’s weight. If there’s any doubt about how much a piece weighs or how the wall is constructed, treat it as heavy and use stud or anchor support rather than guessing.
| Weight | Best Hardware | Wall Damage |
| Under 4 lbs | Adhesive strips, small hooks | Minimal to none |
| 5–30 lbs | Picture hook and nail, hanging kit | Small hole |
| 30+ lbs | Stud screw or rated toggle bolt | Larger hole, but necessary |
Hanging Pictures on Different Wall Types
The hardware advice above assumes standard drywall. Other wall materials need a different approach.
Drywall
The most common wall type in newer homes. Standard nails and hooks work fine for light and medium pieces. For anything heavier, use a drywall anchor rated for the weight rather than relying on the drywall alone to hold a screw.
Plaster
Older homes often have plaster over lath instead of drywall, and plaster is more brittle. Hammering directly into it can crack the surface around the hole. Drilling a small pilot hole first, then inserting the nail or hook by hand, reduces that risk significantly. Plaster-specific picture hooks with thin, angled nails are also worth using here.
Brick, Concrete, or Tile
These surfaces need a masonry drill bit and a plastic or metal anchor rated for masonry, not standard drywall hardware. Drilling into a mortar joint between bricks is usually easier and less likely to crack the material than drilling into the brick face itself. Tile is particularly prone to cracking under drilling pressure — if you’re not confident with a masonry bit, or the piece is heavy, this is a reasonable spot to get help rather than risk cracking a tile you can’t easily replace.
How High to Hang a Picture (and Where to Place It)
The commonly cited rule is to center a picture 57 to 60 inches from the floor, which approximates average eye level. It’s a useful starting point, not a fixed law — ceiling height, the height of people in the household, and what’s below the picture can all shift that number a little.
Hanging Above a Sofa, Bed, or Headboard
When a picture is going above a piece of furniture, the standard guideline shifts: the bottom of the frame should sit about 6 to 10 inches above the top of the sofa, headboard, or console. This keeps the piece visually connected to the furniture instead of floating awkwardly above it.
How to Hang a Picture Without Nails or Wall Damage
For renters or anyone who wants to avoid holes entirely, adhesive picture-hanging strips are the most reliable damage-free option. They come in different weight ratings, so check the packaging against your picture’s actual weight rather than assuming a small pack will hold anything.
A few things worth knowing before relying on them:
- They generally aren’t a good fit for heavy mirrors or textured, freshly painted, or uneven wall surfaces, since the adhesive needs a smooth, clean bond.
- Removing them properly (usually by pulling straight down or at a slow angle, per the package instructions) matters for hanging pictures on a wall without damaging paint — yanking them off sideways is what tends to pull paint with it.
- For anything that feels borderline on weight, a small nail hole is usually the safer trade-off over a piece falling.
How to Hang a Picture Without a Stud Finder
A stud is only really necessary for heavy pieces — for anything under roughly 30 lbs, a properly rated drywall anchor does the job without needing to hit a stud at all.
If you do want to find one without a stud finder, a few low-tech methods work reasonably well: knocking along the wall and listening for a duller, more solid sound instead of a hollow one; checking near outlets, since electrical boxes are usually mounted to a stud; and looking for existing nail or screw holes from previous hanging hardware, which often mark a stud that’s already been used.
Arranging a Gallery Wall (Multiple Pictures)
Hanging more than one picture introduces a spacing problem that a single frame doesn’t have. A few practical steps make this easier:
- Trace each frame’s outline onto paper, cut it out, and tape the paper templates to the wall to test the layout before drilling anything.
- Leave roughly 2 to 3 inches between frames for a cohesive gallery look, adjusting slightly based on frame size.
- Start with one anchor piece — often the largest frame — and build the rest of the arrangement around it, rather than trying to balance everything at once.
- Use a level across the top of the group periodically as you go, not just at the very end.
Common Picture-Hanging Mistakes to Avoid
A few mistakes account for most of the “why did this go wrong” situations:
- Guessing at the height instead of measuring it. Eyeballing it is the most common reason pictures end up too high.
- Skipping the level. Even a slightly crooked frame is noticeable, and a small level takes seconds to use.
- Ignoring the weight rating on hardware. A hook rated for a light frame will eventually fail under a heavy mirror.
- Measuring the wire at rest instead of pulled taut. This throws off the final wall mark by an inch or more.
- Drilling into masonry or older plaster without checking for pipes or wiring nearby, particularly around kitchens, bathrooms, or fireplace walls.
For anything heavy — large mirrors, substantial art pieces, or anything you’re unsure how to rate — confirming a stud or using properly rated toggle bolts is worth the extra step. A picture that comes loose from the wall isn’t just an inconvenience; it’s a real hazard if it’s heavy enough.
FAQs
What is the rule for hanging pictures on the wall?
The most commonly used guideline is to center the picture at eye level, about 57 to 60 inches from the floor to the middle of the frame. It’s a solid starting point for a single picture on an open wall, though it should be adjusted when hanging above furniture or in a room with an unusually high or low ceiling.
What is the 2/3 rule for hanging pictures?
This is generally used as a sizing guideline rather than a placement rule: artwork (or a grouped arrangement) looks best when it spans roughly two-thirds the width of the furniture or wall space it’s paired with — for example, a piece above a sofa. Definitions of this rule vary somewhat by source, so treat it as a general visual guideline rather than a strict measurement.
What to avoid when hanging pictures?
The most common issues are hanging too high, skipping the level, using hardware that isn’t rated for the picture’s weight, and measuring the wire while it’s slack instead of pulled taut. Each of these is easy to avoid once you know to check for it.
What are some clever tricks for hanging pictures?
A paper template taped to the wall lets you test placement before drilling. Painter’s tape works well for marking a spot without leaving pencil marks behind. If a screw hole ever gets stripped in wood trim or furniture backing, filling it with a wood toothpick and a little wood glue before redriving the screw is a simple fix that restores the grip.
Getting It Straight and Secure, the First Time
Most picture-hanging problems trace back to the same two things: skipping the measurement step and mismatching hardware to weight. Measure the hardware gap before marking the wall, match the hook or anchor to the picture’s actual weight and wall type, and finish with a level. That combination is what keeps a picture straight and secure well after the day you hung it.
Disclaimer
This article is for general informational purposes only. Every home, wall, and situation is different, and results can vary based on your specific circumstances. For structural, electrical, plumbing, HVAC, or other safety-related concerns, consult a qualified professional before proceeding.