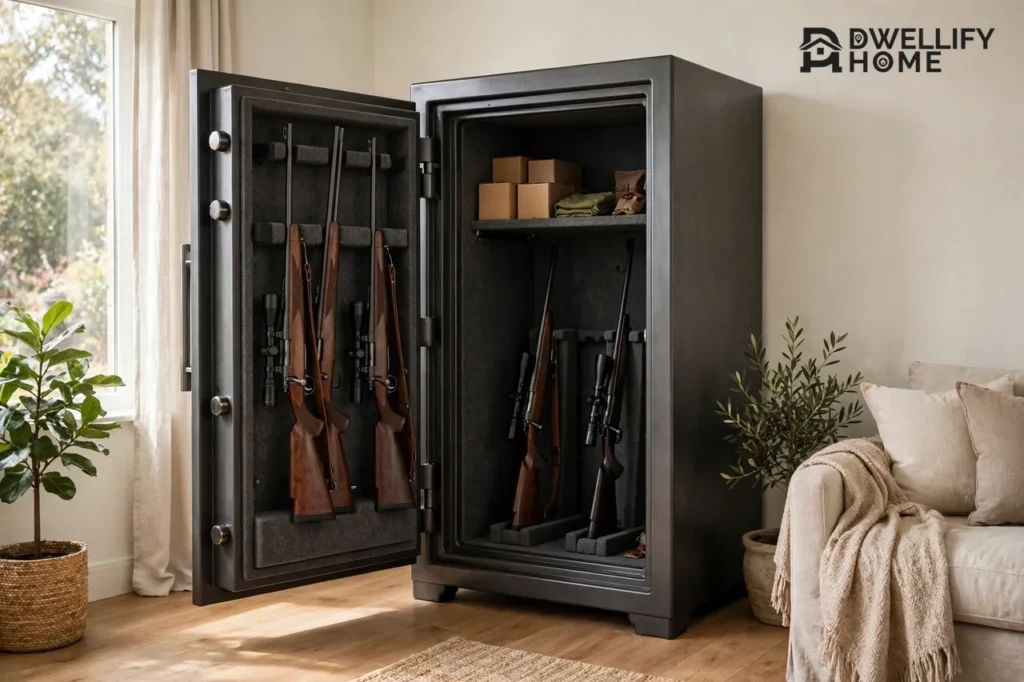
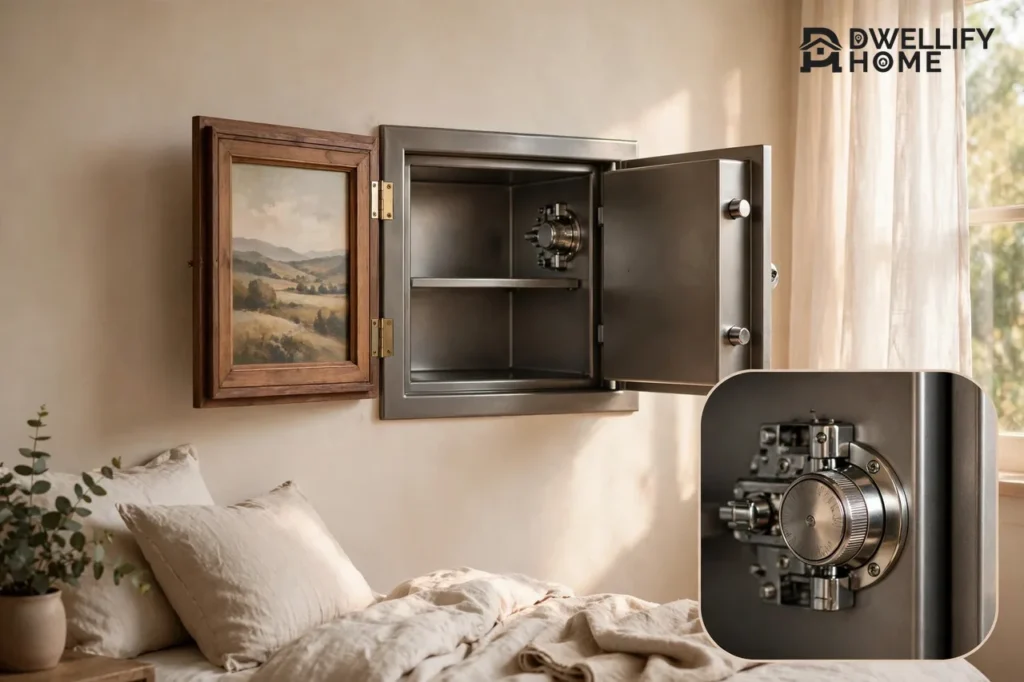
An in-wall gun safe between studs is a steel safe that fits the 14.5-inch gap between standard wall studs and hides flush behind a picture or mirror. It holds handguns and disassembled long guns in about 3.5 inches of depth, and it bolts to both studs so it cannot be carried away. It is concealment first and a vault second, and the install is only safe when you check the wall for wires, pipes, and ducts before you cut anything.
This guide covers both routes: buying a ready-made in-wall gun safe and fitting it between the studs, and building a simple DIY box for a custom fit. It also covers the law, the measurements that decide whether your wall can take a safe, and the mistakes that turn a weekend project into a repair bill.
First: the law and the wall
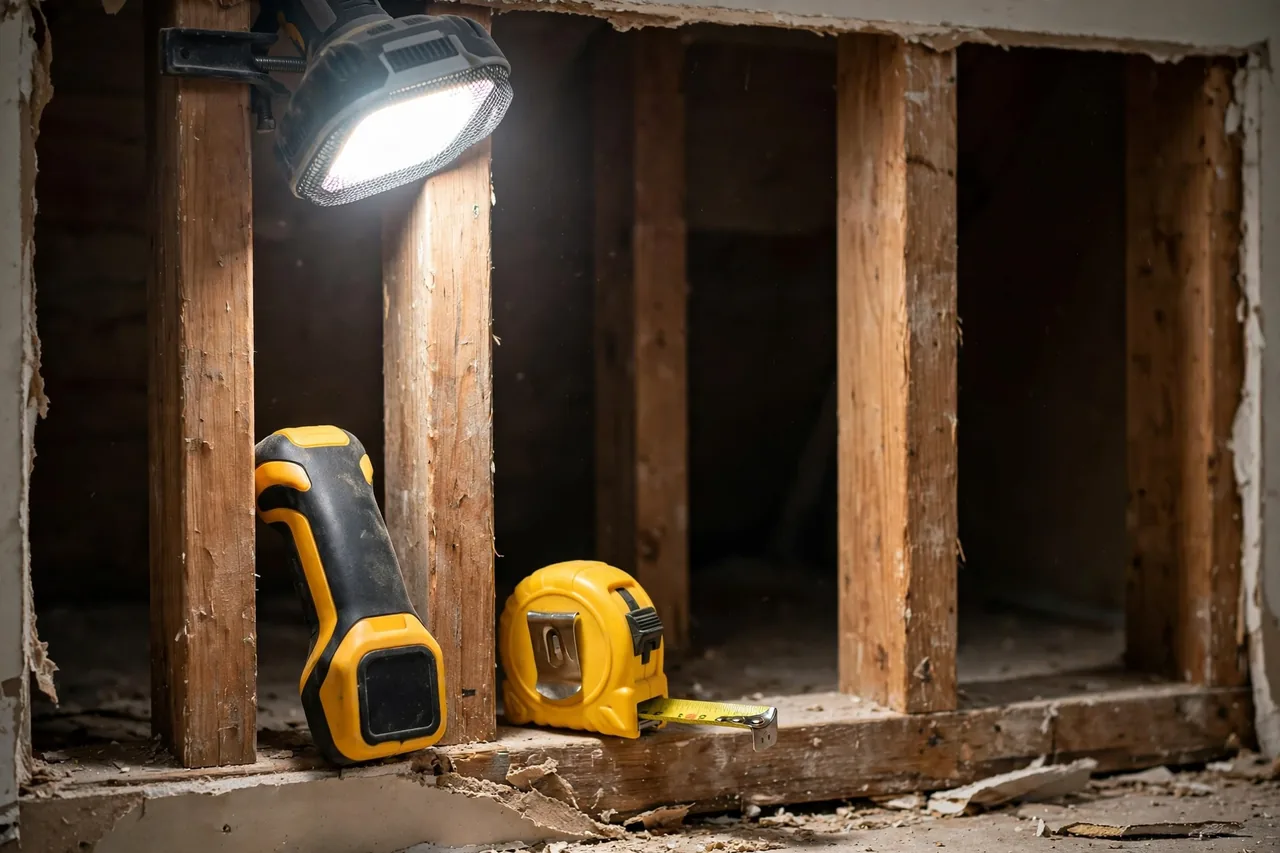
Check the law before you buy a single screw. Many states have Child Access Prevention laws that require firearms to be stored so children cannot reach them, and a locked container is usually what the law means. Your in-wall safe must lock securely and stay locked, with the key or code out of children’s reach. Rules differ by state and city, so check your own local, state, and federal firearm storage rules before you start.
Then check the wall. Standard residential framing puts studs 16 inches apart on center, which leaves about 14.5 inches of clear space between them. A wall built with 2×4s is about 3.5 inches deep inside, which is enough for many handguns and for long guns stored disassembled. A 2×6 wall gives about 5.5 inches of depth, which is roomier but still shallow.
Do not cut into a load-bearing wall unless you have structural advice, and never cut where you have not checked for utilities. Use an electronic stud finder with wire and pipe detection, then a small probe hole or inspection camera to confirm the bay is free of horizontal fire blocks, electrical wiring, plumbing, and HVAC ducts. Engineer Fix’s DIY in-wall gun safe guide walks through the same check, and warns that a self-built safe must still function as a securely locked container to meet child-access laws. If the bay has a fire block, a pipe, or a wire, pick a different bay.
Buy or build: which route fits you
Buying a ready-made in-wall gun safe is the faster route for most people. It arrives as a tested steel box with a lock, a door, and bolt holes in the right places, and you only cut the opening and screw it in. Models like the Viking VS-52BLX and the SnapSafe in-wall safe are built for the 16-inch stud gap, and their makers publish the exact opening size.
Building a DIY box is the custom route. It lets you size the safe to your exact firearms and add the features you want, but it needs real skill: cutting steel, welding or strong joinery, fitting hinges, and mounting a lock that actually resists prying. A basic DIY build costs about $200 to $500 in materials, while a more elaborate one with thicker steel and a better lock can pass $1,000. If you cannot weld, buy the safe and spend your time on a clean install instead.
Be honest about the trade-off. A bought safe is tested and warrantied. A DIY box is only as strong as your weakest joint, and a plywood box with a steel door is a hiding place, not a safe. For a first in-wall gun safe, buy the box and build the concealment around it.
What fits between the studs
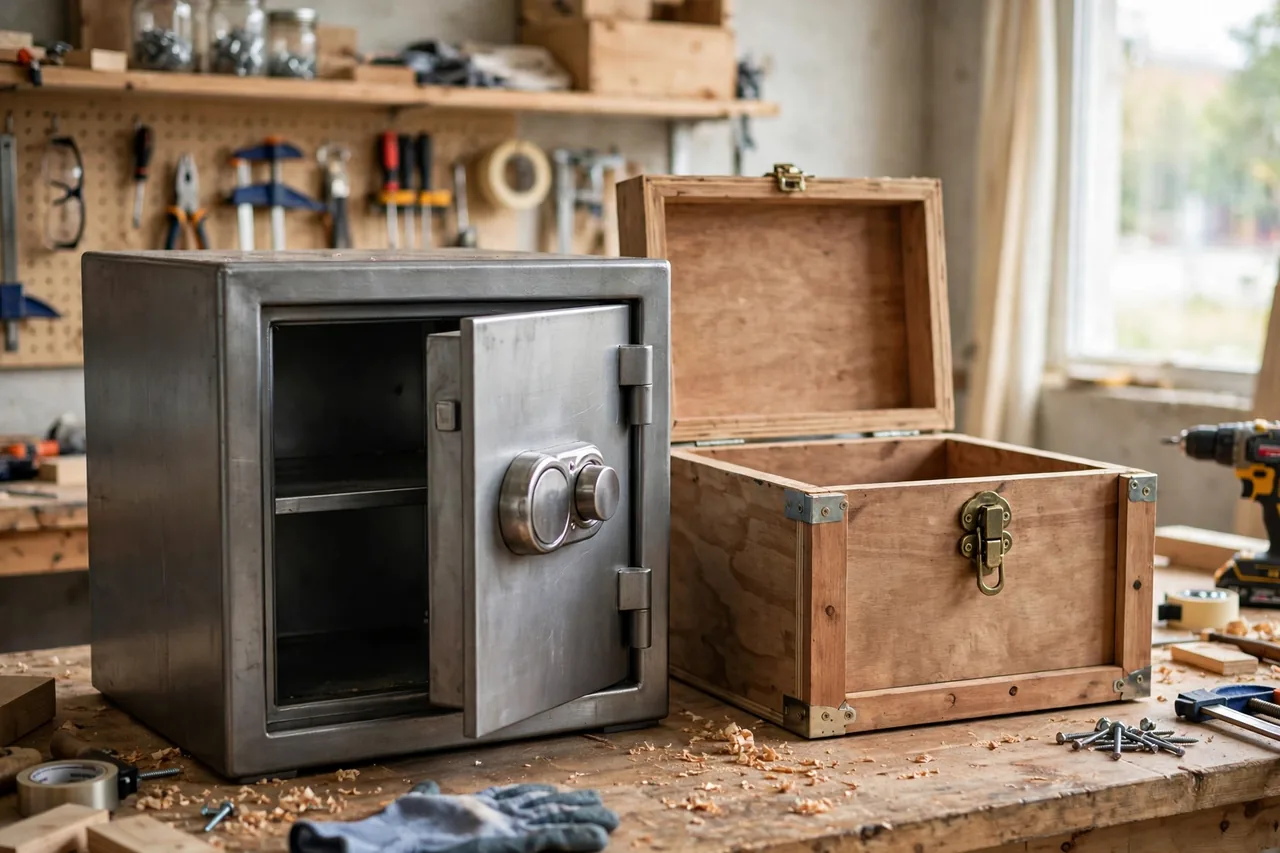
The stud bay decides everything. Fourteen and a half inches wide and three and a half inches deep is the hard limit in a standard 2×4 wall. That fits handguns flat, a few magazines, documents, and small valuables. It does not fit a long gun assembled, a scoped rifle, or a bulky optic.
Use this quick fit check before you order. Measure the clear gap between the studs, not the center-to-center spacing. Measure the wall depth from the face of the drywall to the back of the cavity. Measure the height you have, because tall wall safes need a long clear run with no fire block in the way. Then compare all three numbers with the safe’s exterior dimensions, and leave a small margin for shims and a level fit.
If your studs are 24 inches apart, some wall safes ship with a spacer kit that gives them something solid to screw into. If yours do not, add horizontal blocking between the studs before you mount the safe, and screw the blocking in properly, because the safe is only as strong as what it screws to.
Tools and materials
Gather everything before you cut, because a half-open wall with no safe in it is a bad place to stop. You will need the safe itself, a stud finder with wire and pipe detection, safety glasses and gloves, a pencil and measuring tape, a drywall saw or oscillating multi-tool, a level, a drill with bits, lag screws sized to the safe’s holes, construction adhesive if the maker calls for it, shims, and a drywall patch kit with joint compound and tape for the finish.
For a DIY build, add cabinet-grade 3/4-inch hardwood plywood or 12-gauge sheet steel for the door and frame, heavy-duty tamper-proof hinges, and a lock with a solid bolt throw. Use 10-gauge or thicker steel for the door if you build with steel, because thinner steel bends under a pry bar.
How to install an in-wall gun safe between studs
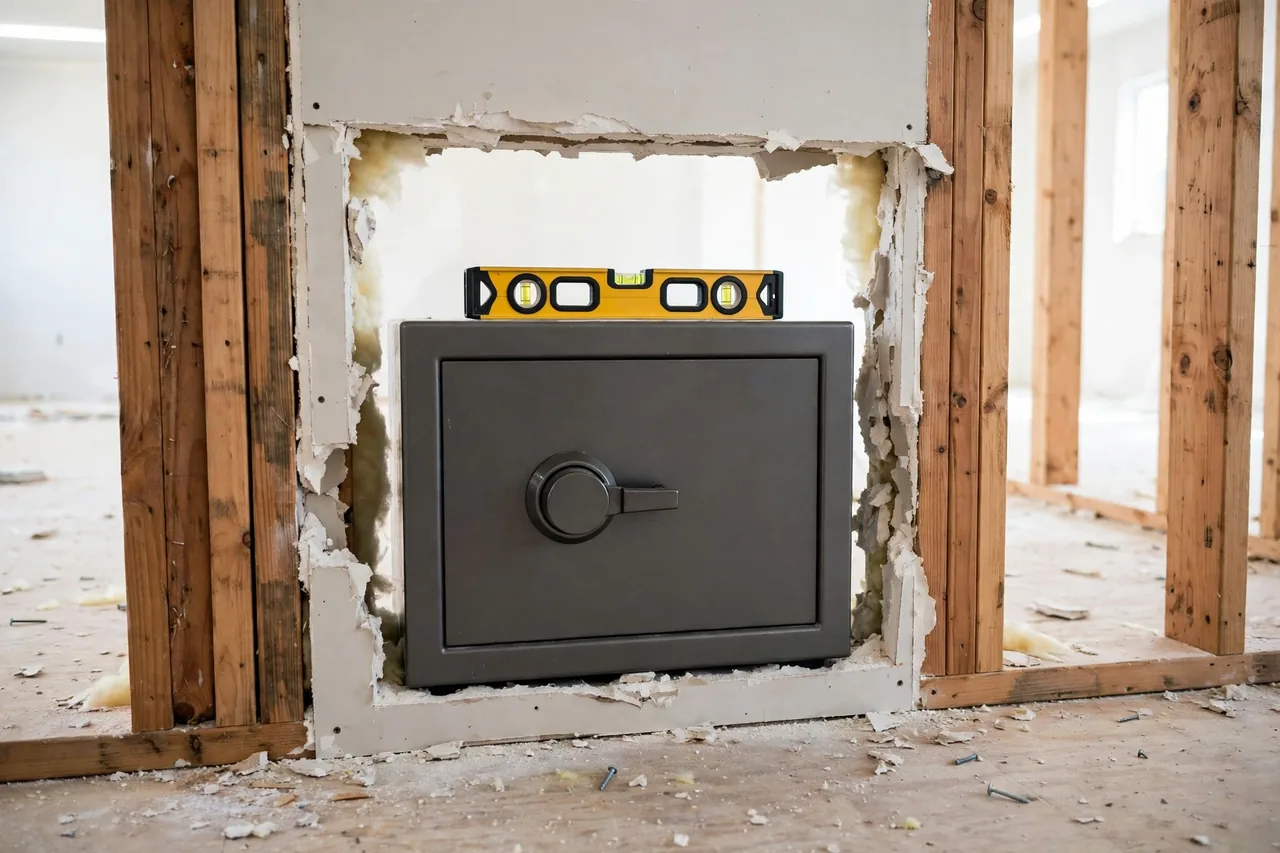
Follow these steps in order, and do not rush the checks. Cut power to the circuit before you cut the wall.
- Find the studs with the finder and mark both edges of the bay. Check the bay for wires, pipes, and ducts with the finder, then a probe hole or inspection camera.
- Mark the opening to the exact size the maker gives, and check it with a level. Tape the outline so you can see it clearly.
- Cut the drywall with a keyhole saw or oscillating tool. Set the blade only a little deeper than the drywall thickness, so you do not hit anything behind it.
- Clear the opening, remove loose drywall, and check the bay once more for anything hidden.
- Set the safe in the opening. Check it with a level, and use shims to hold it square while you work.
- Pre-drill each stud with the bit size the maker calls for, then drive lag screws through the safe’s side holes into both studs. SafesGeek’s bolting guide, drawn from the makers’ own manuals, stresses the same point: use the maker’s holes, pre-drill, and do not over-tighten. Drywall alone will never hold a safe.
- Test the lock three times with the door open, then three times with it closed, before you cover anything.
- Patch the drywall edges, tape and mud the seams, sand, and paint. Then hang the picture, mirror, or false panel that hides the safe.
If the safe is heavy, get a second pair of hands for step five. A 40-pound steel box at chest height in a wall opening is awkward alone, and a dropped safe dents drywall and fingers. If the wall is concrete or block, use masonry anchors into solid concrete, and expect a much harder job than drywall.
How to build a DIY in-wall gun safe
A DIY build starts with the box, not the wall. Build the box from 3/4-inch hardwood plywood with dado or rabbet joints, glued and screwed, so the joints resist racking. For better security, use a hybrid build: a plywood box with a 12-gauge sheet steel door and an internal steel frame.
Design the door to overlap the opening with a flange, because the overlap resists prying far better than a flush edge. Fit heavy-duty hinges welded or bolted to the body and door, and choose a lock with a real bolt throw, not a cabinet latch. Plan whether the door sits flush with the drywall or recessed behind a concealment panel, and build the frame to match.
Mount the box the same way as a bought safe: set it in the bay, level it, and screw it to both studs through pre-drilled holes. Then finish the wall around it and add the concealment. Test the lock many times before you call the job done, because a sticking lock on a hidden safe is a lock you will stop using.
Hiding the safe well
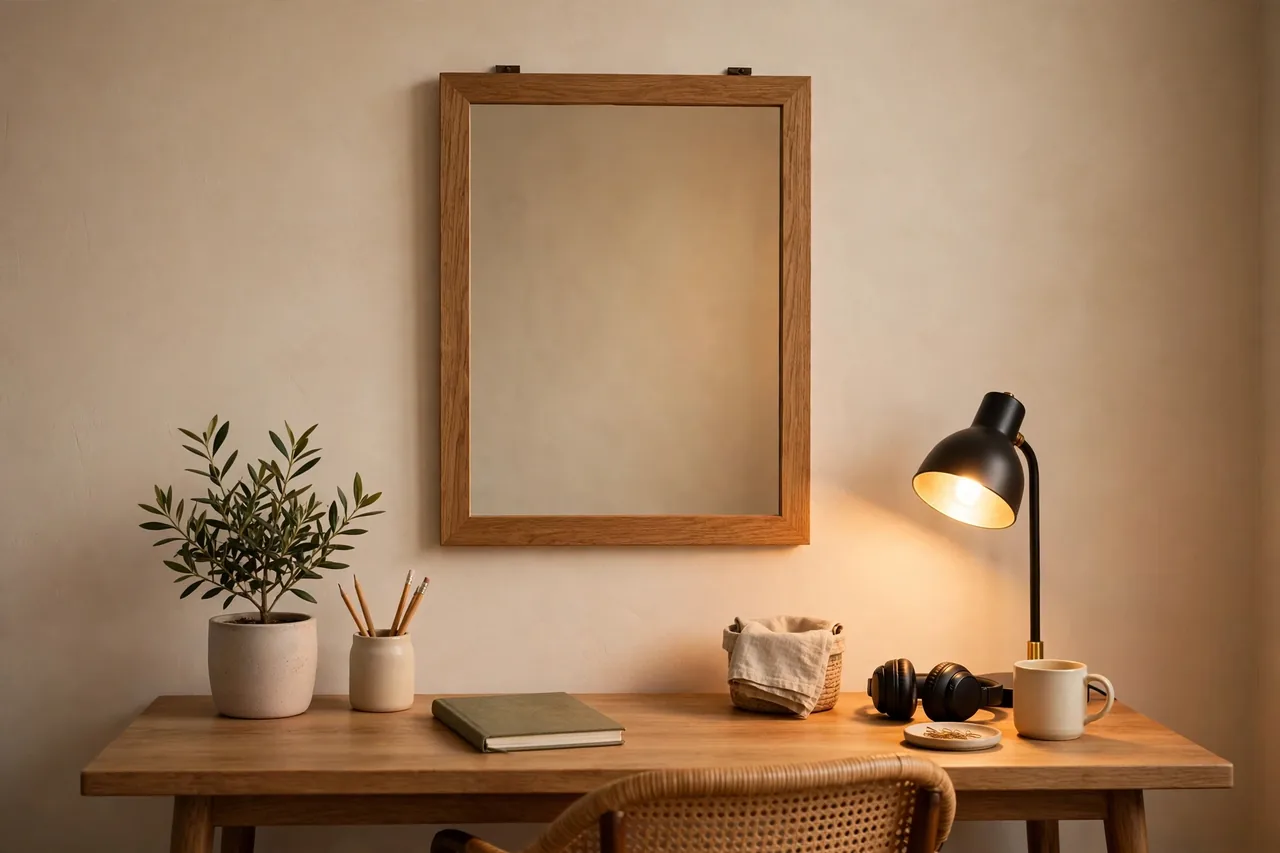
Concealment is the whole point of an in-wall safe, so hide it like you mean it. A picture, a mirror, or a row of clothes covers a flush safe, and a false panel or a faux electrical panel covers a recessed one. The best hiding spots are rooms burglars search less, like a pantry, a home office, or a guest room, rather than the master bedroom, which they search first.
Do not hide the safe behind the one big painting in the bedroom, because that is the first place anyone looks. Do not put a gun safe in a child’s room, and do not tell children where it is or how it opens. If you pair the safe with a camera, point the camera at the approach to the room, not at the safe itself: you want a face on record, not a video of your code. See our guide to the best home security camera system for placement that covers entries without pointing at valuables.
How to conceal the safe: picture, mirror, or false panel
The concealment is half the safe, so build it with the same care as the box. A framed picture on a hinge swings aside in a second and looks natural on any wall. A mirror works the same way and suits a bedroom or hallway, but it is heavy, so use strong hinges and check the swing clears the safe door. A false panel, like a faux electrical panel or a section of wainscoting, hides a recessed safe completely, but it takes more carpentry and must still open fast when you need the safe.
Match the cover to the room. A picture fits a living room or office, a mirror fits a bedroom, and a false panel fits a pantry or garage wall. Do not use a cover that draws attention: an oversized painting in a small room, or a panel that does not match the wall, invites a second look. The best cover is the one a visitor walks past a hundred times without noticing.
Test the cover with the safe door. Open the safe fully with the cover swung aside, and check that the cover does not block the door or the lock. If the safe opens with a fingerprint, test it with the cover in place, because a cover that bumps your hand at the wrong moment turns a two-second open into a fumble.
What an in-wall gun safe cannot do
Be honest about the limits. A box screwed to wooden studs can be pried out with the wall around it, so its real defense is not being found. No in-wall safe is a fire safe, because a 4-inch-deep box has no room for thick insulation. And a DIY plywood box is a hiding place, not a rated safe, no matter how good the lock is.
If you need real burglary resistance, buy a heavy floor-bolted gun safe with a UL RSC rating, and use the in-wall safe for quick access to one handgun, not for the whole collection. If you need fire protection, keep papers and photos in a fire-rated safe or a bank box, not in the wall.
Maintain the safe like any lock. Oil the hinges once a year, change the batteries on a schedule, test the backup key, and check the bolts for loosening. A safe that sticks or will not open is a safe you will stop locking, and an unlocked gun safe is worse than no safe at all.
Firearms are dangerous, and safe storage is a legal duty in many places. This guide is general information, not legal advice: check your local, state, and federal storage laws, keep firearms locked and unloaded when stored, store ammunition separately, and keep keys and codes away from children and unauthorized users. If you are unsure about the law or the install, hire a licensed locksmith or safe installer.
Related Guides
Round out the plan with these guides: the best home security camera system for watching entries, glass break alarms for windows near the safe room, and cellular home security systems that keep working when power or internet fails.
Frequently asked questions
How much space is between studs for a gun safe?
Standard studs sit 16 inches apart on center, which leaves about 14.5 inches of clear space between them. A 2×4 wall is about 3.5 inches deep inside, so most in-wall gun safes are 3 to 4 inches deep.
Can I put a gun safe in a load-bearing wall?
Do not cut into a load-bearing wall without structural advice. Cutting a stud in a load-bearing wall can weaken the house, so choose a non-load-bearing wall or get a structural engineer to approve the work first.
How do I bolt a safe to wall studs?
Set the safe in the bay, level it, pre-drill each stud, and drive lag screws through the safe’s side holes into both studs. Do not over-tighten, and never rely on drywall alone, because drywall will not hold a safe.
How much does it cost to build an in-wall gun safe?
A basic DIY build costs about $200 to $500 in materials, while a more elaborate build with thicker steel and a better lock can pass $1,000. A bought in-wall safe costs about $100 to $350 for most models, plus install time.
Is an in-wall gun safe legal?
It depends on your state and city. Many places require locked storage, especially where children are present, and some require specific lock types. Check your local, state, and federal rules before you build or install.
💡 Practical Home Tip: Before you cut, tape a paper template the exact size of the safe to the wall and check it for a full day. Sit in the room, walk past it, and ask a family member if they notice it — if they do, move it before you cut, because moving paper is free and moving a hole is not.
Start with the checks, not the saw: measure the bay, confirm there are no wires or pipes, and pick a bought safe that fits. A clean install in the right wall beats a fancy build in the wrong one every time.