
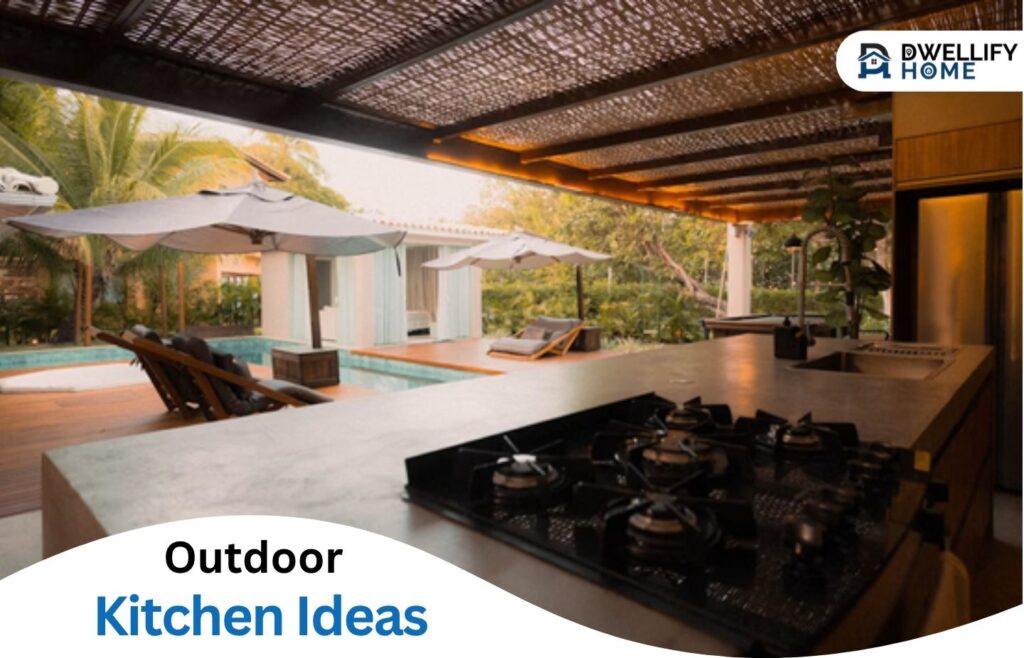
Having a party in the backyard is fun. It’s really fun. Think of a barbecue with your family. The crackling of the grill, kids running around, nice fresh smell of grass…and then it’s all over.
What you’re left with afterwards is a lot of mess. Muddy shoe trails in the kitchen, dirty kitchen door stoop, grimy door handles. I’ve been there. It all hits you usually the morning after. Unless it’s a weekend, you don’t have enough time to clean it all, and the mess lingers to stare at you in the face when you come home tired.
What if the mess was never there to begin with? What if you could have a nice party in the backyard and keep it mess-free? And your kitchen?
You could do all that with a nice outdoor kitchen. Do you want to know more about them and how you can set one up? Let’s go then.
Understanding Outdoor Kitchens
An outdoor kitchen is exactly what it sounds like: a cooking and prep space built right into your backyard, patio, or deck instead of tucked away indoors. It can be as simple as a grill station with a small counter, or as elaborate as a full setup with a sink, mini fridge, storage cabinets, and countertop space for chopping and serving.
Think of it as an extension of your home, just one that happens to live under the sky. You still cook, you still prep, you still clean up. The only difference is none of that mess ever makes its way through your back door.
Purpose of an Outdoor Kitchen
An outdoor kitchen keeps the fun, the food, and the mess all in one place, outside.
What it does for your hosting:
- Keeps you near your guests instead of running back and forth to the kitchen
- Cuts down on trips inside for utensils, drinks, or washing up
- Lets you cook, serve, and clean without ever crossing the back door
What it does for your home:
- Stops grease and smoke from settling into indoor walls and cabinets
- Keeps your house cooler during summer cookouts
- Saves your indoor kitchen from muddy footprints and grimy handles
What it does for your backyard:
- Turns it into an actual destination, not just a walkway to the grill
- Gives guests a reason to stick around outside
- Makes the space feel finished and intentional, not an afterthought
Tips to Set Up an Awesome Outdoor Kitchen
Now, let’s move on to the tips that you can follow to set up an awesome outdoor kitchen.
1. Plan Your Layout First
Keep the grill, prep space, and storage within a few steps of each other. If you’re constantly walking back and forth while cooking, the layout isn’t working.
Here are some things that you can consider:
- Leave enough counter room for a couple of trays or plates at once
- Keep seating out of your direct cooking path
- Group the grill, counter, and storage into a single work triangle
2. Add a Sink
A high-end premium sink might be the single most useful upgrade you can make to your outdoor kitchen. It means you’re not tracking dirty hands or muddy produce back into the house every time you need to rinse something.
Even a small basin works fine as long as it’s connected to an outdoor-rated water line. Adding a soap dispenser or towel hook nearby makes it that much more usable. Position it close to your prep counter rather than off to the side, since that’s where you’ll actually need it.
There are a few things to keep in mind when getting a sink for your outdoor kitchen:
- Not all sinks are made to be used outdoors. It’s not usually a good idea to put a normal kitchen sink outside where it is exposed to the elements. Dedicated outdoor sinks are made for this type of use and are much more suitable.
- Durability and longevity are crucial for an outdoor sink. Since these sinks are out in the rain, wind, etc., you should invest in one that is made of high-grade stainless steel with a premium finish.
3. Choose Weatherproof Materials
Counters and cabinets left out in the rain and sun need to hold up to it.
| Material | Good For | Watch Out For |
| Stainless steel | Counters, appliances | Can scratch, shows fingerprints |
| Natural stone | Countertops | Heavy, needs sealing |
| Concrete | Counters, structure | Can crack in freeze-thaw climates |
| Teak or treated wood | Cabinets, accents | Needs regular oiling |
4. Light It Properly
Built-in lighting around the grill and counter stretches your usable hours well past sunset.
- String lights or overhead fixtures for general ambiance
- Task lighting directly over the grill and prep counter
- Path lighting so guests can move around safely after dark
5. Handle Trash Right There
A bin or two near the cooking area stops food scraps and packaging from piling up on the counter. It’s a small addition, but it saves you from a cleanup job that feels bigger than it needs to be once the party’s over.
6. Build in Some Shade
An umbrella, pergola, or overhang keeps both the food and the people cooking it from baking in direct sun. It also protects surfaces and equipment from fading or overheating over time.
Here are some options that you can use depending on the area that you have available:
| Available Area | Shade Option | Best For |
| Small: 30–60 sq. ft. | Umbrella | Compact outdoor kitchens, balconies, patios |
| Medium: 60–120 sq. ft. | Retractable awning | Kitchens attached to the house or wall |
| Medium: 100–200 sq. ft. | Pergola | Dedicated cooking and dining areas |
| Large: 200–400+ sq. ft. | Covered patio/roof overhang | Full outdoor kitchens with seating and appliances |
| Flexible: 100–300 sq. ft. | Shade sail | Open spaces where permanent structures aren’t practical |
Wrapping Up
And there we have it.
When you have a good outdoor kitchen, the time you spend in your backyard and the parties you have there are all 10x more fun.
Even if you don’t want to do a lot of stuff, you can still make a setup with the basics. A small counter space and a sink are the absolute basics that you need.
We believe in being upfront with our readers. Some links in this article may be affiliate or sponsored links, and we may earn a small commission if you make a purchase through them. This helps support Dwellifyhome.com without adding any extra cost to you.