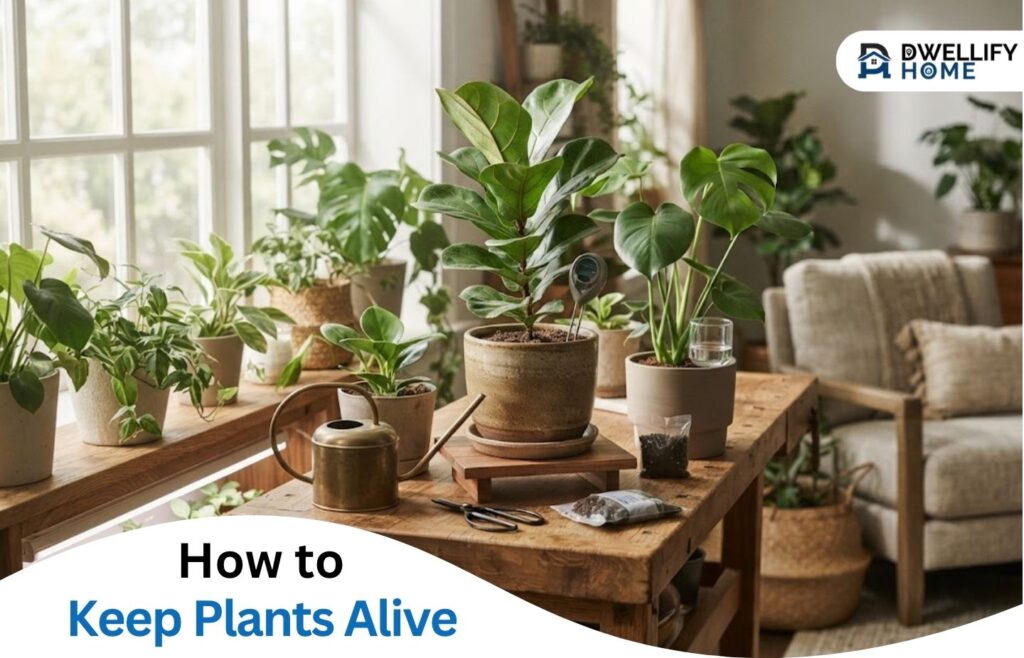
A plant can look healthy at the store, then develop yellow leaves on your windowsill. You water it again, move it, or add fertilizer, yet the problem continues. The missing piece is often knowing which condition needs attention.
Learning how to keep plants alive starts with matching their light needs, checking moisture before watering, and giving excess water somewhere to go. Plant type, pot size, and your home’s conditions all affect those decisions.
For indoor potted plants, a few informed checks are more useful than a growing collection of care products.
Short Definition / Direct Answer
To keep plants alive, match their light needs, check soil moisture before watering, and use pots with drainage. Adjust care for the plant type, growing conditions, seasons, and signs of stress.
Practical Home Tip
A decorative outer pot can hide water beneath the nursery pot. Lift the inner pot after watering and empty any collected water. Drainage helps, but you still need to check moisture before watering again.
DwellifyHome Mission Statement
DwellifyHome helps homeowners and renters make informed, practical choices for comfortable, stylish living spaces. We turn everyday home and garden questions into clear guidance that fits real routines, needs, and budgets.
Before You Water: A Quick Check
- Confirm how dry your plant’s potting mix should become.
- Check moisture below the surface, using a depth suited to the plant.
- Use pot weight as an extra clue when the container is manageable.
- Check for water trapped in the saucer or outer pot.
- Water only when needed, then let excess water drain fully.
Start With Your Plant and the Space You Have
Find your plant’s name before choosing a care routine. Check its label or ask the nursery that sold it. A photo can help with identification, but confirm the match before following detailed advice.
Write down three things: its light needs, how dry its mix should become, and any special requirements. Keep these notes with the plant or on your phone.
Snake plants and ZZ plants can suit beginners who prefer plants that dry between waterings. However, their tolerance for lower light does not remove their need for light or drainage. ZZ plants generally grow best with bright, indirect light.
Choose a plant for the spot you can offer. A shelf that looks lovely may receive little daylight. Before buying, watch that area in the morning and afternoon, and consider how easily you can reach the pot.
Starting with one or two plants also makes learning easier. You can notice changes without trying to remember several different care routines.
Give Your Plant the Light It Needs
Understand Direct and Indirect Light
Direct light means sunlight falls directly on the leaves. Indirect light reaches the plant without a direct sunbeam hitting it, such as beside a sunny window or through a sheer curtain.
“Bright indirect light” still means a well-lit spot. It does not mean the far side of a dim room.
Window direction helps, but it is only a starting point. Trees, nearby buildings, curtains, and distance from the glass change how much light reaches a plant. An unobstructed south-facing window can offer strong light, while a shaded window may provide much less.
Check the plant’s actual position, rather than judging the whole room. When moving it into stronger light, make the change gradually.
What If Your Room Has Little Natural Light?
You can grow houseplants without natural sunlight when suitable artificial lighting supplies enough usable light. They cannot remain healthy indefinitely in darkness, even when sold as low-light plants.
A grow light may help with an otherwise unsuitable corner. Match the lamp to the plants and area it needs to cover. Follow its guidance for placement, then adjust for your plant’s requirements.
Use a timer for consistency and allow a dark period. There is no single distance or running time that suits every lamp and plant. Before buying equipment, check whether a better position near an existing window solves the problem.
Check Before You Water
Check Soil Moisture and Pot Weight
Water when your plant needs it, rather than on a fixed day. The right interval depends on the plant, growing mix, light, temperature, and container. A reminder can prompt you to check; it should not automatically prompt you to pour.
For many common houseplants, gently feeling the mix about one to two inches below the surface provides a useful starting check. However, that depth is not a universal watering rule. Plants that prefer steady moisture and those that need a longer drying period require different decisions.
Lift a manageable pot after watering and again as it dries. The change in weight gives you another clue about moisture.
The surface can feel dry while deeper mix remains wet, especially in a large container. Combine what you feel with pot weight and the plant’s specific needs. Do not water just because the top looks pale.
Keep a brief note of when you check and water. Over time, this gives you a useful pattern without turning it into a rigid schedule.
Water Thoroughly and Let the Pot Drain
When watering is needed, apply room-temperature water slowly across the mix. Continue until excess water flows from the drainage holes, then let the pot drain.
Empty the saucer or decorative outer pot. A drainage hole cannot protect roots when the container remains standing in collected water.
Avoid giving frequent tiny splashes that wet only the surface. The goal is to moisten the root area, then allow the appropriate drying period.
Very dry potting mix can become difficult to wet. Water may run down a gap beside the pot without soaking the roots. Apply water slowly in stages, or briefly bottom-water the pot until the mix absorbs moisture, then drain it fully.
Choose the Right Pot and Potting Mix
Drainage means excess water can leave the container. For most beginners, a pot with drainage holes makes watering easier to manage.
You can keep an attractive container without holes as an outer cover. Leave the plant in a draining nursery pot, lift it out for watering, and return it after draining. Check that no water remains underneath.
Do not add a gravel layer at the bottom as a drainage fix. Use a suitable container and growing mix instead.
Potting mix is the material surrounding the roots. Choose one intended for your plant type; ordinary garden soil can be too dense for indoor containers. Ingredients such as perlite help adjust a mix’s structure, but no single recipe suits every plant.
Pot material changes drying too. Unglazed terracotta loses moisture through its sides, while plastic and glazed containers generally retain it longer. Your watering checks need to account for that difference.
A larger pot is not automatically better. Too much surrounding mix can stay wet longer than the plant needs. When moving up, a modest increase is usually more suitable than a large jump.
Repot when there is a reason. Roots packed tightly around the root ball, combined with frequent drying or restricted growth, may indicate a root-bound plant: one whose roots have filled the available space.
Inspect the root ball before deciding. A single root emerging from a hole is a reason to check, not proof that urgent repotting is needed.
What to Check When Your Plant Looks Unwell
Check the Symptoms Before Choosing a Fix
To revive a struggling plant, first identify what is going wrong. Check moisture, drainage, light, pests, and recent changes. Yellow leaves or wilting can have several causes, so choosing a treatment from one symptom alone can make matters worse.
Use this table to decide what to investigate next.
| What you notice | Possible causes | First useful check |
| Wilting with dry mix | Too little water or mix that is difficult to wet | Check moisture through the root area and whether water soaks in. |
| Wilting with wet mix | Root damage or persistently wet conditions | Empty trapped water and inspect drainage; check roots if decline continues. |
| Yellow leaves | Watering problems, poor light, pests, or other stress | Check moisture, leaf undersides, and recent care changes. |
| Brown leaf tips | Water stress, fertilizer salts, drafts, or pests | Review watering and feeding, then inspect the growing spot and foliage. |
| Thin, stretched growth | Insufficient light | Reassess how much light reaches the leaves. |
These are starting points rather than firm diagnoses. The University of Maryland’s plant-problem guide shows how several causes can produce similar symptoms.
Ask what changed before the problem appeared. Did you move the plant, start heating the room, repot it, or increase watering? A recent change can help narrow your search.
Avoid changing everything at once unless the plant faces an immediate problem. Emptying standing water makes sense straight away; adding fertilizer, changing the mix, and moving into strong sun together makes the result harder to judge.
When a Struggling Plant May Not Recover
Persistent wilting in wet mix deserves a root check. Carefully ease the plant from its pot and look for soft, mushy roots. Healthy roots should feel firm; color alone is not enough to judge them.
If firm, healthy roots remain, remove soft, rotten sections with clean scissors. Repot the remaining healthy plant in fresh, suitable mix and a clean pot with drainage. Extensive decay through the roots or stem base can make recovery unlikely; severely affected plants may need to be discarded.
Ask a local extension service or knowledgeable nursery for help when the cause is unclear. Share the plant’s name, photos, watering history, and growing conditions.
Keep Everyday Plant Care Simple
Use regular checks to look at the whole plant. Examine leaf undersides and the points where leaves join stems. Fine webbing, cottony patches, or visible insects deserve closer attention.
Separate a plant with suspected pests from the others while you identify the problem. Choose any treatment for the identified pest and plant, and follow the product label.
Feed according to the plant’s needs while it is actively growing. Check whether the potting mix already contains fertilizer before adding more. Extra feeding is not a general treatment for yellow leaves, and excess fertilizer can damage roots.
Wipe dust from suitable smooth leaves with a soft, damp cloth. Handle delicate or fuzzy leaves according to their care needs. These basic feeding and cleaning practices are covered in Illinois Extension’s houseplant care guidance.
Check pet suitability before choosing a plant or display spot. Snake plants and ZZ plants can be harmful if pets chew them. Keep them inaccessible, or choose an appropriate alternative for a household with plant-chewing pets. See the snake plant and ZZ plant profiles.
Adjust Care for Winter and Hot Weather
Keeping Indoor Plants Healthy in Winter
Shorter days can reduce growth and water use. Keep checking moisture instead of carrying a summer watering pattern into winter.
A plant under strong artificial lighting may behave differently from one beside a dim window. Adjust to its conditions and growth rather than the month alone.
Keep foliage away from cold glass and avoid direct blasts from heating or cooling vents. Dry indoor air may also affect moisture-loving plants. A humidifier can help where extra humidity is needed; occasional misting provides only a brief change.
Protecting Outdoor Pots in 100°F Weather
Outdoor containers need closer attention during extreme heat. Check root-zone moisture often, water thoroughly when needed, and consider temporary protection from intense afternoon sun.
A plant that droops in afternoon heat may recover as temperatures fall. Check the soil before adding water to an already wet pot.
Delay unnecessary transplanting and feeding until the heat eases. Check treatment labels carefully before applying pest-control products in hot weather.
Make a Care Plan Before You Travel
Base your travel plan on how each plant behaves at home. A plant that repeatedly needs water during a short interval will need suitable care while you are away.
Before leaving, check moisture and water only the plants that need it. Let them drain, check for pests, and confirm that their light and temperature will remain suitable.
Leave a helper clear instructions for each plant:
- Where and how to check moisture.
- When watering is appropriate.
- How to water and empty collected water.
- Who to contact if the plant looks unwell.
Demonstrate the process if possible. “Check this pot and water if needed” is more useful than asking someone to water everything every Friday.
Test any watering device before relying on it. Check whether it keeps the mix too wet, runs out too quickly, or fails to supply water.
For a month or two away, arrange dependable visits and backup help. A longer absence calls for ongoing checks, not simply a larger drink before departure.
Frequently Asked Questions
Does Adding Sugar to Water Help Plants?
For ordinary potted-plant care, stick with plain water and suitable fertilizer when needed. Houseplants make sugars using light through photosynthesis. Adding sugar does not correct inadequate light or poor drainage, so it is not a sensible general rescue step.
Cut flowers are a different case. Some floral preservatives contain sugar alongside other ingredients to support cut stems. Use those products as directed for bouquets, rather than transferring the advice to houseplant pots.
Can Plants Survive Two Weeks Without Water?
Some established plants that tolerate dry conditions may manage two weeks, but there is no guarantee. Plant type, starting moisture, pot size, temperature, and light all matter. Use your plant’s observed needs to decide, and arrange care if it normally needs watering within that period.
Is It Hard to Keep Indoor Plants Alive?
It becomes more manageable when the plant suits your home and routine. Start with a small collection, learn each plant’s needs, and check conditions before acting. A plant that struggles in one room may simply be poorly matched to that spot.
Build a Routine Around Your Plant’s Needs
Start with the plant in front of you: confirm its name, check its light, feel the mix, and look for trapped water. Those observations will tell you more than another general tip.
Keep a simple record of changes and respond to what you find. A useful routine leaves room for different plants, changing seasons, and the conditions in your home.
Disclaimer
This guide provides general information. Plant needs, home conditions, budgets, and circumstances vary. Follow relevant product labels and seek advice from a local extension service or qualified horticulturist for persistent or unclear problems.