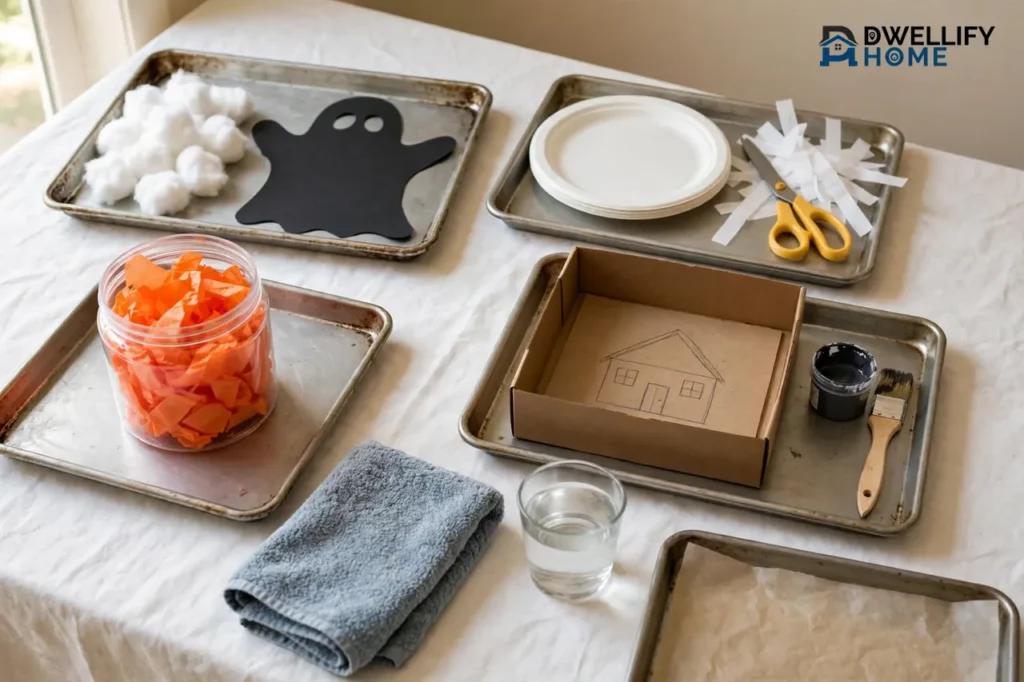
The safest kids Halloween crafts are the ones matched to your child’s age: toddlers need big, soft, mouth-safe materials and zero small parts, preschoolers can handle pre-cut pieces and blunt scissors with you beside them, and older kids can take on real tools and multi-step builds. Every project below is organized by age band, with the adult prep steps clearly marked, so your child does the fun parts and you quietly handle anything sharp, hot, or tiny.
That age-first approach is what most craft roundups skip. They hand you thirty pretty projects and leave you to discover, mid-glue, that the googly eyes are a choking hazard for your two-year-old or that the “easy” lantern needs a craft knife. Here, nothing in the younger bands uses sharp or hot tools at all, and wherever an adult must cut, heat, or assemble something first, the step is labeled Adult prep.
Kids Halloween Crafts by Age: Pick the Right Project First
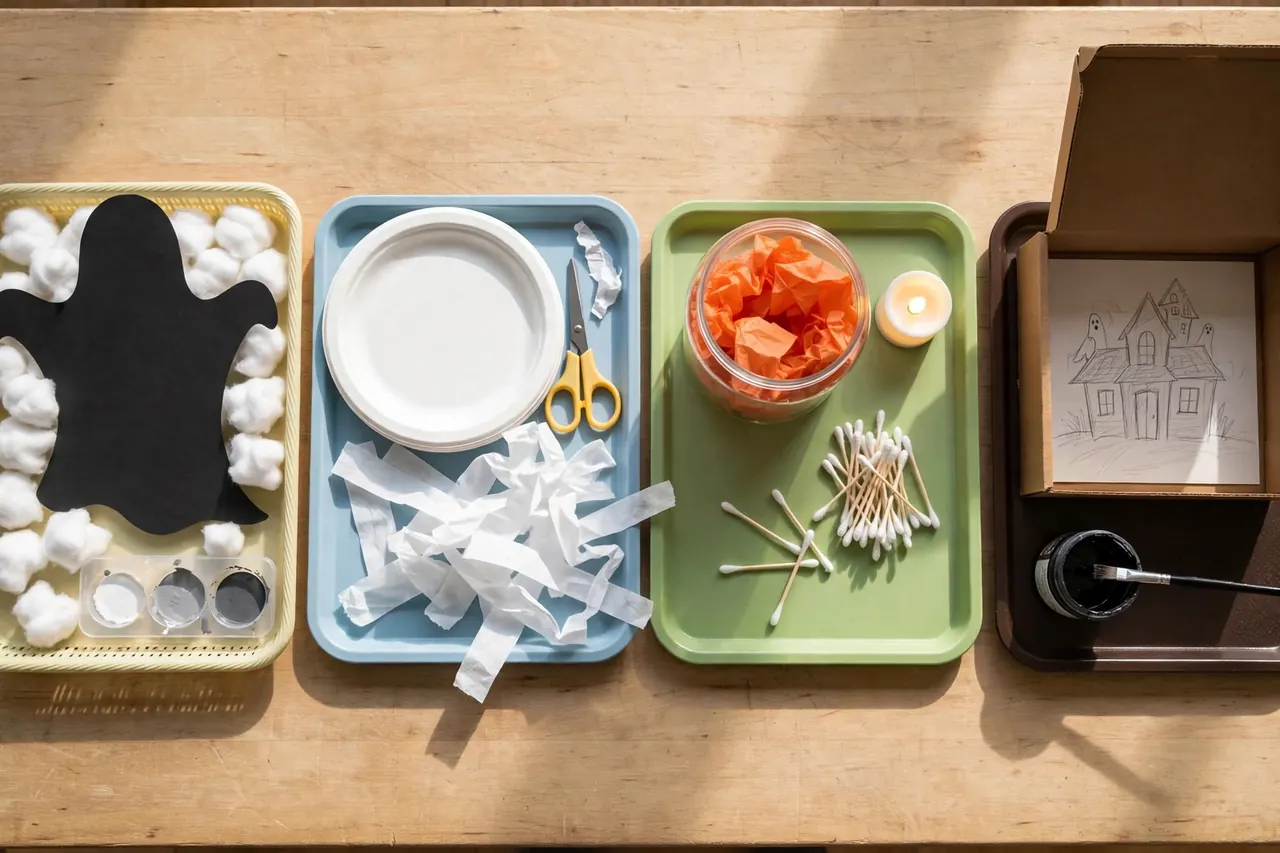
A child’s age tells you three things that matter more than the project itself: how long they can stay focused, what their hands can actually do, and which materials are safe within grabbing distance. Toddlers work in short bursts and explore with their mouths. Preschoolers can snip, glue, and follow two or three steps. Kids six and up can plan, measure, and finish something with a real beginning and end.
Use this table to pick the band, then jump to that section. Every project inside the band is safe for that age with normal supervision.
Kids Halloween crafts by age band: what each age can do, what adults prep, and what to keep away
| Age band | Best project types | Adult prep needed | Keep away |
|---|---|---|---|
| Ages 1–3 (toddlers) | Sticking, stamping, tearing, cotton-ball gluing, finger painting | Pre-tear paper, fill glue sponges, set out only large pieces | Small parts, loose googly eyes, scissors, balloons, glitter |
| Ages 3–5 (preschool) | Paper plate crafts, handprint art, simple cutting, tube characters | Pre-cut tricky shapes, pour paint, cap the glue bottles | Craft knives, hot glue, small beads and sequins |
| Ages 6–8 (early elementary) | Multi-step paper builds, lanterns with LED lights, skeleton art | Score fold lines, handle any craft-knife cuts, check the finished display spot | Real candles, spray paint indoors, unsupervised cutting tools |
| Ages 9–12 (tweens) | Papier-mâché, cardboard haunted houses, detailed window silhouettes | Approve the design, supervise hot glue, help with heavy cutting | Nothing age-banned, but hot tools and blades stay supervised |
If your child sits between bands, choose the younger one. A slightly easy project still gets finished and hung up proudly. A project one step too hard ends with an adult finishing it while the child wanders off.
One more filter before you start: attention span. A toddler craft should be finishable in about ten minutes, a preschool project in fifteen to twenty. Save the hour-long builds for kids eight and up, and break them into stages with a drying break in the middle. If you want projects the whole family, adults included, can sit down to together, our guide to easy Halloween crafts covers the mixed-age table.
Safety Rules Before Anyone Touches the Glue
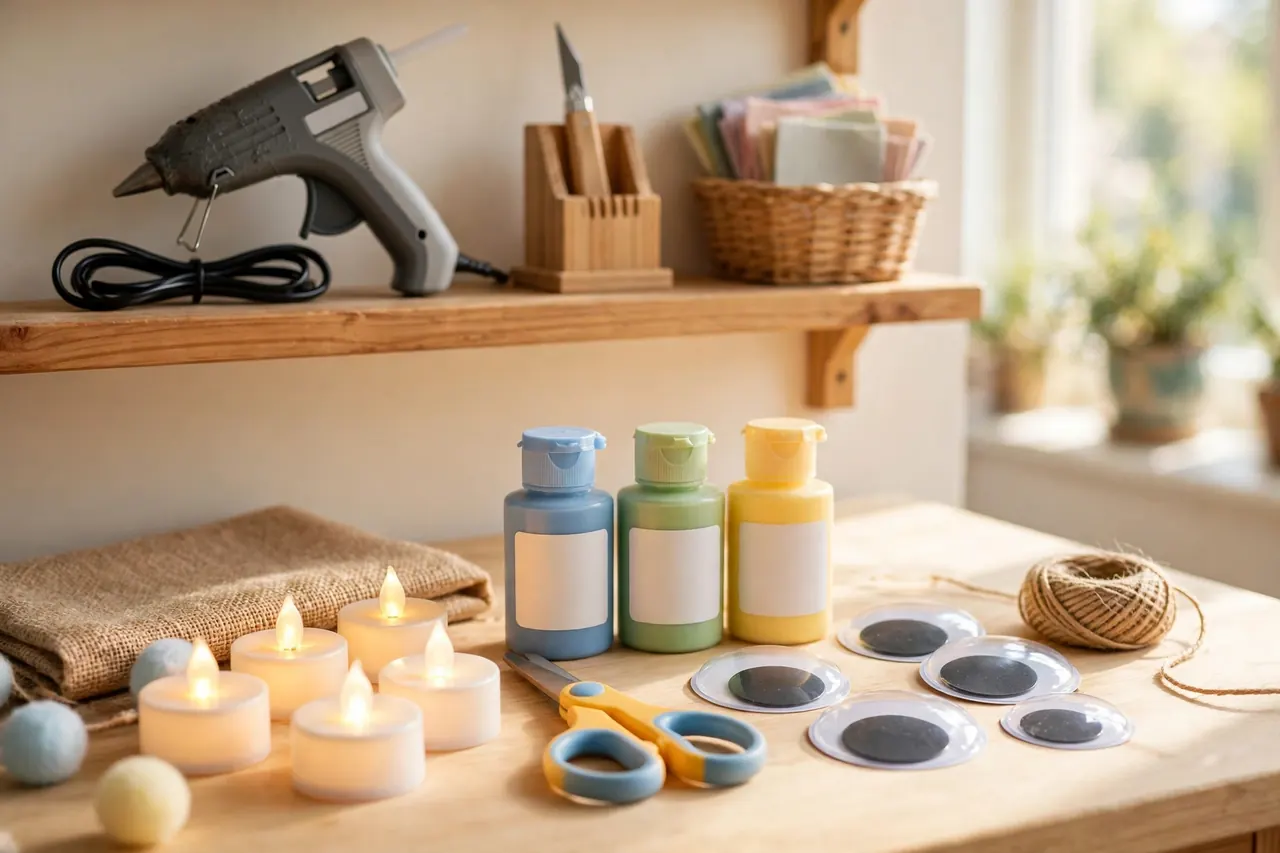
Most craft injuries and scares at home come from the same short list: small parts near little mouths, hot glue guns left plugged in, sharp tools treated like toys, and real candles inside paper decorations. These five rules remove almost all of that risk.
- No small parts for under-threes. The U.S. Consumer Product Safety Commission (CPSC) bans small parts in toys and children’s articles meant for children under 3, because pieces that fit a toddler’s throat can choke. For crafting, that means no loose googly eyes, beads, sequins, or small pom-poms for the youngest band. The CPSC’s toy safety guidance gives the same warning.
- Adults own the sharp and hot tools. Craft knives, pointed scissors, needles, and hot glue guns are adult prep tools, full stop. A low-temperature glue gun is still hot enough to burn small fingers, so even in the older bands it stays supervised.
- Check for “non-toxic” on the label. Paints, glues, and markers for children should say non-toxic, and art materials carrying the AP Seal from the Art & Creative Materials Institute have been evaluated as non-toxic. Washable versions clean up easier, but washable does not always mean stain-free, so smocks still earn their keep.
- LED lights, never candles, in kids’ decorations. Paper, cotton balls, and tissue paper are all flammable. Any lantern or pumpkin in this article uses a battery-operated LED tea light. The American Academy of Pediatrics gives the same advice for jack-o’-lanterns: use a battery-operated flameless candle, flashlight, or glow stick instead of a real flame.
- Supervision is a material, too. Every project here assumes an adult in the room. For toddlers, that means within arm’s reach, because the craft is only safe while the big pieces stay big and the paint stays on the paper.
The CPSC also advises keeping deflated balloons away from children younger than 8, since balloon pieces are a serious choking hazard. That is why balloon crafts appear in this article only in the oldest band, under supervision.
Set Up a Craft Station That Keeps Kids Safe and Calm
Ten minutes of setup saves the whole session: everything a child may touch is already safe, and everything else is already out of reach.
- Cover the surface. Lay down a washable tablecloth, an old shower curtain, or flattened cardboard, and tape the corners so it does not slide.
- Give each child a tray. A baking tray or shallow box lid per child holds only that project’s pieces. This quietly enforces the safety rules, because nothing extra, tiny, or sharp ever lands in front of a small child.
- Adult prep the risky steps in advance. Cut every tricky shape, score every fold line, and portion the paint before you call the kids in.
- Set out a damp towel and a wash water cup. Quick hand wipes stop paint from traveling to faces, snacks, and the sofa.
- Plan the finish line. Decide where finished crafts will dry. A parchment-lined cookie sheet makes a drying tray that moves without smearing art.
For toddlers, keep sessions short and set out one material at a time. Dumping a whole craft box on the table overwhelms small children and scatters unsafe pieces into the mix. One tray, one project, one happy finish beats four half-started crafts.
Toddlers (Ages 1–3): Sensory Crafts With Nothing Small or Sharp
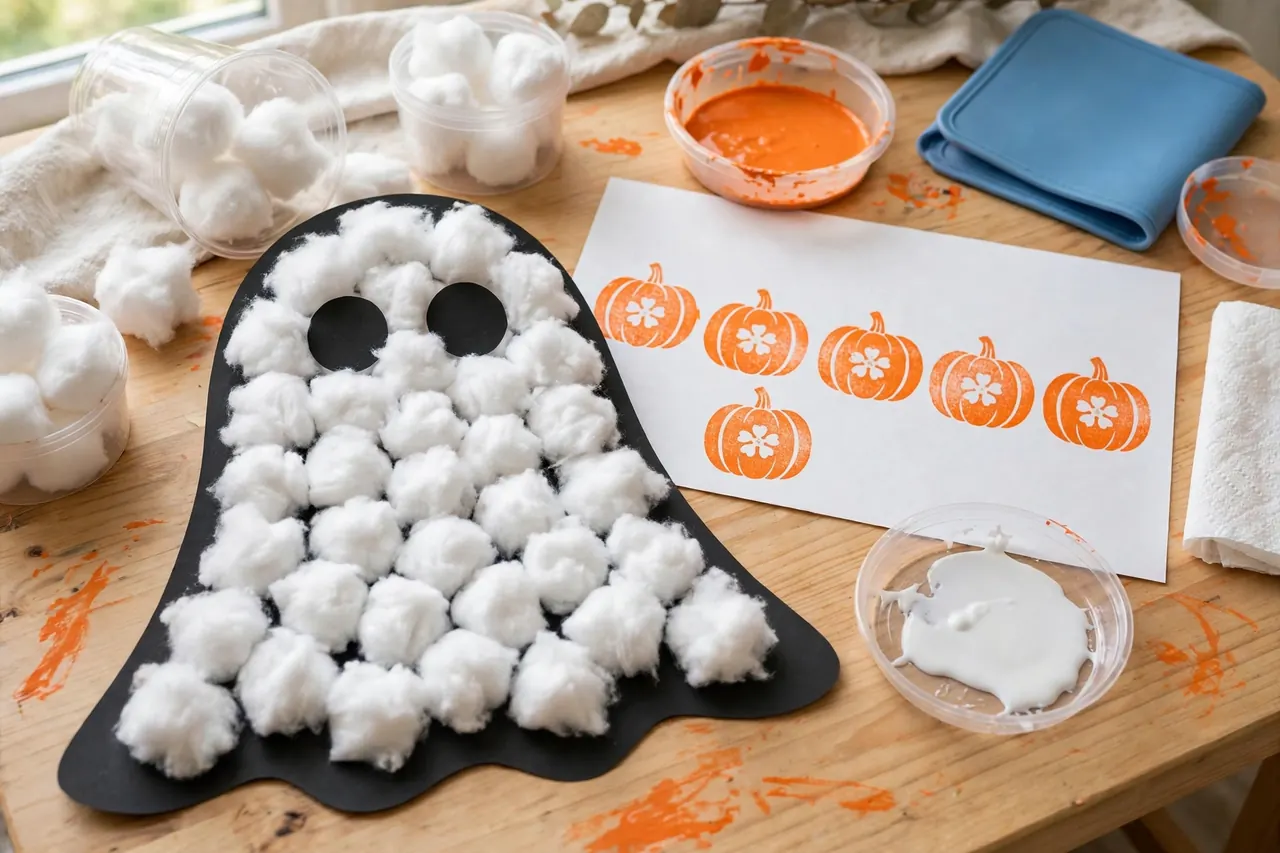
For the youngest crafters, the process is the point. Toddlers learn by squishing, sticking, stamping, and tearing, and a finished product that looks like the picture is not the goal. Choose projects with one or two steps, pieces too big to swallow, and paint that washes off skin with water. Expect ten good minutes, and count that as success.
Cotton Ball Ghost
Adult prep: Draw a big ghost outline on black or dark blue construction paper. Squeeze school glue into a shallow dish, or spread glue inside the outline with a brush.
- Show your toddler how to pull a cotton ball apart into a fluffy cloud.
- Let them press cotton pieces onto the glue until the ghost fills in.
- Stick on two large circles cut from black paper, bigger than a quarter, for eyes. Skip googly eyes entirely at this age.
- Press the finished ghost flat under a book for an hour so the cotton stays put.
Apple-Stamp Pumpkins
Adult prep: Cut an apple in half across the middle, pat the cut side dry, and squeeze washable orange tempera onto a paper plate.
- Let your toddler press the apple half into the paint with both hands on the skin side.
- Press it onto paper and lift straight up. The round apple print reads as a pumpkin instantly.
- When the prints dry, add stems and faces yourself with a thick green crayon, or let an older sibling help.
Preschoolers (Ages 3–5): First Tools, Pre-Cut Pieces, Big Wins
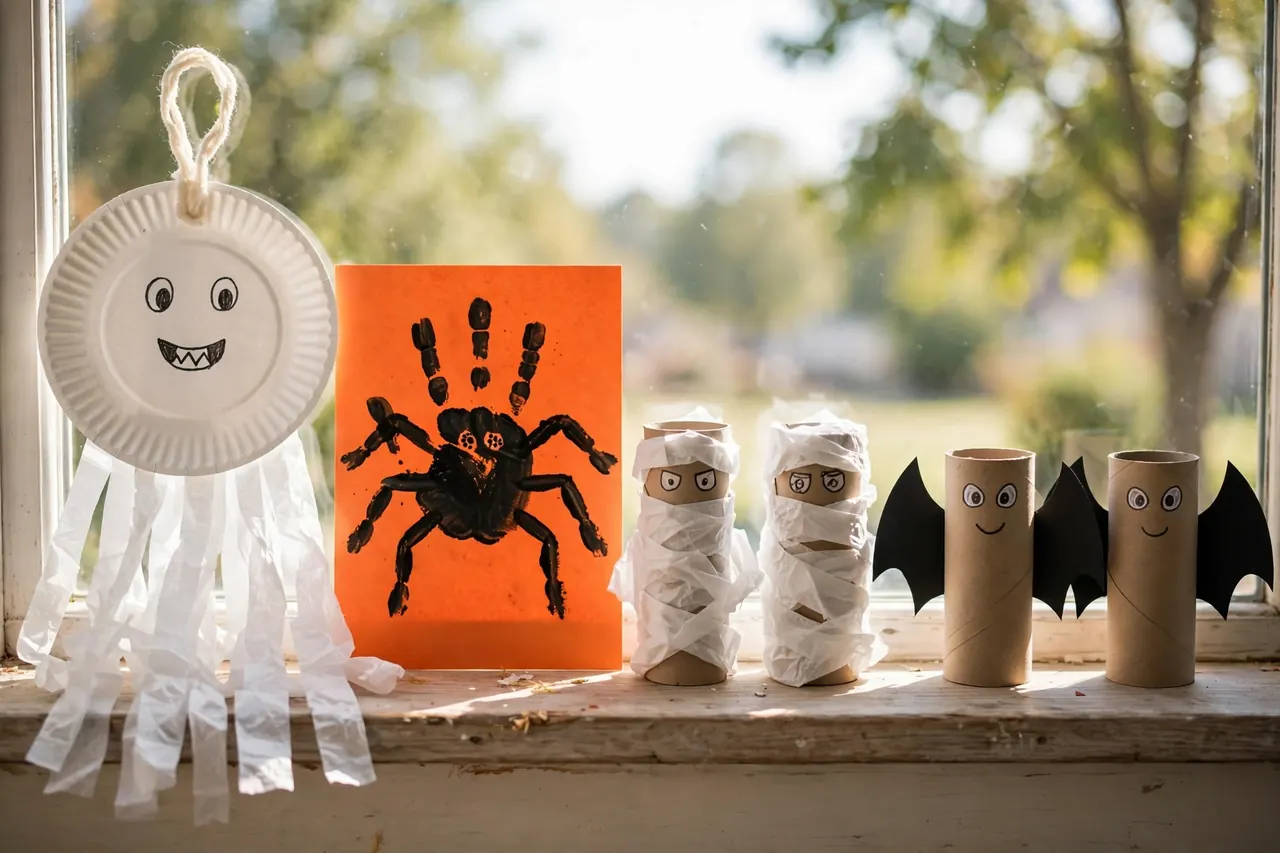
Preschoolers want to do it themselves, and at this age they safely can, with the right setup. Blunt-tip safety scissors are a reasonable first tool with you beside them, because cutting is a skill this age group is genuinely ready to practice. You still pre-cut anything curved or tricky, and all supplies stay non-toxic, with no hot glue and no small loose parts at the table.
Paper Plate Ghost With Streamer Trails
Adult prep: Cut long strips of white tissue paper or crepe paper for the trailing tail. Cut two black oval eyes and a round mouth from black paper, or let a confident five-year-old cut them with safety scissors.
- Your child glues the eyes and mouth onto a white paper plate with a glue stick.
- Flip the plate over and tape or glue the white strips along the bottom edge so they hang like a flowing ghost tail.
- Add a loop of yarn through a hole at the top. Adult prep: punch the hole.
- Hang a row of them in a doorway or window where they sway when people walk past.
Handprint Spiders
- Paint your child’s palm and fingers with washable black tempera, leaving the thumb clean.
- Press the hand onto orange or white paper with fingers spread, then press again with the palm overlapping so the two sets of fingers become eight legs.
- When the paint dries, your child draws a face with a thick white or silver crayon. Use drawn eyes, not glued ones, if younger siblings will handle the finished art.
- Write the child’s name and the year on the back. These become the decorations families keep.
Toilet Roll Mummies and Bats
Adult prep: Save empty cardboard tubes. For mummies, tear white tissue or crepe paper into strips. For bats, pre-cut simple wing shapes from black paper for younger preschoolers.
- For a mummy, your child wraps a tube with white strips, gluing as they go, and leaves a gap near the top.
- Draw two eyes in the gap with a black marker, or glue on two large paper eyes.
- For a bat, paint a tube black, let it dry, then glue a pre-cut wing to each side and fold the top of the tube down into two pointy ears.
- Stand a whole colony along a windowsill or mantel edge.
If your preschooler loves working with paper more than paint, the projects in our Halloween crafts using construction paper guide are a natural next step, and most templates there can be pre-cut the same way for this age.
Early Elementary (Ages 6–8): Real Projects They Finish Themselves
Kids six to eight can follow a sequence, use real scissors with control, and stick with a project for half an hour. This is the band where crafts start looking like real decorations. Adult help narrows to specific moments: scoring a fold, one tricky cut, or approving where the finished piece will hang. Hot glue is still an adult tool at this age, and real candles stay out of every lantern.
Cotton Swab Skeleton
- Give your child black paper, cotton swabs, school glue, and a white crayon.
- They draw a simple skull, then arrange whole and cut swabs as ribs, arms, and legs before gluing anything down. Adult prep: snip swabs to shorter lengths if they want different bone sizes.
- Glue the arrangement in place and let it dry flat. The finished skeleton glows nicely in a window.
Jar Lanterns With LED Lights
- Adult prep: choose a clean plastic jar with a wide mouth, not glass. Wash it, remove the label, and check the rim for sharp edges.
- Brush the outside of the jar with white glue thinned with a little water, then cover it with orange tissue paper pieces.
- While it is still tacky, stick on a jack-o’-lantern face cut from black paper.
- Let it dry fully, then drop in a battery-operated LED tea light.
- Line two or three lanterns along a hallway or porch step for trick-or-treat night.
The tissue-paper glow reads beautifully at dusk, and because the light is an LED, the lantern can sit on a bedroom shelf as a night-light all October with no fire risk.
Older Kids (Ages 9–12): Real Technique, Real Responsibility
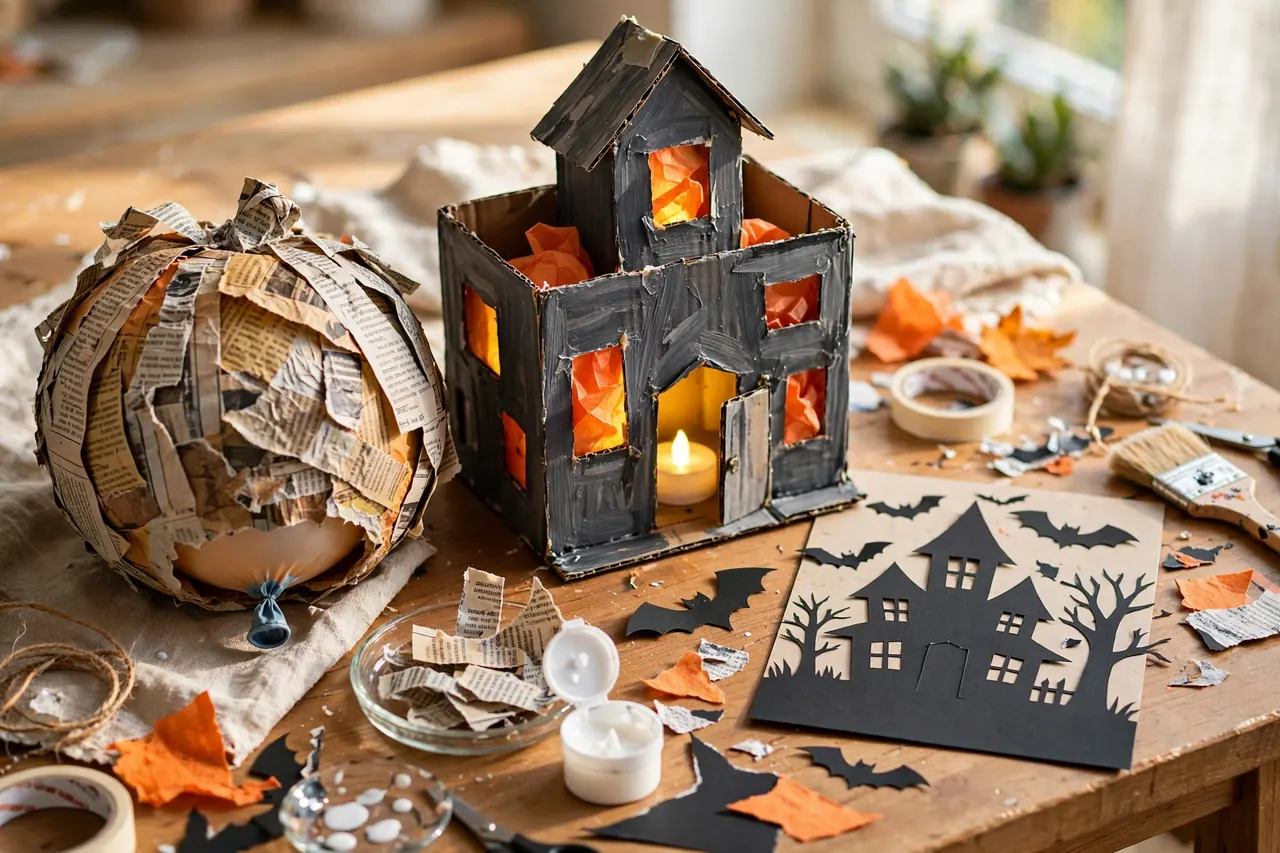
Tweens are ready for projects with planning, drying time, and tools that demand respect. Your job shifts from prep cook to supervisor: approve the design, stay nearby for hot glue and craft-knife moments, and let them own the rest.
Papier-Mâché Pumpkins
- Blow up a balloon to pumpkin size and tie it off. Balloons stay in the supervised zone, and popped pieces go straight in the trash, away from younger kids.
- Mix flour and water into a smooth paste, roughly equal parts, in a bowl your child can manage.
- Dip newspaper strips in the paste, squeeze off the extra, and layer them over the balloon until it is covered three layers deep. Leave the knot uncovered.
- Let it dry for a full day. A fan speeds this up; a half-dry shell collapses.
- Pop the balloon through the opening, paint the shell orange, add a paper stem, and paint or cut a face. Adult prep: any face cutting with a craft knife.
Cardboard Haunted House
- Start with a sturdy cardboard box. Your child sketches the house plan first: door, windows, one crooked tower if the box allows it.
- Adult prep: cut the window and door openings with a craft knife, or supervise closely while an older tween cuts with a ruler guide.
- Paint the box dark gray or black and let it dry, then add details: tissue-paper window glow, cotton-ball cobwebs, a paper moon.
- Set an LED tea light inside on display nights so the windows glow without any flame near cardboard.
Window Silhouette Scene
- Measure the window pane together and sketch a scene to fit it: haunted house, bare tree, bats, a full moon.
- Draw the shapes on black card, cut them out, and arrange the scene on the glass before taping anything.
- Tape the pieces at the edges with clear tape, then check the effect from outside after dark, when indoor light turns the window into a glowing picture.
No-Carve Pumpkin Decorating for Every Age
Carving is the one classic Halloween craft that does not belong in children’s hands. The American Academy of Pediatrics is direct about it: small children should never carve pumpkins. Kids draw the face with markers, and adults do any cutting. Better still, skip the knife entirely and decorate the outside, because a painted pumpkin also lasts far longer than a carved one.
- Ages 1–3: Finger-paint or sponge-stamp a small pumpkin with washable tempera. Large foam stickers, pressed on by the child, work well too.
- Ages 3–5: Paint the whole pumpkin one color, then add a face with thick markers or big paper shapes and a glue stick.
- Ages 6–8: Paint a character or pattern, add yarn hair, paper ears, or a tissue-paper mummy wrap.
- Ages 9–12: Paint detailed scenes, try a melted-crayon drip design with adult supervision of the heat source, or build a pumpkin diorama on the surface.
Choose small “pie” or sugar pumpkins for little hands; they are easier to grip, lighter to carry, and quicker to cover with paint. For an earthy, display-ready finish, our guide to terracotta pumpkins shows a painted clay look that older kids can copy on real pumpkins.
Displaying the Finished Crafts Safely
The craft is not finished until it is displayed, and kids light up when their work becomes the decoration. A few display rules keep that moment safe.
- Keep paper crafts away from heat. Never hang paper, tissue, or cotton decorations near real candles, fireplaces in use, stove tops, or space heaters.
- Mind the walkways. Keep floor displays out of the path trick-or-treaters will walk in the dark, and tape down any cord from plug-in lights.
- Hang at kid height in kid spaces. A bedroom door, the refrigerator, or a low hallway gallery string shows crafts at the eye level of the person who made them.
- Photograph, then store flat. Paper crafts keep well between sheets of cardboard in a dry box. Photograph each child holding their favorite piece first, because the photo survives even when the cotton balls do not.
Related Guides
- Easy Halloween crafts — mixed-material projects the whole family, adults included, can make at one table.
- Halloween crafts using construction paper — one-material paper projects and techniques, easy to pre-cut for younger kids.
- Terracotta pumpkins — a painted clay-look pumpkin finish for displays, with outdoor tips.
- Trunk or treat table ideas — turn the kids’ finished crafts into a themed trunk-or-treat display.
Frequently Asked Questions
What is the best age to start Halloween crafting with a toddler?
Most children can begin very simple crafts around 18 months, starting with finger painting, stamping, and sticking large pieces onto glue you have spread for them. At that age the sensory experience matters more than the result. Keep sessions near ten minutes and use only large, non-toxic materials.
What Halloween crafts are best for 2-year-olds?
For 2-year-olds, choose crafts with one or two steps and no scissors: cotton ball ghosts on a glue outline, apple-stamp printing, sticky contact-paper art, and foam sticker scenes. Everything should be too big to swallow, paint should be washable and non-toxic, and an adult should stay within arm’s reach throughout.
What are the best age-appropriate materials for toddlers for Halloween crafts?
The best toddler materials are large, chunky, and non-toxic: big sheets of paper, cotton balls, large tissue pieces, washable finger paint, glue sticks or adult-spread school glue, and thick crayons. Avoid loose googly eyes, beads, and sequins, because children under 3 explore with their mouths and small parts are a choking hazard.
Are Halloween crafts with paint safe for toddlers?
Yes, when the paint is labeled non-toxic and washable, such as washable tempera or finger paint made for young children. Seat your toddler where you can reach them, put on a smock, and keep a damp towel ready for hands before they touch faces or snacks. Skip acrylic craft paint for the youngest kids unless you are supervising every second.
How can I keep my toddler engaged during a craft?
Keep the session short, around ten to fifteen minutes, and set out one material at a time instead of the whole craft box. Offer small choices, like orange or black paper, join in yourself, and praise the doing rather than the result. When a toddler wanders off, the craft is done, and that is fine.
Can I do these crafts with household items?
Yes. Most projects here use things already at home: cardboard tubes, paper plates, cotton balls, tissue paper, jars, newspaper, and leftover paint. The only items worth buying deliberately are washable non-toxic paint, safety scissors for preschoolers, and battery LED tea lights, because those three carry the safety rules.
The Bottom Line for Craft Day
Pick the project by your child’s age first and by the picture second. Pre-cut, pre-pour, and pre-glue anything risky before the kids sit down, keep small parts and hot tools in adult hands only, light every lantern with an LED, and let each child finish something they can carry to the wall themselves.
Disclaimer: Age bands in this guide are general guidance, and children develop at different speeds. Always supervise young children during crafts, follow the age and safety labels on your own supplies, and keep small parts, sharp tools, and hot glue away from children who are not ready for them. When in doubt, choose the younger band’s project.