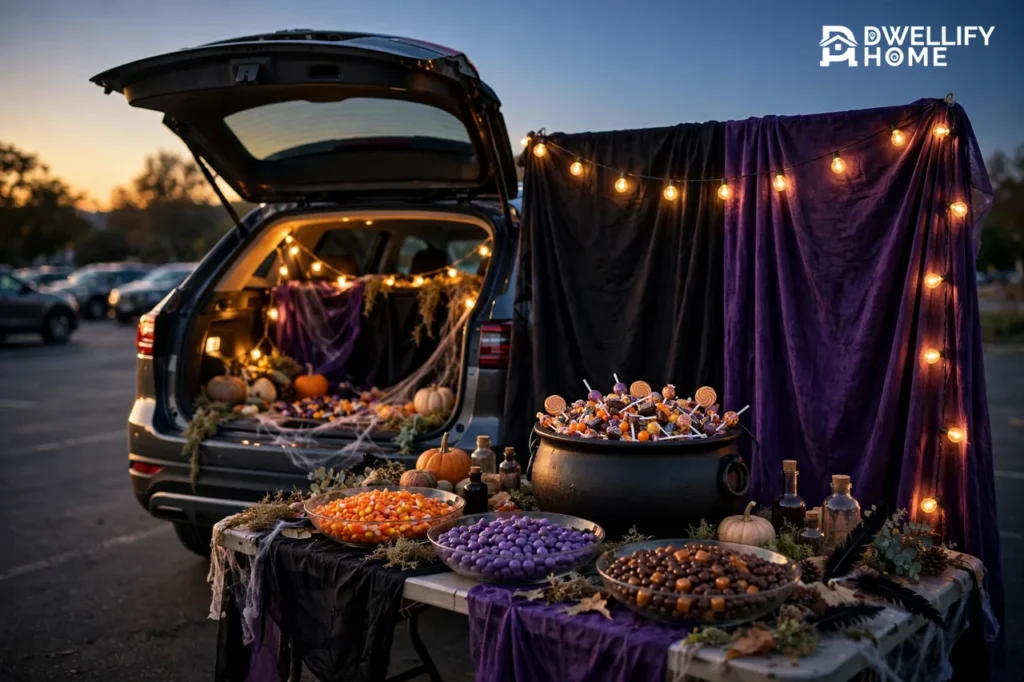
The best trunk or treat table ideas treat your table like a tiny candy station, not a pile of decorations. Pick one theme a child can name in three seconds, build a backdrop tall enough to spot from the aisle, and put the candy at the front edge where small hands can reach it. Battery lights, a separate bowl of non-food treats, and a simple one-way line do the rest.
This guide walks through the whole display in the order you will build it: theme, backdrop, tabletop layout, candy flow, lighting, allergy-friendly touches, wind fixes, and a setup plan that packs up fast when the lot clears.
Start With the Table: How a Trunk or Treat Table Setup Works
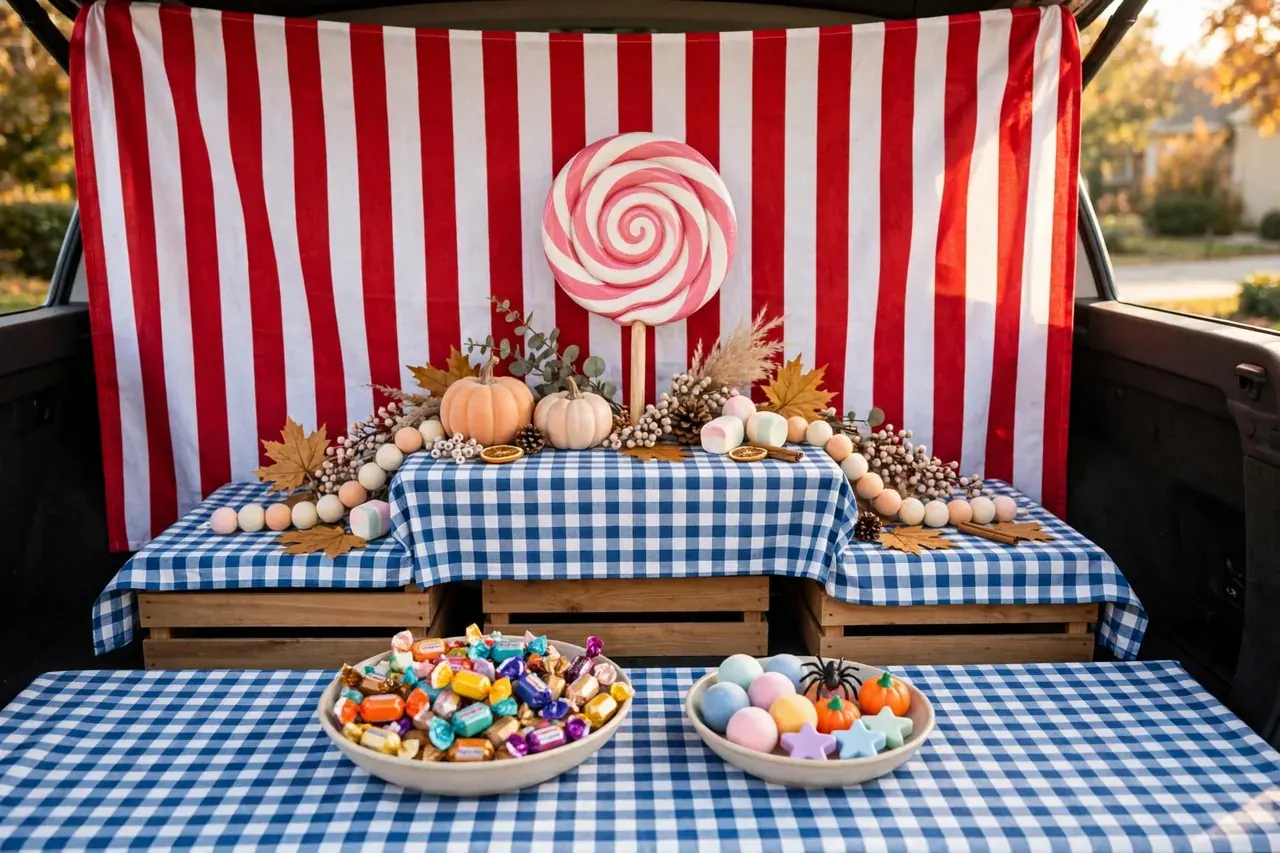
A trunk or treat event is a Halloween gathering where families park in one lot, decorate their cars, and hand out treats from their trunks. Many hosts also let you set up a folding table in front of the trunk, and some events are table-only, with no car display at all. Either way, the table is where the night is won or lost, because it is the part kids actually touch.
Think of your setup in three zones. The back zone is the backdrop, the tall part that shows the theme. The middle zone is the display, where props, signs, and themed pieces sit. The front zone is a serving strip, roughly the front foot of the table, kept clear for candy bowls and little hands. When those three zones stay separate, the table looks full without feeling crowded, and nobody has to reach over a pumpkin to grab a treat.
One more rule before you buy anything: build for the table you already own. A standard folding table is plenty. If your event space is just the trunk, the same three zones still work, with the trunk floor as your table and the open hatch as your backdrop frame.
Choose a Theme That Fits on One Table
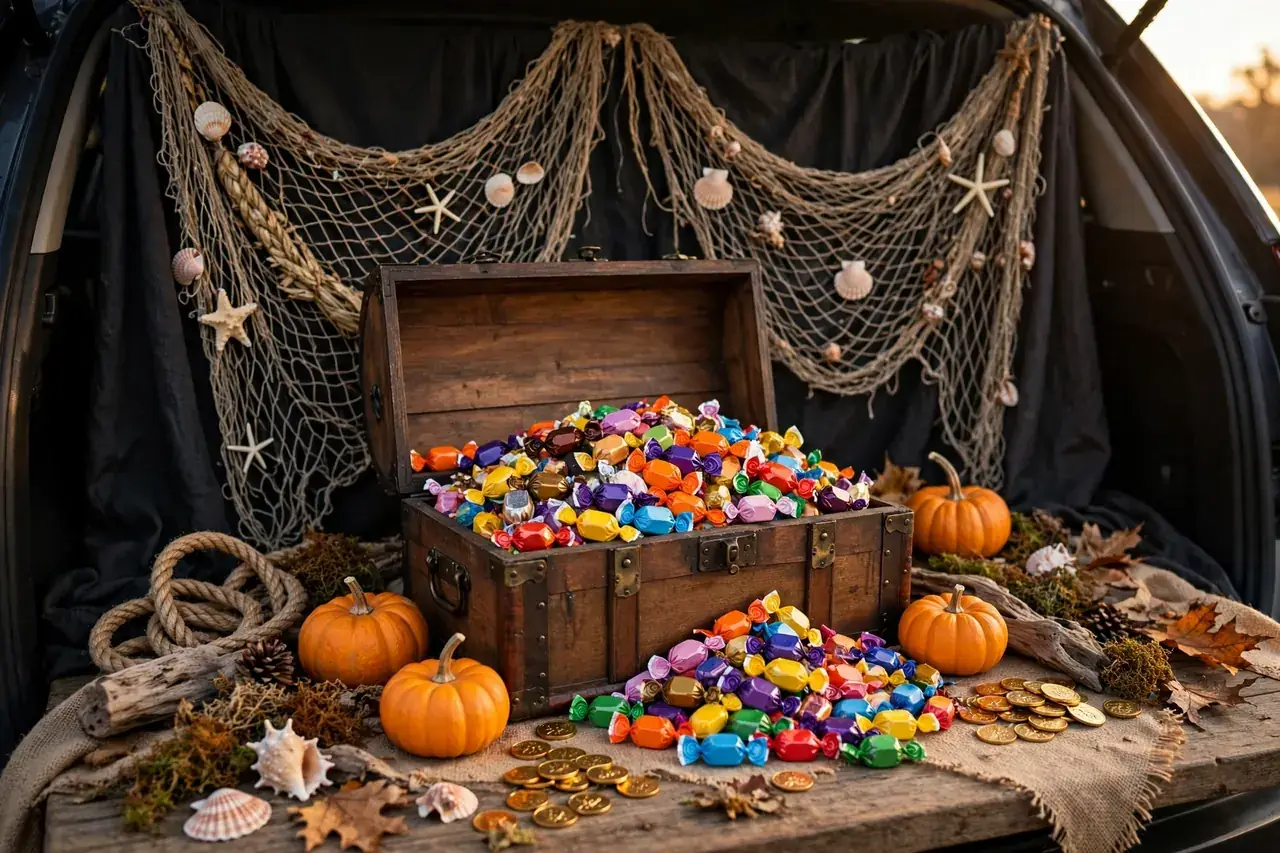
A table theme has one job: read clearly from a few steps away. Costumes, backdrops, and props all help, but on a table the fastest theme signals are color, one big prop, and the candy container itself. Choose a theme you can build mostly from things at home, then add one or two bought pieces if you need them.
These six themes are sized for a single table and a normal open trunk behind it:
Table Theme Guide: What Each Theme Needs
| Theme | Backdrop | Candy Display | Why It Works |
|---|---|---|---|
| Candy Shop | Striped fabric or wrapping paper | Clear jars and a scoop bowl | Bright, cheerful, and easy for toddlers to read |
| Witch’s Potion Table | Black and purple draped fabric | A cauldron as the main candy bowl | One big prop carries the whole theme |
| Pumpkin Patch | Gingham cloth with a simple garland | Jack-o’-lantern buckets on crates | Friendly for young kids and simple to style |
| Pirate Treasure | Fish netting over dark fabric | A treasure chest filled with treats | The candy container is the centerpiece |
| Friendly Monster | Bright fabric with big googly eyes | Two bowls: candy plus non-food treats | Doubles as your allergy-friendly station |
| Camping S’mores | Plaid fabric and string lights | A tray or basket beside a fake campfire | Cozy after dark and cheap to build |
Notice what every theme shares: one backdrop, one hero prop, and one clear candy spot. That formula is why a table can look finished in half an hour. If you love handmade touches, simple paper and foam pieces from our guide to easy Halloween crafts can fill the display zone without crowding the serving strip.
For a pumpkin patch table, real or faux pumpkins do the heavy lifting. Painted terracotta pumpkins are a smart pick outdoors because they are sturdy, reusable, and heavy enough to stay put on a breezy night.
Build the Backdrop: Height, Layers, and a Photo-Friendly Wall
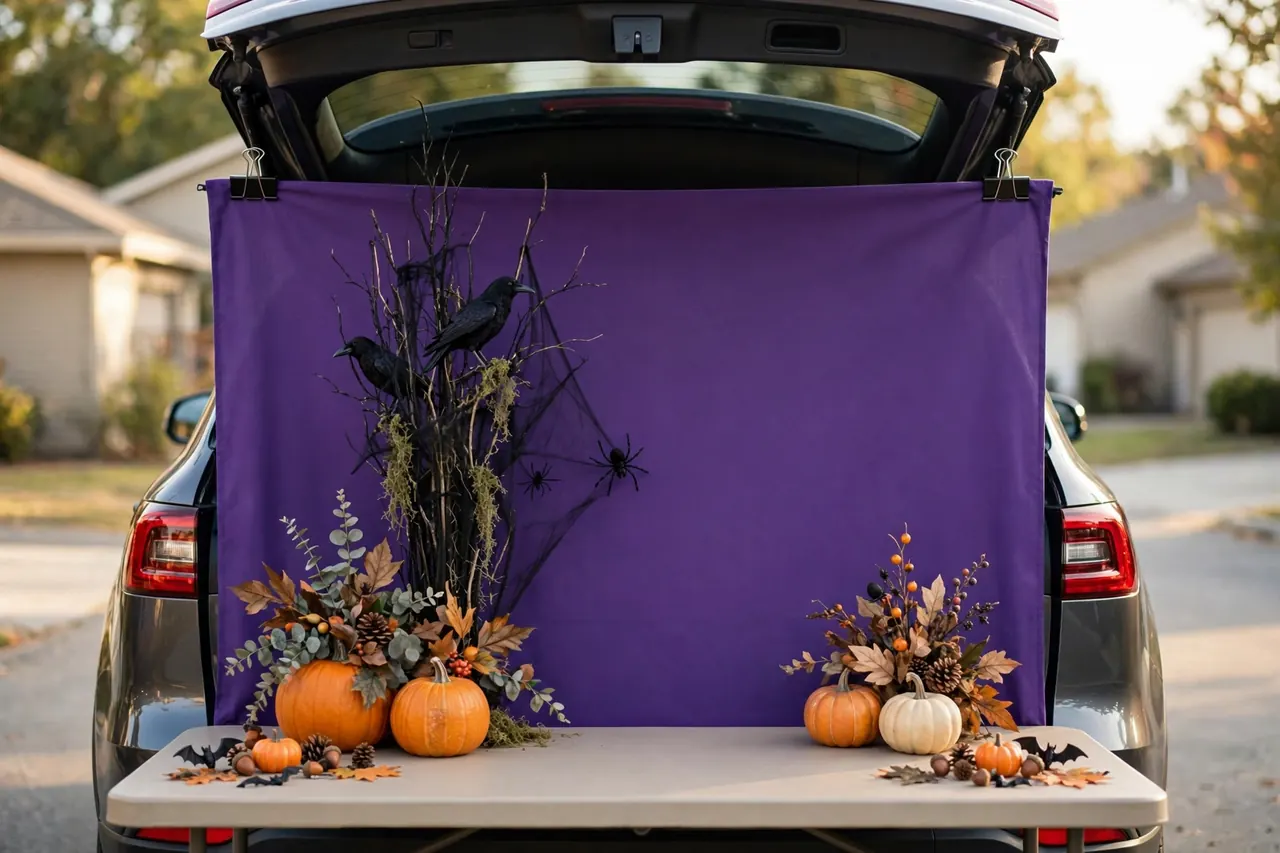
Most first-time tables fail in the same place: everything is flat. A table full of small props at one height reads as clutter from the aisle. The fix is a backdrop with real height, built in three layers.
Give the Backdrop Enough Height
Aim for a backdrop that rises close to the height of your open hatch, so drivers-by and walking families can see the theme over the crowd. A fabric panel, a folding display board, or a themed scene-setter sheet clipped to the hatch edge all work. Attach fabric at the top corners and let it hang straight; a sagging middle makes the whole table look tired.
Keep the hatch latch, hinges, and support struts clear of fabric and props. Nothing should rest on the struts or block the latch, because you will open and close that hatch all night for refills.
Layer Tall, Middle, and Low
Place your tallest piece in the center back, medium props at the sides, and small items at the front corners of the display zone. This triangle shape points the eye at your hero prop and keeps the serving strip open. Leave one clear patch of backdrop at kid height, too. Parents love a clean spot where a costumed child can stand for a photo, and a photo-friendly table gets remembered and talked about.
If the backdrop is a printed scene, keep extra props in front of it simple. The picture is already doing the talking; your props just need to add depth, not compete with it.
Lay Out the Tabletop: Candy Display Kids Can Reach
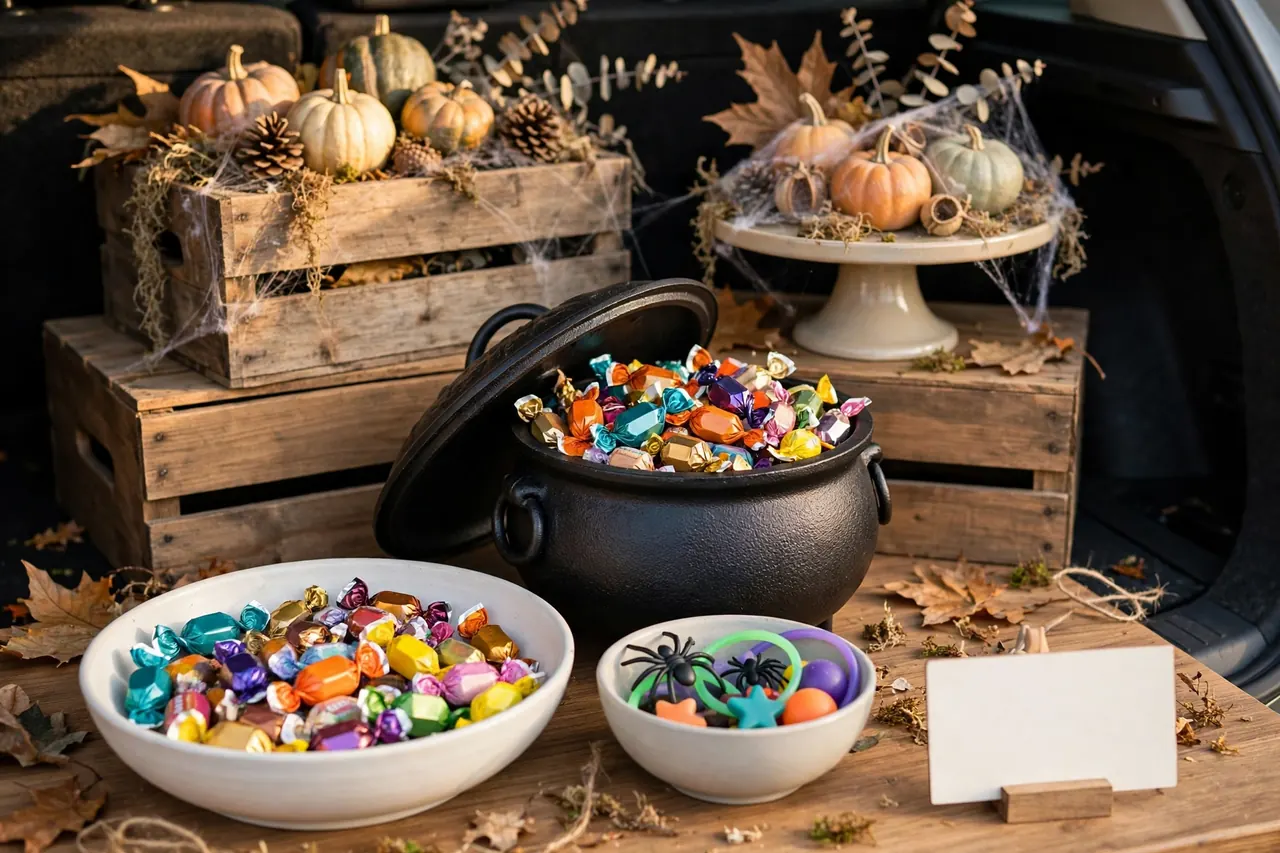
With the backdrop up, arrange the tabletop from back to front. Display pieces go on risers first: an upturned crate, a sturdy box under the tablecloth, or a cake stand lifts back-row props so they can be seen over the bowls. Keep anything breakable in this back zone, well behind the reach line.
The serving strip at the front gets only three things: the candy bowl, the non-food treat bowl, and a small sign. Wide, shallow bowls work better than deep buckets because kids can see what is inside and you can see when the bowl runs low. A cauldron, a treasure chest with the lid propped open, or a jack-o’-lantern bucket all double as theme and container.
Two layout details make a big difference over a two-hour event:
- Refills live behind you. Keep the backup candy bag in the trunk or in a closed bin under the table, not in a heap beside the bowl. The table stays tidy, and refilling takes ten seconds.
- Your stuff stays off the table. Your chair, drink, phone, and keys belong behind the table or in the car. Every inch of tabletop should be working for the display or the serving strip.
A small sign earns its spot in the serving strip. Your theme name, a friendly “please take one,” or a note that non-food treats are available all help kids and parents move through without a speech from you. Keep signs low and at the front corners so they never block the candy.
Set Up the Candy Station: Portions, Refills, and a Line That Moves
A great-looking table can still have a miserable line. The candy station needs a flow: kids approach from one side, choose at the front of the table, and exit on the other side, back into the aisle. If your lot lays out traffic differently, follow the lot’s direction and set your bowls so the natural walking line passes the serving strip once, not twice.
Decide early whether you hand out treats or let kids pick their own. Handing out is slower but keeps portions fair and bowls full longer. Letting kids choose is faster and more fun for them, and a small “please take one” sign keeps it fair. Many families do a middle path: kids pick from the bowl while you hold it, which keeps little hands out of the refill stash and the line moving.
How Much Candy to Bring
Ask the organizer how many children they expect; most hosts share an estimate when you register. A widely used planning rule is about two pieces per expected child, plus one unopened backup bag for surprises. That is an estimate, not a promise, because a popular table on the main aisle can empty twice as fast as a quiet corner spot. If you start running low, switch to one piece per child early rather than running out with an hour to go.
Keep Games From Blocking the Line
A ring toss or a spin-the-wheel prize is a lovely extra, but it belongs beside the table, not in front of it. Games slow the line for everyone behind you. Set any activity off to the side, keep it simple enough for a toddler to finish in seconds, and let kids skip it and go straight to the candy if they want to.
Light the Table After Dark (Without Draining Your Car Battery)
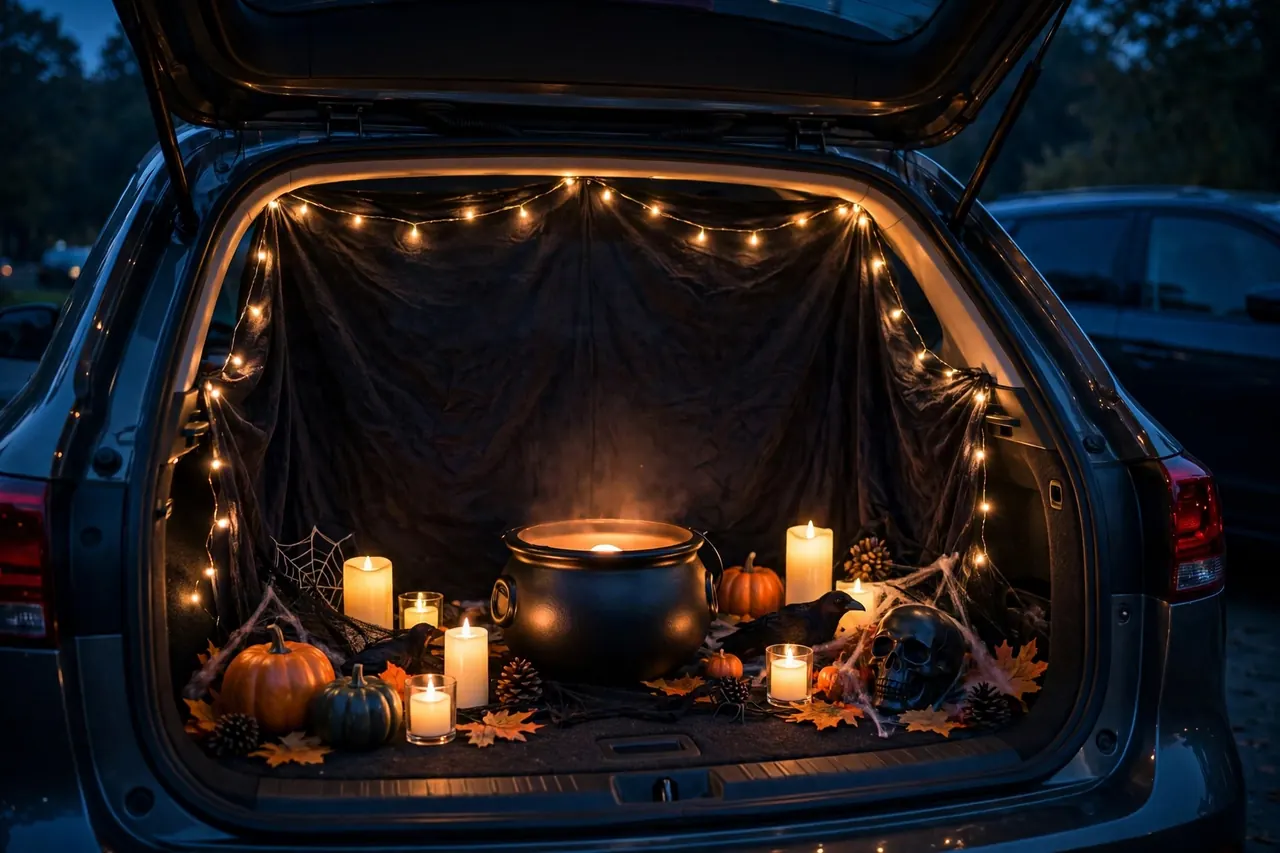
Many trunk or treat events start in daylight and end in the dark, and a table that glowed at setup can vanish by the second hour. Plan lighting as its own layer, powered on its own batteries, and your display will look as good at the end as it did at the start.
- String lights along the backdrop edge frame the theme and outline the table in the dark.
- Puck lights tucked under the backdrop lip or inside a cauldron light the candy from above, right where kids look.
- Flameless candles add flicker with no open flame near costumes, fabric, or paper props.
The important rule: run every light on its own batteries or a small power bank, not on the car. Keep the engine off for the whole event, as organizers require, and switch off the car’s dome light if your open hatch turns it on. A hatch left open for hours with lights drawing on the car battery is how a fun night ends with a jump-start request. Bring spare batteries, and do a dusk test at home before the event so you know exactly what your table looks like after dark.
The American Academy of Pediatrics makes the same no-flame point for Halloween in general, suggesting flashlights and glow sticks in place of candles in its Halloween safety guidance. If your trunk or treat is a driveway or garage-front version at home, color-changing light bulbs can wash the backdrop in orange or purple for the same safe, flameless glow.
Make Every Kid Welcome: Allergy-Aware Treats and Signage
Some children cannot have candy at all, and a good table plans for them from the start, not as an afterthought. Food Allergy Research & Education (FARE) notes that food allergies affect about 1 in 13 children in the United States, so in any school or church lot, several kids in the line are likely managing an allergy.
The simplest fix is a second bowl. Fill it with non-food treats such as stickers, pencils, glow bracelets, temporary tattoos, or small toys, and keep it separate from the candy bowl. Separation matters: FARE’s Teal Pumpkin Project asks hosts to keep non-food treats in their own bowl to prevent cross-contact with food allergens, and to signal the option with a teal pumpkin, the color of food allergy awareness.
At a trunk or treat, your signal can be small: a teal pumpkin at the corner of the table, or a simple sign that reads “Non-food treats here, just ask!” Then let the child or parent choose. Never guess that a candy is “probably fine” for a child with an allergy, and keep wrapped candy in its original packaging so parents can read labels. A teal bowl costs very little, and for the families who need it, your table becomes the one they remember with real gratitude.
Wind, Weather, and Wobbly Tables: Fixes That Save the Night
Parking lots are windy, and lightweight Halloween decor is built to fly. A few habits keep your table standing when the gusts pick up:
- Clip the tablecloth at the corners or weight the edges, so the cloth cannot lift and take small props with it.
- Keep tall props low and heavy. Foam tombstones and cardboard cutouts belong anchored to the backdrop or weighted at the base, never standing loose at the table edge.
- Tape or tie signs flat. A curling, flapping sign is unreadable and knocks into bowls.
- Store paper goods in a lidded bin until the event starts, so an early shower or a spilled drink cannot ruin them.
- Skip the canopy unless the host allows it, and if you use one, weight every leg. An unweighted canopy is the most dangerous thing in a windy lot.
If rain threatens, slide the candy bowls under the hatch overhang and move paper props into the trunk until it passes. The fabric backdrop can take a little weather; the candy and the cardboard cannot.
Setup and Teardown: A Simple Game Plan
A calm setup is mostly about order. Build the table once at home, on the driveway or in the garage, exactly as it will look at the event. Take a photo of the finished setup. That one rehearsal tells you what does not fit, what needs tape, and how long it really takes, and the photo becomes your setup map on the night.
- Pack in reverse order: serving items and candy on top, backdrop pieces at the bottom of the last bin you load, so the first thing out is the first thing you build.
- Arrive inside the organizer’s setup window, park as directed, and set the table before the trunk display.
- Build in this order: table, cloth, backdrop, risers and props, signs, and candy last, so treats are not sitting out while you work.
- Turn the lights on and take a test photo from the aisle. If the theme does not read in the photo, it will not read for kids either. Adjust the hero prop or the backdrop, not the small pieces.
- At teardown, seal the candy bin first, switch off and gather the lights, fold the backdrop fabric, and remove every loose decoration from the trunk and roof before you drive home.
A quick note on rules: every event sets its own guidelines for canopies, stakes, candy, and arrival times, and your car should stay parked and off for the whole event. A two-minute check of the organizer’s rules before you pack saves every kind of hassle later.
Related Guides
- Easy Halloween Crafts
- Kids Halloween Crafts
- Halloween Crafts Using Construction Paper
- Outside Halloween Decorating Ideas
- DIY Scary Halloween Decorations
- Spooky Halloween Yard Ideas
Frequently Asked Questions
What is a Trunk or Treat event?
A trunk or treat event is a Halloween gathering, usually hosted by a school, church, or community group in a parking lot. Families decorate their car trunks or set up tables, and children walk from display to display collecting treats in one contained, well-lit place instead of going door to door.
How much candy should I prepare for a Trunk or Treat?
Start with the organizer’s expected number of children, then plan on roughly two pieces per child, plus one unopened backup bag. That is a planning estimate, not a guarantee: a table on the main aisle empties faster. If supplies run low, switch to one piece per child early.
What should I bring to hand out at trunk-or-treat?
Individually wrapped candy is the standard choice, and a separate bowl of non-food treats such as stickers, pencils, glow bracelets, or small toys makes your table welcoming for kids with food allergies. Keep the two bowls apart so the non-food treats stay free of contact with candy.
How do I decorate a trunk on a budget?
Start with what you already own: a sheet or tablecloth for a backdrop, string lights, and a bowl or bucket you can theme with paint or paper. Spend only on one hero prop, like a cauldron or a treasure chest, and let color do the rest. A clear theme beats a pile of small decorations.
How long should a Trunk or Treat last?
The host sets the schedule, and most events run about one to two hours of handing out treats, with a setup window before the start. Arrive inside that setup window, because cars usually cannot move once children are walking the lot. Plan your candy and your lighting for the full event length.
What age is trunk-or-treat best for?
Trunk-or-treat works for all ages, but it is especially popular with toddlers and preschoolers. The flat, contained parking lot is easier for little legs and strollers than dark streets and porch steps, and young children can enjoy the costumes and displays without a long walk between stops.
Your next step is simple: pick the theme you can build from things you already own, do one driveway rehearsal this week, and let the photo test tell you what to fix. A clear theme, a tall backdrop, and a front-edge candy station will do more for your table than any last-minute shopping trip. And if your display grows beyond the lot and into your own yard next year, our outside Halloween decorating ideas will help you plan the bigger version.