To start recycling at home, check what your local program accepts, then keep those items empty, clean, and dry in one simple sorting spot. That is the whole system at its core. You do not need fancy gear, a big garage, or a perfect first week. You need a short list of what your hauler takes, a place to put it, and a habit the whole household can follow.
This guide walks you through how to start recycling at home properly, step by step. You will learn how to check your local rules, what usually goes in the bin and what stays out, how to set up a sorting system that fits a real home, and how to get your family on board. You will also learn the beginner mistakes that send good recyclables to the landfill.
Start With Your Local Rules, Not a Generic List
Recycling rules change from town to town. One city takes glass in the curbside bin, and the next one does not. One program takes a plastic tub, and another takes only bottles. A generic list on the internet cannot tell you what your hauler takes. Your local list can.
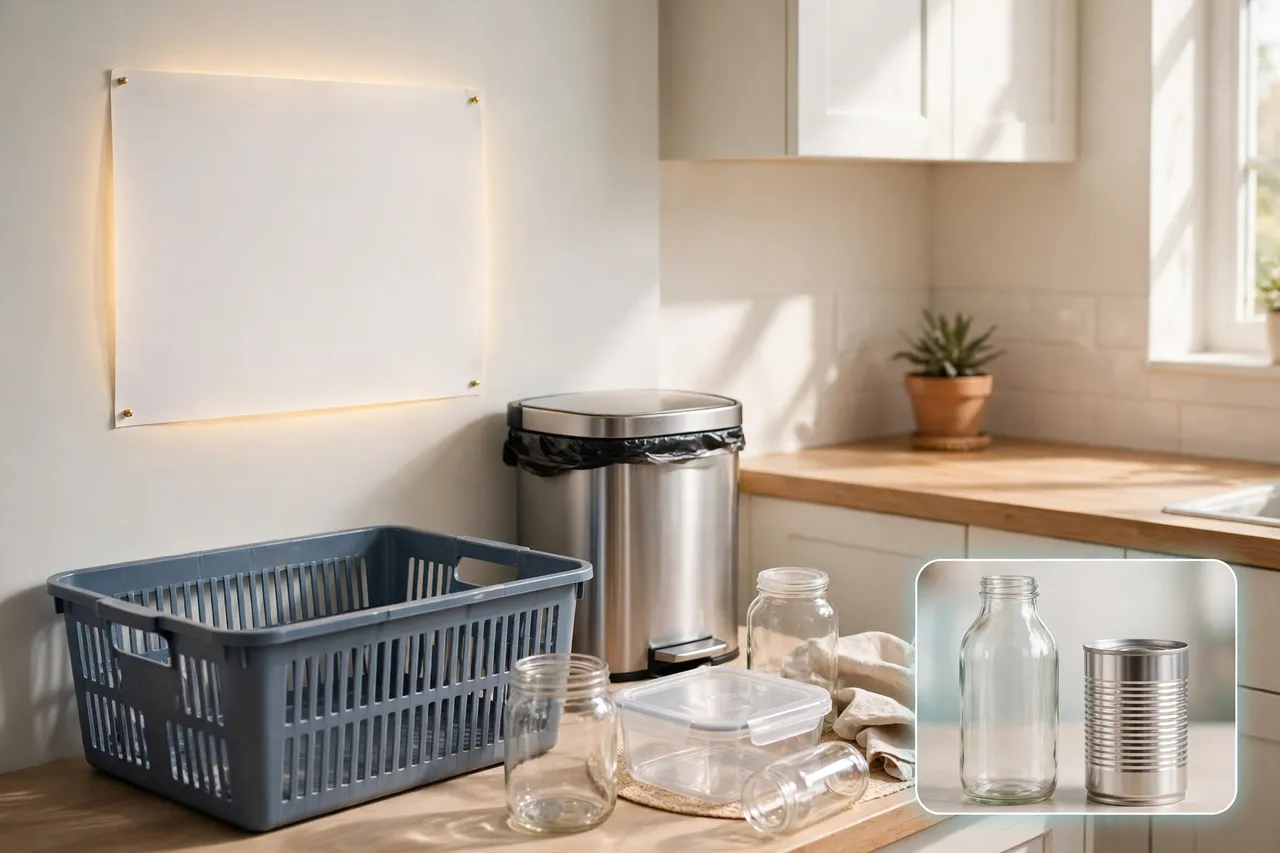
Find that list before you sort a single item. Search for your city or county name plus “recycling guidelines,” or look for the waste and recycling page on your city website. Your hauler may also mail a guide, print one on the cart lid, or offer a lookup tool where you type in an item name and it tells you where it goes.
While you look, answer these four questions:
- Does my program use single-stream recycling, where all recyclables go in one cart, or do I sort materials into separate carts?
- Which materials does my program accept at the curb, and which ones need a drop-off?
- Does my program want items loose, or bagged?
- What day does collection happen, and where does the cart go?
Write the answers down and stick them where you sort. A short, local list beats a long, generic one every time. When you feel unsure about an item later, check that list first. When in doubt, leave it out is a good rule for beginners, because one wrong item can spoil a load of good recyclables.
Also note how your program handles the items that never belong in the curbside bin. Batteries, electronics, paint, and chemicals need special drop-off points. You will meet them again later in this guide, and the U.S. Environmental Protection Agency (EPA) explains which common items need special handling on its How Do I Recycle Common Recyclables page.
Learn What Goes in the Bin (and What Stays Out)
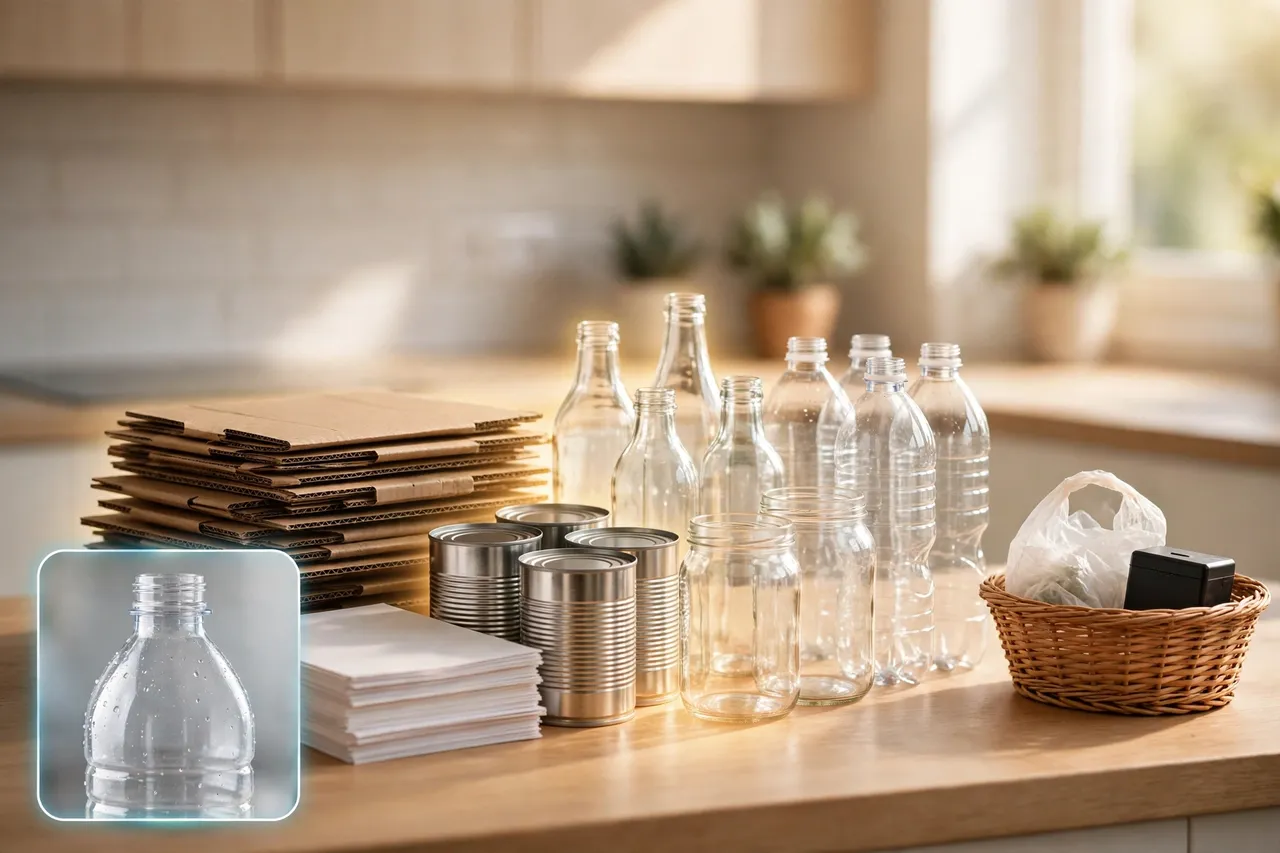
Most U.S. curbside programs accept the same broad families of materials, even when the fine print differs. Paper, cardboard, metal cans, glass bottles and jars, and many plastic bottles and containers show up on most accepted lists. Food, liquids, and trash do not belong in the bin, no matter what they are made of.
Use this table as a starting point only. Your local list always wins when it disagrees with this table.
Common curbside items at a glance
| Material | Usually curbside | Watch out for |
|---|---|---|
| Paper and cardboard | Yes, in most programs | Keep it clean and dry |
| Metal cans | Yes, in most programs | Empty them first |
| Glass bottles and jars | Yes, in many programs | Food and drink glass only |
| Plastic bottles and containers | Often, but rules vary | Check your local list |
| Plastic bags and film | No, not in the curbside bin | Use store drop-off instead |
| Batteries and electronics | No, never curbside | Use a special drop-off |
| Food and liquids | No | They spoil other recyclables |
Now learn the three prep habits that matter most. First, empty every container. Pour out the last drops and scrape out thick food with a spatula. Second, give it a quick rinse when it needs one. The EPA puts it plainly: “spatula-clean” is clean enough to recycle, so you do not need to scrub or run a full wash cycle. Third, let items dry before you store them. Wet paper turns to mush, and damp loads cause trouble at the sorting plant.
Flatten cardboard boxes before they go in the cart. A flat box takes far less room, and you can fit a whole week of boxes in one cart. Remove heavy tape and packing material when you can, and keep the clean cardboard dry.
Plastic trips up more beginners than any other material. The little number inside the triangle on the bottom of a container tells you what type of plastic it is. It does not promise that your program accepts it. The EPA makes this exact point: the resin symbol identifies the plastic type, but it does not necessarily mean your community collects it. So check your local list, not just the number.
Food scraps deserve their own note. Food cannot go in the recycling bin, and the EPA recommends composting as the greener way to handle it. If you want a next step for peels and garden waste, see our guide to composting sunflower stalks, seeds, and shells for a simple look at how composting works at home.
Set Up a Simple Sorting System That Fits Your Home
A good system matches your home, not someone else’s. If you have a single-stream program, one recycling cart plus one small sorting spot indoors is enough. If your program asks you to sort materials, you need one spot per stream, but each spot can stay small.
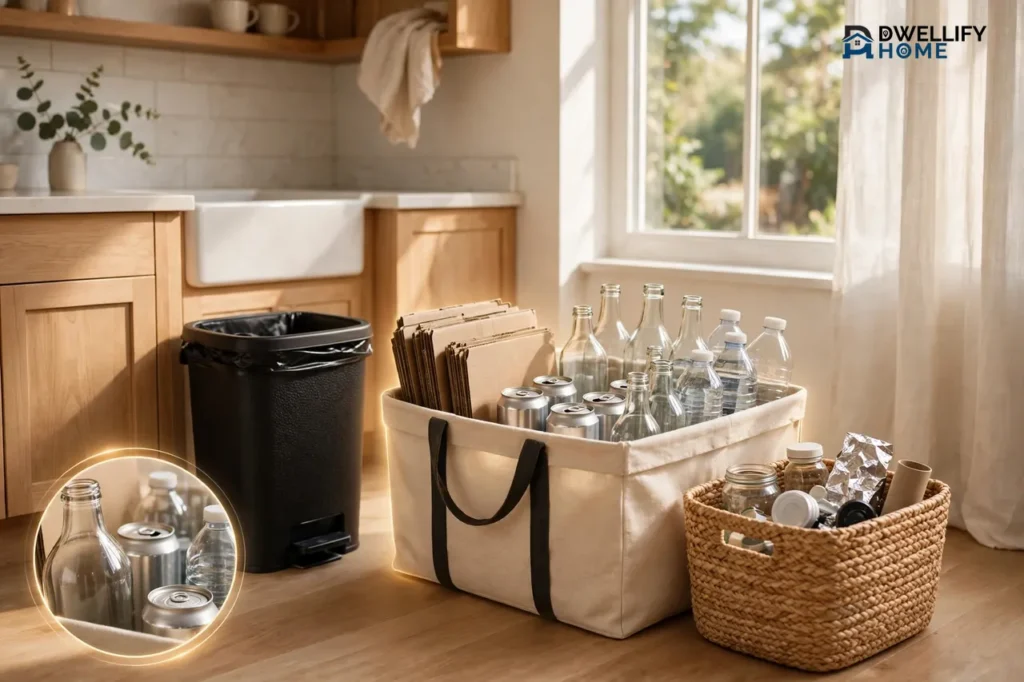
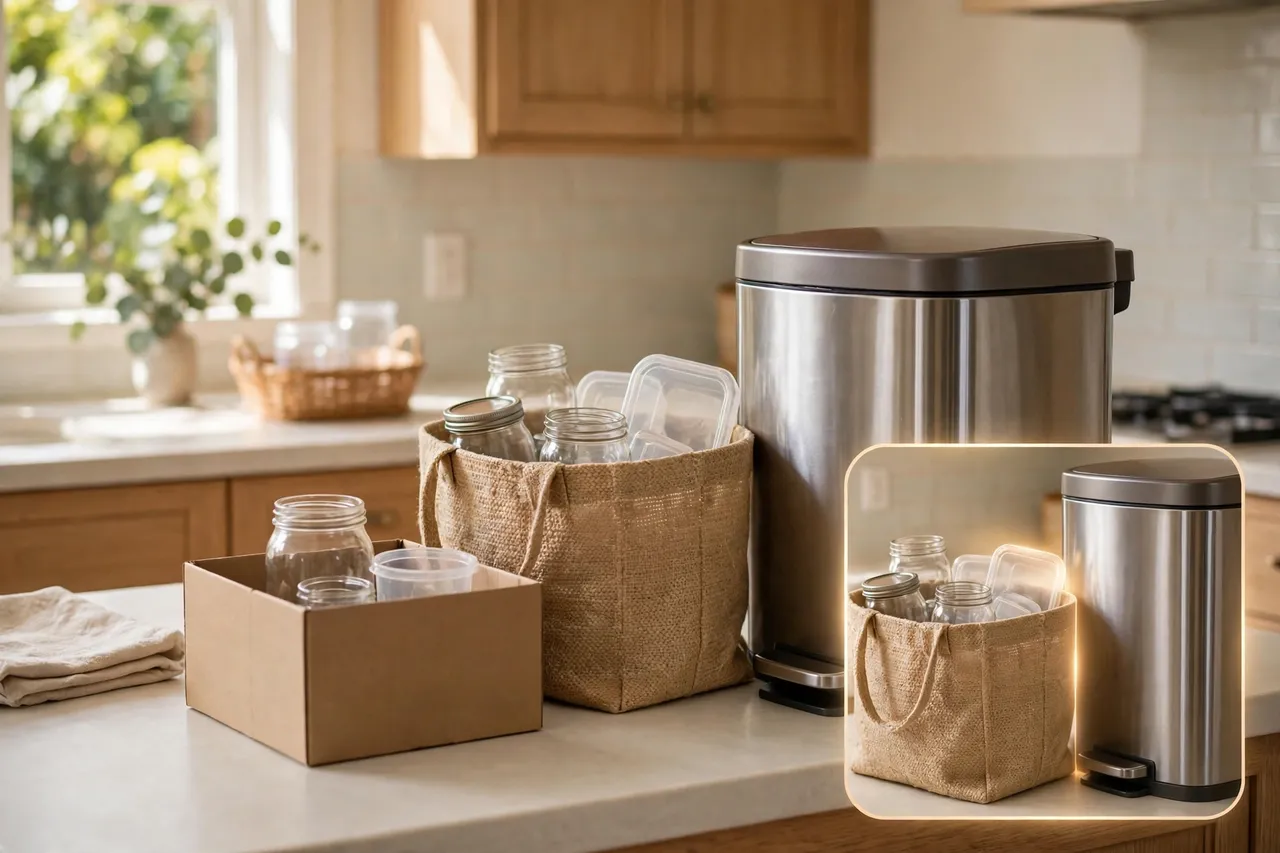
Start in the kitchen, because that is where most recyclables come from. Pick one spot near the trash can. That spot matters more than the container you choose. When recycling sits right next to the trash, people use it without thinking. When it sits in another room, recyclables drift into the trash.
For the container itself, use what you already own. A spare tote, a sturdy box, or a small open bin all work. This is the one place bins appear in this guide, and on purpose: the container is a small part of the system, not the system itself. What makes recycling work is the local list, the prep habit, and the routine. A beautiful set of bins with the wrong items inside still fails.
Label the spot clearly. A simple sign that says what goes in and what stays out saves more arguments than any lecture. If you sort into streams, label each one with a word and a picture, so kids and guests can sort without asking. Keep a small “not sure” box nearby for items you need to look up, and check it once a week against your local list.
Add one mini spot where recyclables pile up away from the kitchen. A bathroom fills up with shampoo bottles, toilet paper rolls, and empty cans. A small basket there catches items that otherwise land in the trash. If space is tight, a hanging bag on a door or a slim container beside the trash can does the same job. For more ideas on fitting storage into small rooms, see our smart storage ideas for every room.
Build the daily routine around three tiny actions: empty, rinse, drop. Empty the container, rinse it if it needs it, and drop it in the sorting spot. That is it. Do not build a system that needs a sink full of soapy water or a sorting session every night. A system you skip is worse than a simple system you use.
On collection day, roll the cart out on time and bring it back in after pickup. Loose items go in the cart, not in plastic bags, unless your program clearly says otherwise. Bagged recyclables cause real problems at sorting plants, and many programs reject them outright.
Get Your Family on Board
Recycling fails when one person sorts and everyone else guesses. So make the first family talk short and practical. Show the local list, show the sorting spot, and show what “empty, clean, and dry” looks like with one real container. A five-minute demo beats a long speech.
Give everyone a job that fits their age and routine. One person owns the kitchen sorting spot. Another owns the bathroom basket. A child can own the cardboard job, flattening boxes and stacking them flat. When each person owns one small job, nobody has to own the whole system.
Make sorting easy for kids with pictures, not rules. A photo of a clean bottle above the bin teaches faster than a list of resin numbers. Let kids decorate the labels, and let them catch mistakes with praise instead of blame. A child who feels proud of sorting will keep sorting.
Expect mistakes in the first weeks, and treat them as normal. Someone will toss in a greasy pizza box. Someone will bag the recyclables. Someone will add a plastic bag full of good intentions. Thank them for trying, show them the local list, and move on. A household that feels judged quits. A household that learns together keeps going.
Hold one short check-in after the first week. Ask what felt confusing, what piled up, and what spot did not work. Fix one thing, not everything. Small fixes keep the habit alive, and big overhauls kill it.
Your First Week, Step by Step
Here is a simple first week that turns the ideas above into a habit. You can start on any day, and you can repeat it until it feels automatic.
- Day 1: Find your local recycling list and write down what your program accepts, what it rejects, and your collection day.
- Day 2: Pick one sorting spot next to your trash can and label it with your local list.
- Day 3: Walk through your kitchen and pull out the recyclables you already have, checking each one against the list.
- Day 4: Show every household member the spot, the list, and the empty, rinse, and drop routine.
- Day 5: Set up one mini spot in the bathroom or another room where bottles and rolls pile up.
- Day 6: Gather the tricky items, like batteries, electronics, and plastic bags, into a separate bag for drop-off, and look up your nearest drop-off point.
- Day 7: Roll the cart out on collection day, then hold a two-minute family check-in about what worked and what felt confusing.
That is a full start. You do not need to buy anything new in week one, and you do not need to sort perfectly. You need a list, a spot, and a routine that survives a busy Tuesday.
Common Beginner Mistakes to Avoid
Most beginner mistakes come from good intentions. People want to recycle more, so they toss in more. But recycling rewards accuracy, not volume. These are the mistakes to watch for.
Wishcycling tops the list. Wishcycling means tossing in an item you hope is recyclable, even though your program does not take it. Coffee cups with plastic lining, greasy pizza boxes, plastic utensils, and tangled cords all look recyclable, and most curbside programs reject them. When in doubt, leave it out, and check your local list.
Bagging recyclables comes next. Plastic bags jam sorting machines, so many programs reject bagged loads. Keep recyclables loose in the cart. Save plastic bags and film for a store drop-off instead, if one exists near you.
Dirty containers cause the third common problem. Food residue spreads to clean paper and cardboard in the same load, and dirty loads can end up rejected. You do not need spotless containers. Empty, quick-rinsed, and dry is enough.
Greasy and wet paper is another quiet spoiler. A pizza box with a little grease on one side is often fine if you tear off the greasy part and recycle the clean part, but a soaked or heavily greased box belongs in the trash. Wet paper cannot be recycled, so keep your paper and cardboard dry.
Small items cause a fifth problem. Tiny bits, like loose bottle caps in some programs, loose shredded paper, and small plastic pieces, can fall through sorting machines. Check your local rules for caps and shredded paper, and bag shredded paper in a paper bag only if your program asks for that.
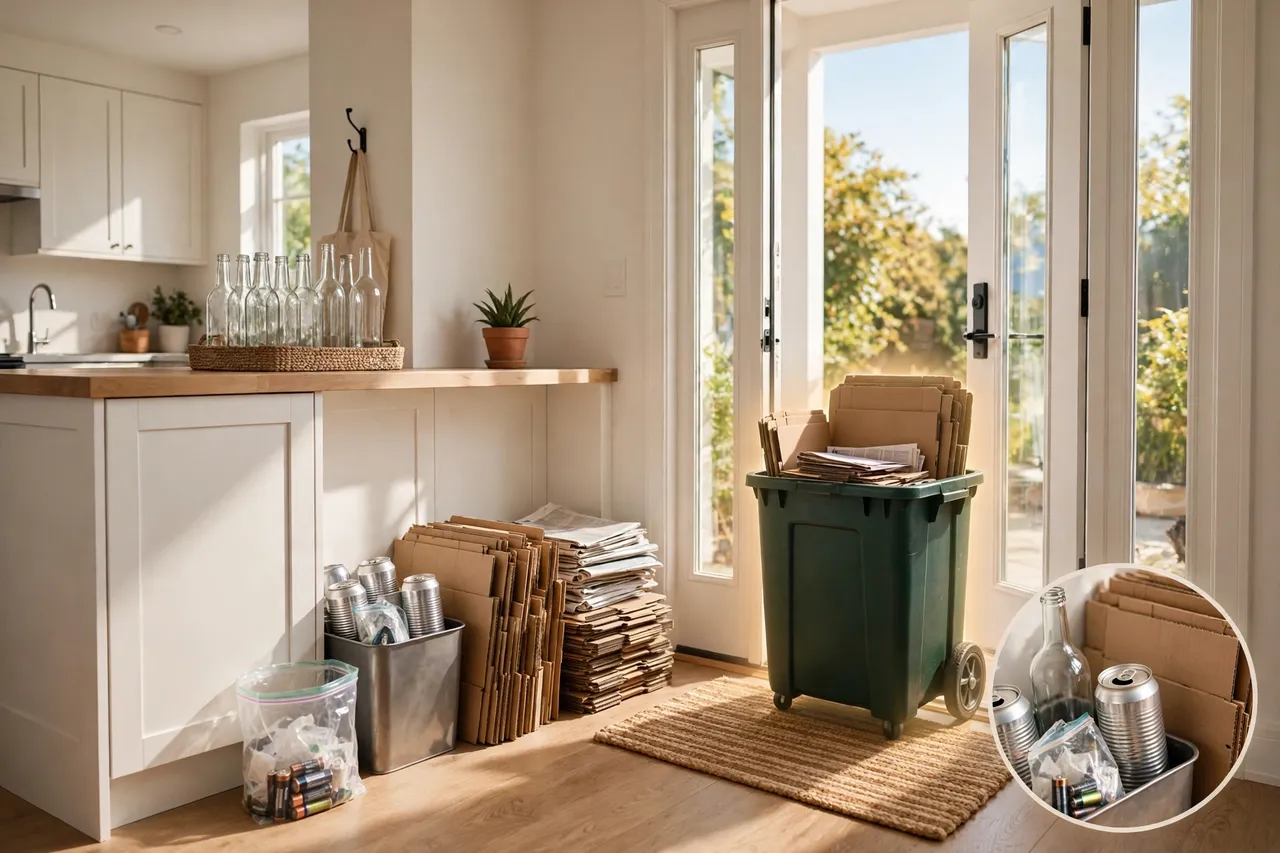
The last mistake is the most dangerous one: putting batteries or electronics in the curbside bin. Batteries can spark fires in trucks and sorting plants, and electronics need special handling. Keep both out of the curbside bin, always. The next section shows where they go instead.
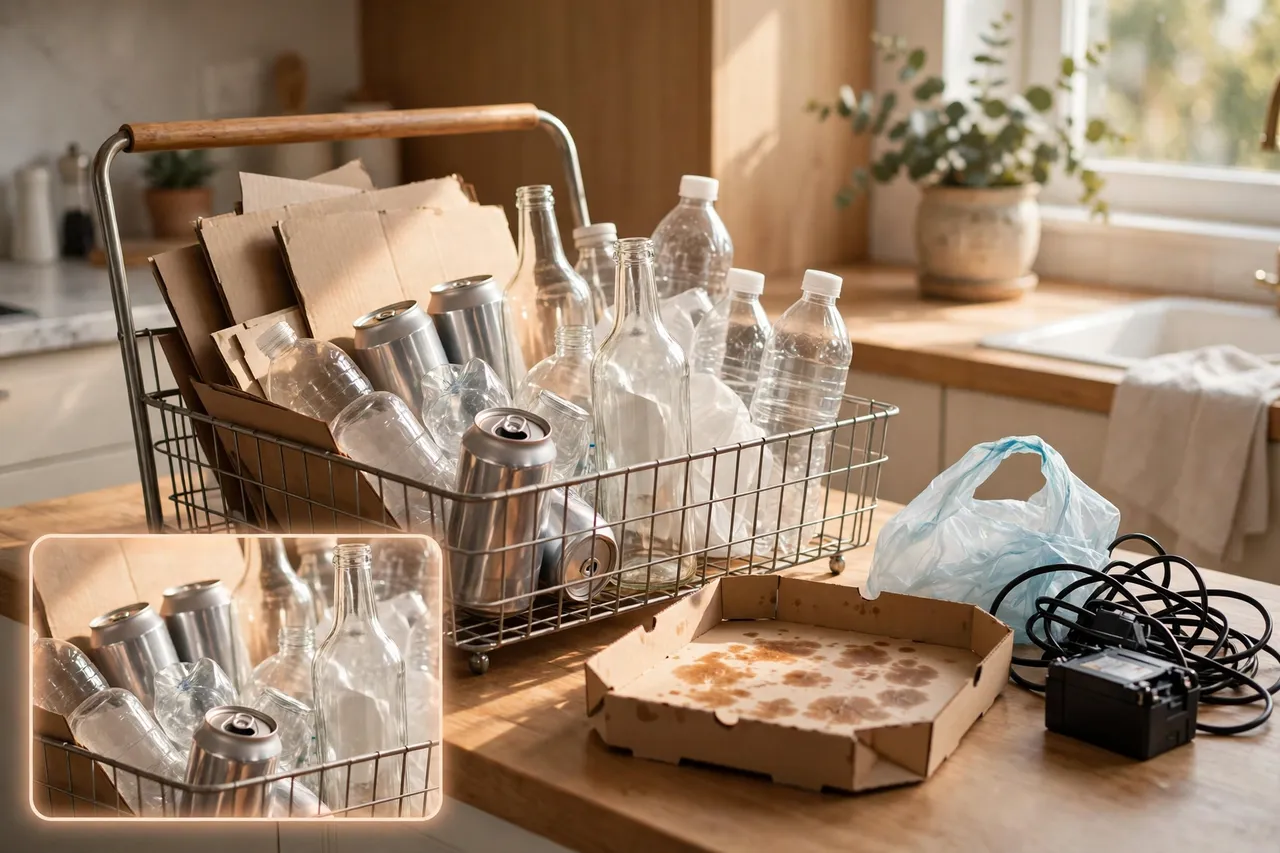
What to Do With the Tricky Stuff
Every home has items that do not belong in the curbside bin but should not go in the trash either. Give them their own spot and their own trip, and they stop causing trouble.
Start with batteries. The EPA states clearly that lithium-ion batteries should not go in household garbage or recycling bins, and should go to separate recycling or household hazardous waste collection points. The same warning covers most rechargeable batteries. Keep a small box for used batteries, keep it dry, and take it to a store drop-off or a household hazardous waste event. Tape the ends of lithium-ion batteries if your drop-off asks for that, and never toss a swollen or damaged battery in any bin. The EPA gives the full consumer guidance on its Used Lithium-Ion Batteries page.
Electronics come next. Old phones, laptops, chargers, and small gadgets cannot go curbside, but the EPA notes that manufacturers and retailers offer drop-off and take-back options for them. Before you hand over a device, delete your personal information from it. A once-a-year electronics clear-out keeps a drawer of dead gadgets from turning into a pile of trash.
Plastic bags, wraps, and film need a store drop-off. The EPA confirms that these items are recyclable, but they cannot go in your household recycling bin, and grocery and retail stores often accept them instead. Keep a bag for bags near your door, and drop it off on a shopping trip. Cut off sealable zippers from sandwich bags before you drop them off, if your drop-off asks for that.
Paint, chemicals, solvents, and old medicines count as household hazardous waste, and they need special collection events or permanent centers. Never pour them down the drain or dump them on the ground. Check your city or county hazardous waste page for the next event near you.
Clothes and shoes that are still wearable can go to a charity shop. Worn-out clothes may still have a textile recycling route in your area, so check before you trash them. Broken glass, mirrors, ceramics, and drinking glasses do not belong in the curbside bin either, because they differ from bottle glass and can harm workers and damage machines. Wrap broken glass safely and put it in the trash, following your local rules.
Keep It Going Without the Guilt
Once the first week works, keep the system boring. Boring is good. A system that runs on autopilot beats a system that needs weekly motivation.
Check your local list once every few months. Programs change what they accept, and a list from last year can quietly go stale. A five-minute check keeps your sorting accurate.
Reduce and reuse before you recycle, because the EPA’s own home guidance starts with reducing and reusing first. Refill a bottle instead of buying a new one. Choose the bigger pack with less packaging when it makes sense for your home. Repair a sturdy item before you replace it. Recycling handles what is left, and less waste means less sorting.
Use a clear-out as a reset, not a guilt trip. A decluttering session fills bags fast, and it pairs well with a recycling review, because you sort what stays, what goes to charity, and what goes to drop-off in one pass. Our guide on how to declutter your home without the overwhelm walks through that kind of calm, room-by-room clear-out.
If your system breaks down, shrink it instead of quitting. Drop back to one sorting spot and the five most common items: paper, cardboard, bottles, cans, and jars. Master those, then add more. A small system you use beats a big system you abandon.
Finally, keep the household loop going. Praise the good sorts, fix the misses without blame, and update the label when the list changes. The EPA’s What You Can Do page offers more everyday home tips for reducing, reusing, and recycling once your basic system feels easy.
Related Guides
How to Declutter Your Kitchen, Zone by Zone · Decluttering Clothes: A Closet Audit That Leaves You With Clothes You Love
Frequently Asked Questions
How can I start recycling at home?
Start by finding your local recycling list, then set up one sorting spot next to your trash can. Keep accepted items empty, clean, and dry, and keep batteries, electronics, and plastic bags out of the curbside bin. Teach every household member the list and the spot, and you have a working system.
Can I recycle plastic bags, wraps and films?
These items are recyclable, but they cannot go in your household recycling bin, according to the EPA. Grocery and retail stores often accept them for drop-off instead. Keep a bag for bags near your door, and check with a local store or your program for the nearest drop-off point.
Can plastic bottles and caps be recycled?
Yes, typically the caps and labels can be left on plastic bottles, according to the EPA. Always check your local program first, because some programs give different instructions for caps. Empty the bottle, and leave the cap on when your program allows it.
Can I recycle plastic containers that had food in them?
It depends on your local program and how much food is left, according to the EPA. First check which plastics your program accepts, then rinse or scrape food residue off accepted containers. The EPA says “spatula-clean” is clean enough, so a quick rinse beats a full scrub.
What do the symbols mean on the bottom of plastic bottles and containers?
The symbols identify the type of plastic used to make the container, according to the EPA. The number sits inside a triangle that looks like the recycling symbol, but it does not necessarily mean your community collects that item. Always check your local program’s accepted list.
Can I recycle broken glass?
No, broken glass should not go in the recycling bin, according to the EPA. Glass shards can harm workers and damage equipment at sorting plants. Only whole food and drink bottles and jars belong in the bin, and only when your program accepts glass.
Recycling at home starts with one list, one spot, and one routine. Find your local rules today, set up your sorting spot tonight, and let the first collection day prove how simple it can feel. Small, steady sorting beats a perfect system you never start. For everyday home ideas that make rooms work better, browse our home organization ideas next.
A quick safety note: never put batteries, electronics, paint, or chemicals in your curbside bin, and never handle a swollen, hot, or damaged battery with bare hands. Take such items to a proper drop-off or hazardous waste collection point, and ask your local program for guidance if you feel unsure.