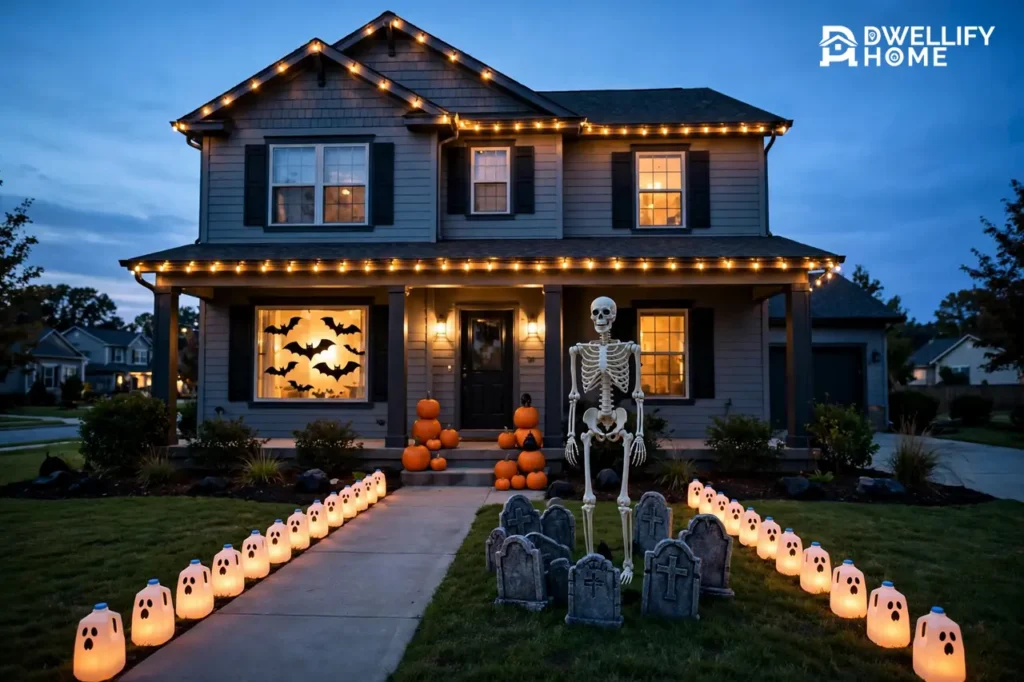
The outside Halloween decorating ideas that work best are not a pile of props. They are a simple plan: pick one theme, choose one big focal point, and decorate your outdoor space in five zones — the porch and front door, the front yard, the walkway, the driveway and garage, and the windows and roofline. Work zone by zone, mix a few bought pieces with simple DIY ones, and your house reads as one finished display from the street instead of a yard sale of plastic.
This guide gives you that whole-outdoor plan: what goes in each zone, how to budget for it, how to anchor everything against October wind and rain, and the electrical and fire safety rules to settle before you plug anything in.
Start With a Plan: One Theme, One Focal Point, Five Zones
Most outdoor displays look messy for one reason: every purchase was a separate decision — a skeleton here, a witch there, lights in three colors. Planning first fixes that. Before you buy or build anything, decide your theme, your focal point, and how much of your budget each zone gets.
Pick a Theme That Fits Your House and Your Street
A theme is a short list of colors and characters that everything else must match — if a decoration does not fit the list, it stays in the store. Themes that work on almost any house:
- Classic Halloween: orange, black, and white — pumpkins, bats, ghosts, warm orange lights. Friendly, and the cheapest theme to build.
- Haunted graveyard: black, gray, and a little purple — tombstones, skeletons, spiderwebs, low fog. Best with at least a small front lawn.
- Friendly fall: orange, cream, and brown — cornstalks, gourds, hay bales, leaf garlands. Barely reads as Halloween, so it can stay up through Thanksgiving.
- Witch’s garden: black, green, and purple — a cauldron, broomsticks, lanterns, and pointed hats around the porch and garden beds.
- Elegant black and white: white pumpkins, black lanterns, warm white lights, a crow or two. The right pick for modern houses and small porches.
Match the scare level to your street, too. A block full of toddlers calls for smiling pumpkins and friendly ghosts on the path, with anything scarier kept to the side of the yard. When in doubt, keep the walk to the door friendly and put your one big scare where small children do not have to pass it.
Choose One Focal Point and Build Outward
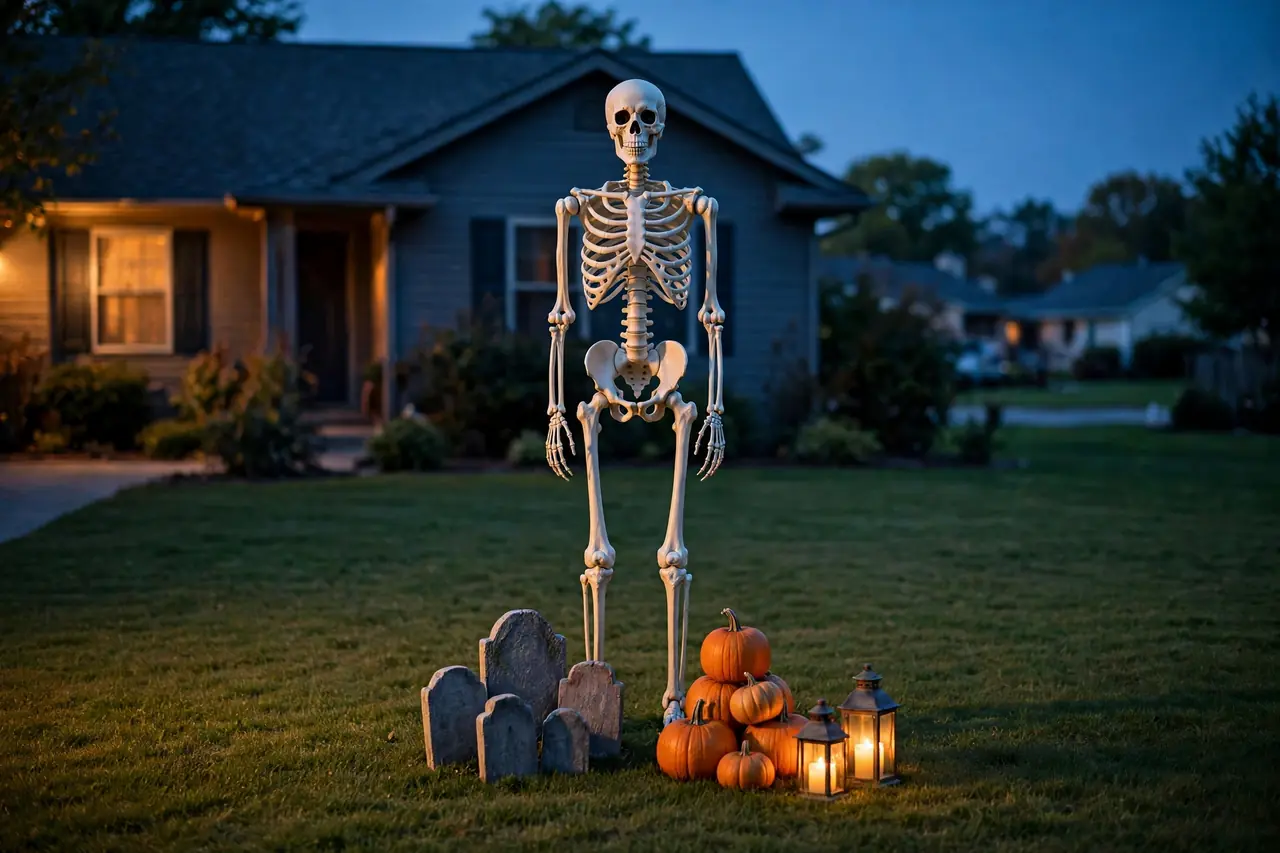
Every strong display has one piece people remember: a tall skeleton, a big inflatable, a graveyard scene, or a projector playing ghosts on the garage door. Pick exactly one, place it where it is most visible from the street, and let everything else support it — medium pieces (tombstones, pumpkin stacks, lanterns) around it, small details (bats, bones, spiders) in the gaps. One statement prop with grouped helpers looks intentional; ten medium props scattered evenly look like clutter, even if each one was expensive.
Set the Budget by Zone, Not by Item
Budgeting by zone stops the classic mistake: spending everything on the yard and leaving the porch — the one place every visitor actually reaches — bare. Buy the focal point and the porch pieces, make the fillers yourself, and give reusable basics the bigger share of the money, since they return every year. Use this split as a starting point:
Zone budget planner: where your decorating money and effort do the most work
| Zone | Share of effort | Best buy here | Best simple DIY here |
|---|---|---|---|
| Porch and front door | High — every visitor arrives here | One wreath or door piece | Pumpkin stacks, wrapped-door effects |
| Front yard | High — this is your focal point’s home | The one big statement piece | Tombstones, ghosts, scene props |
| Walkway | Medium — mostly lighting | Path lights or luminaries | Milk-jug ghosts, jar lanterns |
| Driveway and garage | Low to medium | Projector or inflatable arch | Painted signs, pallet fencing |
| Windows and roofline | Low — high impact per piece | Window silhouettes or string lights | Cut-out bats, paper window scenes |
Zone 1: The Porch and Front Door
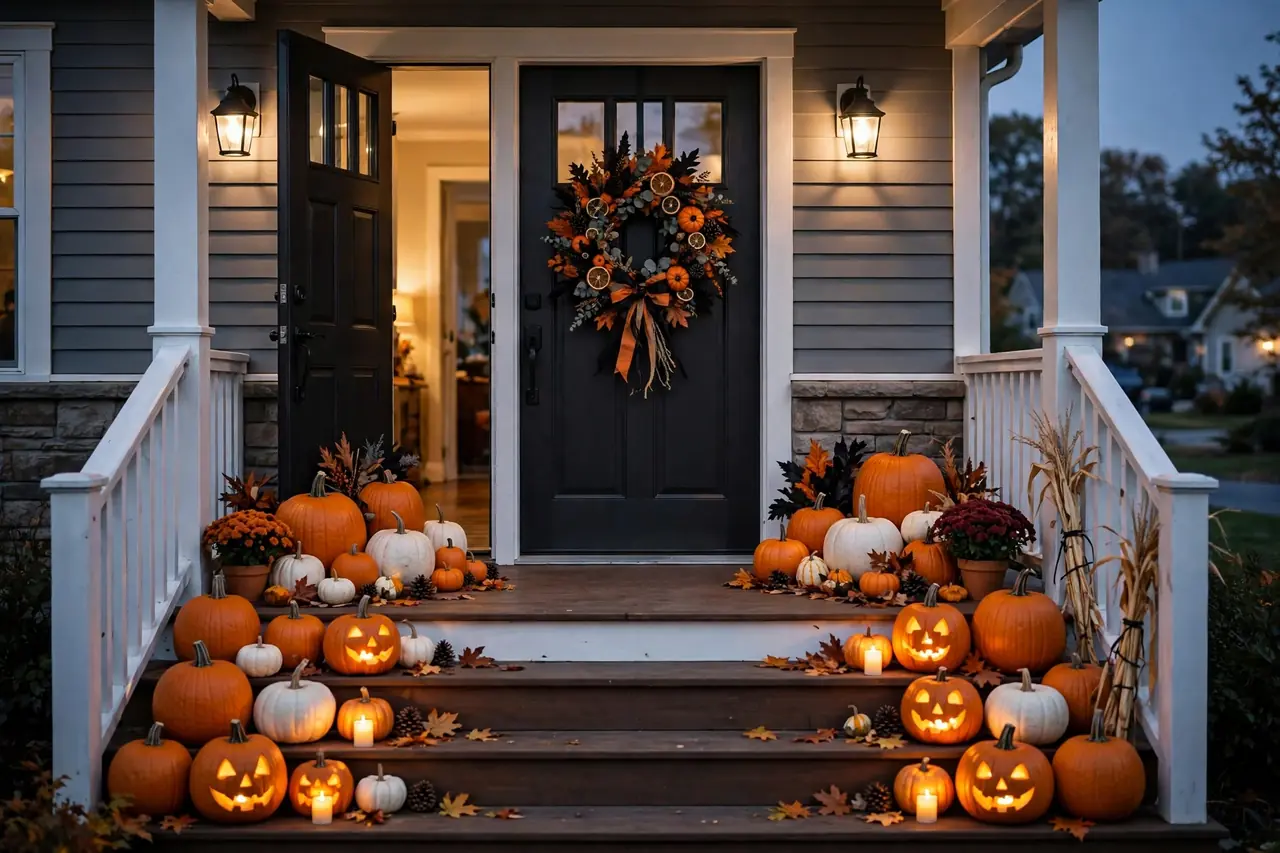
The porch is the highest-value zone in the yard: trick-or-treaters stand in it, photos happen in it, and it is the only part of the display people see up close. Decorate it in layers — something on the door, something framing the door, something on the steps, and light over all of it.
On the door: a Halloween wreath is the classic anchor, and it sets your theme’s colors for the whole house. If you enjoy making your own, our guide to how to make a Halloween wreath covers the assembly and design choices. No wreath? Wrap the door in strips of white gauze and add two big eyes — the door itself becomes a mummy, for almost nothing, and blocks nothing.
Framing the door: symmetry reads as classic, asymmetry reads as haunted. For classic, match a pumpkin group or lantern on each side of the door. For haunted, stack cornstalks on one side and let a single skeleton slump in a porch chair on the other. Either way, frame — do not scatter.
On the steps: line each step with pumpkins in mixed sizes, real and faux together. Real pumpkins soften within a couple of weeks outdoors; faux ones hold their shape all month — mix them and nobody can tell at dusk. Light carved pumpkins with battery-operated candles, never real flames on steps where costumes brush past.
Keep it usable: leave the full swing of the door clear and keep steps free of anything feet can catch. A porch that fights its visitors is a failed porch, whatever it looks like from the street.
Zone 2: The Front Yard
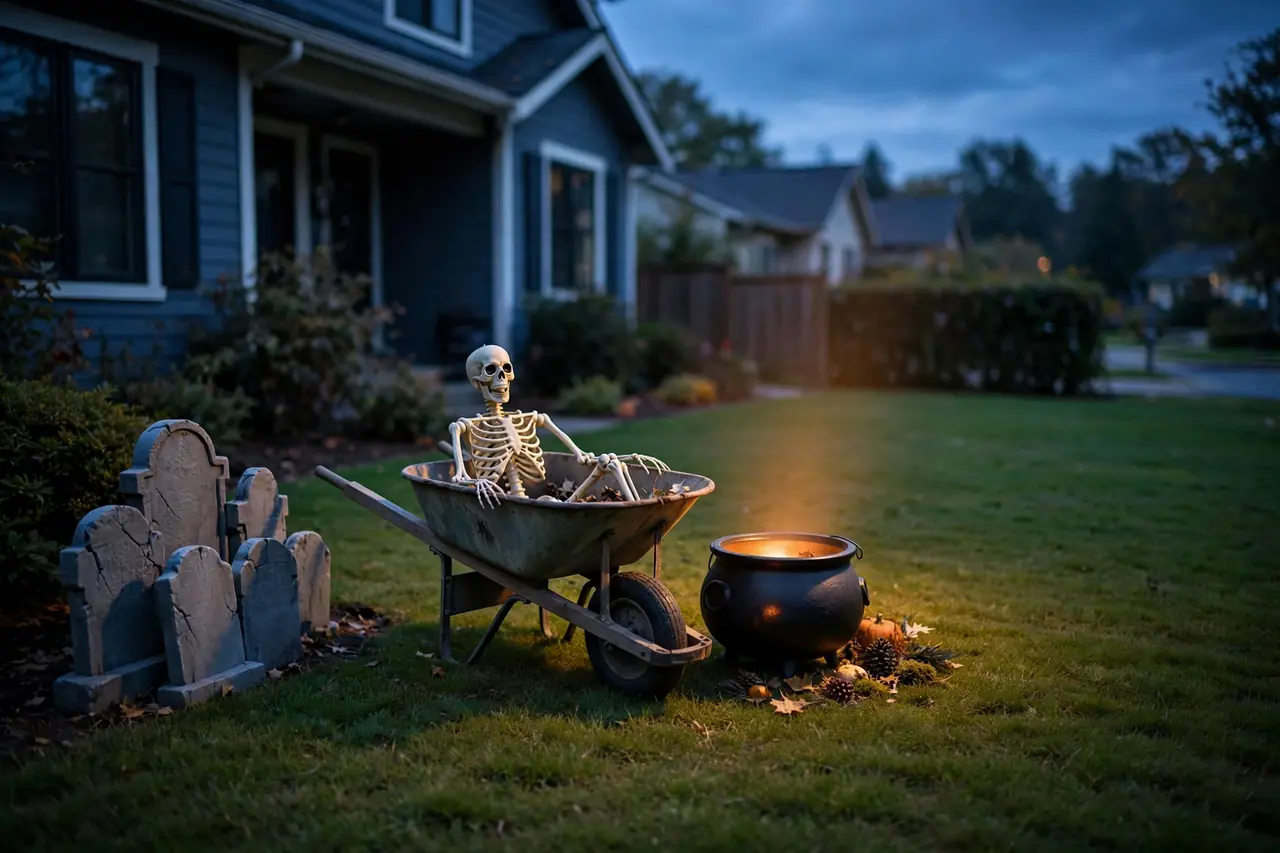
The yard is where your focal point lives and your theme becomes a scene. The rule here is grouping: arrange props in small scenes or clusters — a graveyard corner, a skeleton doing something funny, a witch’s cauldron group — instead of spacing single items evenly across the grass. Then step back to the sidewalk and look the way strangers will. If your eye does not know where to land, regroup until it does.
Scenes beat singles. A skeleton sitting alone is a prop. Two skeletons playing cards at a small table, or one pushing another in a wheelbarrow, is a story — and stories make people slow down on the sidewalk. For full spooky scenes — a haunted forest, a pumpkin patch gone wrong — our guide to spooky Halloween yard ideas builds them step by step. At this planning level: choose one scene for the yard’s center, one smaller cluster to balance it, and leave the rest of the lawn open. Empty space is part of the design.
Simple DIY pieces carry the yard. Foam or cardboard tombstones, tomato-cage ghosts under white sheets, and milk-jug luminaries cost very little and fill a scene fast. For hands-on builds with materials and steps, see our DIY Halloween yard decorations projects. Pallets are the yard’s secret weapon — a ramshackle pallet fence edging the scene, or a painted pallet sign, adds structure for almost no money; our pallet Halloween decorations guide shows the builds.
Use your trees. A tree is free height: hang lightweight ghosts or bats from branches, wrap the trunk loosely with webbing, or set one spotlight at the base so the branches throw shadows across the house. Hanging pieces move in the breeze, and movement makes a yard feel alive after dark.
Anchor everything the day you place it. Foam tombstones, inflatables, and tall figures all sail in October wind. Push stakes in at an angle, use every tether line the manufacturer included, and add sandbags or extra rope to tall pieces — the full routine is in the weatherproofing section below.
Zone 3: The Walkway and Path to the Door
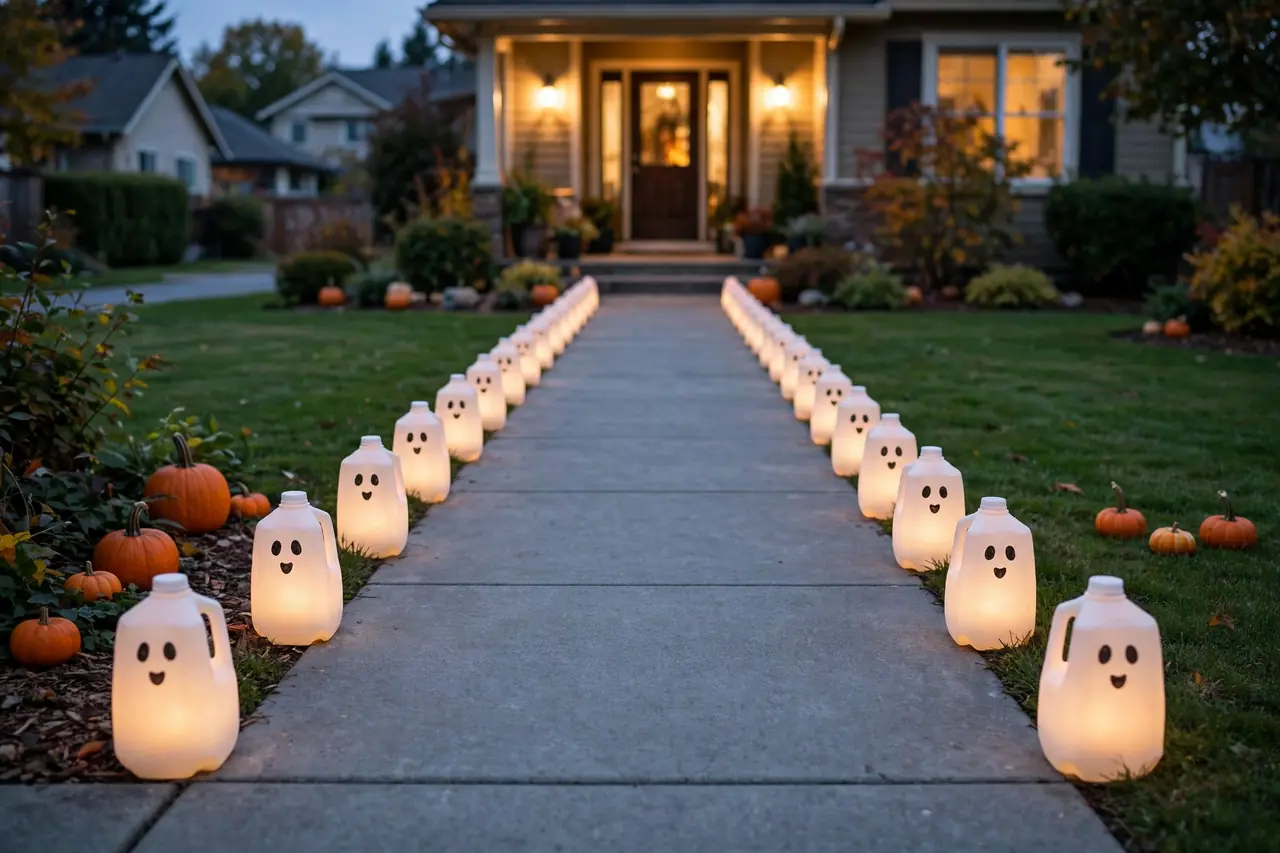
The walkway has one job: get costumed kids — some in masks with poor visibility — from the sidewalk to your door and back without a trip or a tangle. Decorate its edges, never its surface.
Light both edges. Luminaries are the classic choice: milk jugs with drawn-on ghost faces and a battery light inside, paper bags weighted with sand and lit with LED candles (never real flames in paper), or simple path lights in orange. Keep the lighting low and even — a bright-dark-bright path is harder to walk than a dim but even one.
Mark the edges, keep the middle empty. Small pumpkin rows, silhouette stakes, or short tombstones just outside the path’s edge tell feet where the path is. Nothing goes on the walking surface itself — no cords, no props, no webbing at ankle height. If a cord must cross, reroute it.
Think about the path you already have. If your walkway is cracked or awkward, Halloween is a good excuse to fix the route itself — our cheap DIY garden path ideas cover simple surfaces you can lay in a weekend. Do a test walk after dark before Halloween night: whatever trips you will trip a seven-year-old in a mask.
Zone 4: The Driveway and Garage Door
The garage door is the biggest blank canvas on most houses, and the driveway is the most underused display space — your bonus zone, decorated after the first three zones are done, with whatever budget is left.
Project onto the garage door. A holiday projector throwing ghosts or spiders onto the flat garage door gives a small yard a big-yard effect, and stores in a shoebox. Keep it dry, off the walkway, and aimed away from drivers’ eyes. No projector? A silhouette scene — big cut-out bats, a witch, a haunted house shape on the door — reads almost as well.
Frame the driveway, do not fill it. An inflatable arch at the entrance, or a matching pair at its corners, marks the display’s boundary. Keep the surface clear: cars still need it, and so do emergency vehicles. If you hand out candy from the driveway, set the station at its edge near the sidewalk, with its own light, so the route to it never crosses your scenes. The fence or hedge along the driveway takes string lights, webbing, and hanging bats well, and ties the yard scene to the garage.
Zone 5: Windows, Roofline, and the House Itself
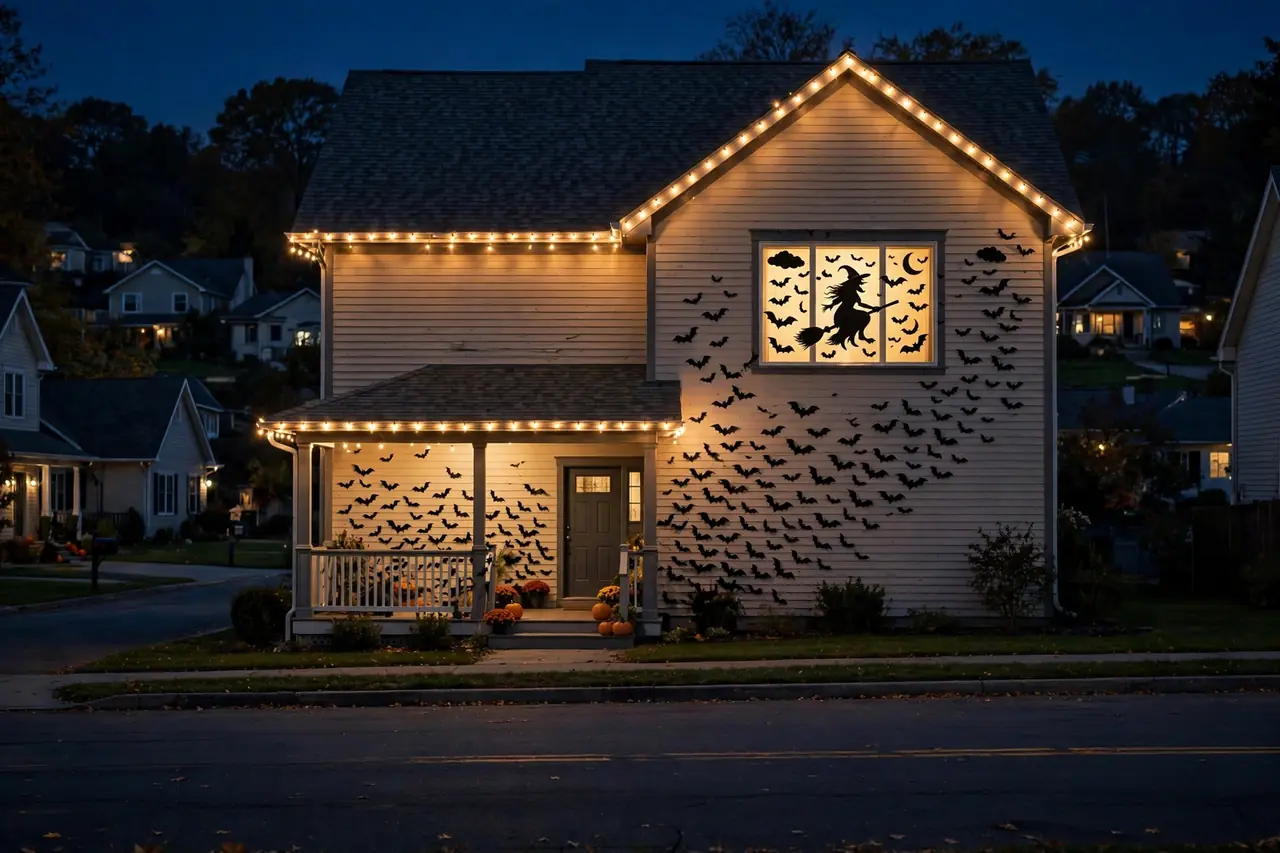
Your house is not the backdrop to the display — it is part of it. Windows, the roofline, and bare wall are free display area, and they are what make a house look decorated from a full block away.
Windows: silhouette scenes are the highest-impact, lowest-cost trick in this guide. Black cut-out shapes — a witch, cats, bats, a haunted house — inside a lit window read as a glowing scene from the street, and a window projector does the same job with movement. Decorate one or two windows, not all of them; a single lit scene looks deliberate, five look like a store.
The facade: a swarm of cut-out bats flying up and across the front wall, starting near the porch and spreading as they rise, turns a blank wall into the display. Cut them from weather-resistant material, not plain paper, if they go outside. One giant spider in a porch-corner web likewise beats a dozen small ones.
The roofline: a single run of string lights along the eaves or porch roof edge outlines the house and ties every zone together at night. If you are choosing or hanging lights this year, our guide to the best outdoor string lights covers types, layouts, and installation. Attach lights with proper clips — never nails or staples through a cord, which can cut the insulation and create a shock and fire hazard.
Ladder caution: roofline work means a ladder, in October, sometimes near dark. Work in daylight, on dry ground, with someone holding the ladder, and keep yourself and the ladder well away from overhead power lines. Anything that needs you to lean, reach, or climb onto the roof itself belongs to a professional installer.
Lighting That Ties the Whole Yard Together
Daylight shows your props; darkness shows your lighting — and most of your audience arrives after dark. A few rules keep the night version as good as the day version.
- Pick two light colors and stop. Warm orange plus purple, or warm white plus one color. Three or more and the yard turns into a carnival. Your theme’s colors are your light colors.
- Light from below for spooky, from above for friendly. A spotlight at a figure’s base throws long shadows and reads as eerie; soft light from porch fixtures and string lights reads as welcoming. Most houses want friendly on the path and spooky only in the yard scene.
- Use solar and battery pieces where there is no outlet. The far corners of the yard do not need extension cords snaking across the lawn; solar path lights and battery string lights handle the edges, and wired power is saved for the focal point.
- Put everything on a timer. A timer switches the display on at dusk and off at bedtime whether you remember or not — also a safety rule, since electrical decorations should not run unattended all night. Our timer outlet guide explains the types and how to choose one for outdoor use.
Weatherproofing and Anchoring: Keep It Standing All October
October weather is the real test of an outdoor display: wind takes the tall pieces, rain takes the electrical ones. Build for the storm, not for the calm evening you set up in.
Wind
- Use every stake and tether that came in the box — they are sized for the piece — pushed in at an angle, not straight down, so they resist pulling out. Add extra rope lines or sandbags to anything tall: inflatables, big figures, pallet fences, foam tombstone rows.
- Deflate and bring in inflatables before strong winds or storms. The fan cannot hold one against a storm, and a loose inflatable can damage itself, your siding, or a neighbor’s car.
- Check the display after every windy night — ten minutes of re-staking beats replacing a broken focal point.
Rain
- Only use decorations and cords marked for outdoor use outside. Indoor-rated items and water do not mix.
- Keep plug connections off the ground and out of puddles; where two cords join, use a weatherproof connection cover or raise the joint on a brick.
- Choose faux pumpkins for month-long spots. Real pumpkins are fine for Halloween week, but rain and warmth rot them fast — and a collapsing pumpkin on the steps is a slippery mess.
- Paper and cardboard DIY pieces belong under the porch roof, or treat them as one-week decorations made cheaply enough not to mind losing.
Outdoor Electrical and Fire Safety: Read Before You Plug In
This is the section that protects everything else. The Electrical Safety Foundation International (ESFI) publishes Halloween safety guidance every year, and its core rules are simple:
- Inspect every electrical decoration before use. Cracked or frayed wires, broken sockets, and loose connections mean the item gets discarded, not taped up.
- Use only products marked for outdoor use outside, and only decorations tested by a recognized testing laboratory such as UL, ETL, or CSA.
- Plug all outdoor electrical decorations into circuits protected by a ground fault circuit interrupter (GFCI) — the outlet type that cuts power fast if current leaks, which is exactly the protection wet grass demands.
- Never nail or staple light strings or cords — use clips made for hanging lights.
- Keep cords out of doorways and walkways, do not overload extension cords, and turn everything off before leaving home or going to bed.
Fire deserves its own paragraph. According to the National Fire Protection Association (NFPA), U.S. fire departments responded to an estimated average of 835 home structure fires a year that began with decorations between 2020 and 2024 — nearly half (47%) started because a decoration sat too close to a heat source, and about a third (33%) were started by candles, as reported in NFPA’s Halloween fire safety warning. The practical version: use battery-operated candles or glow sticks in jack-o-lanterns, keep dried cornstalks, hay, crepe paper, and fabric props away from bulbs, heaters, and any flame, and never let decorations block a door or exit.
Small Yards, Stoops, and Renters: The Same Plan, Scaled Down
The zone plan shrinks gracefully. With no front yard, your zones are the door, the steps, and one window — and those three done well beat a big yard done thinly.
- Go vertical. Decorate upward: the door, the wall beside it, hanging pieces from the porch ceiling, one lit window. Height costs no floor space.
- One zone, finished. A mummy door, pumpkin stacks on the steps, and a bat swarm on the wall is a complete display — stop there and it looks intentional.
- Use removable everything. Removable adhesive hooks, over-door hangers, and zip ties leave no holes and no damage — nothing screwed, nailed, or glued to a landlord’s siding.
- Projectors are the renter’s focal point. One projector on a window or garage door gives a full display with zero installation, and packs away in a drawer.
- Mind shared spaces. In apartments and townhomes, keep the display inside your own door area, keep shared walkways fully clear, and check your lease or HOA rules first — some set dates for when decorations may go up and must come down.
Related Guides
- Best outdoor string lights: ideas, tips, and an easy installation guide — choosing and hanging the lights that outline the house.
- Timer outlets: what they are, the types, and how to choose — running the whole display on a safe schedule.
- Cheap DIY garden path ideas — fixing the walkway your trick-or-treaters use.
- Color-changing smart bulbs — orange, purple, and green glow without gels or extra fixtures.
Frequently Asked Questions
When should you put up outdoor Halloween decorations?
Most people put up outdoor Halloween decorations in late September or early October, which gives the display a month of evenings and lets you fix problems before Halloween night. Porch and focal point go up first; yard and walkway follow. If you have an HOA, check its rules first, since some set the earliest setup date and a removal deadline.
How do you keep inflatables from blowing away?
Use every stake and tether that came in the box, push the stakes in at an angle, and add extra rope or sandbags for tall inflatables. Deflate and store it before strong winds or storms, because its fan cannot hold it against a storm — and place it away from the path, so if it ever shifts, it cannot land on a visitor.
What are cheap outdoor Halloween decorations?
The cheapest outdoor Halloween decorations come from things at home: milk-jug ghosts with battery lights, cardboard or foam tombstones, tomato-cage ghosts under old sheets, glow-stick eyes in the bushes, and a scarecrow stuffed from old clothes. Swapping porch bulbs for orange or flicker bulbs also changes the whole look for very little money.
What are cute outdoor Halloween decorations that are not scary?
Cute, not-scary outdoor decorations include a friendly ghost family in graduated sizes, a pumpkin-patch photo spot with a goofy scarecrow, black cat and bat yard stakes, retro blow-mold figures, and smiling character inflatables. Keep the path bright in warm orange and purple, and save spooky pieces for the side of the yard.
What are the scariest outdoor Halloween decorations?
The scariest outdoor decorations combine height, movement, and darkness: a tall figure lit from below, a motion-activated prop, or a creature half-hidden at the edge of your lights. One well-hidden scare beats a lawn full of props, because surprise does the work. Keep jump scares and strobes off the main path and away from steps.
Your Weekend Setup Order
You now have the whole plan: one theme, one focal point, five zones. Set it up in this order and each step makes the next one easier:
- Choose your theme and focal point, and sketch which zones get what.
- Buy or gather the focal point and porch pieces first; make the DIY fillers second.
- Set the porch and front door completely.
- Build the yard scene around the focal point, and anchor every piece as you place it.
- Light the walkway edges and walk the route after dark to test it.
- Add the driveway, garage, windows, and roofline with what remains.
- Run all cords to GFCI-protected outlets, set the timer, and do the final safety check.
Then pour something warm, stand at the sidewalk at dusk, and look at your house the way the neighborhood will. That view is the whole point.
Disclaimer: Decoration projects, budgets, and results vary by home, climate, and products used. Follow each product’s manufacturer instructions, use only outdoor-rated electrical items on GFCI-protected circuits outdoors, and hire a qualified professional for electrical work, roof work, or anything beyond your safe reach.