You remove an ice dam by clearing the snow off the lower roof first, then melting a narrow drainage channel through the ice so the trapped water can run off. Work from the ground with a long-handled roof rake, and melt the channel with a sock filled with calcium chloride. Never chip the ice with an axe or a hammer, and never climb onto a snowy roof. If water is already leaking inside, or the dam is thick and tall, call a roofing pro who removes ice with low-pressure steam. Clearing the dam stops the leak for now, and the attic fixes at the end of this guide keep the next one from forming.
An ice dam looks like a simple ridge of ice, but it can do real damage fast. Water backs up behind it, slips under your shingles, and soaks the attic, the walls, and the ceiling. This guide walks you through the safe removal methods in order, shows you exactly what never to do, and tells you when the smart move is to put the tools down and call a pro.
What Is an Ice Dam?
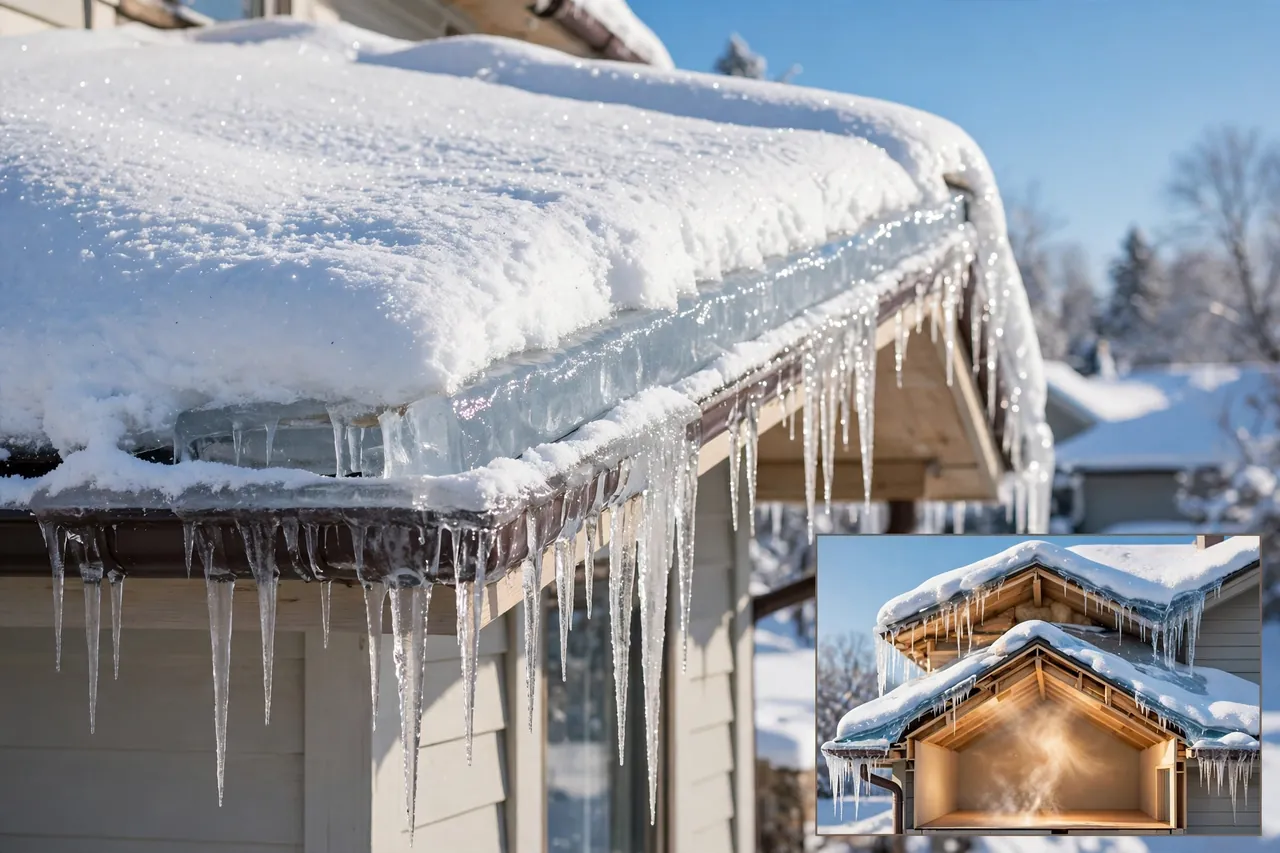
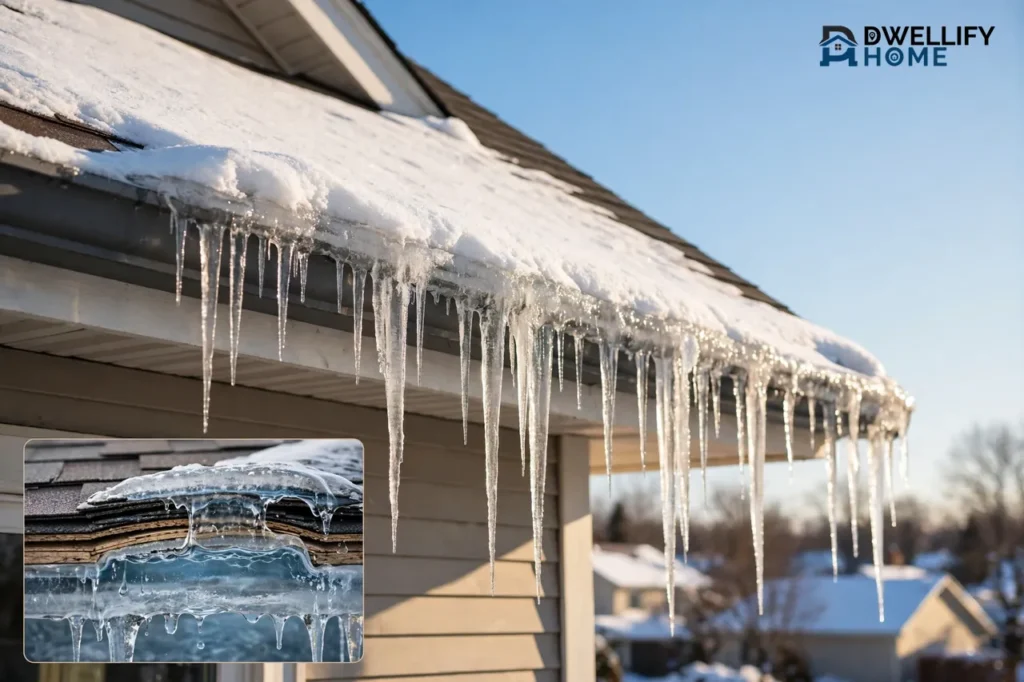
An ice dam is a ridge of ice that forms at the edge of a roof and blocks melting snow from draining off. The University of Minnesota Extension gives that plain definition, and it also explains why the ridge forms in the first place.
Heat escapes from your house into the attic and warms the upper part of the roof. Snow on that warm part melts, and the water runs down toward the edge. The edge of the roof sits past the outside wall, so it stays cold. The water refreezes there, and each new round of melting adds another layer of ice. Over days, the layers build into a solid ridge.
For an ice dam to form, three things must line up: snow on the roof, the upper roof surface above 32 degrees Fahrenheit, and the lower roof surface below 32 degrees. That is why dams show up most in cold, snowy regions after a stretch of freeze-and-thaw weather.
The ice itself is only half the problem. The water trapped behind the dam stays liquid, and it looks for any crack or gap in the roof covering. It flows into the attic, then into the walls and the ceiling below. That is how a ridge of ice on the outside turns into stained ceilings, wet insulation, and mold inside.
Icicles hanging from the gutters are often the first sign. Big, heavy icicles mean a dam is already holding water back, so take them as a warning, not as a pretty winter decoration. Never stand under a roof edge to knock icicles down. Large chunks of ice can fall without warning and hurt anyone below.
How Do You Remove Ice Dams Safely?
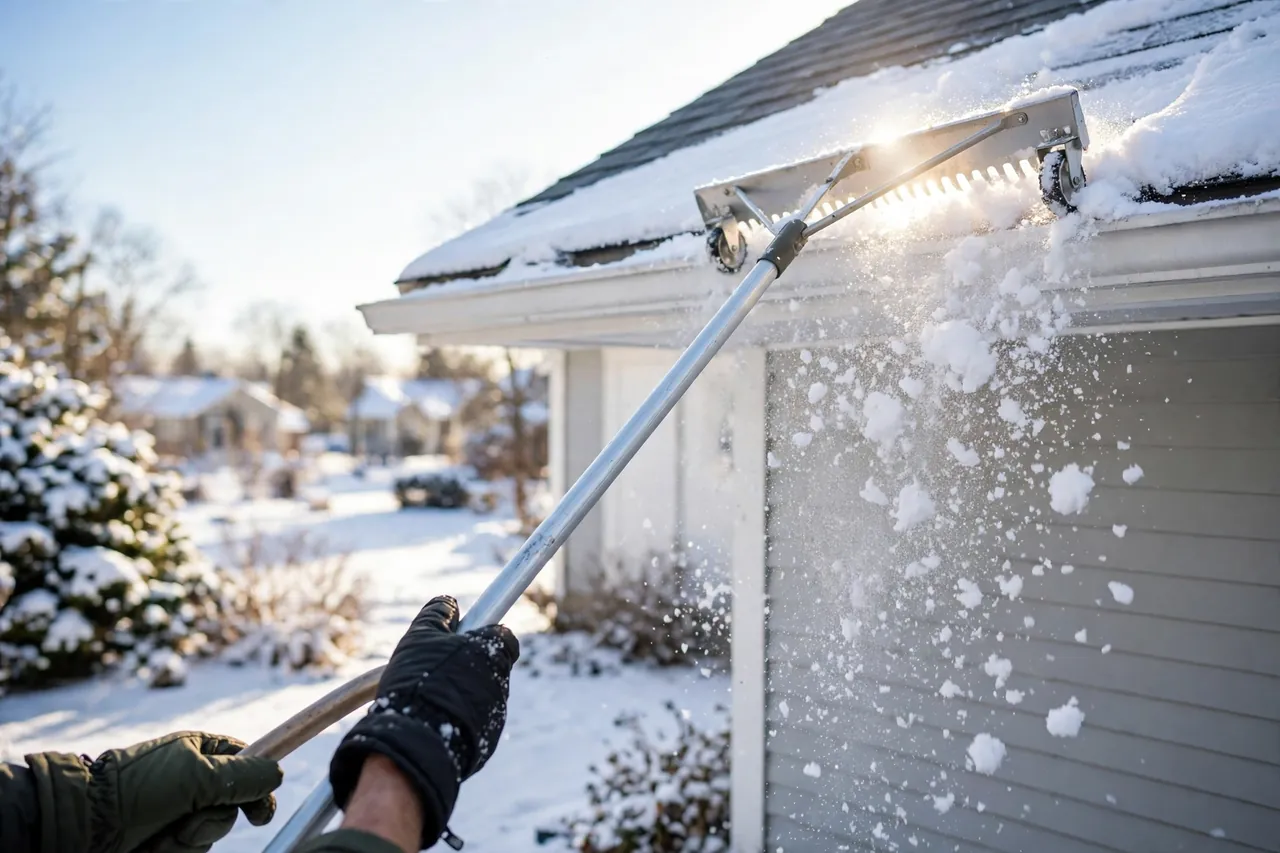
Safe ice dam removal follows one simple idea: give the trapped water a way off the roof without hurting the roof or yourself. That means you work from the ground, you melt the ice instead of hitting it, and you let a pro handle anything you cannot reach safely. The four steps below run in order, from the easiest and safest to the one that needs a professional.
Step 1: Rake the Snow Off the Lower Roof From the Ground
Start with the snow, not the ice. Use a long-handled roof rake and stand on solid ground. Pull the snow off the lower 3 to 4 feet of the roof, working from the edge upward in small pulls. Leave a thin layer of snow on the shingles so the rake does not scrape them.
This step matters because snow feeds the dam. Every inch of snow above the dam melts a little on a sunny day or a warm spell, and that water runs down and refreezes at the edge. Take the snow away and the dam stops growing. It also takes weight off the roof and the gutters.
Pick a roof rake with wheels or rollers if you can. The wheels hold the blade slightly off the shingles, so you are less likely to pull granules off the roof surface. Pull straight down toward you, never sideways, and stop if the rake catches on anything.
Do not climb a ladder to rake a higher spot, and do not step onto the roof. A snowy roof is slick, the edge hides ice, and a fall from roof height can cause a serious injury. If the roof is too high or too steep to rake from the ground, that is your sign to call a pro.
Step 2: Melt a Drainage Channel With Calcium Chloride in a Sock
Once the snow is off, melt a narrow channel through the dam so the trapped water can drain. The trusted way to do this uses calcium chloride, the same ice melt sold for driveways and sidewalks. Do not sprinkle the granules loose on the roof. Fill a tube sock or the leg of an old pair of pantyhose with calcium chloride, tie the open end shut with string, and lay the sock across the dam so it runs vertically, from the roof surface down over the gutter edge. The end should hang an inch or two past the edge.
The calcium chloride slowly melts a tube-like channel through the ice. Trapped water flows through that channel and off the roof instead of backing up under the shingles. Place one sock every few feet along a long dam, and give the channel time to form. It works slowly, over hours, not minutes.
Use calcium chloride only, and check the bag label before you buy. The product must contain only calcium chloride. Rock salt, which is sodium chloride, damages asphalt shingles, corrodes metal gutters, and kills the plants below when the runoff reaches them. Other chemical ice melts can erode roofing surfaces too, so do not swap in whatever bag is closest.
A 50-pound bag of calcium chloride costs around $30 and fills about 13 to 15 tube socks, according to Bob Vila, whose guide was updated in February 2026. That makes the sock method one of the cheapest fixes you can try, and it costs far less than the water damage a leaking dam can cause.
One honest limit: the channel is a short-term fix. If more snow or rain falls in the days after, the channel can fill back up and the dam can start trapping water again. The sock buys you time and stops the active leak. It does not cure the cause, and that is what the prevention section at the end is for.
Step 3: Stop an Active Leak Fast With Cold Air From a Box Fan
If water is already dripping inside, you need to buy time before the pro arrives. Carry a box fan into the attic and aim it at the underside of the roof right where the leak is happening. The blast of cold air cools the roof deck and freezes the water in place, which can stop the drip within minutes.
This trick works because it attacks the cause of the leak for a little while: a warm roof deck. Cold air drops the deck temperature below freezing, so the meltwater stops flowing. It is a stopgap, not a repair, and it only helps while the fan runs. Turn the fan off and the water starts moving again.
While the fan runs, protect the inside of the house. Move furniture and rugs away from the drip, lay down plastic sheeting or old towels, and set out buckets. If a ceiling bulges with trapped water, do not poke at it yourself, and keep clear of any bulge that looks ready to burst. Call a roofer and a water-damage pro if the leak is heavy.
Step 4: Call a Pro With a Low-Pressure Steamer
For a thick dam, a dam on a high or steep roof, or any dam that is already leaking, the safest removal is professional steam. A roofing crew uses a commercial steamer that turns water into steam and sends it through the ice at low pressure. The crew cuts channels through the dam first so trapped water can drain, then melts the ice away in sections, working from the eave upward.
Steam works because it melts the bond between the ice and the shingles without force. No hammering, no prying, and no water driven up under the shingles. The crew clears the snow above the dam first, so the dam does not start growing back the next day.
Ask any contractor you call one question before you hire them: what method will you use to remove the ice? The answer you want is low-pressure steam. Walk away from anyone who plans to chip the ice with tools or blast it with a pressure washer. A pressure washer strips granules off shingles and drives water under them, which creates the very leaks you are trying to stop.
Professional ice dam removal costs about $400 to $700 per hour nationally, according to Bob Vila, quoting Steve Kuhl, owner and CEO of the Ice Dam Company. The full cost breakdown is in the cost section below.
What Never to Do to an Ice Dam
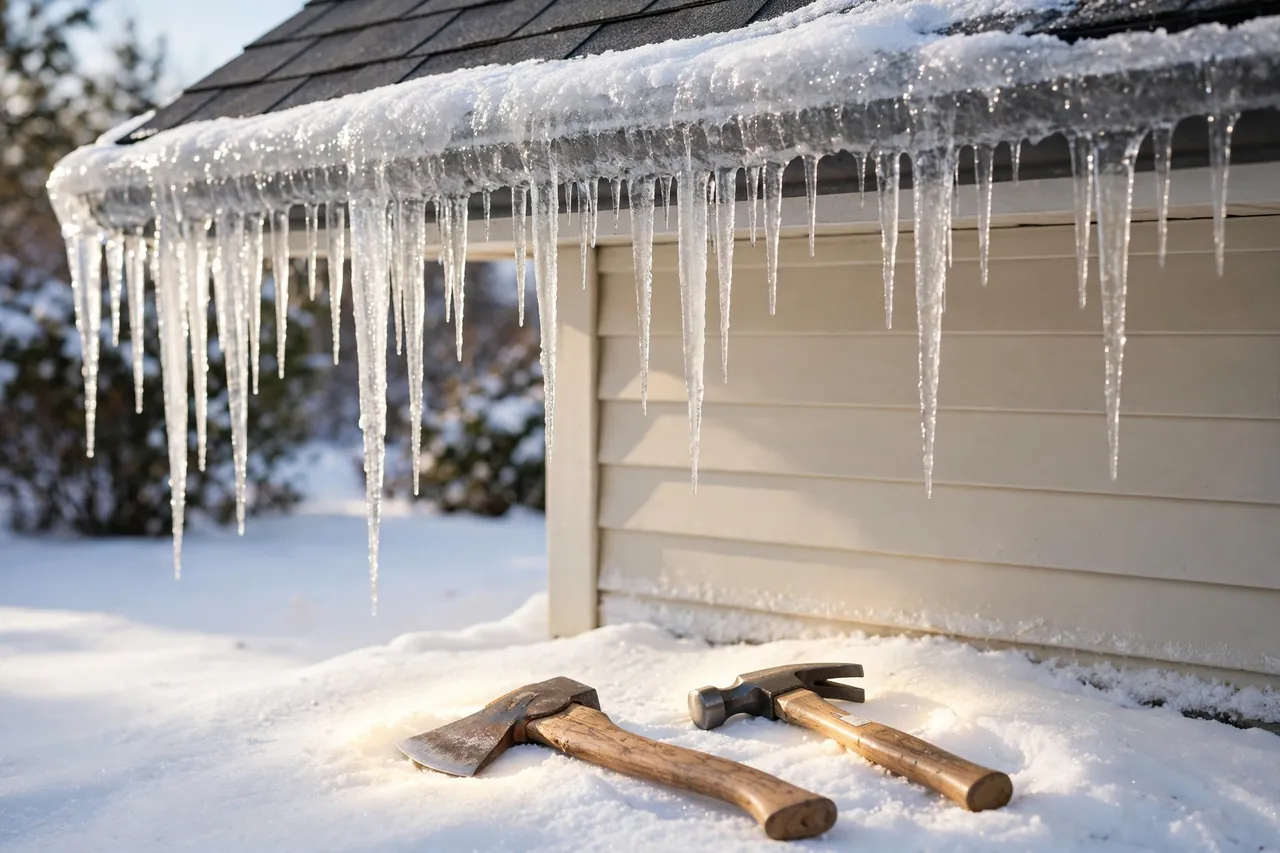
The wrong removal method can damage your roof worse than the ice dam itself, and it can hurt you too. The list below covers the mistakes homeowners make most, and why each one is a bad idea.
Never chip at the ice with an axe, a hammer, a shovel, or an ice pick. Cold shingles are brittle, and one hard hit can crack them, knock off granules, or punch through the underlayment. Every crack becomes a leak path that lasts long after the ice melts. Bob Vila quotes Steve Kuhl on this point: breaking an ice dam with a hammer is almost impossible to do safely, because the difference between clearing ice and damaging the roof is a matter of millimeters.
Never use hot water from a hose to melt a dam. Pouring hot water over a frozen roof can crack shingles from the sudden temperature change, and the water refreezes lower down, often making a bigger dam or longer icicles. Boiling water is the worst version of this mistake.
Never use a torch or any open flame on the roof. A flame is a fire risk on a roof full of dry wood, shingles, and insulation, and it can melt or warp flashing and shingles in seconds. Never use a pressure washer either, for the reasons above: it strips the roof surface and pushes water where it does not belong.
Never put rock salt on the roof. Sodium chloride damages asphalt shingles, corrodes metal gutters and flashing, and kills shrubs and grass when the salty runoff reaches the ground. If the bag does not say calcium chloride, do not use it on your roof.
Never climb onto a snowy or icy roof, and never work from a ladder leaning on a slick gutter. Falls from roofs and ladders cause serious injuries every winter, and a roof edge covered in ice gives you nothing solid to hold. If you cannot reach the dam from the ground, that is the job for a pro with the right gear and training.
Quick-Reference: Safe vs. Unsafe Ice Dam Removal
Use this table when you need to decide fast. Every line below comes from the sources named in this guide: the University of Minnesota Extension, Bob Vila, and the safety guidance in the ranking ice-dam guides.
| Method | Safe or not | Why |
|---|---|---|
| Roof rake from the ground | Safe | Removes the snow that feeds the dam, with no ladder and no roof climbing |
| Calcium chloride in a sock | Safe | Melts a drainage channel slowly; calcium chloride does not harm shingles |
| Box fan in the attic | Safe stopgap | Cold air freezes the leak in place and buys time until a pro arrives |
| Low-pressure steam by a pro | Safe | Melts the ice without force, so shingles and underlayment stay intact |
| Chipping with an axe or hammer | Never do this | Cracks shingles and underlayment, and creates new leak paths |
| Rock salt on the roof | Never do this | Damages shingles and gutters, and kills plants below |
| Hot water or boiling water | Never do this | Can crack shingles, and the water refreezes into a bigger dam |
| Torch or open flame | Never do this | Fire risk, and it melts flashing and shingles |
| Pressure washer | Never do this | Strips shingle granules and drives water under the roof |
| Climbing the snowy roof | Never do this | High fall risk on a slick, icy surface |
How Much Does Ice Dam Removal Cost?
The cheapest fix is the one you do yourself from the ground. A roof rake is a one-time buy at any hardware store, and a 50-pound bag of calcium chloride costs around $30 and fills about 13 to 15 tube socks, according to Bob Vila.
Professional removal costs more, but it handles the dams you should not touch yourself. Expect about $400 to $700 per hour nationally for a pro with a steamer, according to Bob Vila, and a national average job of about $1,200, according to Consumer Reports, based on a HomeAdvisor estimate. Angi reports total job prices ranging from about $400 to about $4,000, depending on the removal method and the size of the dam. A small dam on a low, easy roof sits at the low end, while a thick dam on a tall or steep roof sits at the high end.
Weigh the cost against the damage a leak can cause. Bob Vila notes that roof repairs cost just over $1,000 on average, water damage restoration can reach $3,500 or more, and mold remediation can easily run into several thousand dollars. A pro visit that stops an active leak is usually the cheaper choice once water is inside.
Check your homeowners insurance too. Many policies cover sudden water damage from an ice dam, though they often do not cover the cost of removing the ice itself. Call your insurer before you pay for repairs, and keep photos of the dam, the leak, and the damage for your claim.
When to Call a Professional Right Away
Some ice dams are a DIY job from the ground. Others are not, and waiting can turn a small leak into a big repair bill. Call a roofing pro right away if any of these apply to you.
- Water is already dripping through a ceiling or running down an inside wall.
- The dam is more than a few inches thick, or it runs along a long stretch of the roof.
- The roof is high, steep, or impossible to reach with a rake from the ground.
- The gutters are sagging, pulling loose, or full of solid ice.
- You have already tried the sock method and the leak is getting worse, not better.
- You feel unsure about any step, or you would need a ladder to reach the dam.
When you call, ask three questions: do you use low-pressure steam, will you clear the snow above the dam as part of the job, and what is the total price before you start? A good crew answers all three plainly. If a contractor suggests chipping, pressure washing, or climbing the roof with tools, find another contractor.
Also call a pro if the dam keeps coming back every winter in the same spot. A dam that returns year after year points to a heat-loss problem in the attic, and a weatherization contractor can find it with a blower door test and an infrared camera. The University of Minnesota Extension recommends exactly that kind of energy professional for the long-term fix.
What to Check Inside After the Ice Melts
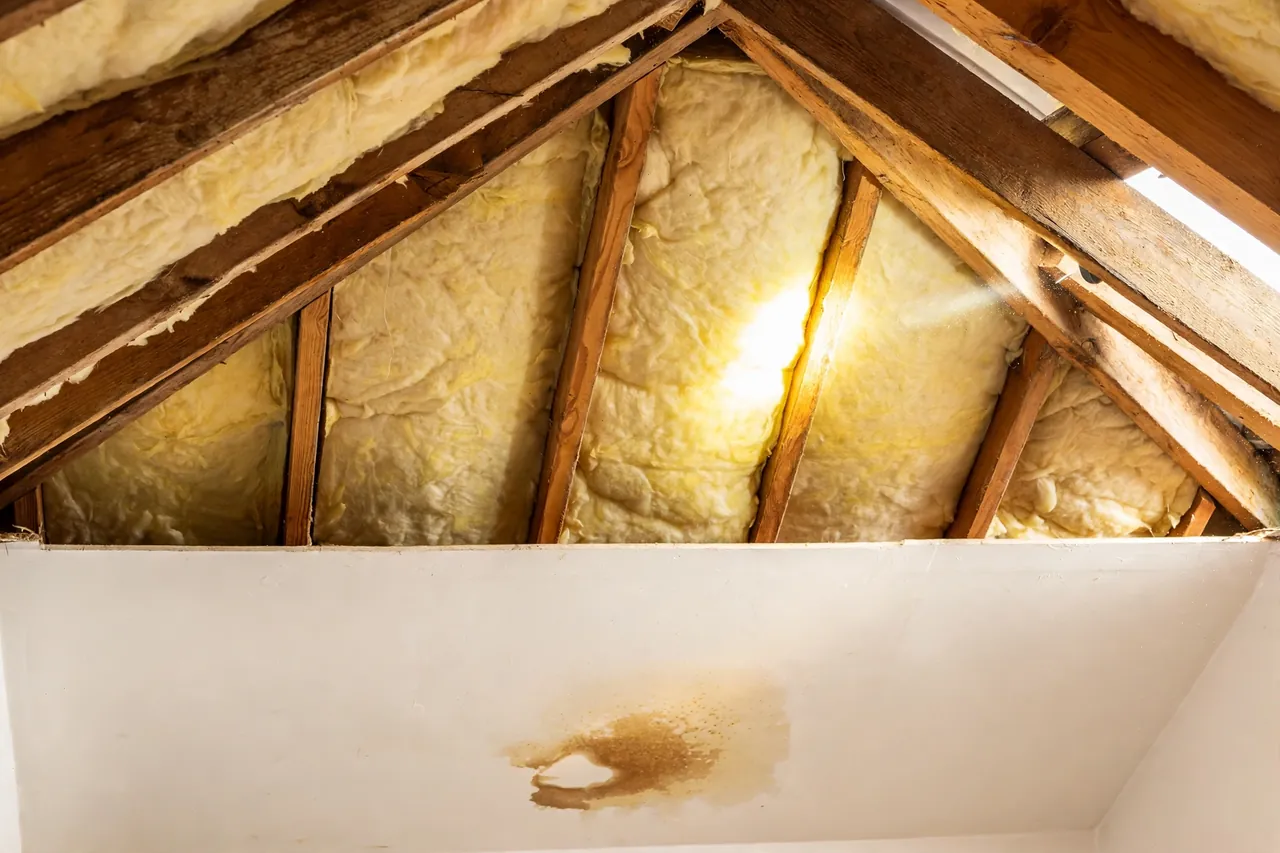
Removing the dam is only half the job. Water that backed up behind it may have soaked places you cannot see, and those places cause trouble weeks later. Once the roof is clear and the weather warms, check the inside of your house carefully.
Start at the top of the exterior walls and the ceilings near them. Look for brown stains, peeling paint, bubbled drywall, and soft spots. Press gently on any stained drywall: if it feels soft or crumbly, it stayed wet too long and may need to come out. If you can get into the attic safely, look for damp or flattened insulation at the eaves, water marks on the roof sheathing, and stained soffits outside.
If you find a stain but cannot tell where the water came from, trace the leak before you repair anything. Our guide on how to trace a hidden leak to its source walks through the step-by-step checks that narrow down the entry point, so you fix the real problem instead of guessing.
Wet insulation loses its insulating value, which makes the next ice dam more likely, so damp insulation at the eaves should be dried or replaced. Wet drywall and framing left in place can grow mold within days once the weather warms. If you find mold, clean it up the right way: our guide on how to clean mold without spreading spores shows how to contain the area first, and our look at whether Kilz kills mold explains what a stain-blocking primer can and cannot do after the mold itself is gone.
Do not repair interior damage until the ceilings and walls are fully dry, and do not patch the ceiling without fixing the heat-loss problem that caused the dam. The University of Minnesota Extension warns that interior repairs made before the cause is fixed will simply need to be done again after the next dam.
How to Keep the Next Ice Dam From Forming
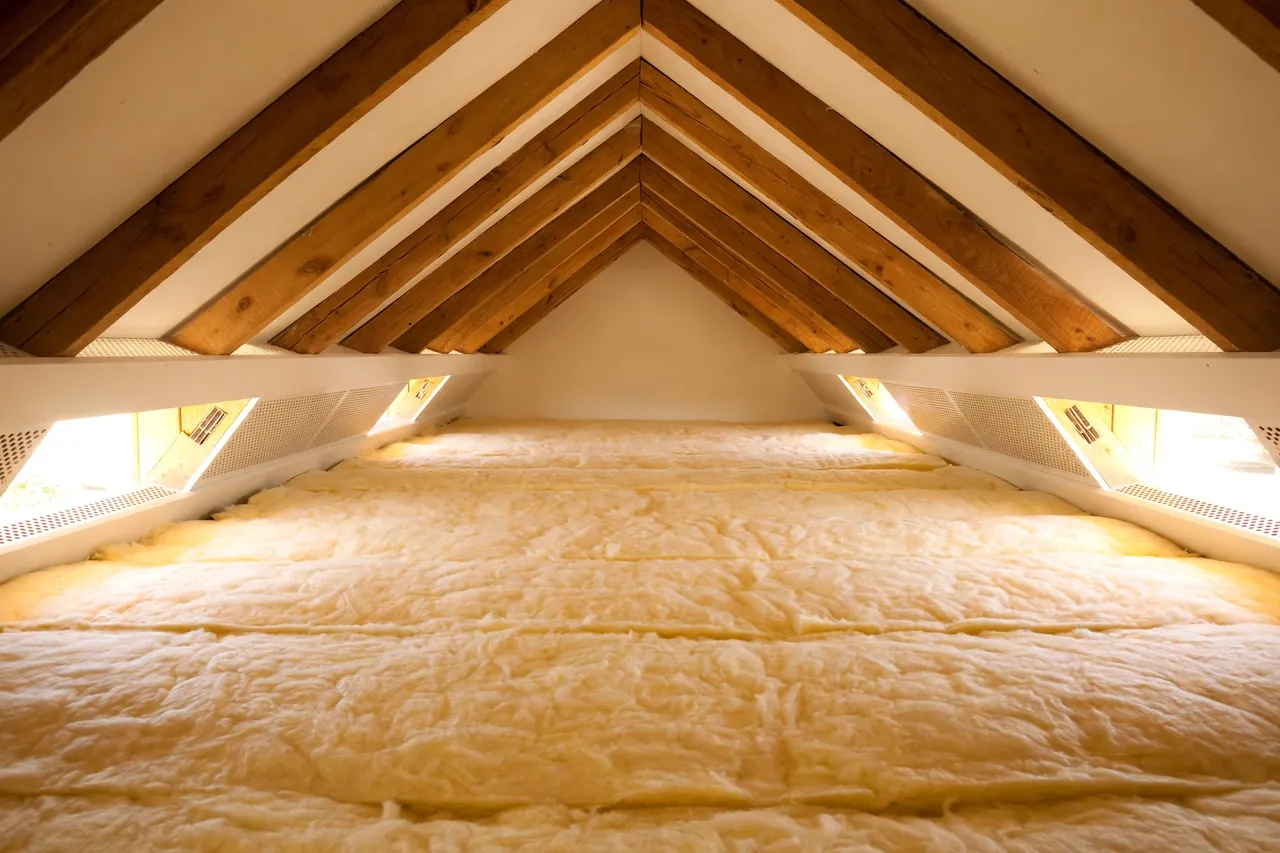
Removal handles the dam you have today. Prevention handles the dam that would form next winter. The fix sits in the attic, not on the roof: keep the roof deck cold and even in temperature, so snow melts evenly or not at all.
Air sealing comes first. Warm air leaks from the living space into the attic around recessed lights, the attic hatch, plumbing stacks, wiring holes, and bathroom fan vents. Seal those gaps with caulk or expanding foam, and make sure bath and dryer vents run outside through a wall or the roof, not into the attic. The University of Minnesota Extension calls air leakage the major way heat reaches the attic in many homes, and Bob Vila’s expert calls sealing those leaks the number one thing you can do to cut the risk.
Insulation comes second. Once the leaks are sealed, bring the attic insulation up to the level your climate needs, with full depth right out over the outside walls, where it often gets thin. Our guide on how to insulate an attic walks through the process, and our guide to the best insulation for ceilings helps you pick the right material for the job. An extra 8 to 10 inches of insulation helps stop heat transfer through the roof, according to Bob Vila.
Ventilation comes third. Soffit vents along the eaves and a ridge vent at the top let cold air flow under the whole roof, which keeps the deck temperature even. Keep the soffit vents clear of insulation, and do not add powered attic fans to fight ice dams: the University of Minnesota Extension says mechanical attic ventilation is not recommended for ice dams, because it can cause moisture problems and pull air the wrong way through the house.
Heat cables are a last resort, not a cure. The zigzag cables clipped along the roof edge can keep a drainage path open on a trouble spot, but they treat the symptom, use electricity all winter, and can shorten shingle life. Fix the attic first, and save the cables for a spot you cannot fix any other way.
For the full winter prep list, our guide on how to winterize a house covers the whole house, roof included, before the cold sets in. Do the attic work in warm weather, when the roof is dry and safe to work around, and you will head into winter with a roof that stays cold from ridge to eave.
Related Guides
How to Insulate an Attic: A Step-by-Step Guide That Starts With Air Sealing · Best Insulation for Ceilings: 7 Picks by Ceiling Type · How to Keep Pipes From Freezing Without Heat
Frequently Asked Questions
What is the best way to remove ice dams?
If the dam is small enough to handle, rake the snow off the lower roof from the ground to stop the ice from growing. Then melt a drainage channel through the ice with calcium chloride in a sock, or call a pro with a steamer. Leave large dams, and any dam you can only reach by ladder, to a professional.
What happens if you don’t remove ice dams?
Ice dams force water under your shingles. When that ice melts, the water can seep into your attic, ceilings, and walls, where it damages wood, drywall, insulation, and paint. Left alone, the moisture also feeds mold and mildew, and a heavy dam can tear gutters loose from the roof.
Do ice dams go away?
Ice dams go away once the weather stays too warm for water to freeze. But by the time they disappear on their own, the damage is often already done. The trapped water has already leaked inside, so waiting for warm weather costs far more than removing the dam early.
What chemicals do people use to remove ice dams?
Calcium chloride effectively melts the ice, and it is the only chemical you should use on a roof. Fill a sock or pantyhose leg with it and lay it across the dam to melt a channel. Avoid rock salt and other chemical ice melts, because they can damage your shingles, gutters, and plants.
Will an ice dam damage my roof?
Yes. The ice itself can lift shingles and bend gutters out of shape, and a heavy dam can pull a gutter off the roof entirely. The bigger problem is the water backing up under the shingles, which leaks into the attic, walls, and ceilings and causes damage that lasts long after the ice melts.
Roof work in winter is risky, and this guide is general home information, not professional roofing advice. Every roof and every home is different, and conditions such as roof height, slope, ice thickness, and hidden damage change what is safe to do yourself. If you are unsure about any step, or if water is already leaking inside, call a licensed roofing professional before you climb a ladder or touch the ice. Stop and get help rather than risk a fall or a damaged roof.
Start from the ground, melt a channel, and let a pro with a steamer take it from there when the dam is big or the leak is active. Then fix the attic, so next winter the snow stays put and the water runs off the way it should. Your roof will thank you, and so will your ceilings.