Yes, you can add a whole-house humidifier to most homes with forced-air heat. A technician mounts the unit on your furnace ductwork, connects it to a water line and a drain, wires it to a humidistat, and your furnace blower then carries moist air to every room. A typical pro job takes 2 to 4 hours, and a whole-house humidifier usually costs $400 to $1,200 installed, according to HomeGuide, checked on November 8, 2026.
The right choice still depends on your home. The type, size, and mounting spot all change the cost and the result. This guide walks through each decision in plain terms.

What a Whole-House Humidifier Does (and When You Need One)
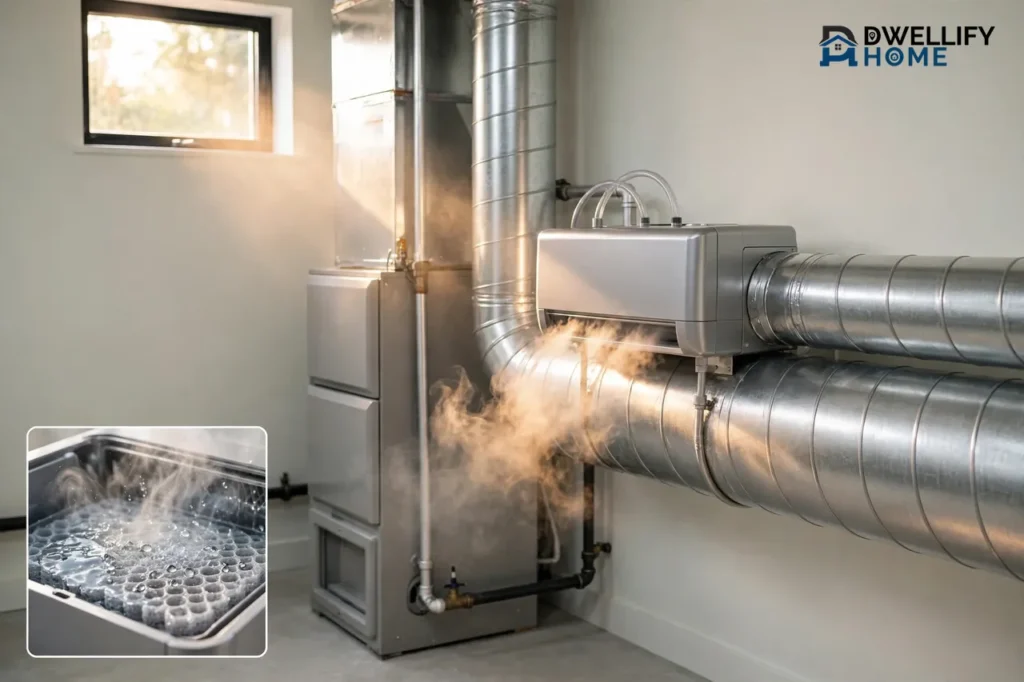
A whole-house humidifier adds water vapor to the air your furnace already moves through your ducts. It works with your heating system, not instead of it. When the furnace blower runs, air passes through a wet pad or a steam jet inside the unit, picks up moisture, and flows out to your rooms.
A room unit treats one bedroom, and you fill it yourself. A whole-house unit treats the full home at once and fills itself from your water line.
You likely need one if winter air in your home feels dry most days. Look for these signs:
- Dry skin, chapped lips, or a sore throat that eases when you leave the house.
- Static shocks when you touch a doorknob or a light switch.
- Wood floors, furniture, or a guitar that shows new gaps or cracks in winter.
- Nosebleeds or a stuffy nose that gets worse at night.
A cheap hygrometer tells you more than any symptom can. You can buy one at a hardware store for a few dollars. Set it in your living room for a day. If it reads below 30% most of the time in winter, your air is dry. The U.S. Environmental Protection Agency says to keep indoor humidity between 30 and 50 percent, and below 60 percent at all times, in its Care for Your Air guide.
Learn why heated winter air turns dry in the first place in our guide to why a closed-up house gets dry and dusty in winter. Cold outdoor air holds little moisture. When your furnace warms that air, the relative humidity drops, even though no water left the house.
The 3 Types of Whole-House Humidifiers
Every whole-house humidifier falls into one of three types. They differ in how they add moisture, how much they add, and what they cost to run. Pick the type first.
Table: The 3 types of whole-house humidifiers at a glance
| Type | How it adds moisture | Output | Best for |
|---|---|---|---|
| Bypass | Warm furnace air flows through a wet pad | Up to 12 to 18 gallons a day | Smaller homes with a gas furnace |
| Fan-powered | Its own fan blows air through a wet pad | Up to 18 gallons a day | Mid-size homes that need steadier output |
| Steam | Electricity boils water and injects steam | Up to 34 gallons a day | Large homes, heat pumps, precise control |
Carrier lists the same three types and the same output range, up to 12 to 34 gallons per day, on its whole-house humidifier page. Bryant gives the same top figure for its steam model in its installation guide.
Bypass Humidifiers
A bypass humidifier has no fan of its own. It hangs on one duct, and a short round duct, called the bypass duct, links it to the other duct. The furnace blower pushes warm air through the bypass duct, across a wet water panel, and back into the system. The panel stays wet because a small valve drips water over it while the heat runs.
This is the simplest and cheapest type. It uses almost no electricity and runs quietly. Its weak spot is clear: it only adds moisture while the furnace runs, so it suits smaller homes and moderate winters best.
Fan-Powered Humidifiers
A fan-powered humidifier looks much like a bypass unit, but it carries its own small fan. That fan pulls air across the wet pad and pushes moist air into the duct, even when the furnace burner is off, as long as the blower moves air. It needs no bypass duct, which makes placement easier in a tight utility room.
You get more output than a bypass unit, often up to 18 gallons a day, and steadier humidity on mild days. You pay a little more up front and use a little more electricity. For many mid-size homes, this is the sweet spot.
Steam Humidifiers
A steam humidifier works in a different way. It boils water with electricity inside a canister and injects pure steam into the duct through a dispersion tube. It does not need hot furnace air, and it does not need the furnace to run. It adds moisture on demand, with precise control.
That independence is its strength. It suits large homes, heat-pump homes, and very cold, dry climates. It is also the most expensive type to buy and run: it needs a dedicated circuit, often 120, 208, or 240 volts, and hard water leaves scale in the canister, so you replace it about once a heating season.
How to Size a Whole-House Humidifier
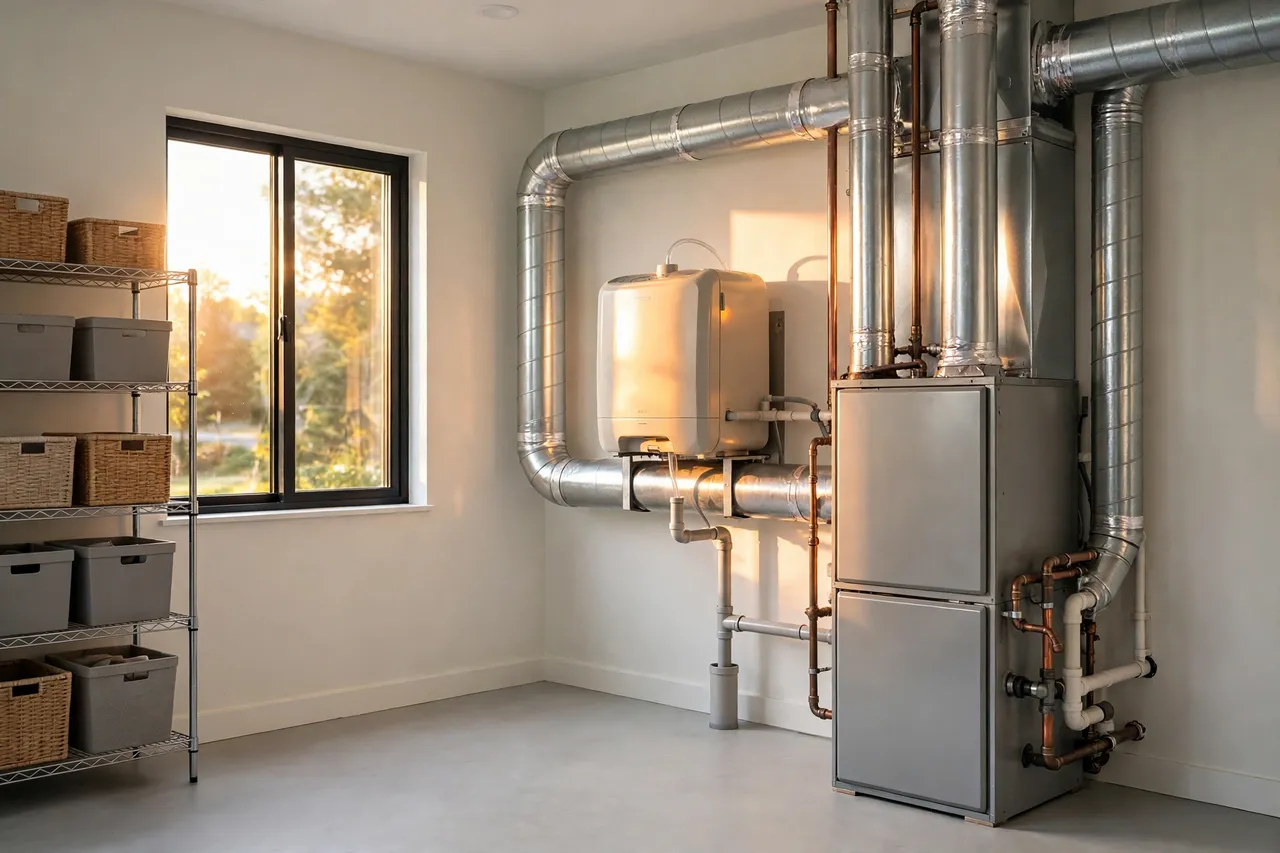
Size is measured in gallons per day, or GPD. That number tells you how much water the unit can turn into vapor in 24 hours. A unit that is too small will run all day and still leave your air dry. A unit that is too large can push humidity too high and cause condensation on windows and inside walls.
Square footage alone does not size a humidifier. Carrier says sizing needs a full look at your home, including its size, insulation, air leakage, and local climate, not just square feet. A tight, well-sealed 2,000-square-foot home needs far less output than a drafty home of the same size.
Use this table as a starting point, then let your contractor confirm the number with your home’s real details:
Table: Rough sizing guide by home size and construction
| Home size | Tight, well-sealed home | Average home | Drafty, loose home |
|---|---|---|---|
| 1,500 sq ft | About 3 to 4 gallons a day | About 6 to 7 gallons a day | About 12 to 13 gallons a day |
| 2,000 sq ft | About 4 to 6 gallons a day | About 8 to 9 gallons a day | About 16 to 18 gallons a day |
| 3,000 sq ft | About 6 to 8 gallons a day | About 12 gallons a day | Steam territory |
These are planning estimates for a cold climate, not a quote. Your contractor should check your insulation, windows, and air leakage before they pick a model, and show you the sizing chart for that exact model. Hard water also means more frequent pad and canister changes.
Where It Goes: Supply Duct or Return Duct?
This is the question homeowners ask most, and the honest answer is that it depends on the type and the model. Bypass units can mount on either the supply plenum or the return plenum, with the bypass duct linking the two. Fan-powered units usually mount on the supply duct, where the warm air sits. Steam units inject steam into the supply duct through a dispersion tube, and the steam unit itself can mount nearby or even in a remote spot.
The supply duct carries warm air out to your rooms, and the return duct carries cooler room air back to the furnace. Warm air evaporates water faster, so a supply-side unit can add a little more moisture, but a leak there can drip toward the furnace and its electrical parts. Follow your model’s manual on this point: Bryant says its humidifiers can mount on upflow, downflow, or horizontal equipment, and Carrier shows the unit on the supply plenum with the humidistat on the return duct or a wall.
Two placement rules apply to almost every model:
- Mount the unit level, on a flat vertical duct surface, with room to open it and change the pad or canister.
- Keep it off the furnace jacket itself, clear of the cooling coil, and away from any spot where freezing temperatures can occur.
Also leave the bypass damper in mind. A bypass unit has a damper in its bypass duct. Open it in winter so air flows through the humidifier. Close it in summer, when the air conditioner runs, so cool air does not short-circuit back through the bypass. Many homeowners forget this step each spring, and the system then wastes energy all summer.
What Adding One Actually Involves
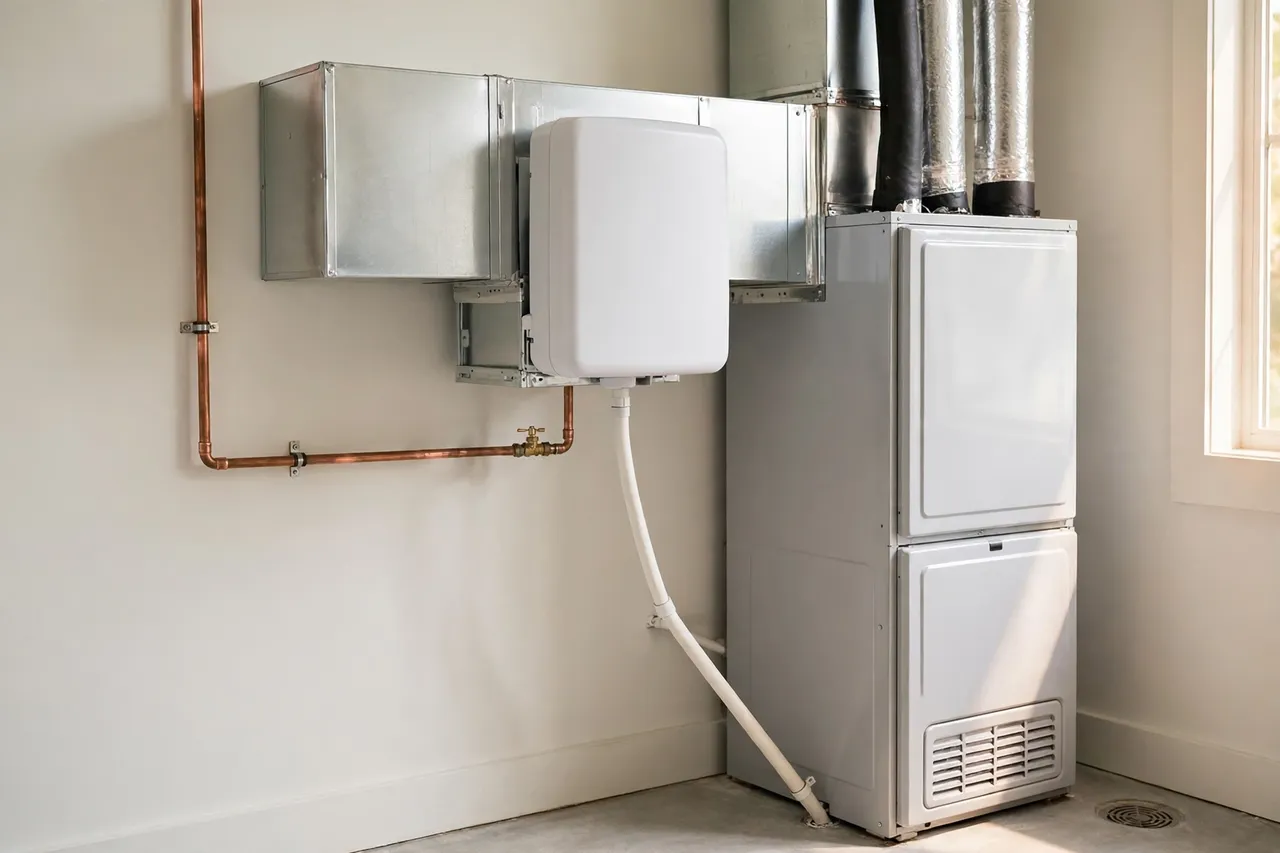
Adding a whole-house humidifier is a small construction job on your HVAC system, not a plug-in appliance. A pro install follows the same five steps on most homes. Bryant describes the same sequence in its installation guide: evaluation, placement, mounting, utility connections, and integration and testing.
- Evaluate your home and system. The technician checks your furnace, ducts, water and drain access, and electrical capacity, then confirms the size and type.
- Pick the mounting spot. The tech picks a flat duct spot near the furnace, with room for service and a clear path for water, drain, and wiring, and marks it with the template from the box.
- Cut and mount the unit. The tech shuts off furnace power, cuts the marked opening, mounts the housing level, and seals the edges. For a bypass unit, they add the bypass duct to the other plenum.
- Connect water, drain, and power. The tech taps a cold water line with a shutoff valve, runs a supply line to the unit, runs a drain line with a steady downward slope to a floor drain or condensate pump, and wires the unit to the furnace board and humidistat.
- Test and set the control. The tech restores power and water, checks every joint for leaks, confirms the unit starts when humidity drops, and sets a safe starting level.
A typical pro install takes 2 to 4 hours, according to Bryant. A steam unit takes longer, often 4 to 6 hours, because it needs a dedicated electrical circuit and a dispersion tube in the duct. If your home needs a new circuit, a long water run, or a condensate pump, add time and cost.
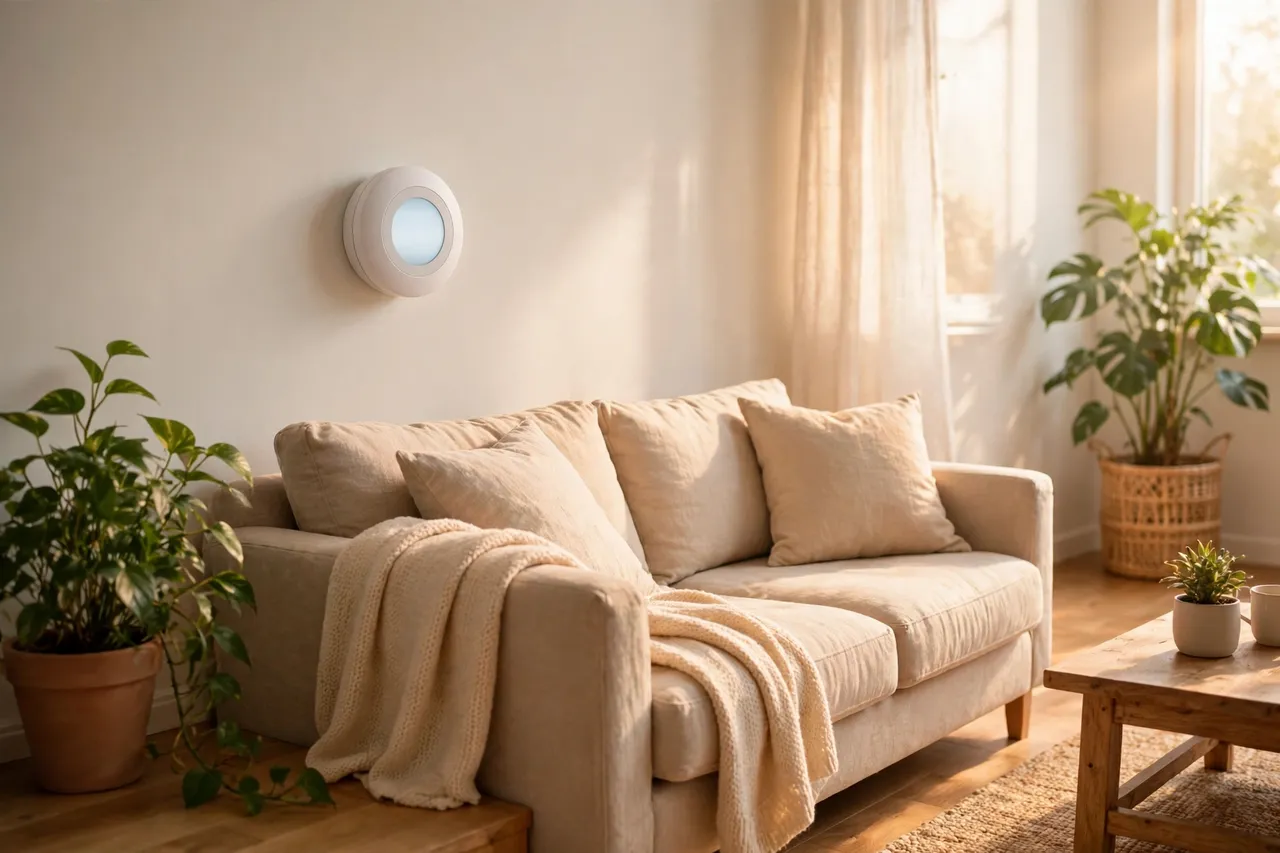
The humidistat reads indoor humidity and tells the unit when to run. It can mount on the return duct or a living-space wall; a wall mount often reads room air better. Some smart thermostats control humidity directly, so you may not need a separate one.
Can You Add a Whole-House Humidifier Yourself?
A skilled homeowner can install a basic bypass humidifier, but this is not a beginner project. Both Bryant and Carrier say a pro install is the safer choice for most people. Bryant’s FAQ puts it plainly: whole-home units should only be installed by a qualified professional, because a bad install risks leaks, mold, and poor humidity control. You must cut sheet metal cleanly, tap a water line without a leak, run a drain with the right slope, and wire a low-voltage control to your furnace board.
DIY makes the most sense when all of these are true:
- You have a bypass unit, not a steam unit.
- Your furnace has open duct space, a nearby water line, and a nearby floor drain.
- You have cut sheet metal before and you own tin snips, a drill, and a level.
- You can read your furnace manual and your humidifier manual, and you will follow both.
- Your local code allows a homeowner to do this work, and your warranty stays valid with a DIY install.
Hire a pro when any of these apply: you need a steam unit, you need a new electrical circuit, your ducts are hard to reach, your furnace is under warranty, or you feel unsure about any step. Also hire a pro if your home has no drain near the furnace, because a condensate pump adds wiring and plumbing that must be right.
Before any DIY install, turn off power to the furnace at the breaker and turn off the water before you cut into a line. Do not cut a duct until you know what sits behind it: a coil, a wire, or a gas line can hide just behind the sheet metal.
What It Costs to Add a Whole-House Humidifier
Prices vary by type, home, and local labor rates, so treat every number here as a planning range, not a quote. The figures below were checked on November 8, 2026, from the sources named beside them. HomeGuide’s humidifier cost guide is the source for the headline range.
Table: Installed cost by humidifier type
| Type | Installed cost | Source |
|---|---|---|
| All types, typical range | $400 to $1,200 | HomeGuide |
| Bypass | $400 to $800 | Carrier |
| Steam | $1,200 to $2,500 | Carrier |
| All types, wider range | $500 to $2,500 | Carrier |
HomeGuide puts the national average at $750 installed, with labor alone at $100 to $900. Bryant gives a similar typical range of $400 to $1,200 installed, reaching about $1,500 on a complex job.
Three things push a job toward the high end: a steam unit that needs a dedicated circuit, a long water or drain run, and a furnace in a tight attic or crawl space. Get two or three written quotes, each listing the unit model, control, drain plan, and electrical work separately.
Running Costs and Maintenance
Running costs are small for bypass and fan-powered units, and much larger for steam. HomeGuide, as summarized in a contractor guide that cites it, puts yearly running costs at about $1 to $3 for a bypass unit, $9 to $28 for a fan-powered unit, and $150 to $480 for a steam unit. The steam figure is mostly electricity, because boiling water takes real power.
Water use also differs. Flow-through units rinse the pad while the heat runs, and the water that does not evaporate goes down the drain. A steam unit turns nearly all its water into vapor. If water use worries you, ask about a water-saver bypass model.
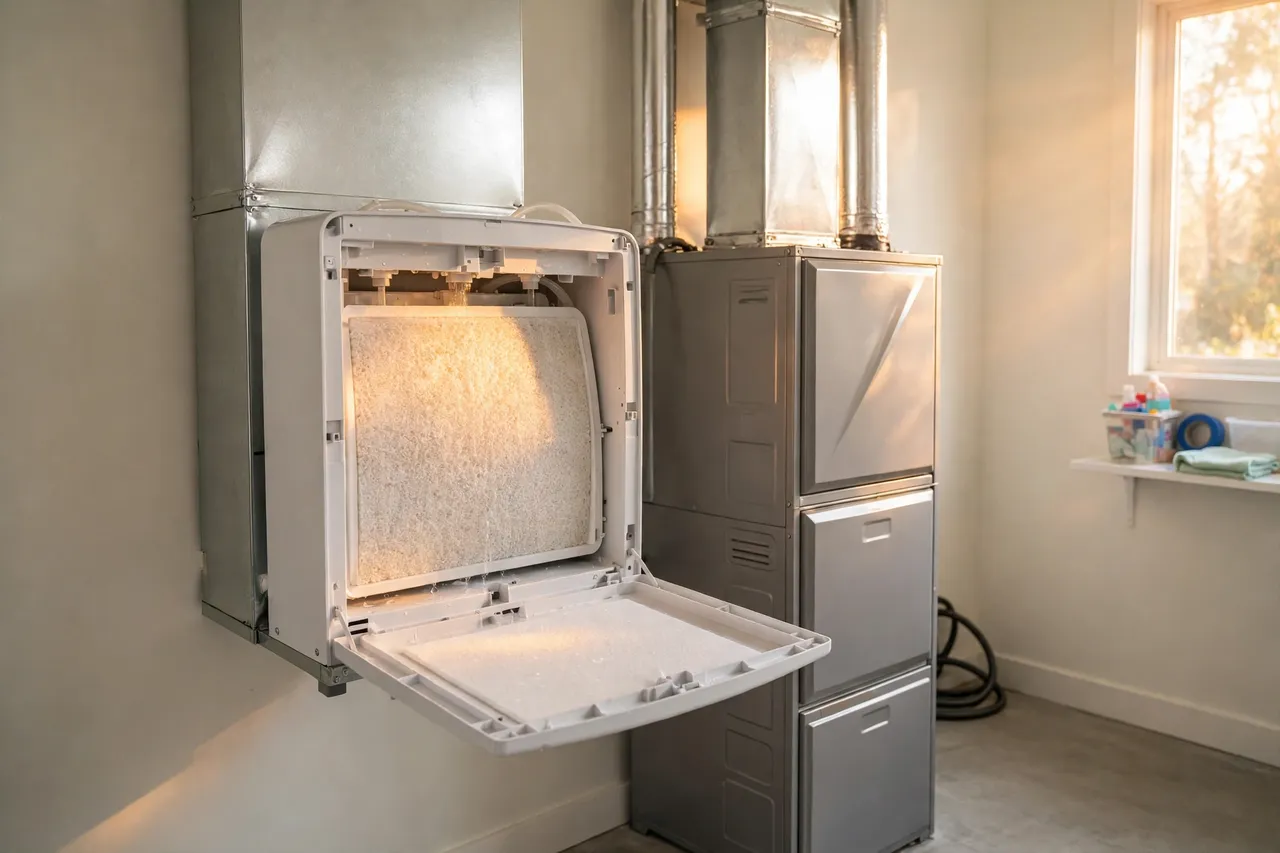
Maintenance is simple but not optional. A neglected humidifier grows mold and mineral scale, and then it adds dirty moisture to your air instead of clean moisture. Put these jobs on your calendar:
- Each heating season: replace the water panel on a bypass or fan-powered unit, or the steam canister on a steam unit. Bryant says to replace water panels at least once per heating season.
- Each month in winter: look at the pad, the tray, and the drain line. Clean off mineral buildup, and confirm water flows freely to the drain.
- Each spring: close the bypass damper, turn the humidistat down or off, and shut the water valve.
- Each fall: open the damper again, open the water valve, check for leaks, and set the humidistat for the season.
If your furnace stops heating while you sort out humidity, do not guess at the fix. Work through our safe checks in furnace not working: 6 safe checks to get heat back before you call for help.
What Humidity Level Should You Set?
Start at 35% in winter and adjust from there. That is a safe middle ground for most homes. The EPA target is 30 to 50 percent, and staying near the low end of that range in cold weather protects your windows and walls.
Watch your windows. If you see condensation or frost on the inside of your windows, your setting is too high for the outdoor temperature. Turn it down 5 points and check again the next morning. Cold snaps need lower settings, because cold glass condenses moisture faster. Some smart humidistats read an outdoor sensor and lower the target automatically when the temperature drops. That feature is worth asking about if your winters run very cold.
Never set a humidifier above 50% in winter. Above 60%, the EPA warns, you create conditions for mold and dust mites. The EPA also says to dry any water-damaged area within 24 to 48 hours to prevent mold growth. Use a separate hygrometer on a shelf to check what your family actually breathes, since a duct humidistat can read differently.
Mistakes to Avoid When You Add a Whole-House Humidifier
Most bad outcomes come from a few common mistakes.
- Setting it too high. A 45% setting sounds comfortable, but it can fog windows and wet window frames on a cold night. Start at 35% and raise it only if your windows stay dry.
- Forgetting the bypass damper. Leave it open in summer and your air conditioner wastes energy pushing cool air through the bypass. Close it each spring.
- Skipping pad changes. A clogged pad blocks airflow and grows scale and mold. Change it each heating season, without fail.
- Using a saddle valve where code forbids it. Some local codes ban self-piercing saddle valves because they leak over time. Use a proper shutoff valve instead.
- Mounting it where you cannot reach it. If you cannot open the cover and pull the pad, you will skip maintenance.
Related Guides
If you are sorting out dry winter air and the heating system behind it, these guides help next: what forced-air heating is and how it works, why a closed-up house gets dry and dusty in winter, and furnace not working: 6 safe checks to get heat back, and thermostat with humidity control.
Frequently Asked Questions
Can I install a humidifier myself?
While minor portable humidifiers can be installed without help, whole-home units should only be installed by a qualified professional. DIY installation risks improper setup, water damage, and reduced system efficiency. A basic bypass unit is the only type a skilled homeowner should attempt.
How long does it take to install a humidifier?
Professional installation typically takes 2 to 4 hours, depending on your HVAC setup and whether any additional modifications or plumbing work are needed. A steam unit takes longer, often 4 to 6 hours, because it needs a dedicated electrical circuit and a dispersion tube in the duct.
Can I add a humidifier to my HVAC?
Yes. A whole-home humidifier can often be added to your existing furnace or air handler by a qualified HVAC professional for seamless humidity control throughout your home. Your home needs forced-air ductwork, a water line, and a drain or condensate pump for the unit to work.
Which humidifier is better for my home: steam, fan-powered, or bypass?
Bypass units are the cheapest and simplest, and they suit smaller homes with a gas furnace. Fan-powered units add more output for mid-size homes. Steam units give the highest output and most precise control for large and heat-pump homes, but they cost the most to buy and run.
Where is the best place to put a whole house humidifier in a house?
The best place to install a whole house humidifier is typically near the fan coil or furnace in your HVAC system. This location allows the humidifier to efficiently add moisture to the air before it circulates throughout the home. It should also sit near a water supply and a drain, with good airflow and room for service.
What size whole house humidifier (GPD) do I need?
Size by gallons per day, not by square footage alone. A tight 2,000-square-foot home may need only 4 to 6 gallons a day, while a drafty home of the same size may need 16 to 18. Ask your contractor to size from your insulation, air leakage, and climate, and to show you the sizing chart for the exact model.
Disclaimer: This guide is general homeowner information, not professional HVAC, plumbing, or electrical advice. Whole-house humidifiers connect to water, power, and ductwork, so a bad install can cause leaks, mold, or equipment damage. Follow your unit manual and local codes, and hire a licensed HVAC technician or electrician when the job needs one.
Adding a whole-house humidifier is one of the best winter comfort upgrades you can make, because it fixes dry air at the source instead of in one room at a time. Pick the right type, size it to your real home, set it near 35% to start, and keep up with the yearly pad or canister change. Do those four things, and your home will feel warmer, your skin will feel better, and your woodwork will thank you all winter.