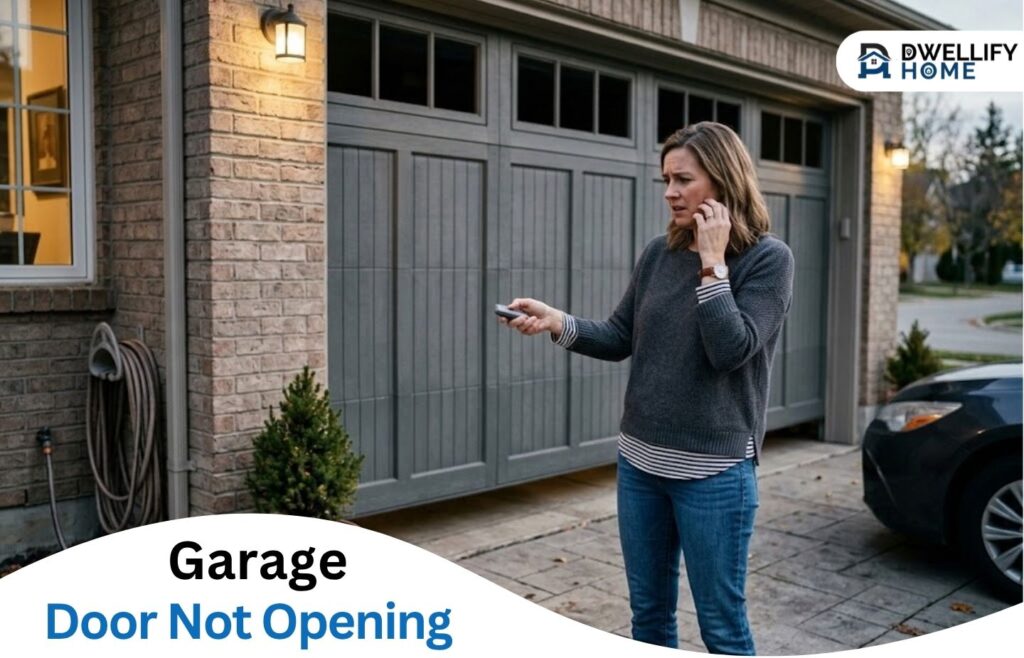
A garage door not opening can leave your car trapped and your plans on hold. The useful starting point is what happens when you press the button: silence, a click, a running motor, or a little movement.
Those clues help you choose the next check. Before trying the door again, though, look for damage that makes further testing unsafe.
Short Definition
A garage door that won’t open fails to rise normally when operated. Troubleshooting helps distinguish power and control problems from opener faults or mechanical damage, guiding safe checks and repair decisions.
DwellifyHome Mission Statement
DwellifyHome helps homeowners, renters, and home lovers make informed choices for practical, comfortable, and stylish living spaces.
Quick Troubleshooting Checklist
- Look for damage before testing; stop for a crooked door, damaged cables, or suspected spring failure.
- Check the power supply only where safely accessible.
- Compare the remote, keypad, and wall-button responses.
- Check physical locks and electronic lock settings.
- Note sounds, movement, and diagnostic indicators.
- Follow model-specific instructions; arrange service for damage, strain, or unresolved faults.
Why won’t your garage door open?
A garage door may stay closed because of lost power, a control problem, an engaged lock, a disconnected opener, or damaged door hardware. Start with a visual check, then compare control responses and power. Stop testing when the door looks crooked, has damaged cables, or shows signs of spring failure.
A loud bang followed by the failure, a visible break in a spring, or a roller outside its track warrants professional attention. Keep people and pets clear.
Do not operate a door with a broken spring, either manually or with the opener. Springs and their attached hardware require trained service.
Check the power, controls, and locks
Once you’ve ruled out obvious damage, work through these checks. Change one thing at a time so you know what helped.
Check the opener’s power supply
Look at the opener’s plug, often connected to a ceiling outlet. Check it only when you can reach it safely using appropriate access equipment.
A working lamp can help establish whether a dry, undamaged outlet has power. Don’t test an outlet with scorch marks, water exposure, or a burning smell.
When the outlet has no power, check the relevant circuit breaker and any GFCI outlet supplying it. A GFCI is an outlet with Test and Reset buttons; it may protect other outlets downstream.
Follow the device’s reset instructions. If protection trips again or won’t reset, stop and have an electrician investigate. Repeated resetting won’t resolve an underlying electrical fault.
During an outage, check whether your opener has battery backup. Consult its manual for battery-status indicators rather than assuming backup power is available.
Compare the remote, keypad, and wall button
With the door in view and no warning signs present, compare the available controls:
- The wall button works, but one remote doesn’t: Check that remote’s battery, using the specified type and polarity.
- One wireless control works, but another doesn’t: Focus on the unsuccessful device, its programming, and compatibility.
- No control works: Continue investigating power, lock settings, and the opener’s diagnostic information.
Try the remote closer to the garage. If its range changed after you replaced a light bulb, consider interference: some LED and CFL bulbs can disrupt opener radio signals. Use a bulb suitable for your opener.
Check lock settings before reprogramming. Replacing a battery does not rule out every other control problem.
Identify the type of lock
A manual slide lock physically secures the door, often through the track. With the door closed, check whether it’s engaged. Release it using its normal handle before operating the opener; don’t force a jammed lock or remove hardware.
An electronic lock or vacation setting restricts controls. Which controls remain usable depends on the equipment. Check the wall console and your model’s instructions instead of assuming every lock mode disables the same devices.
Match the troubleshooting to your door’s symptoms
The door and the opener are separate parts of the system. A sound from the opener doesn’t establish that its drive is moving correctly—or that the door can move freely.
| What you notice | Useful next observation |
| A light is on, but nothing responds | Record diagnostic indicators and compare controls |
| The opener clicks, hums, or runs | Note whether the drive or carriage moves |
| The door rises briefly and stops | Look for damage, uneven movement, or an obstruction |
These observations narrow the possibilities. They do not confirm a failed component.
The opener has power but does not respond
An illuminated light tells you that part of the system has power. It does not prove the controls, motor, or electronics are functioning correctly.
Record any diagnostic light pattern or displayed error. Distinguish the small status indicator from the main garage light, and use the exact model number to interpret it. Indicator meanings vary between models, as manufacturer troubleshooting charts demonstrate.
When power and basic control checks reveal nothing, contact manufacturer support or a garage door technician. Avoid opening the housing or joining control wires to test an unfamiliar system.
The opener makes noise, but the door stays still
A brief click and a sustained running sound are different clues. Neither identifies the repair by itself.
From a safe position, note what moves during an otherwise safe operating attempt:
- The drive moves but the door stays still: The carriage may be disengaged, or another connection may have failed.
- The motor runs but the drive stays still: A gear, sprocket, coupler, or another drive component may need attention.
The carriage, also called a trolley, connects the door’s arm to the opener mechanism on many overhead systems. Pulling the emergency release disconnects that connection.
Genie’s troubleshooting guidance distinguishes disengagement from drive faults and separates chain/belt systems from screw-drive systems. That’s why a generic “replace the motor” diagnosis is premature.
Stop repeated attempts when the unit strains or grinds. Keep hands away from moving components.
The door opens partway and stops
Partial opening can point to mechanical resistance, a balance problem, damaged hardware, or incorrect travel settings. The distance it travels is a clue, not proof that one particular part has failed.
Look from the floor for a crooked panel, displaced roller, damaged cable, or an object interfering with movement. Don’t reach into a jammed mechanism or loosen track brackets.
Cold weather adds another possibility: the bottom seal may be frozen to the ground. Don’t pull harder or repeatedly run the opener against it. Allow it to thaw or seek help with a method suitable for the door and seal.
Travel limits tell the opener where movement should end. Don’t increase force settings to push through unexplained resistance. Have the door’s condition checked before treating the problem as a settings adjustment.
Can you safely open the door by hand?
Manual opening may be appropriate when the door is fully closed, appears undamaged, and there is no reason to suspect spring or cable failure. It must also move without strain. A door stuck partly open, visibly damaged, or unusually heavy should be left for a technician.
For a suitable door, follow its owner’s manual:
- Disconnect the opener’s power as instructed, including any applicable backup-power precautions.
- Use the emergency release according to the model’s directions.
- Lift using the door’s designated lifting handle, keeping fingers away from panel joints.
- Stop if the door resists, feels heavy, or moves unevenly. Don’t pass beneath it unless it is fully open and remains there without support.
Never use the release cord as a lifting rope. Genie recommends releasing a closed door and seeking professional help when manual lifting requires excessive effort.
To reconnect afterward, follow the model’s carriage-engagement instructions. Release-lever direction and alignment differ between systems; a generic “pull toward the motor” instruction won’t suit every opener.
When should you arrange professional repair?
Arrange professional repair when you suspect spring or cable damage, the door is crooked or off track, movement involves grinding or strain, or the basic checks leave the fault unresolved. Persistent outlet or circuit-protection problems need electrical investigation. Opener and door-mechanism faults need a garage door technician.
Don’t remove or adjust springs, cable drums, or bottom brackets. Components attached to the spring system can remain under tension.
What to tell the technician
Useful information helps the technician understand the situation before arriving:
- Door position and whether access is blocked.
- Opener brand and model, if safely readable.
- Which controls work.
- Sounds, indicator patterns, and visible movement.
- Recent outages, impacts, unusual noises, or maintenance.
- Checks already completed.
Photograph visible damage from a safe position. There’s no need to recreate a dangerous movement to obtain a video.
Repair costs and replacement decisions
The cost depends on the cause. A remote battery and a damaged spring require very different work, so the symptom alone cannot produce a reliable estimate.
For reference, Home Depot publishes a $250–$500 spring-repair range. Confirm local pricing and whether an estimate includes parts, labor, a service visit, and emergency charges. That published range is not a quote for your door.
For an otherwise sound opener, replacing a control or serviceable drive part may be worthwhile. Repeated failures, unavailable parts, or safety-system problems justify discussing replacement.
Ask what failed, why the proposed repair addresses it, and what warranty applies. Compare the complete repair price with the installed replacement price.
Reduce the chance of another breakdown
After the fault is resolved, follow the maintenance instructions for both the door and opener.
- Keep the doorway clear and address debris before it becomes trapped in moving hardware.
- Use the specified lubricant on approved components; don’t spray every visible part.
- Replace weakening control batteries and maintain any backup battery as directed.
- Arrange service for new scraping, uneven movement, or increasing operating effort.
- Perform the manufacturer’s safety tests at the specified intervals once normal operation is restored.
Lubrication requirements differ: tracks, belts, bearings, and hinges should not automatically receive the same treatment.
Frequently asked questions
Will resetting the opener help it work again?
A restart may help with a temporary electronic problem, but it won’t repair damaged hardware or remove mechanical resistance. “Reset” can mean restarting power, pairing a remote, programming travel, or reconnecting the carriage. Identify which action you need and follow the instructions for your exact opener.
Avoid experimenting with button-hold sequences. LiftMaster, Chamberlain, and Genie models do not all use the same procedure.
What if the garage door won’t open and you cannot get inside?
Try another available control and check the remote battery and range. During an outage, a previously installed keyed emergency-release kit may provide access to an otherwise safe door. Without another entrance or an appropriate release system, contact a garage door service rather than forcing entry.
Explain that the garage is inaccessible when booking the visit. Don’t improvise a way to reach the interior release cord.
Can safety sensors stop a garage door from opening?
Conventional photo-eye sensors primarily prevent closing or reverse a closing door when the beam is interrupted. They are usually not the first explanation for a closed door refusing to rise. Check the model’s diagnostic guidance, especially when the door fails in both directions, and never bypass its safety system.
Choose the safest next step
Start with visible condition, power, controls, and locks, then follow the symptoms your door actually shows. When a basic check resolves the problem, verify normal operation and the required safety tests. When damage, strain, or uncertainty remains, stop testing and give a technician the observations you’ve gathered.
Disclaimer
This content is for general informational purposes only. Homes, needs, preferences, budgets, and circumstances vary. Follow manufacturer instructions and seek qualified advice for safety, installation, repairs, structural work, electrical, plumbing, HVAC, legal matters, or major property decisions.