To improve home security with better locks, do not start with the lock. Start with the door it sits in. A deadbolt only holds if the slab is solid, the hinges are tight, and the strike plate is anchored into the wall stud with long screws. Fix those parts first, in that order, and upgrade the lock itself last.
This order surprises many people, but it matches how doors actually fail. When a door is forced, the lock cylinder is rarely the part that breaks. The wooden frame around the strike plate splits, the short screws tear out, and the whole door swings open with the lock still locked. Strengthen the system around the lock, and even a mid-priced deadbolt becomes hard to beat.
At DwellifyHome, this guide walks you through a full door audit in five steps. You will check the slab, the hinges, the strike plate, the frame, and only then the lock. Most of the early steps cost little, need basic tools, and work for renters as well as owners.
Why a Strong Lock Still Fails on a Weak Door
Think of your entry door as a chain of parts. The slab, the hinges, the frame, the strike plate, and the lock all share the force of a kick or a pry bar. The chain breaks at its weakest link, and on most homes that link is not the lock.
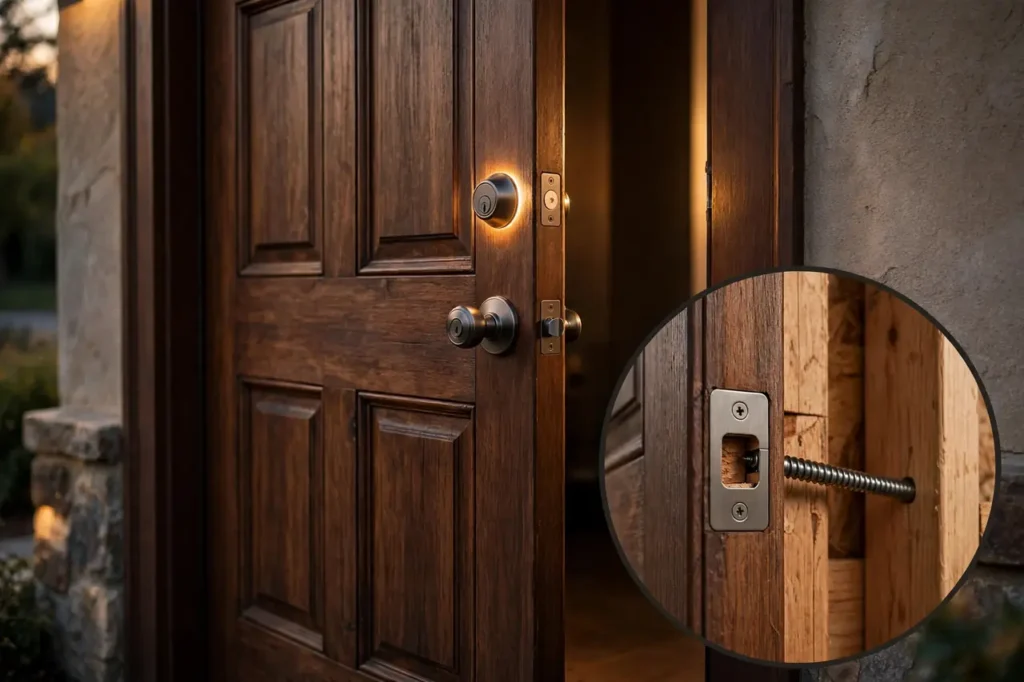
The weak point is usually the strike plate, the small metal plate on the frame that receives the bolt. Builders often fasten it with screws about 3/4 inch long. Those screws grip only the soft wood of the jamb, which is trim, not structure. Under one hard kick, the jamb splits around the plate and the bolt tears free.
The hinges are the second weak point. Hinge screws are often just as short, so the hinge side of the frame can pull loose under force too. On doors that swing outward, exposed hinge pins add a third problem, because the pins can be tapped out and the door lifted off its hinges.
This is why two homes with the same deadbolt can have very different security. The lock is one part of the system. The audit below fixes the system first, so the money you later spend on a lock is not wasted.
Step 1: Check the Door Slab Itself
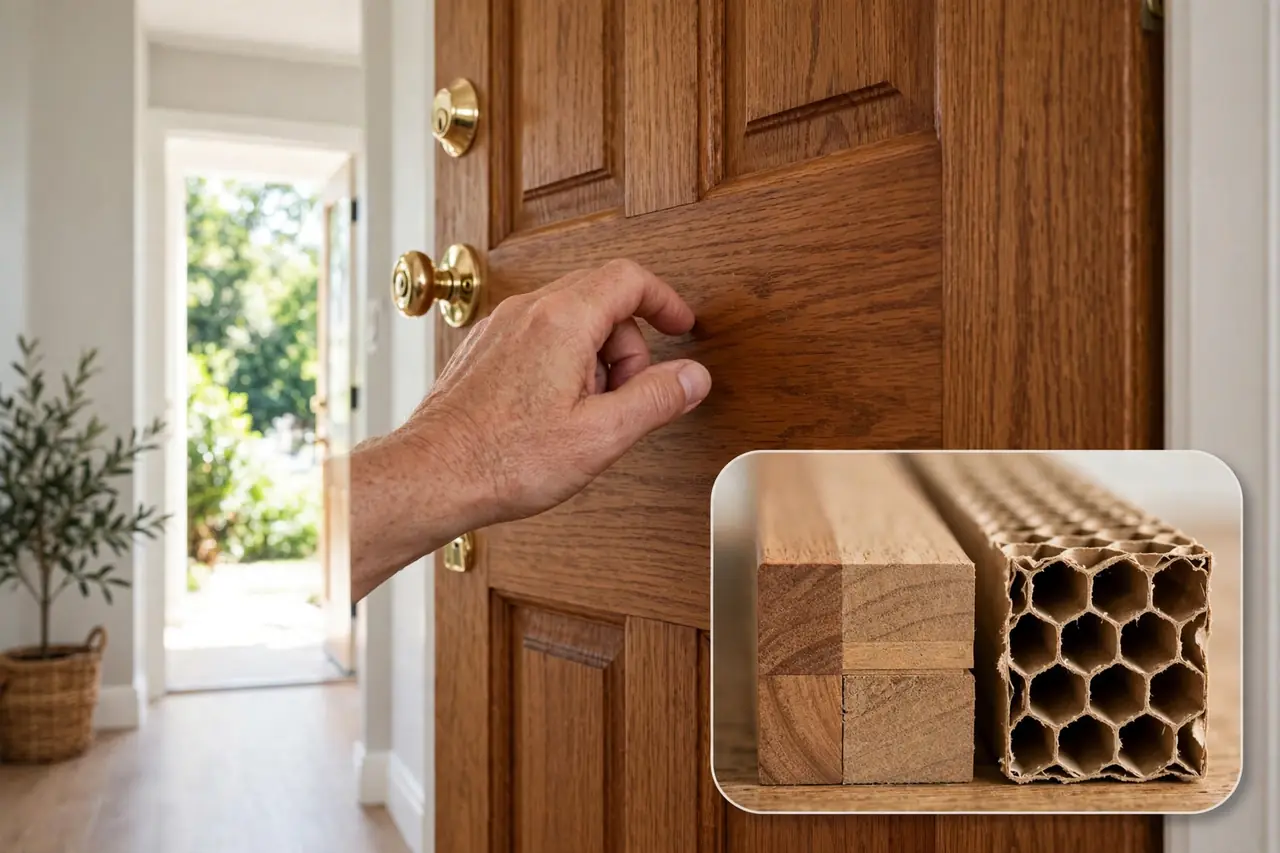
Start with the slab, the door panel itself. An exterior door should be solid wood, fiberglass, or steel. It should never be a hollow-core door, which is a thin skin over a cardboard-like core and is made for closets and bedrooms, not entry points.
Use these simple checks:
- Knock on the door in several spots. A hollow, drum-like sound suggests a hollow-core slab.
- Look for cracks, rot, or soft wood, especially near the bottom edge and around the lock area.
- Check the area around the lock and handle for splits or old repair patches.
- On doors with glass, check that the glass is firmly set and the frame around it is sound.
If the slab is hollow, cracked, or rotting, no lock will make that door secure. Replacing the door comes first. A prehung solid-core or fiberglass door is a bigger job, and many homeowners hire a carpenter for it. That is money well spent, because every later step in this guide depends on a sound slab.
If the slab is solid and healthy, you can move on. The next steps are small, cheap, and fast.
Step 2: Tighten and Secure the Hinges
Loose hinges let a door sag, and a sagging door makes the bolt rub, bind, and sometimes fail to extend fully. Tight hinges also resist force. Work through the hinges one at a time so the door stays supported.
- Open the door and support it with a wedge or a folded piece of cardboard underneath.
- Tighten every hinge screw. If a screw spins without gripping, the hole is stripped. Fill it with a glued wooden golf tee or matchsticks, let the glue set, trim it flush, and re-drive the screw.
- Replace at least two screws on each hinge (one per leaf is a good pattern) with 3-inch screws, so they pass through the jamb and bite into the wall stud.
- Repeat for each hinge, then check that the door swings smoothly and latches without lifting or pushing.
Caution: drive long screws slowly and stop if the frame starts to pull out of alignment. If the door binds afterward, back the last screw out a quarter turn at a time until it swings freely.
If your door swings outward and the hinge pins are exposed, add hinge protection. Security hinges have non-removable pins or interlocking tabs. A simpler option is a hinge pin lock or set screw that keeps the pin from being tapped out. Locksmith guides for homes list pinned hinges as a standard upgrade for outswing exterior doors.
Step 3: Reinforce the Strike Plate and Jamb
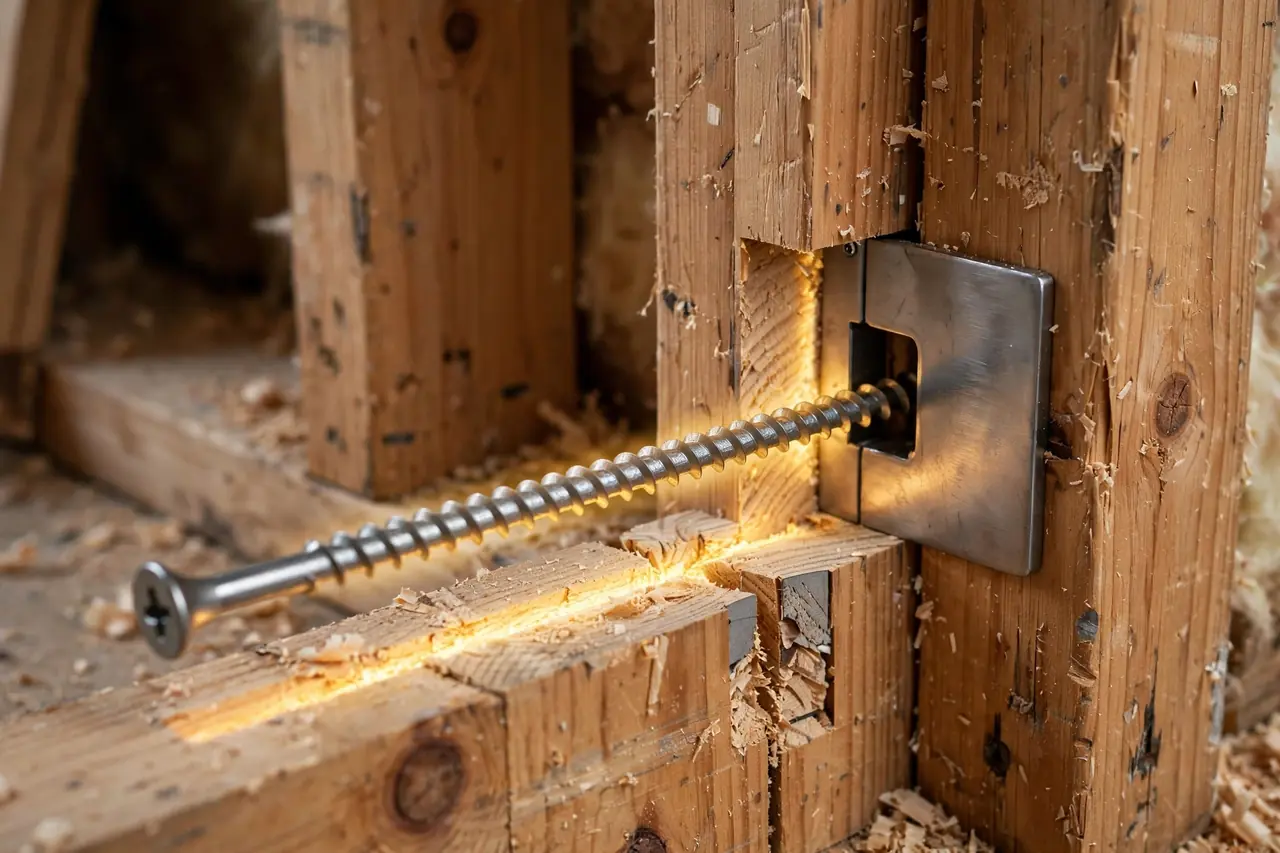
This is the highest-value step in the whole audit. The strike plate is where the bolt lands, and it is where forced doors give way. If you are not sure which part is which, our guide to door lock parts names every piece of a lock and door set in plain words.
At minimum, swap the screws. Remove the strike plate screws one at a time and replace them with 3-inch screws. A 3-inch screw passes through the jamb and anchors into the stud behind it, so force spreads into the wall framing instead of splitting trim wood. The King County Sheriff’s Office home security guidance recommends the same pattern: a heavy-duty, four-screw strike plate with 3-inch screws into the frame.
For a stronger result, replace the plate itself:
- Choose a heavy-duty strike plate, ideally a box strike that wraps around the bolt pocket, with four screw holes.
- Test the fit first. A thicker plate may need the recess (the mortise) deepened slightly with a chisel so it sits flush.
- Drill pilot holes before driving long screws. This matters: driving a 3-inch screw without a pilot hole can split the jamb, which weakens the very part you are fixing.
- Drive the screws snug. You should feel them bite into the stud. Do not overtighten and crush the wood.
If your jamb is already cracked or you want the strongest DIY option, look at a jamb reinforcement kit. These kits add a long steel shield over the lock area, the hinges, and the latch, all fastened with long screws into the studs. For example, Armor Concepts lists its Door Armor Single Door Security Set at $79 as a manufacturer list price (checked October 20, 2026), and says it installs in about 30 minutes with basic tools. Whether you pick a kit or just screws and a plate, the goal is the same: tie the frame to the studs.
Step 4: Fix Frame Gaps and Bolt Alignment
A deadbolt protects you only when it extends fully into the strike. A bolt that travels halfway because the door is warped, the frame has shifted, or the strike hole is too shallow is a weak bolt, no matter what grade the lock carries.
Do this quick alignment test:
- Close the door and throw the deadbolt slowly. It should slide in smoothly, with no lifting, pushing, or shoulder pressure on the door.
- Mark the end of the bolt with lipstick, chalk, or a dry-erase marker, close the door, throw the bolt, and open it again. The mark shows where the bolt hits.
- If the bolt hits the edge of the strike hole instead of entering it, adjust the strike plate position or deepen the hole so the bolt can extend its full length, which should be about 1 inch.
- Check the gap around the closed door. A wide, uneven gap makes prying easier. New weatherstripping and a properly adjusted latch tighten the door in its frame and help the bolt line up.
Success check: with the door closed and the bolt thrown, push and pull hard on the door. There should be almost no rattle or movement, and the bolt should retract smoothly when you unlock it. If the frame is cracked, out of square, or rotten, skip ahead to the section on calling a professional. Alignment tricks cannot fix failed wood.
Step 5: Upgrade the Lock Itself — Last
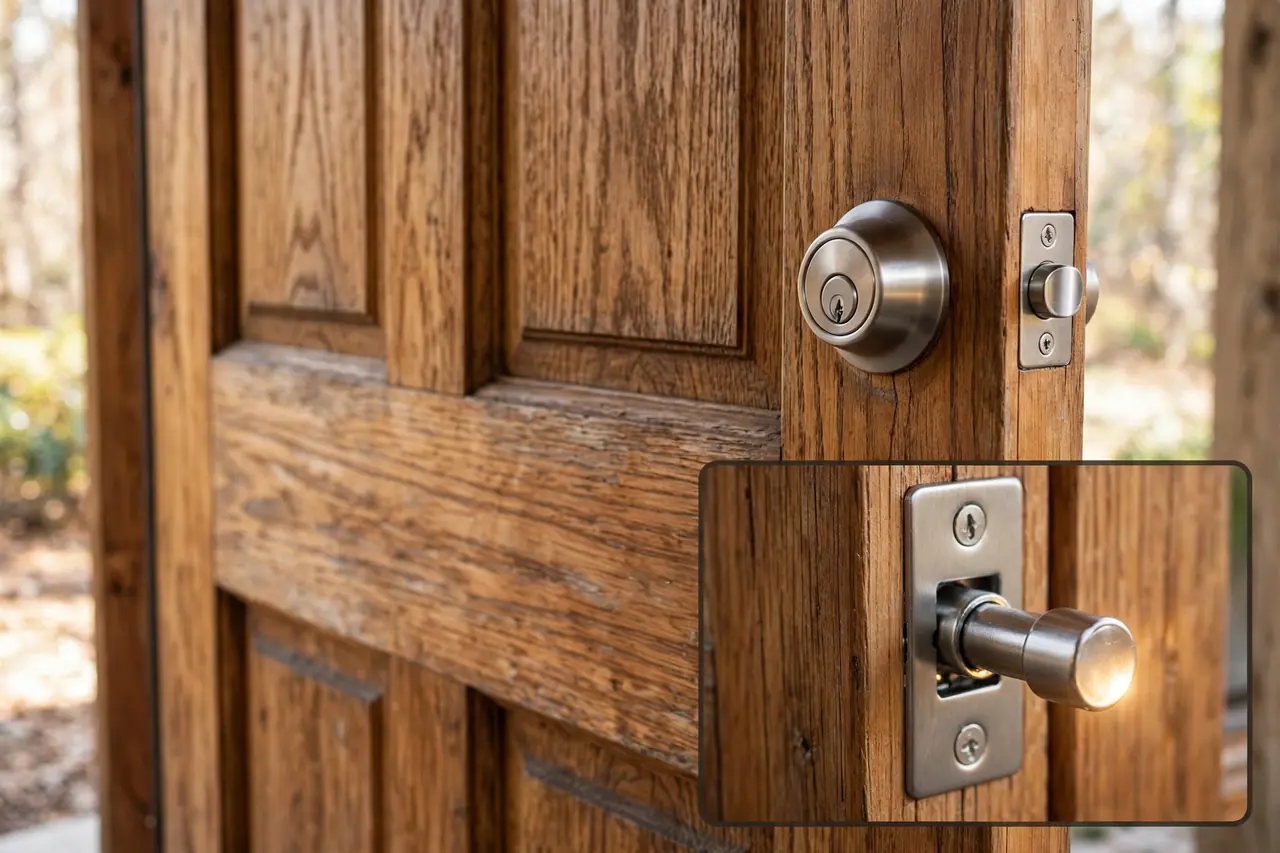
Now the lock. With a solid slab, tight hinges, and an anchored strike, a quality deadbolt can finally do its job. If you are still deciding which kinds of locks exist for each door, our overview of the best lock types for home doors explains the main families first. When you are ready to compare specific models, see our tested shortlist of the best door locks.
Choose a Deadbolt With a Full 1-Inch Throw
The throw is how far the bolt extends into the frame. Look for a deadbolt with a 1-inch throw, which is the length government and locksmith guidance consistently recommends for exterior doors. The bolt should be solid steel, and the lock should pair with the reinforced strike you installed in Step 3.
A locking knob or lever alone is not enough for an entry door. The small latch on a knob can be slipped or forced far more easily than a deadbolt. Keep the knob for convenience, but let the deadbolt do the security work.
Single-Cylinder or Double-Cylinder?
A single-cylinder deadbolt opens with a key outside and a thumb turn inside. It is the standard, safest choice for most doors, because anyone inside can unlock it fast in an emergency without hunting for a key.
A double-cylinder deadbolt needs a key on both sides. Some people choose one for a door with glass, so a broken pane does not let someone reach in and turn the lock. The trade-off is serious: in a fire, a missing key can trap you. Many local fire and building codes restrict double-cylinder locks on exit doors for exactly this reason. Read our full guide to the single cylinder deadbolt before you decide, and check your local code.
Understand Lock Grades Before You Buy
Lock grades tell you how much use and abuse a lock survived in lab testing. The grades come from the ANSI/BHMA standards, which the Builders Hardware Manufacturers Association (BHMA) writes and certifies. For deadbolts, the standard is ANSI/BHMA A156.36, and the key tests are operating cycles and hammer strikes.
Deadbolt grades at a glance (ANSI/BHMA A156.36):
| Grade | Operating cycles | Hammer strikes | Best for |
|---|---|---|---|
| Grade 1 | 250,000 | 10 | Top security; front doors and high-risk entries |
| Grade 2 | 150,000 | 5 | Most homes; the common quality sweet spot |
| Grade 3 | 100,000 | 2 | Basic builder hardware; interior or low-risk doors |
For an exterior door, buy Grade 2 at minimum and Grade 1 if the budget allows. Many residential locks also carry a BHMA letter grade instead: three letters for Security, Durability, and Finish, where A is best, so AAA is the top residential rating. As PCWorld’s guide to lock standards explains, BHMA runs both systems, so check the box for whichever rating the lock carries, and be wary of locks that show no grade at all.
One honest limit: grades test strength and durability, not pick resistance. A Grade 1 deadbolt can still be picked or bumped if its cylinder is basic. If that worries you, look for cylinders with security pins or a restricted keyway, which your locksmith can explain. For most homes, though, forced entry through the frame is the bigger risk, and Steps 1 to 4 already addressed it.
Rekey or Replace? How to Decide
If you just moved in, assume strangers may still have keys: past owners, cleaners, contractors, dog walkers. The King County Sheriff’s Office advises every new resident to re-key or change all locks when moving into a new home. Rekeying changes the pins inside the cylinder so old keys stop working, and a locksmith can do it without replacing sound hardware.
Replace the lock instead when it is worn, sticky, low-grade, damaged, or when you want a higher grade anyway. Rekey a good lock; replace a bad one. Either way, do it for every exterior door, including the door from the garage into the house.
The Upgrade Ladder: What to Do in What Order
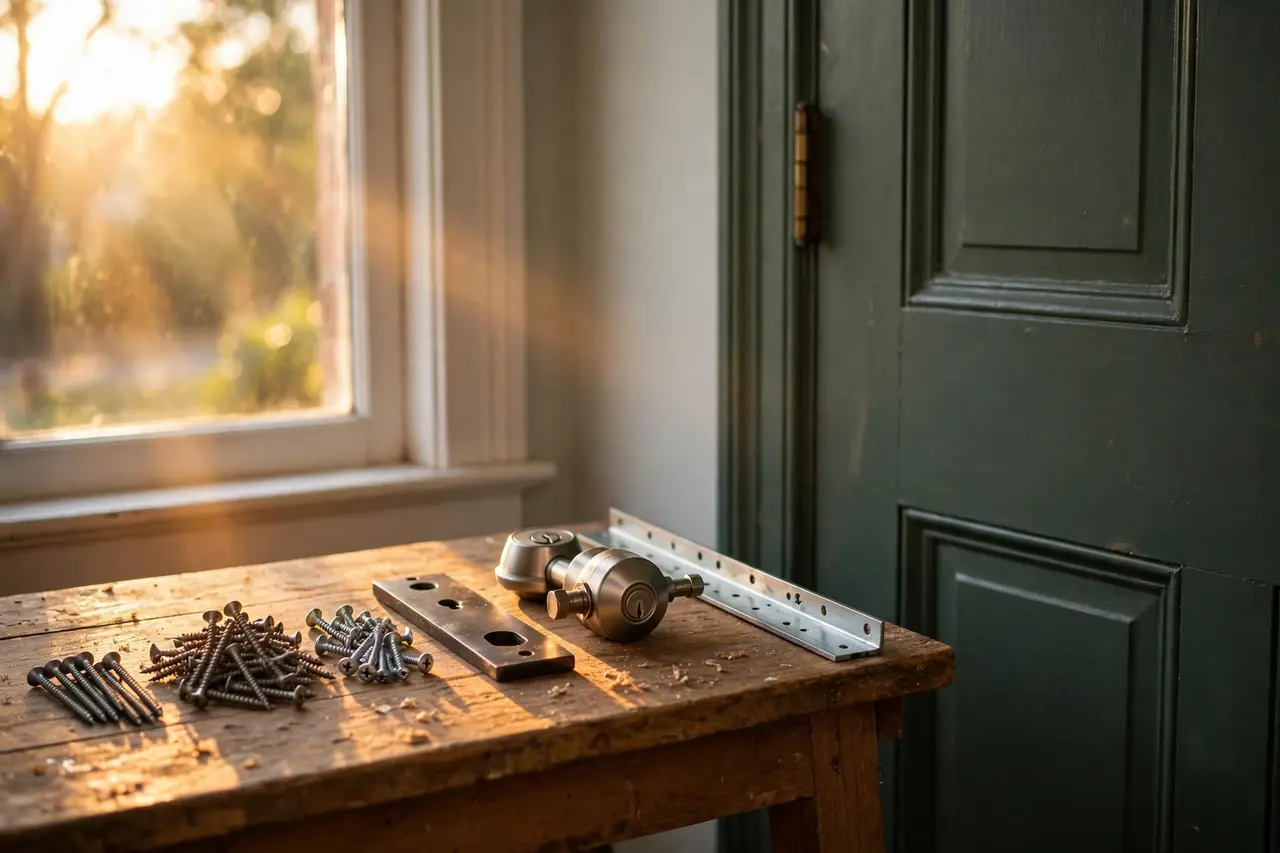
If you do nothing else, follow this ladder. It orders the work from cheapest and fastest to biggest, so each weekend project adds real protection. The full audit in order:
| Order | Upgrade | Why it matters | Typical effort |
|---|---|---|---|
| 1 | Rekey or replace locks after moving in | Removes unknown keys from circulation | Under an hour per door (locksmith) |
| 2 | 3-inch screws in strike plate and hinges | Anchors the frame to the wall studs | About 30 minutes per door |
| 3 | Heavy-duty or box strike plate | Spreads kick force over more wood and metal | About 30 minutes |
| 4 | Fix alignment so the bolt extends fully | A half-thrown bolt is a weak bolt | 15 to 45 minutes |
| 5 | Grade 2 or Grade 1 deadbolt, 1-inch throw | Adds tested strength once the frame can hold it | About an hour |
| 6 | Jamb reinforcement kit or new solid door | Fixes cracked jambs and hollow slabs | Half a day or a pro visit |
Notice what is not at the top of the ladder: buying an expensive lock. Hardware only performs as well as the door around it, so the ladder builds the door up first.
Renters: Upgrades You Can Make Without Risking Your Deposit
Renters face a real limit: most leases forbid changing locks or hardware without written permission, and some cities require the landlord to approve or even supply lock changes. Always ask first, in writing, and keep the reply. Many landlords say yes to sensible upgrades, especially a rekey between tenants, which protects them too.
With permission, the renter-friendly wins are the same first rungs of the ladder: a rekey, longer strike and hinge screws, and a heavier strike plate. These are cheap and reversible if you keep the original parts in a labeled bag to reinstall when you move out.
Without permission, stick to options that change nothing permanent:
- A portable door security bar that braces the knob against the floor, used only while you are home, and only if you can remove it in seconds during an emergency.
- A door security pin or block for sliding doors, and a simple dowel in the track.
- Battery-powered door and window alarms that stick on with adhesive and peel off later.
- Asking your landlord, in writing, to fix a loose strike, a sagging door, or a lock that does not throw fully. A door that does not lock properly is a habitability issue in many places.
Never block your only exit with a bar or brace while you sleep if you cannot clear it instantly. Getting out in a fire matters more than keeping someone out.
Do Not Forget the Other Doors
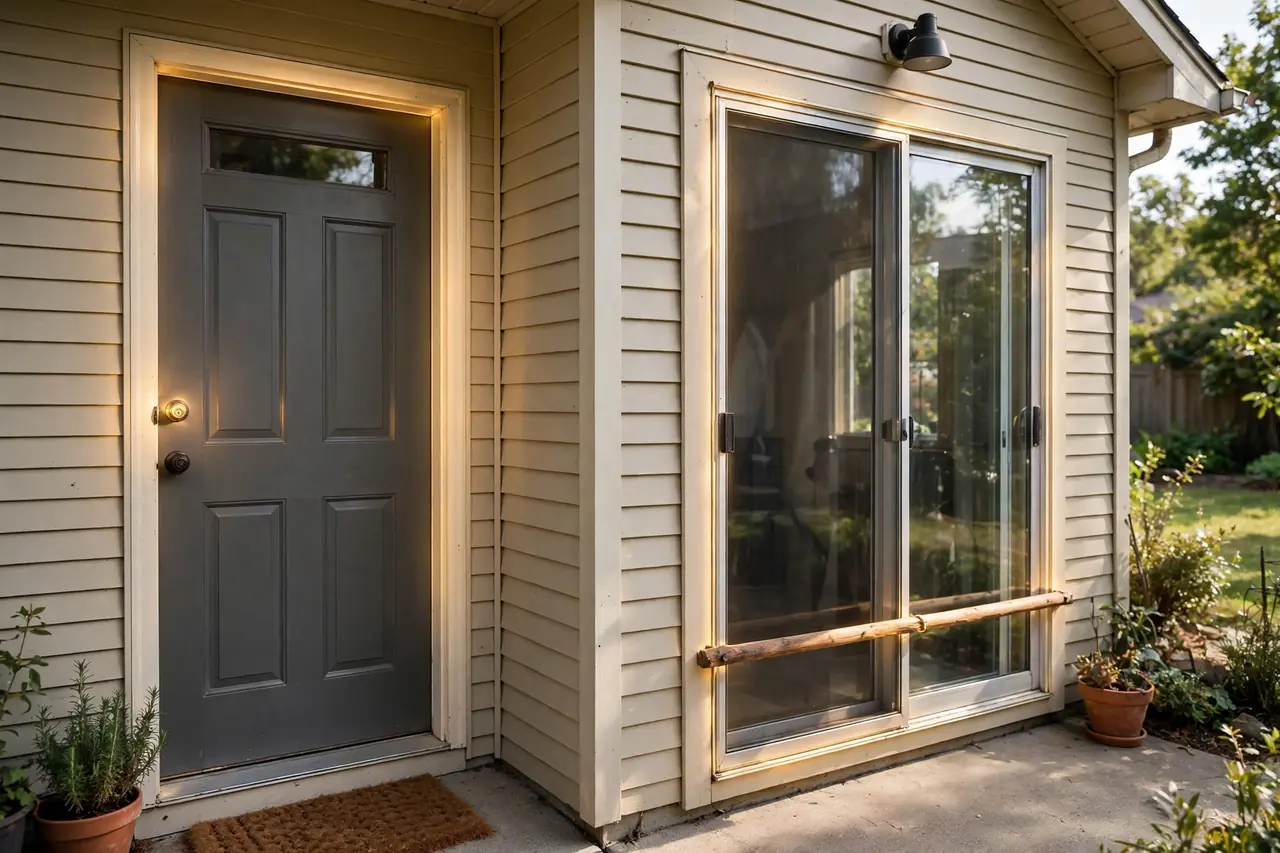
A burglar does not have to use your front door, so run the same audit on every entry:
- Back and side doors: these are often less visible and sometimes weaker than the front door. Give them the same screws, strike, and deadbolt treatment.
- The door from the garage into the house: treat it as an exterior door, with a deadbolt and a reinforced strike. Garages hold tools, and the door into the home is a common weak point.
- Sliding glass doors: the factory latch is weak. Add a security bar or a dowel in the track so the panel cannot slide, and pins so it cannot be lifted off the track.
- French doors: the inactive panel should have strong top and bottom bolts that seat into the frame and threshold, not just into trim.
- Sheds and gates: a solid padlock and hasp protect the tools that could otherwise be used to force your doors and windows.
You do not have to do all of this in one weekend. Work through the ladder door by door, starting with the entries you use and the ones hidden from the street.
When to Call a Locksmith or Carpenter
Most of this guide is DIY-friendly with a drill, a screwdriver, and a chisel. Call in help when you meet any of these:
- The jamb or frame is cracked, split, or rotten. That is carpentry, and reinforcement kits cannot fix failed wood.
- The door is hollow, warped, or damaged and needs replacing or rehanging.
- The door is fire-rated, part of a multi-unit building, or covered by an HOA or historic-district rules. Changes may be restricted.
- The lock needs rekeying across many doors, or you want high-security cylinders with restricted keys.
- You are not sure whether a double-cylinder lock is legal on your exit door. A licensed locksmith will know your local code.
A good locksmith will also spot problems this audit cannot, like a worn cylinder or a mis-cut key that barely works.
Disclaimer
Better locks and reinforced hardware lower the risk of forced entry, but no lock, door, or kit can make a home completely break-in proof. Building and fire codes vary by location, especially for double-cylinder deadbolts and rental homes. Check your local rules, and use a licensed locksmith or carpenter for structural, fire-rated, or code-sensitive work.
Frequently Asked Questions
Does a stronger deadbolt stop a door from being kicked in?
Not by itself. In a kick-in, the frame usually fails first: the strike plate’s short screws tear out of the jamb while the deadbolt itself stays intact. A Grade 1 or Grade 2 deadbolt helps most when it is paired with a heavy-duty strike plate, 3-inch screws into the stud, and sound hinges.
How long should strike plate screws be?
At least 3 inches. The screws packed with most strike plates are about 3/4 inch long and grip only the jamb, which is soft trim wood. A 3-inch screw passes through the jamb and anchors into the wall stud behind it, so a kick has to move the house framing, not just split trim.
What is the cheapest way to reinforce a front door?
Swap the screws. Replacing the short strike plate and hinge screws with 3-inch screws costs only a few dollars per door and takes about half an hour. Locksmiths who teach this fix call it the biggest security gain per dollar on a door, because it fixes the frame, where forced doors actually fail.
Can I reinforce a door frame without replacing it?
Yes, in most cases. If the wood is sound, a heavy-duty strike plate on 3-inch screws, longer hinge screws, and, for more strength, a steel jamb reinforcement kit will raise kick-in resistance a lot on the existing frame. Replacement is only necessary when the jamb is cracked, split, or rotten.
What does an ANSI/BHMA Grade 1 rating actually mean for a deadbolt?
It means the deadbolt passed the toughest tests in the ANSI/BHMA A156.36 standard: at least 250,000 open-and-close cycles and 10 hammer strikes at 75 foot-pounds of force, among other checks. Grade 1 is a commercial-level rating that also suits front doors. Grade 2 is the common quality choice for most homes.
Can a Grade 1 deadbolt still be picked or bumped?
Yes. The ANSI/BHMA grades measure resistance to force and wear, not to picking or bumping. A basic cylinder in a Grade 1 lock body can still be vulnerable to those quiet attacks. If that is a concern, choose a cylinder with security pins or a restricted keyway, and ask a locksmith about high-security options.
Are single-cylinder or double-cylinder deadbolts safer?
It depends on the risk you weigh. A double-cylinder lock stops someone from reaching through broken glass to turn a thumb latch, but it can trap you in a fire if the key is not in the lock, and many codes restrict it on exit doors. For most homes, a single-cylinder deadbolt on a reinforced frame is the safer balance.
Your next step is simple: pick your most-used entry door and do the 30-minute screw swap this weekend, strike plate and hinges, one screw at a time. Then throw the bolt, do the push-and-pull test, and feel the difference a solid frame makes. Move down the ladder from there, door by door, and your home gets harder to enter with every rung.