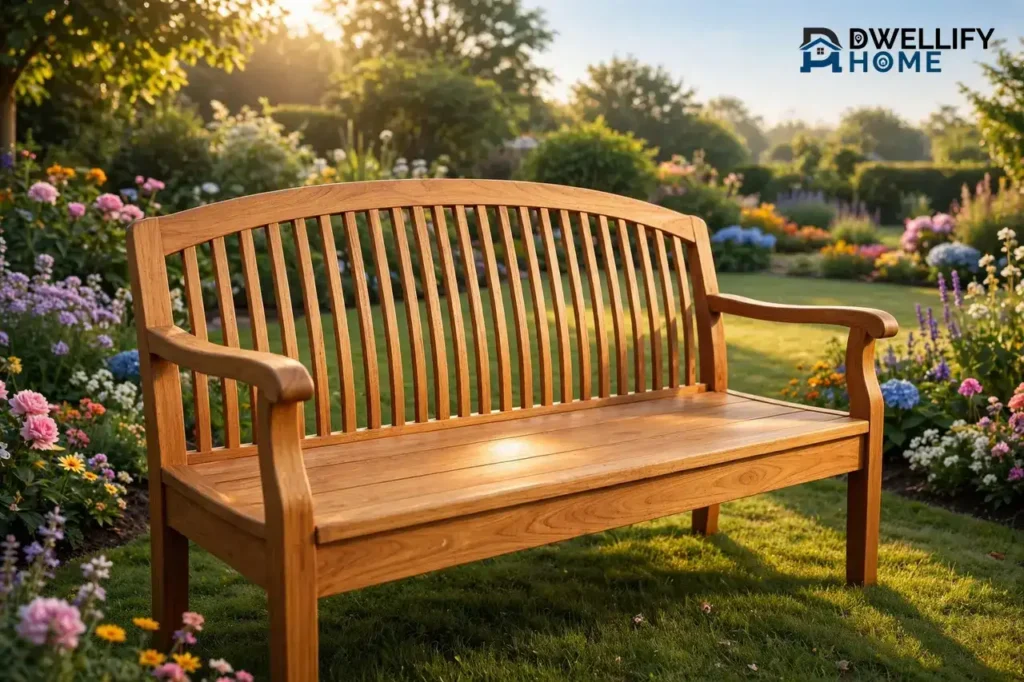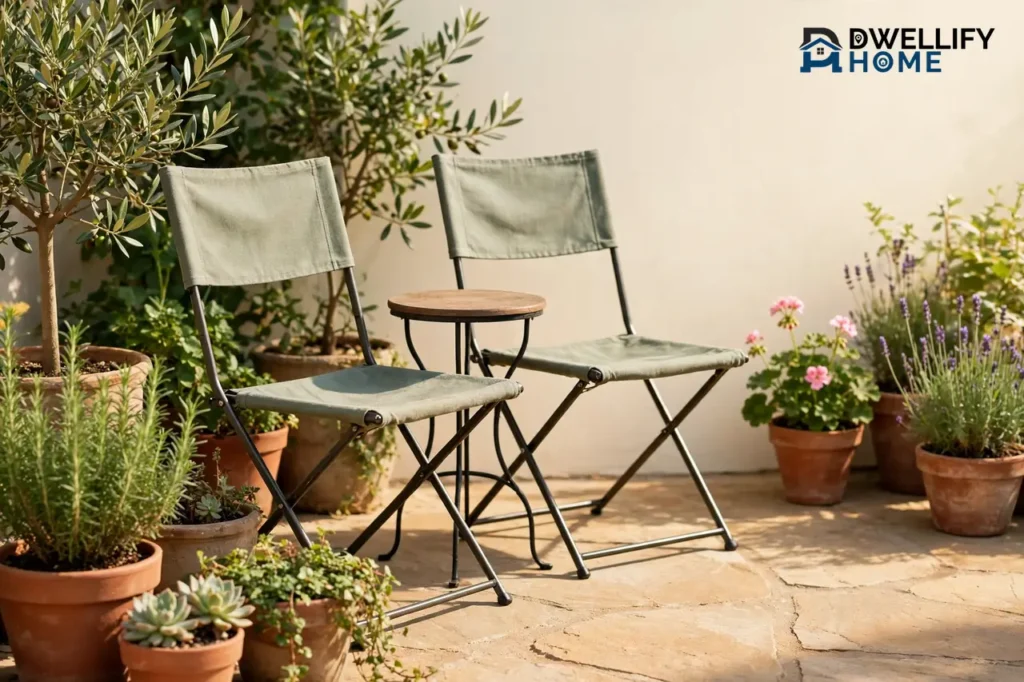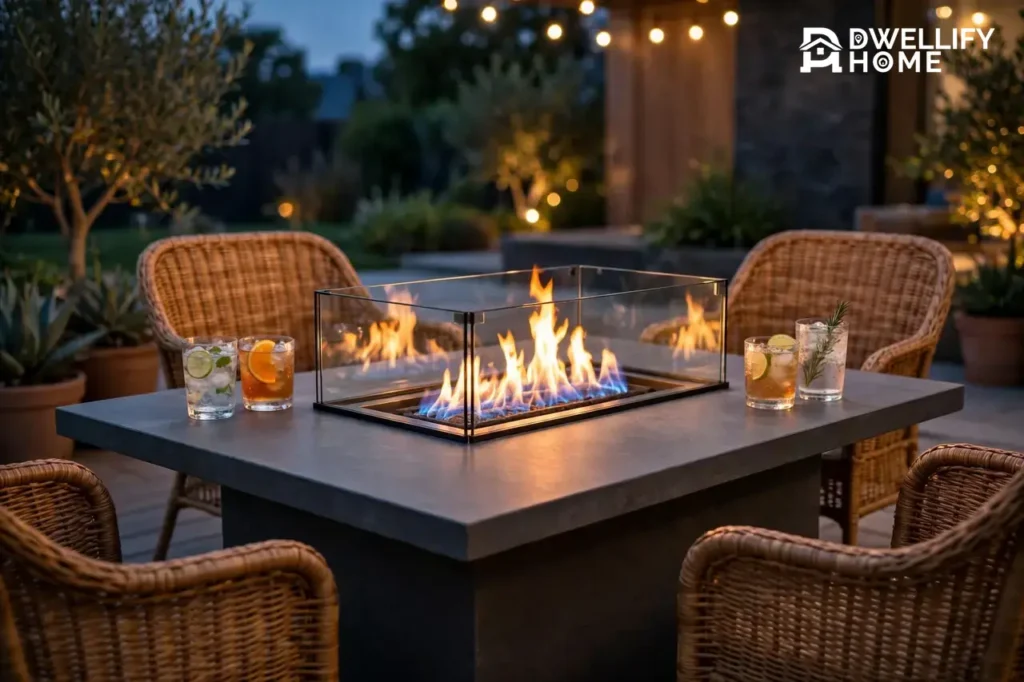
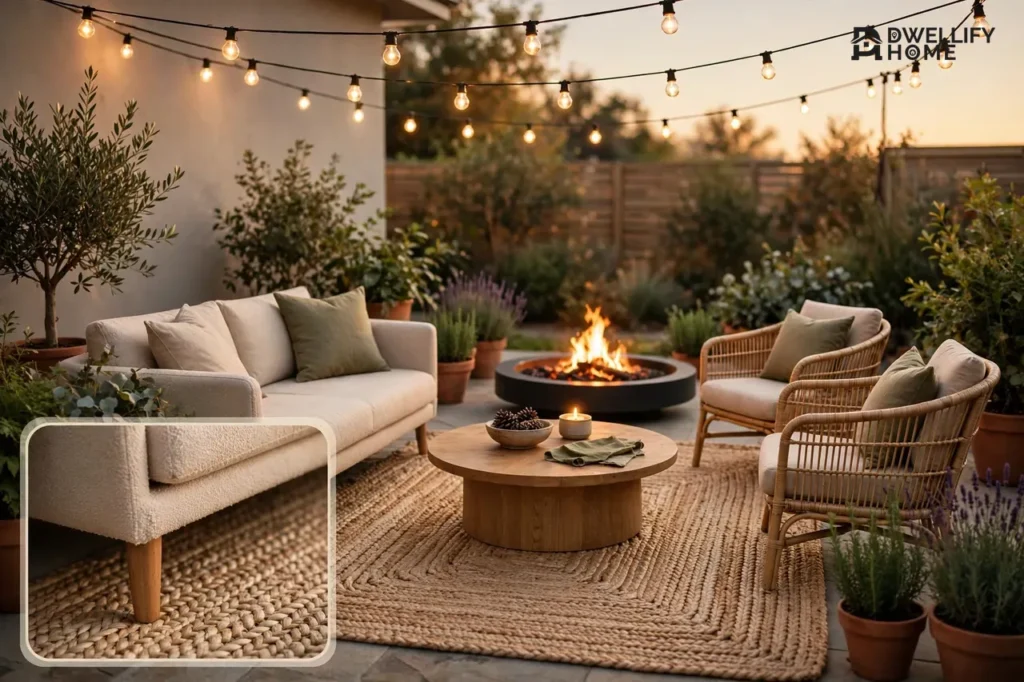
To arrange outdoor furniture, start with a focal point, leave 30 to 48 inches for main walkways, and place your largest piece along the longest edge facing that focal point, because those three moves fix the two problems that ruin most patios: furniture that blocks the path to the door, and seating nobody can reach a drink from. Then group the rest into zones for dining, lounging, and cooking, and finish with side tables, a rug, and plants. This guide gives you the exact spacing numbers, a step-by-step order, and layouts for small patios, long narrow decks, pool decks, and covered patios.
One spacing number below surprises almost everyone, and it is the one that decides whether guests can actually sit down at your dining table. It sits in the spacing table, and it is bigger than the number most guides print. Before that, pick your focal point, because everything else hangs off it.
What Does Arranging Outdoor Furniture Actually Mean?
Arranging outdoor furniture means deciding where each piece sits so people can move, sit, eat, and talk without squeezing past chairs or shouting across the patio, and the arrangement starts with a focal point, then walkways, then the largest piece, then the rest. It is not decoration first: it is traffic flow and reach distance first, and looks second.
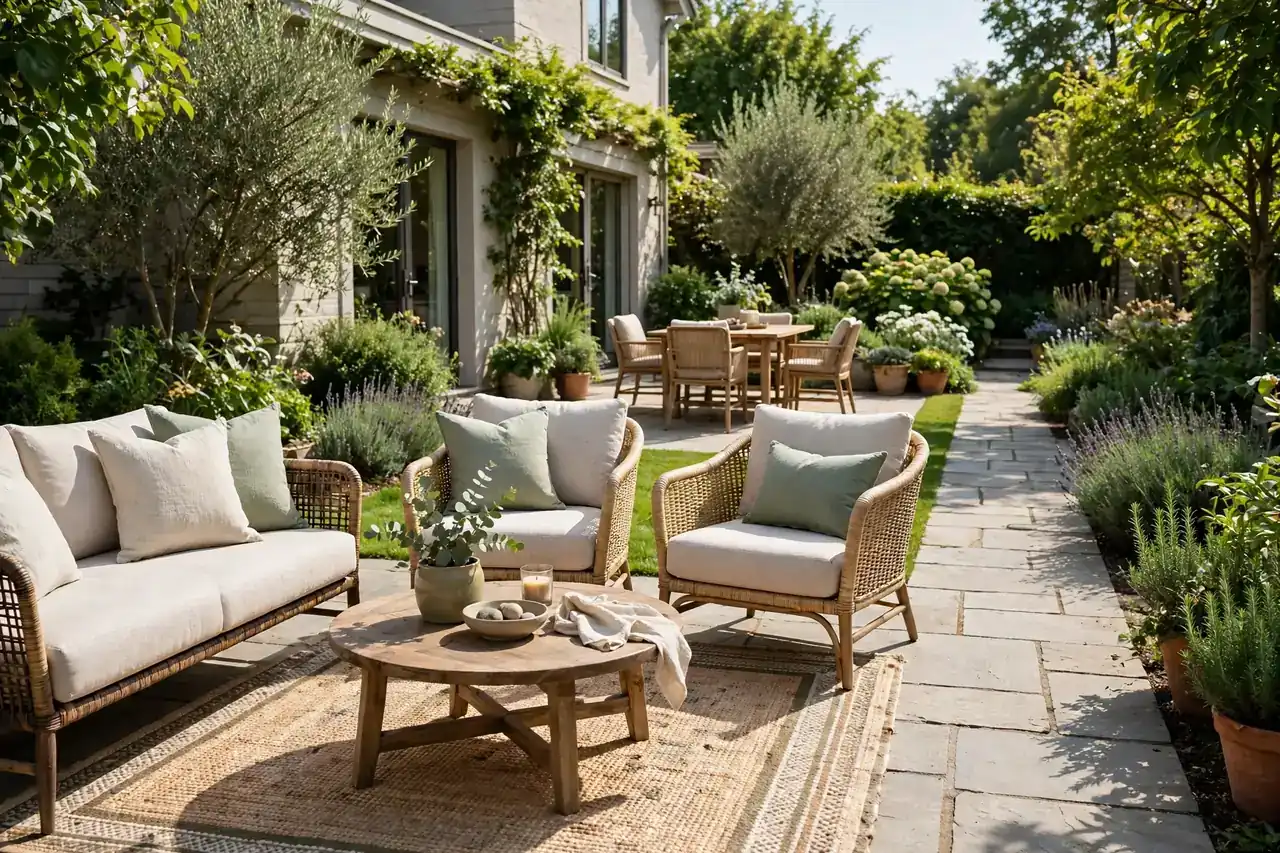
Every good arrangement follows the same order. First, pick a focal point: a view, a fire pit or fire table, a pool, or a statement piece like a sectional or a daybed, and make it the heart of the patio. Second, map how people move: from the door to the grill, to the steps, to the yard, and keep those paths clear. Third, place the largest piece along the longest edge facing the focal point, so the furniture looks anchored instead of floating. Fourth, group the rest into zones, and finish with the small pieces that make it usable.
The mistake most people make is buying furniture before measuring the space. A sectional that fits the store floor swallows a 10-by-12-foot patio whole, and a dining set with six chairs needs a 36-inch pull-out zone behind every chair. Measure the patio first, sketch the layout on paper, and only then shop. Patio Productions’ design team puts it plainly in their arrangement guide: sketch your layout on paper first, because it saves a lot of heavy lifting later. Read their full eight-key guide at Patio Productions’ how to arrange patio furniture guide.
Flow first, furniture second. A beautiful set in the wrong place is a patio nobody uses.
The Spacing Table: Every Number You Need
The spacing numbers that make a patio work are 30 to 48 inches for main walkways, about 24 inches for low-traffic paths, 14 to 18 inches between a sofa and a coffee table, about 36 inches behind a dining chair, and 24 inches of seat width per person at a dining table, because those are the clearances that let people walk, sit down, and reach a drink without bumping into anything.
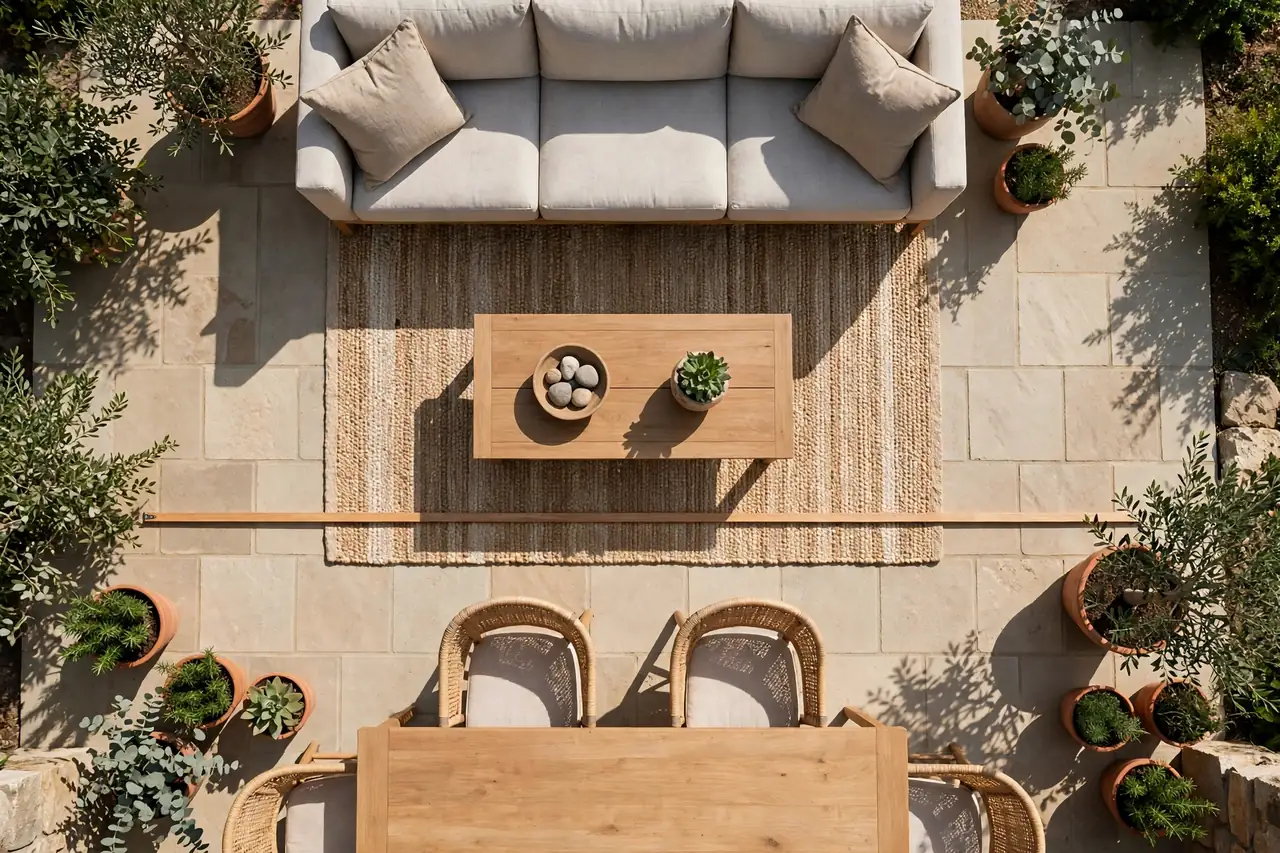
Here is the whole table in one place, so you can measure against it while you arrange. Guess which number is the one most people get wrong: the dining chair pull-out, at 36 inches, is bigger than most people leave, and it is the reason chairs scrape walls and guests sit half-turned at the table.
Patio furniture spacing at a glance
| Space | Clearance | Why it matters |
|---|---|---|
| Main walkways | 30–48 in | Keep paths to doors, steps, and the grill clear |
| Low-traffic paths | About 24 in | Behind chairs or along the patio edge |
| Sofa to coffee table | 14–18 in | Close enough to reach a drink, room for legs |
| Dining chair pull-out | About 36 in | From table edge to wall, railing, or furniture |
| Seat width at dining table | About 24 in per person | Allow more for armchairs |
| Conversation distance | 4–8 ft | Between opposing seats, so nobody shouts |
| Fire pit seating | At least 3 ft | From the fire opening, or the maker’s clearance |
| Umbrella coverage | About 2 ft beyond table edge | Shade must cover the chairs, not just the table |
These numbers come from Patio Productions’ spacing guide, checked November 16, 2026, and Homary’s layout guide agrees on the big ones: at least 36 inches for a primary walkway, 24 inches behind a dining chair for push-back, and 36 inches where a walkway doubles as a serving route. Two rules sit underneath the whole table: preserve movement first, then fill the remaining space with furniture, and never shrink a walkway to fit a bigger sofa. A small patio follows the same numbers; instead of narrowing the walkway, you shrink the furniture.
36 inches behind every dining chair. That is the number that decides whether dinner feels relaxed or cramped.
Step 1: Pick a Focal Point and Place the Largest Piece First
Pick one focal point — a view, a fire pit, a pool, or your best piece of furniture — and place your largest piece along the longest edge facing it, because the longest piece anchors the whole arrangement and everything else arranges itself around it. Without a focal point, furniture drifts to the middle of the patio and the space feels like a warehouse.
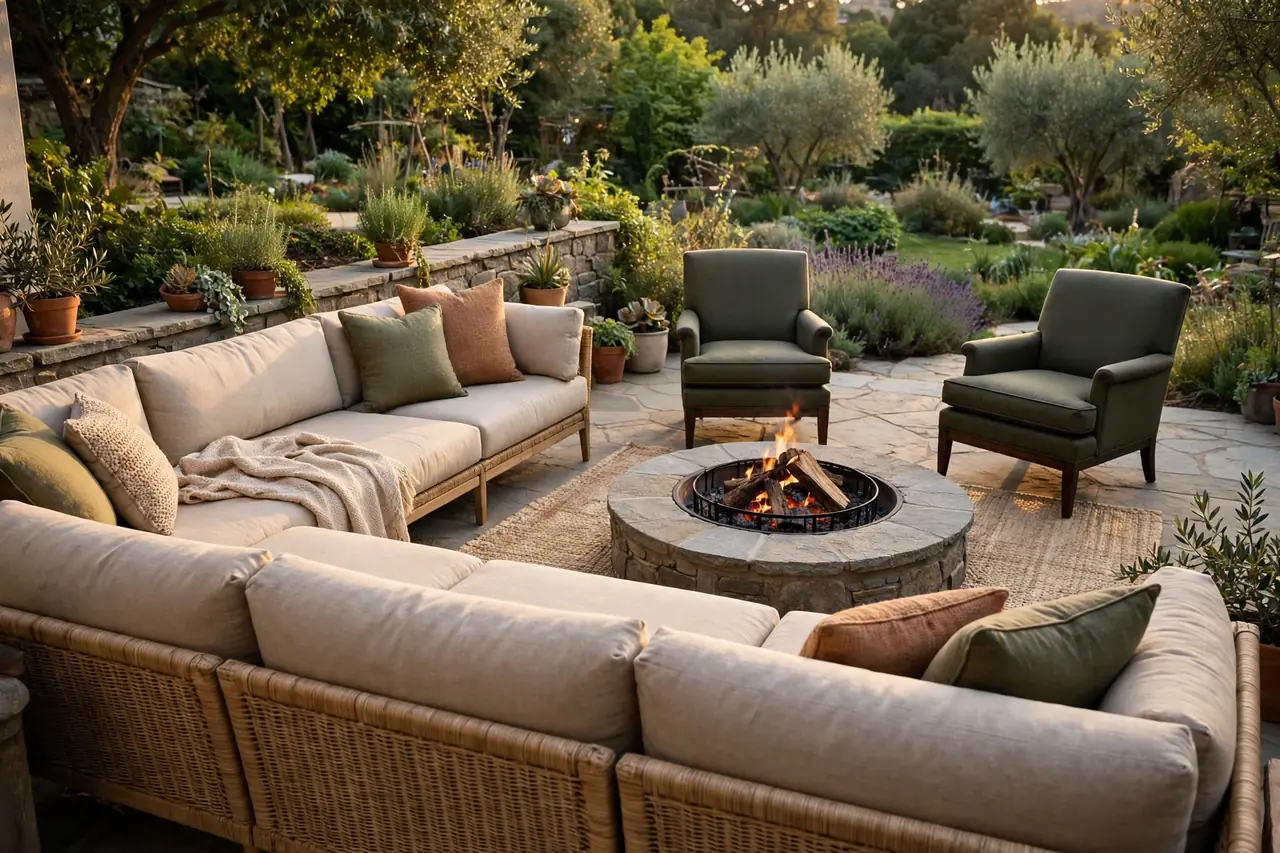
Walk onto your patio and look: what do your eyes land on? That is your focal point. If it is the garden view, face the seating toward it. If it is a fire pit, ring the seating around it at least 3 feet from the edge. If it is a pool, run the loungers along the sunny side and put the dining group in the shade. If there is no view and no fire feature, make one: a sectional, a daybed, or a bold outdoor rug becomes the anchor, and the chairs face it.
Then place the longest piece first, usually the outdoor sofa or loveseat, along the longest wall or edge, facing the focal point. This one move keeps furniture from looking like it is floating in the middle of the slab. Add club chairs opposite the sofa to close the conversation area, keeping opposing seats 4 to 8 feet apart: closer feels crowded, farther apart makes people raise their voices. If the sofa must float because no wall exists, anchor it with a rug: the front legs of the sofa and chairs sit on the rug, the back legs off it, and a 7-by-10-foot rug suits a standard sofa-and-two-chair group.
Longest piece first, facing the focal point. Every other piece takes its place from that one decision.
Step 2: Divide the Patio Into Zones
Divide the patio into zones by activity — dining, conversation, cooking, and play or sunbathing — and give each zone its own furniture group, rug, and light, because a big open patio with one furniture group in the middle feels empty, while the same patio split into three clear zones feels like three rooms. Zones are what turn a slab into an outdoor living room.
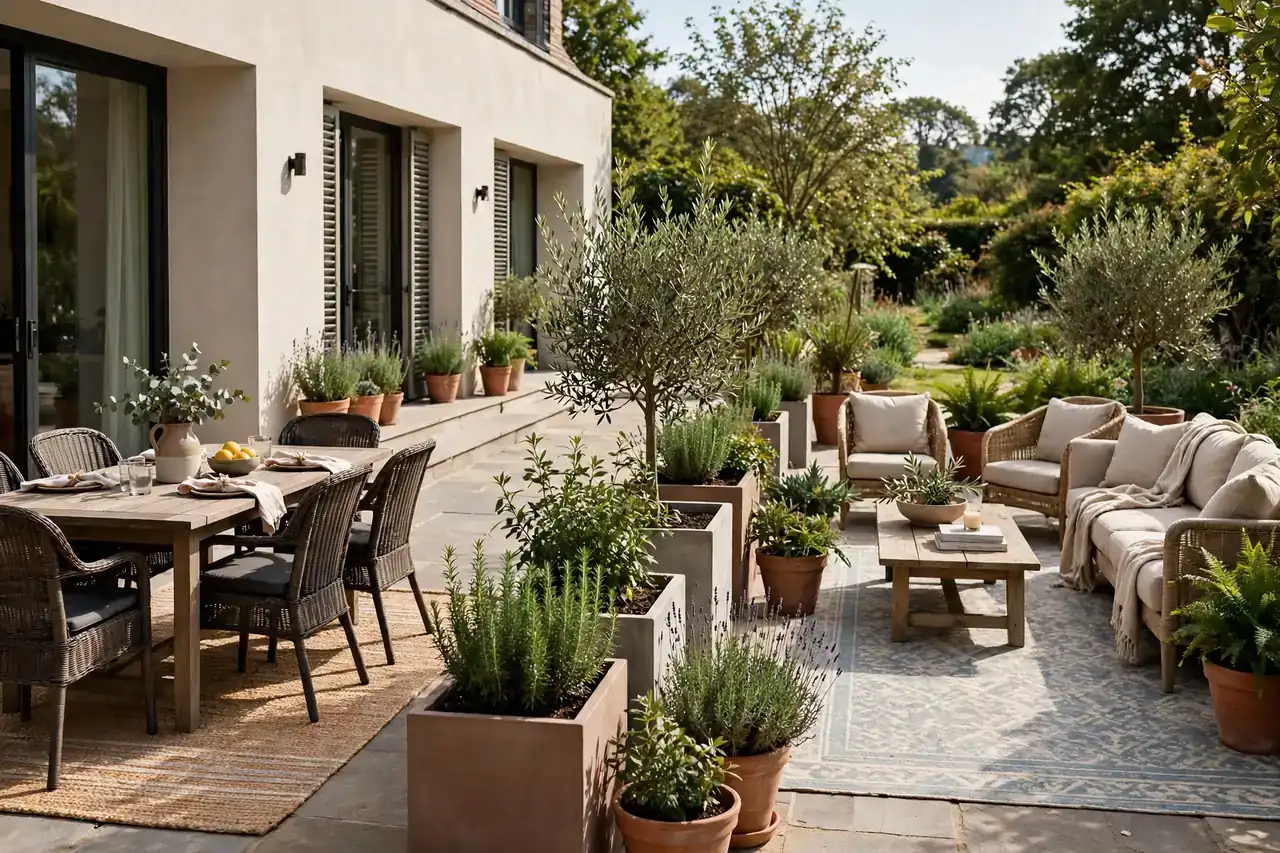
Start with how you actually use the space. If you dine outside most nights, center the layout on the dining set and put it near the kitchen door for easy serving. If you relax with friends, start with the conversation set and let dining take the smaller corner. Cooking stays separate: keep the grill and prep counter apart from where people sit, so smoke and heat stay away from guests, and keep 3 to 4 feet between the cooking area and the dining seats. A bar counter, a low wall, a row of planters, or a change in flooring can mark the line between zones without building anything.
Use rugs, umbrellas, planters, and lighting to draw the zone lines. An outdoor rug under each group defines it instantly, and a rug that extends 12 to 24 inches beyond the seating footprint reads as intentional rather than cramped. String lights over the dining zone and a lantern by the lounge chairs tell people where to gather after dark. If you are planning the dining zone, our patio dining set guide covers sizing a table to its chairs, and our outdoor sectional couch guide covers the lounge zone’s anchor piece. For shade over a zone, see our pergola shade ideas and deck shade ideas guides.
One zone per activity, one rug per zone. Rugs are the cheapest walls you will ever build.
Step 3: Fix the Traffic Flow
Fix traffic flow by routing guests around the seating area, not through it, with 30 to 48 inches on main paths and about 24 inches on low-traffic paths, because a path through the middle of a conversation group breaks every conversation and guarantees someone trips over a coffee table. Direct people with furniture, not with signs.
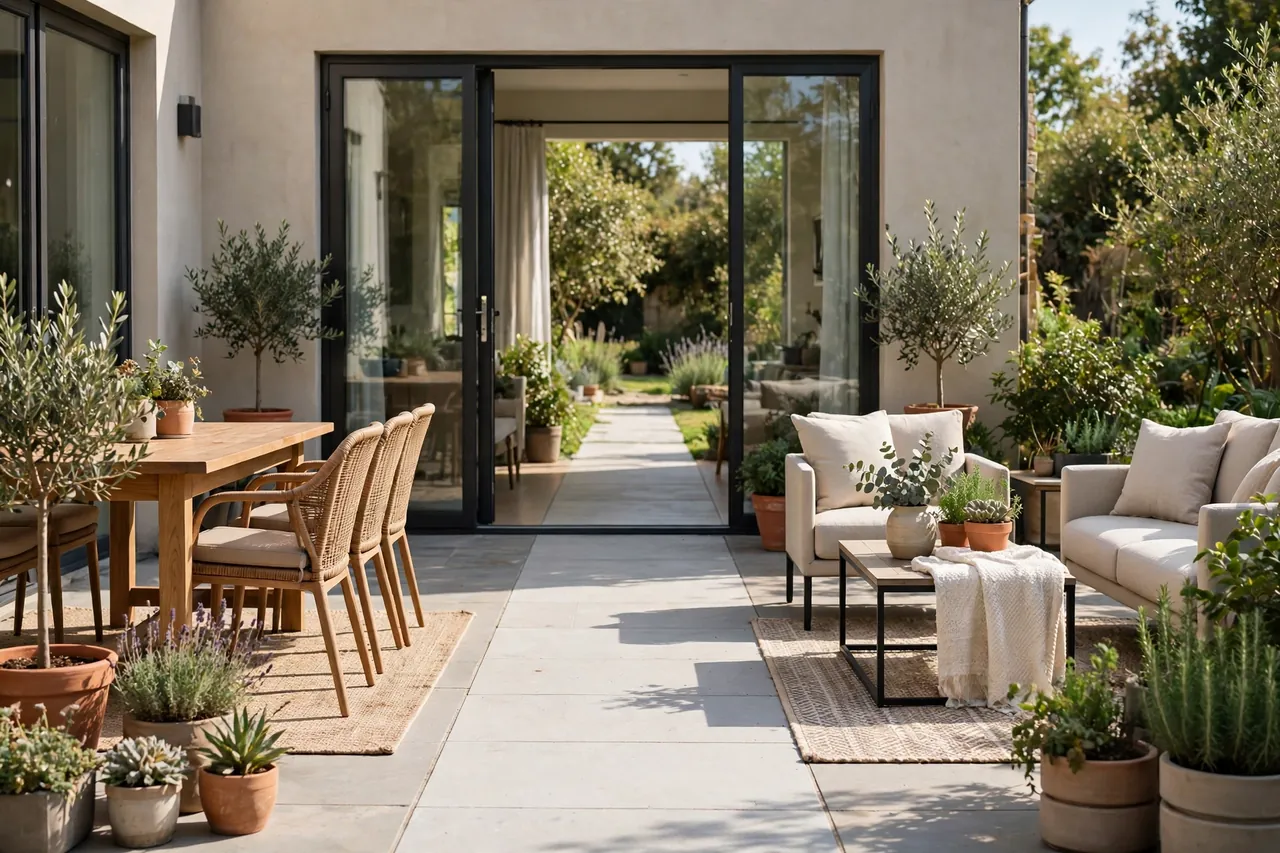
Map the three paths that matter: from the back door to the yard, from the door to the grill, and from the steps to the seating. Each one gets 30 to 48 inches of clear width, and the path between the interior door and the yard gets the widest treatment, since it carries trays, children, and guests at the same time. Behind the stools or chairs, leave at least 35 inches of clear ground where people stand up and walk away.
Use the furniture itself to steer people. The back of a sofa, a console table, or a row of planters guides guests around the seating area without a word. Keep the area in front of the door open, and never put a chair where someone stepping out has to sidestep it. Then do the walk-through test before you finalize anything: lay painter’s tape on the patio to mark each piece’s footprint, walk the paths with a tray in your hands, and sit in every chair. Homary’s layout guide recommends exactly this test, and it catches the tight corner in five minutes that you would otherwise discover at the first barbecue. Read their full pro layout guide at Homary’s how to arrange patio furniture like a pro guide.
Route people around the seating, never through it. Tape the footprints and walk the paths before you buy.
Layouts for Small Patios, Narrow Decks, and Pool Decks
A small patio needs scaled-down pieces and an open center, a long narrow deck needs two zones along its length with a walkway down one side, and a pool deck needs loungers on the sunny side with a wide clear path around the pool edge, because the shape of the space decides the layout more than any furniture catalog does. The same set arranged three ways fits three different patios.
Small patio or balcony: choose a loveseat and one chair, or a bistro set, push furniture toward the edges, and keep the center open. A 24-inch round bistro table with two armless chairs fits a corner a dining set never could, and pieces that do double duty, like an ottoman that works as a seat or a table, keep a small space usable. Our outdoor furniture for small spaces guide shows seven layouts for tight patios, and our small balcony design ideas guide covers balconies specifically.
Long, narrow patio or deck: create two zones along its length, seating at one end and dining at the other, with a clear walkway along one side, and keep the area in front of the door open. An L-shaped sectional earns its keep here: put the short side against a wall and let the long side face the open yard. Pool deck: line chaise lounges along the side that gets the most sun, place the dining group in a shaded spot nearby, and leave a wide clear path around the pool edge. Covered patio or lanai: use the covered area for the furniture you use most, and keep sun-loving pieces like chaise lounges out in the open. For a fully covered space, our enclosed patio ideas guide shows how to furnish a room that is half indoors.
Let the shape decide the layout. Small means fewer pieces, narrow means two zones, pool means loungers on the sunny side.
What Most People Get Wrong When Arranging Outdoor Furniture
Most people get patio arrangement wrong in three ways: they push every piece against the walls, they buy the biggest set the patio can hold, and they forget that every seat needs a place to set a drink. The wall mistake is the most common, and it is the one that makes a patio feel like a waiting room.
Pushing everything to the edges leaves a dead hole in the middle and forces conversation across a void. Pull the seating group in, float the sofa on a rug, and let the walkway run behind it instead of through it. The oversize mistake runs the other way: a sectional that fills the patio leaves no room to walk, so measure first and choose the set that leaves 30 inches of path. And the drink mistake is the one guests notice first: give every seat a side table or a coffee table within reach, 14 to 18 inches from the sofa, or people balance glasses on the armrest and the floor.
Two more traps catch people out. The first is the rug that is too small: a rug that stops under the front legs of only one chair looks like a mat, so size the rug 12 to 24 inches beyond the seating footprint. The second is the grill next to the chairs: smoke, heat, and a cook with a hot tray need 3 to 4 feet of separation from dining seats, and the grill itself needs its own clearance from the house, so keep cooking in its own zone.
Float the seating, shrink the set, and give every seat a table. Those three fixes rescue most bad patios.
Finishing Touches: Rugs, Lighting, and Storage
Finish the arrangement with a rug under each zone, lighting that marks the gathering spots, and storage for cushions and games, because the furniture is only half the patio: the rug makes it feel like a room, the lights make it usable after dark, and the storage keeps it tidy between uses. Without these, the layout looks finished in a photo and unfinished in real life.
Place the rug first and the furniture on it, not the other way around: front legs on, back legs off, and the rug 12 to 24 inches beyond the seating footprint. Hang string lights over the dining zone and set a lantern or two by the lounge chairs, and add planters at the corners where zones meet, since a planter marks a boundary better than an empty gap. Our patio string lights ideas guide shows how to light each zone without glare.
Storage is the finishing touch nobody photographs and everybody needs. Keep extra cushions, blankets, and games in an outdoor storage box or cabinet so the patio stays tidy and the cushions stay protected from the weather. Our how to store outdoor furniture guide covers the full winter routine, and our patio floor ideas guide helps if the surface itself needs work before the furniture arrives.
Rug, light, storage. Those three turn an arrangement into a room you actually live in.
Related Guides
If you are planning the whole outdoor space, these guides pick up where this one leaves off:
- Patio Dining Set — size a table to its chairs so everyone fits.
- Outdoor Sectional Couch — the lounge zone’s anchor piece.
- Outdoor Furniture for Small Spaces — seven layouts that make a tiny patio feel big.
- Small Balcony Design Ideas — arrange a balcony that actually works.
- Enclosed Patio Ideas — furnish a covered space like a room.
- Pergola Shade Ideas — shade a zone without building a roof.
- Deck Shade Ideas — cool the sunny side of the deck.
- Patio String Lights Ideas — light each zone without glare.
- How to Store Outdoor Furniture — keep it clean, dry, and ready for spring.
Frequently Asked Questions
How do I arrange patio furniture?
Pick a focal point, plan walkways, then place the largest piece first. Start with a focal point such as a view, fire feature, or conversation set, plan clear walkways of 30 to 48 inches, place your largest piece along the longest edge facing the focal point, then add chairs, tables, and accessories around it.
How much space should I leave between patio furniture?
Leave 30 to 48 inches for main walkways and 14 to 18 inches between a sofa and a coffee table. You can narrow lower-traffic paths to about 24 inches. Around a dining table, leave about 36 inches behind each chair so guests can pull out and sit down easily.
Where should I place the largest piece of patio furniture?
Along the longest edge, facing the focal point. Anchoring the longest piece against a wall, railing, or the edge of the patio keeps furniture from looking like it is floating and makes the space feel larger. Then add chairs opposite to close the conversation area.
How do I arrange furniture on a small patio?
Choose scaled-down pieces and keep the center open. A loveseat or two chairs with a small table, a bistro set, or pieces that do double duty, like an ottoman that works as a seat or a table, keep a small space usable. Never shrink the walkway to fit a bigger sofa.
How do I arrange furniture on a long, narrow patio?
Divide it into zones along its length. Place a seating group at one end and a dining or bistro set at the other, with a clear walkway along one side. Keep the door or entry area open, and use rugs or planters to mark where one zone ends and the next begins.
Measure first, pick a focal point, and tape the footprints before you buy. A patio arranged around how you move, eat, and talk is a patio you use every evening — and the spacing table above is the only cheat sheet you need to get there.