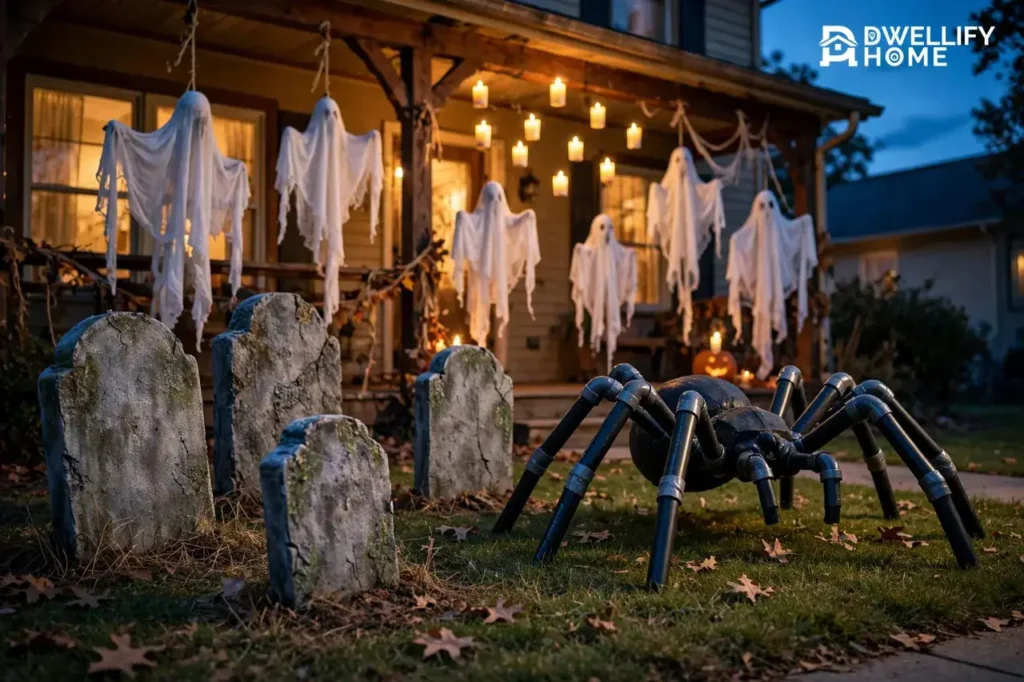
The easiest do it yourself Halloween props are standalone builds you can finish one at a time and place anywhere: foam tombstones, cheesecloth ghosts, a giant spider, skeleton hands rising from the ground, and floating candles. Each build below uses basic craft and hardware-store materials, needs no special skills, and comes with full steps, placement tips, and storage advice.
One safety rule runs through every build: use battery-operated LED candles and tea lights, never real flames, near fabric, foam, or paper props. The National Fire Protection Association (NFPA) reports that an estimated annual average of 835 home structure fires began with decorations between 2020 and 2024, and about one-third started with candles.
Start With a Plan: Pick Props That Fit Your Space
A standalone prop is a single finished piece that works on its own: one tombstone, one ghost, one spider. You build it, place it, and it does its job without a whole scene around it. If you want to turn whole rooms into a connected haunted-house route instead, our guide to DIY haunted house props covers that bigger project.
Before you buy anything, walk your space and decide where each prop will live. A tombstone needs soft ground for a stake or a flat spot to lean. A hanging ghost needs a branch, hook, or porch beam. The giant spider needs a wide, clear footprint for its legs. Matching prop to spot first saves you from building something with nowhere to go.
Use this quick comparison to pick your first build:
Prop picker: time, skill, and best placement for each build
| Prop | Build time | Skill level | Best placement |
|---|---|---|---|
| Foam tombstones | 1–2 hours plus drying | Beginner | Yard, garden bed, porch corner |
| Cheesecloth ghosts | 30–60 minutes plus drying | Beginner | Tree, porch beam, window, doorway |
| Giant spider | 1–2 hours | Beginner to moderate | Yard, porch roof edge, garage front |
| Skeleton hands | 20–40 minutes | Beginner | Flower beds, lawn, planters, candy table |
| Floating candles | 30–45 minutes | Beginner | Porch ceiling, hallway, party room |
Short on time? Start with the skeleton hands or floating candles, both finishable in one short session. Want one big statement piece? Go straight to the tombstones or the spider. For bigger lumber-based outdoor projects, our DIY Halloween yard decorations guide picks up where these props leave off, and pallet Halloween decorations make a good backdrop behind a row of tombstones.
Gather Your Materials and Tools First
Almost every build in this guide draws from the same small kit. Having it all on the table first saves repeat trips to the store.
- Rigid foam insulation board or thick foam board (tombstones), plus sturdy cardboard boxes for practice shapes
- Cheesecloth or lightweight white fabric, and foam balls in a few sizes (ghosts and spider bodies)
- Half-inch PVC pipe with 90-degree and 45-degree elbow fittings (spider legs)
- Disposable gloves (vinyl or nitrile if anyone has a latex allergy), sand, or polyester stuffing (skeleton hands)
- Cardboard tubes from paper towels (floating candles)
- Hot glue gun and glue sticks
- Acrylic paint in gray, black, and white, plus brushes and a sponge
- Battery-operated LED tea lights or candle sticks, ideally with a timer or remote
- Clear fishing line, wooden stakes, and zip ties
- Utility knife or serrated knife, scissors, marker, and measuring tape
Four Safety Rules Before You Cut Anything
First, keep real flames out of every project. The NFPA advises using only battery-operated candles or glow sticks in jack-o’-lanterns, and the same rule protects fabric, foam, and paper props. Keep decorations away from heat sources like bulbs and heaters, and never let props block a door or exit. The NFPA Halloween safety guidance is worth a two-minute read before you decorate.
Second, spray paint belongs outdoors or in a well-ventilated space; a simple ventilated setup like the one in our DIY paint booth guide keeps fumes and overspray under control. Third, cut foam and cardboard away from your body, on a stable surface. Fourth, supervise kids around hot glue guns and knives; give them painting and assembly jobs instead.
One material warning that saves ruined props: some spray paints can soften or melt polystyrene foam. Test any spray on a scrap piece first; if it wrinkles or pits the surface, switch to acrylic craft paint or a spray labeled foam-safe.
Build 1: Foam Tombstones That Look Like Real Stone
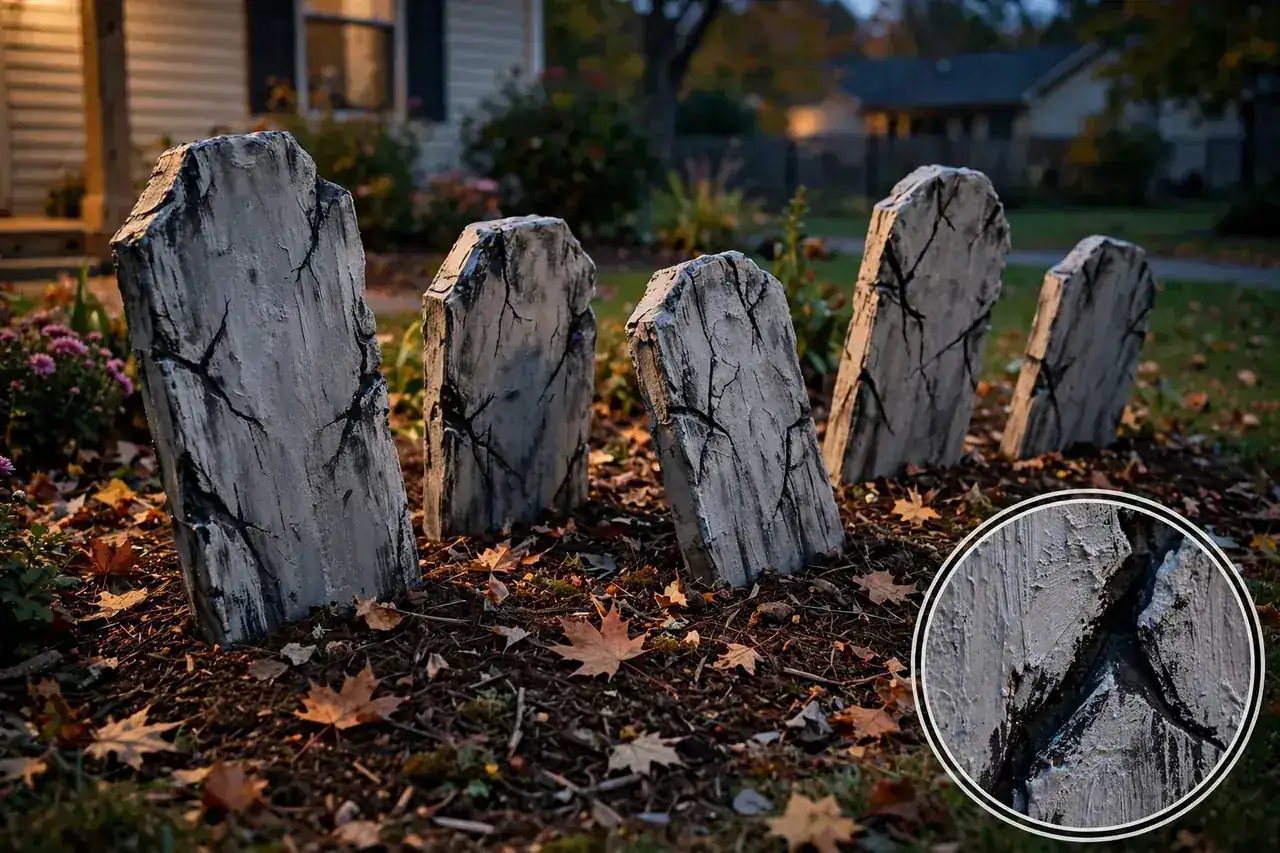
Foam tombstones are the classic do it yourself Halloween prop because one sheet of foam insulation board turns into a whole little graveyard. Foam is light, easy to cut, and holds paint well. Cardboard is a free practice material, but it sags and rots in rain, so treat cardboard stones as one-season or covered-porch props.
Materials for the Tombstones
- One sheet of rigid foam insulation board or thick foam board, plus a marker and a tombstone template (a store-bought stone or printed outline)
- Utility knife or serrated knife
- Gray acrylic paint, plus black and white for shading, with brushes and a sponge
- Wooden stake or short length of PVC pipe per stone, with hot glue or construction adhesive
Steps to Build a Foam Tombstone
- Draw your shapes on the foam. Mix rounded, pointed, and flat tops and vary the heights; identical stones look fake. Most home graveyards read well with stones roughly 18 to 30 inches tall.
- Cut each shape out slowly with a serrated or utility knife, using long strokes. Work on a scrap board so the blade never reaches your table.
- Carve the details. Score shallow cracks, chips, and an epitaph (a short line of pretend grave writing) into the face with the knife tip or a pencil. Funny names like “Barry D. Alive” or “I. M. Gone” are a Halloween tradition, and shallow cuts are enough, because paint does the rest.
- Paint the whole stone gray and let it dry fully. Rushing the next coat over wet paint causes peeling later; our guide to how long paint takes to dry explains the timing.
- Add age. Dab black paint into the carved lines and edges, then lightly drag a nearly dry brush of white across the raised areas. This dry-brushing step turns flat gray foam into believable weathered stone.
- Glue a wooden stake or short PVC length to the back of each stone, leaving the pointed end free to push into the ground.
Set the stones at slightly uneven angles and depths instead of a neat row, grouped in twos and threes. A stone leaning a few degrees looks a hundred years old; a perfect line looks like a store display. On hard ground or a porch, lean stones against a fence or set them in planters instead of staking them.
Build 2: Cheesecloth Ghosts for Porches, Trees and Windows
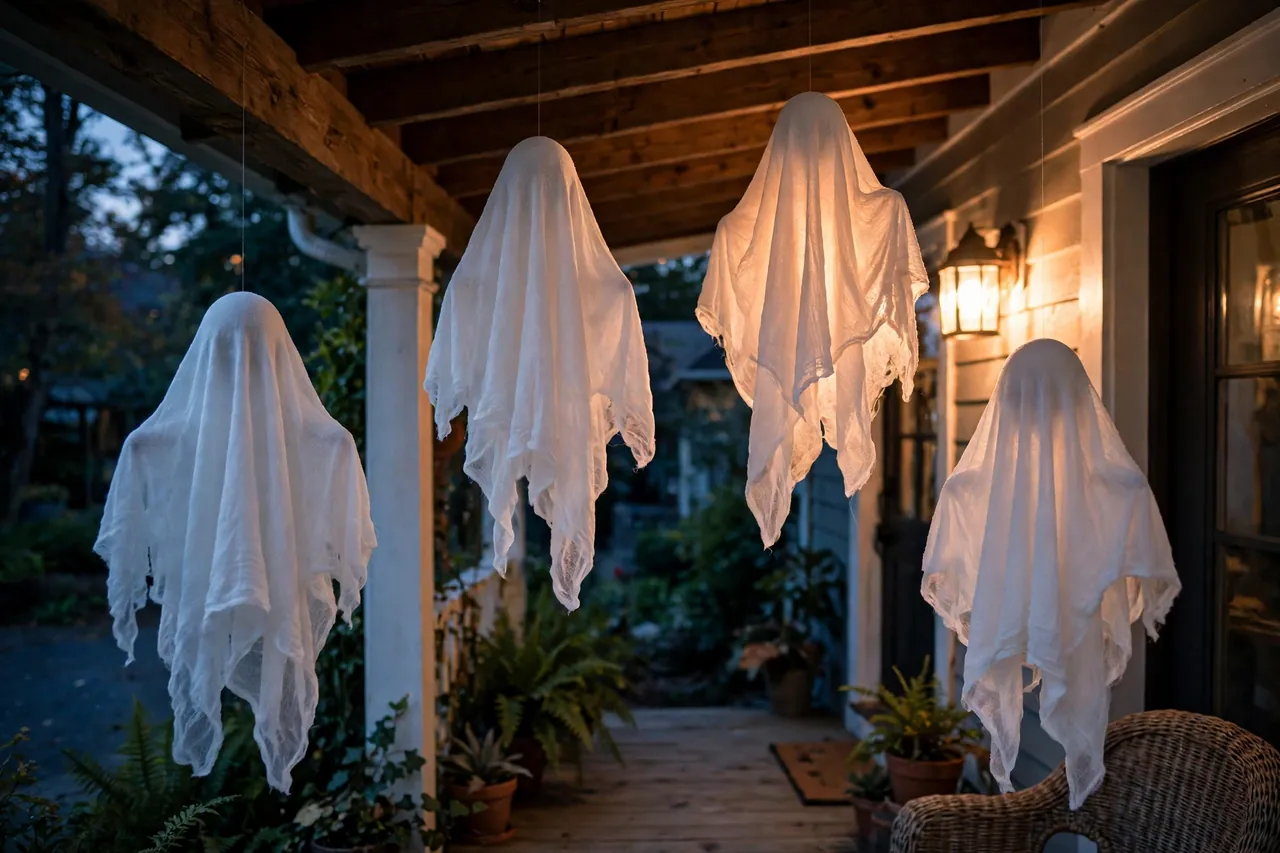
A cheesecloth ghost is just fabric draped over a round head shape, but it reads as a floating figure from twenty feet away. Make a small hanging ghost in minutes, or a standing one with a stiffened body for a porch. HGTV’s cheesecloth ghost tutorial shows the same draping idea at life size, over a frame with outstretched arms.
Materials for the Ghosts
- Cheesecloth or thin white fabric, cut into squares sized to your ghost, plus one foam ball per ghost for the head
- Fishing line or twine, for hanging
- Black felt or a permanent marker, for eyes
- Liquid starch or a glue-and-water mix, and a bottle, jar, or dowel on a base to drape over while drying (for a standing ghost)
Steps to Build a Cheesecloth Ghost
- Place the foam ball in the center of a fabric square and gather the cloth under it to form the head. Tie it loosely with twine or fishing line at the neck, and let the rest of the fabric fall in loose folds. Pull a few edges longer than the others and fray the ends with your fingers; ragged edges look older and move better in a breeze.
- Add two simple black eyes with felt pieces or a marker. Keep them small and slightly uneven; big cartoon eyes turn spooky into cute, which suits a family porch but not a scare display.
- For a hanging ghost, tie fishing line to the top of the head and hang it from a branch, beam, or hook. Hang several at different heights so the group drifts at different levels.
- For a standing ghost, soak the cheesecloth in liquid starch or a glue-and-water mix, drape it over a foam ball balanced on a bottle, and shape the folds. Let it dry completely, usually overnight, then lift it off the form; the stiffened cloth holds the ghost shape on its own.
Keep hanging ghosts clear of walkways and door swings, and bring fabric ghosts indoors if heavy rain is forecast; soaked cheesecloth gets heavy and can tear at the tie point.
Build 3: A Giant Spider With PVC Legs
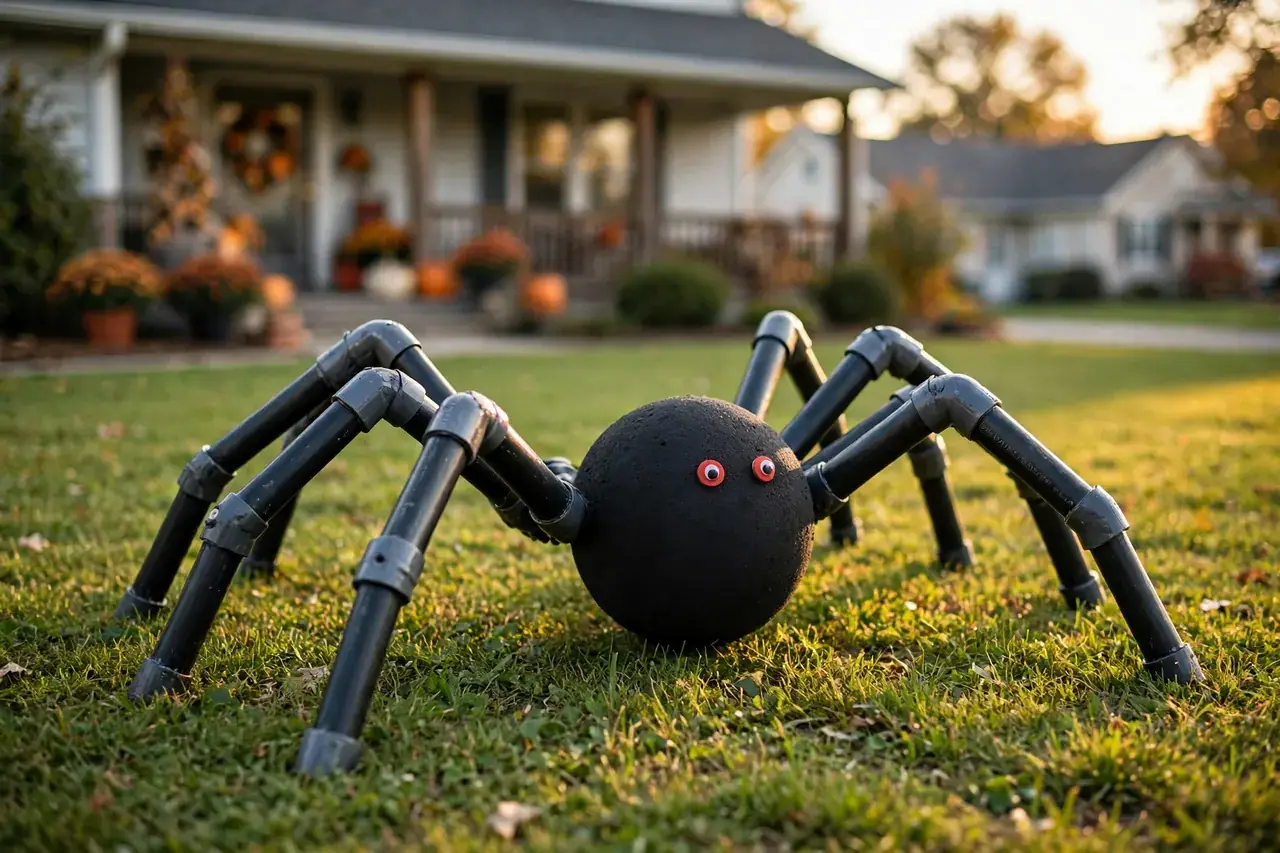
Scale is the whole trick with a spider prop. A foam-ball spider the size of a dinner plate is a craft; the same spider three feet across, crouched on your porch, is what neighbors slow down to look at. PVC legs make the big version possible: they hold a wide, low stance without sagging and come apart for storage.
Materials for the Giant Spider
- Two foam balls (one large for the abdomen, one smaller for the head) and a pencil or short dowel
- Half-inch PVC pipe for leg segments, with eight 90-degree and eight 45-degree elbow fittings
- Expanding foam glue or hot glue, and black paint (test it on the foam first, as noted above)
- Small red or white craft pieces for eyes, if you want them
Steps to Build the Giant Spider
- Shave a small flat spot on each foam ball where they will join. Push a pencil or short dowel halfway into the large ball as a bridge, add foam glue, and press the head ball onto it. Let the joint dry completely before handling.
- Push four elbow fittings into each side of the body, low and evenly spaced. These hip joints set the spider’s stance.
- Build each leg from three pipe segments joined by elbows: a short segment out from the body, a longer one angled down, and a final segment to the ground. The Hallmark Channel’s giant lawn spider build uses 8-inch and 16-inch segments, a span wide enough to look threatening without tipping.
- Press the legs into the body fittings. Leave the joints unglued if you can; a snug friction fit lets you adjust the pose and pull the legs off for flat storage.
- Paint the whole spider black, let it dry, and add eyes last.
Set the spider low, body close to the ground and legs spread wide: a tall, starburst pose looks like a decoration, while a low crouch looks like a creature. On a lawn, push the leg ends slightly into the soil or weigh the body down on windy days. If a static spider leaves you wanting motion, our guide on how to make an animatronic is the natural next project.
Build 4: Skeleton Hands Rising From the Ground
Skeleton hands are the fastest prop here and one of the most effective, because a hand bursting out of a flower bed sells the graveyard scene around your tombstones. The base is a plain disposable glove, filled and posed; eHow’s long-running fake hands tutorial uses the same glove-and-sand method.
Materials for the Skeleton Hands
- Disposable gloves, one per hand (vinyl or nitrile if latex is a problem), with sand, rice, or polyester stuffing for filling
- Zip tie or rubber band per hand
- White or bone-colored acrylic paint, plus a little brown or black for grime, and a clear sealant for outdoor hands
Steps to Build a Skeleton Hand
- Stretch the glove gently so it does not tear, then fill it slowly, working the filling into each finger first so the fingers stay plump and even. Sand gives real weight, which helps outdoors; stuffing is lighter and better indoors.
- Leave a little room at the wrist, then close it tightly with a zip tie or rubber band.
- Bend the fingers into a claw or a reaching pose while the filling is still movable. A hand reaching straight up reads as “rising from the grave”; a curled claw reads as a threat. Pick one and commit.
- Paint the glove bone-white, then wipe a little thinned brown or black paint into the creases to age it. Let it dry, and add a clear sealant coat if the hand will live outdoors.
Bury the wrist end in soil, mulch, or a planter so only the hand shows, and place hands in odd numbers: one at a tombstone base, one near the walkway, one reaching out of a candy bowl on the party table. Keep them back from the walking path itself so nobody steps on one in the dark.
Build 5: Floating Candles With Zero Real Flame
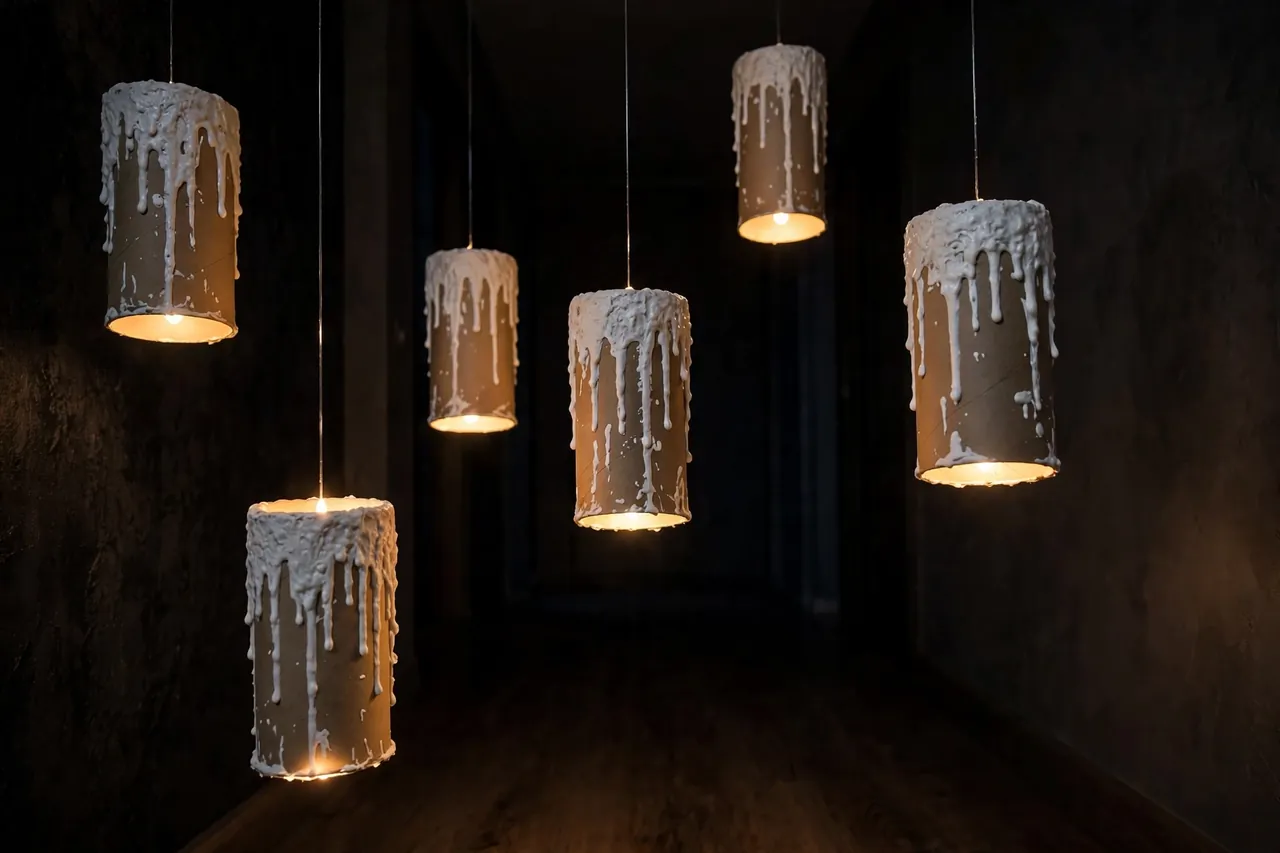
Floating candles are cardboard tubes, hot glue, and LED tea lights, hung on fishing line so they hover over a porch or hallway. Make: magazine’s floating candles project popularized this exact tube-and-glue method. Because the light is an LED, this is the one candle effect that is completely safe around fabric ghosts and paper decorations.
Materials for the Floating Candles
- Cardboard tubes from paper towels or toilet rolls, in mixed lengths
- Hot glue gun, for the wax drips
- White or cream paint
- One LED tea light per candle (timer or remote versions save ladder trips)
- Clear fishing line and removable ceiling hooks
Steps to Build Floating Candles
- Run hot glue drips down from the top rim of each tube, in uneven lengths, so they look like melted wax. Add a ring of glue just inside the top rim too; that ring is what the tea light will sit on.
- Stand the tubes upright and let the glue cool for 5 to 10 minutes, then paint the tubes white or cream, covering the glue drips too, and let them dry.
- Poke two small holes opposite each other just below the tea light seat, and thread fishing line through to form a cradle. Tie the candle, then feed a longer line up to your ceiling hook. Test every tea light before you hang anything.
- Hang the candles at varied heights in a loose group, keeping them clear of door swings, ceiling fans, and anything hot.
Choose tea lights with a timer or remote if the candles will hang all month. A timer set to come on at dusk means you set the display once, and batteries last far longer than lights left burning around the clock.
How to Make Your Props Survive Wind and Rain
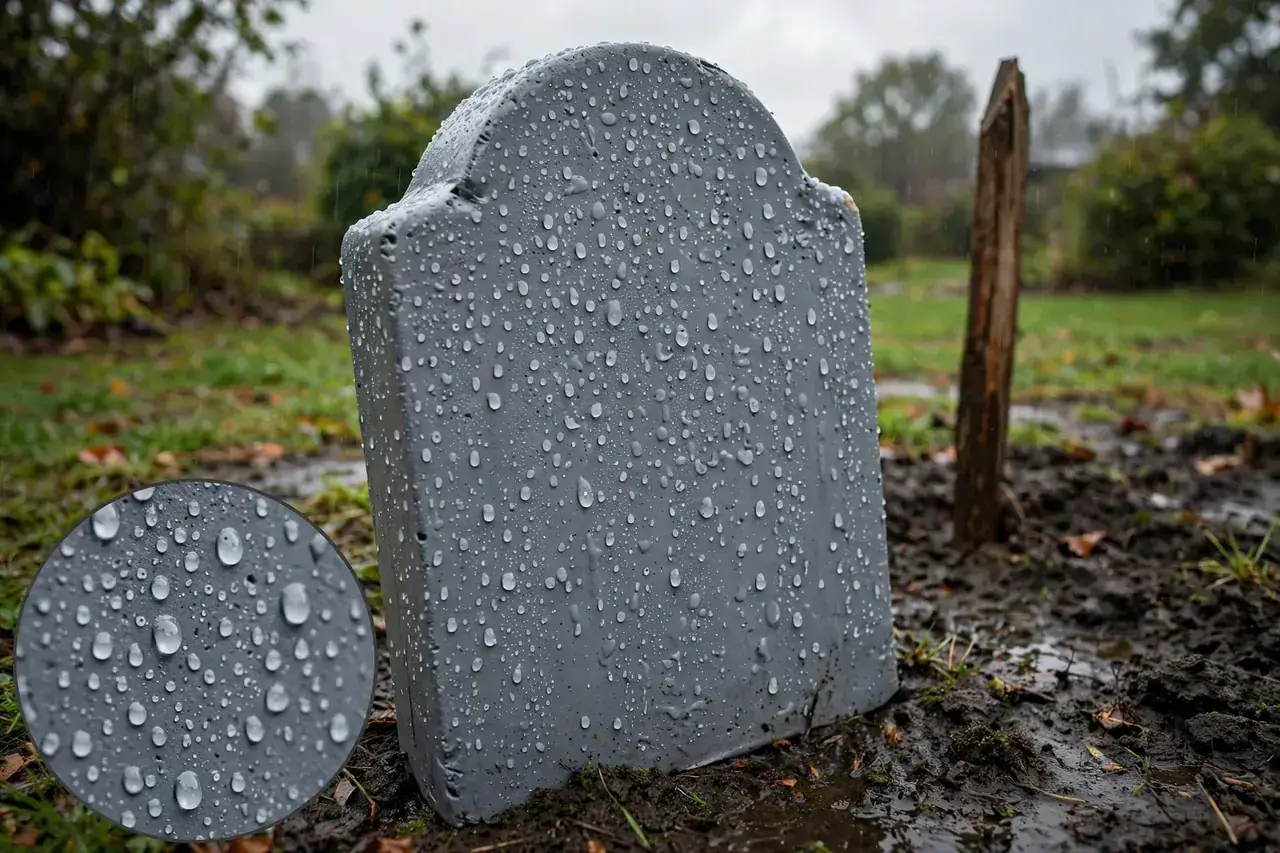
Most DIY props do not die from bad building; they die from one stormy night. A few habits protect everything you built:
- Anchor everything outdoors. Stake tombstones deep, weigh the spider’s body, and double-tie hanging ghosts.
- Match material to exposure. Foam and PVC handle rain; cardboard and untreated cheesecloth do not. Keep paper and fabric props under a porch roof or bring them in when rain is forecast.
- Seal painted foam. A clear outdoor sealant over painted tombstones and hands slows peeling and water soaking. Let paint dry fully first.
- Check after the first windy night. Re-seat stakes and fix small problems before they become lost props.
- Keep paths clear. Props should never narrow a walkway or block a step where trick-or-treaters walk in the dark.
If you are also working on the look of the whole display — lighting angles, webs, and silhouettes — our guide to DIY scary Halloween decorations covers the ambience side, while this article’s builds give you the physical props to light.
Store Your Props So They Last for Years
Good storage turns one October of building into a display that grows every year. Let every prop dry completely before it goes into a box, because trapped moisture grows mildew on fabric and lifts paint on foam. Store tombstones flat with cardboard or old towels between them so painted faces do not rub. Pull the spider’s legs off, bundle them with a zip tie, and keep the body where nothing heavy sits on it.
Ghosts store best hung in a closet or laid flat with tissue between layers. Keep LED tea lights with the candles, and remove batteries from any light that will sit for months, because old batteries can leak and ruin the contacts. Label each bin with its contents and where the props belong.
Be honest about lifespan: foam, fabric, and cardboard props are not permanent. A well-stored foam tombstone or spider can serve many seasons; cardboard and cheesecloth pieces are cheap enough to remake when they tire. Build the forever pieces from foam and PVC, and let the paper ones be annual fun. For another seasonal build, see our terracotta pumpkins guide.
Related Guides
- DIY Haunted House Props — turn single props into a full walk-through home haunt.
- DIY Scary Halloween Decorations — the ambience side: lighting, webs, and silhouettes.
- Do It Yourself Halloween Yard Decorations — bigger hands-on yard projects with steps and materials.
- Pallet Halloween Decorations — pallet builds that make a strong backdrop for tombstones.
- How to Make an Animatronic — add movement once your static props are built.
- Terracotta Pumpkins — a calmer fall DIY that pairs well with a spooky display.
Frequently Asked Questions
How to make DIY Halloween props at home?
Start with standalone builds that use one main material each: foam tombstones, cheesecloth ghosts, a PVC-leg spider, glove skeleton hands, and cardboard-tube floating candles. Pick one prop, gather its full material list first, and finish it completely before starting the next. Simple shapes, gray and black paint, and battery lights do most of the work.
How do you make outdoor Halloween decorations?
Choose materials that match the weather where the prop will sit. Foam board, PVC, and sealed paint handle outdoor display; cardboard and untreated fabric belong under cover. Anchor every piece with stakes, weights, or double ties, keep walkways and steps clear, and bring lighter props inside before a storm, not after it.
How can you make DIY Halloween decorations on a budget?
Build around what you already own: cardboard boxes, old white fabric, paper towel tubes, and leftover paint become tombstones, ghosts, and candles. Buy one sheet of foam board instead of individual craft foam, because it cuts into several tombstones. Spend the limited budget on reusable LED tea lights, which serve in pumpkins, candles, and displays for years.
How do I turn the lights on and off?
Choose LED tea lights or candle sticks with a remote or a built-in timer before you hang anything. A remote lets you switch a whole porch of floating candles from the ground, and a timer turns them on and off at the same times daily. Test each light before it goes up, because replacing one mid-display means another ladder trip.
Do you leave the lights on all month?
You can, if the lights run on a timer. Set them to glow for the evening hours only, on at dusk and off later at night, instead of burning around the clock. Timed lights are easier to manage, the batteries last much longer, and the display still looks deliberate every evening of the season.
A quick safety note: every build here uses battery-operated lights only. Keep fabric, foam, and paper props away from real candles, heaters, and hot bulbs, keep exits and walkways clear, and let an adult handle knives, hot glue, and spray paint. If a project ever needs real electrical or structural work, hire a qualified professional instead.
Your next step is simple: pick the one prop from the table at the top that fits your space, write down its materials, and build it this weekend. One finished tombstone or ghost in place will tell you exactly which build you want second, and by Halloween you will have a display that is entirely your own work.