The most effective diy haunted house props are not random decorations scattered around a room. They are scenes in a sequence: a creepy entry, a dark hallway, one strong scare room, and a safe, well-lit exit. Plan that route first, then build two or three simple props for each scene.
This guide walks you through a home haunted house in the order your guests will. Every prop is cheap, beginner-friendly, and built from foam board, black sheeting, old sheets, jars, and battery lights. One rule runs through the whole build: the walking path and every exit stay clear at all times.
If you only have one evening, build the entry arch, the hanging hallway ghosts, and the scare-room specimen jars. Those three scenes carry the whole haunt, and everything else is a bonus.
Plan the Route Before You Build a Single Prop
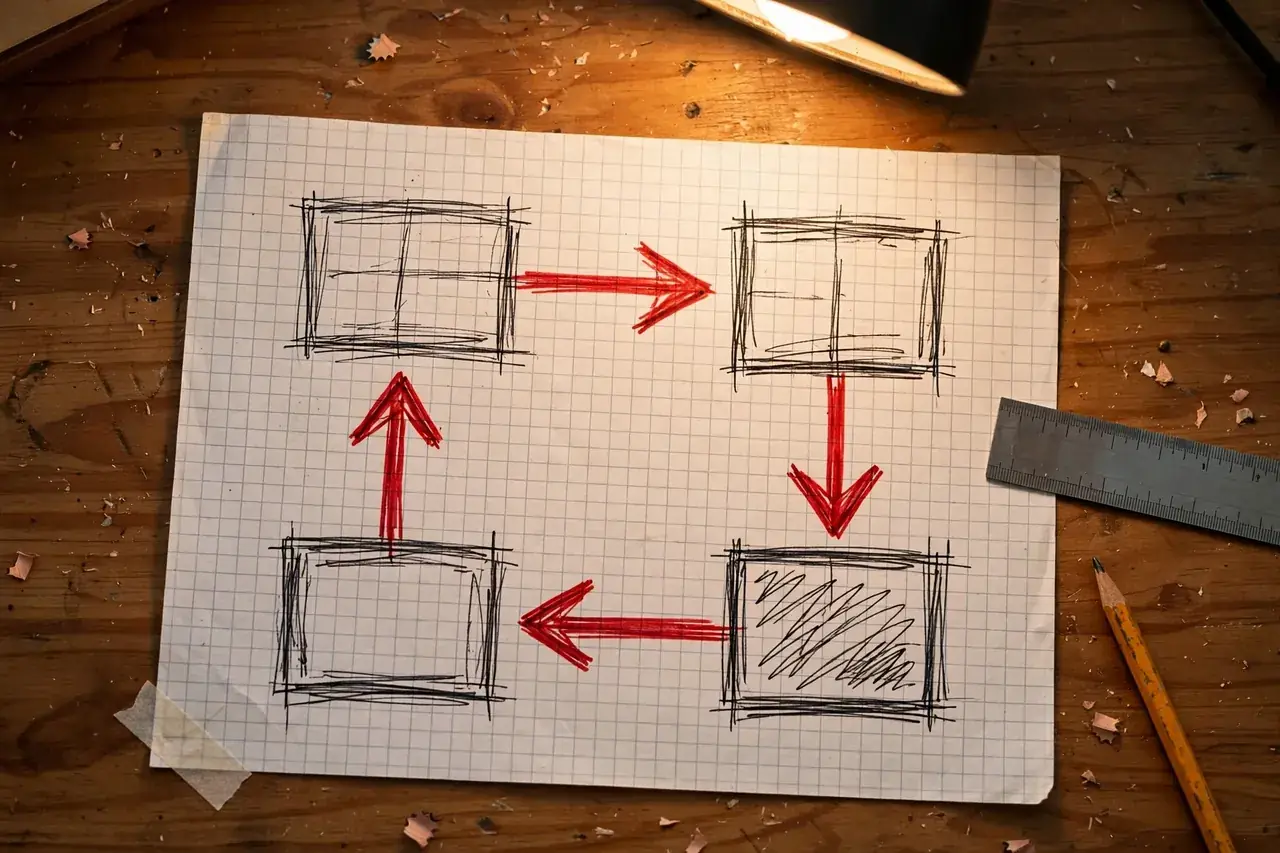
A home haunt works like a tiny theme-park ride. Guests should always know which way to walk, even in the dark, and they should never have to guess, backtrack, or squeeze past each other. Four zones are enough for almost any house, garage, or basement.
The Four Zones of a Home Haunt
- Entry: the porch, front door, or first two steps inside. This scene sets the story and slows guests down so their eyes adjust.
- Hallway: a corridor, a curtained-off strip of a room, or the space between two rows of furniture. Darkness and closeness do the scaring here.
- Scare room: one full room or corner where your best props, light, and sound land together. This is the scene guests talk about afterward.
- Exit: a lit path back to normal life, ideally ending at a candy table or photo spot so the last feeling is fun, not stress.
Sketch the Path on Paper First
Draw your rooms as rough boxes and mark the walking line with arrows. Keep the path one-way wherever you can, wide enough for two people side by side, and free of steps guests cannot see. Then walk the route yourself in daylight and again with the lights off.
Decide now where each actor or helper will stand, and give every actor a clear way out that does not cross the guest path. If a room has a second door, that is your actor entrance and your emergency shortcut in one.
Materials That Build Almost Every Scene
You do not need a workshop full of supplies. The same short list of cheap materials builds the arch, the ghosts, the jars, and the cage in this guide, and most of it can be reused next year.
Scene-Building Materials and What Each One Does
| Material | What it builds | Good to know |
|---|---|---|
| Rigid foam board or large cardboard boxes | Entry arch, fake walls, tombstone shapes, signs | Light, easy to cut with a craft knife, and takes matte spray paint well |
| Black plastic sheeting | Hallway walls, blackout curtains, ceiling drops | Choose sheeting sold as flame resistant, and keep it away from bulbs and heaters |
| Old white sheets and cheesecloth | Ghosts, draped figures, torn curtains | Thrift stores are the cheapest source; torn edges look better than clean cuts |
| Battery-operated candles and tea lights | Candle clusters, jar glow, path markers | No flame near fabric or paper; timers save you switching them on one by one |
| Glass jars and foam wig heads | Specimen jars, heads, potion bottles | Save jars from food for a few weeks and the scare room costs almost nothing |
| Hot glue, zip ties, fishing line, matte black and gray spray paint | Assembly and finishing for everything above | Fishing line is nearly invisible in the dark, so hanging props look like they float |
For individual builds you can place anywhere in the house or yard, our companion guide to do it yourself halloween props covers standalone pieces like tombstones and giant spiders. This article stays focused on props that work as part of a walk-through.
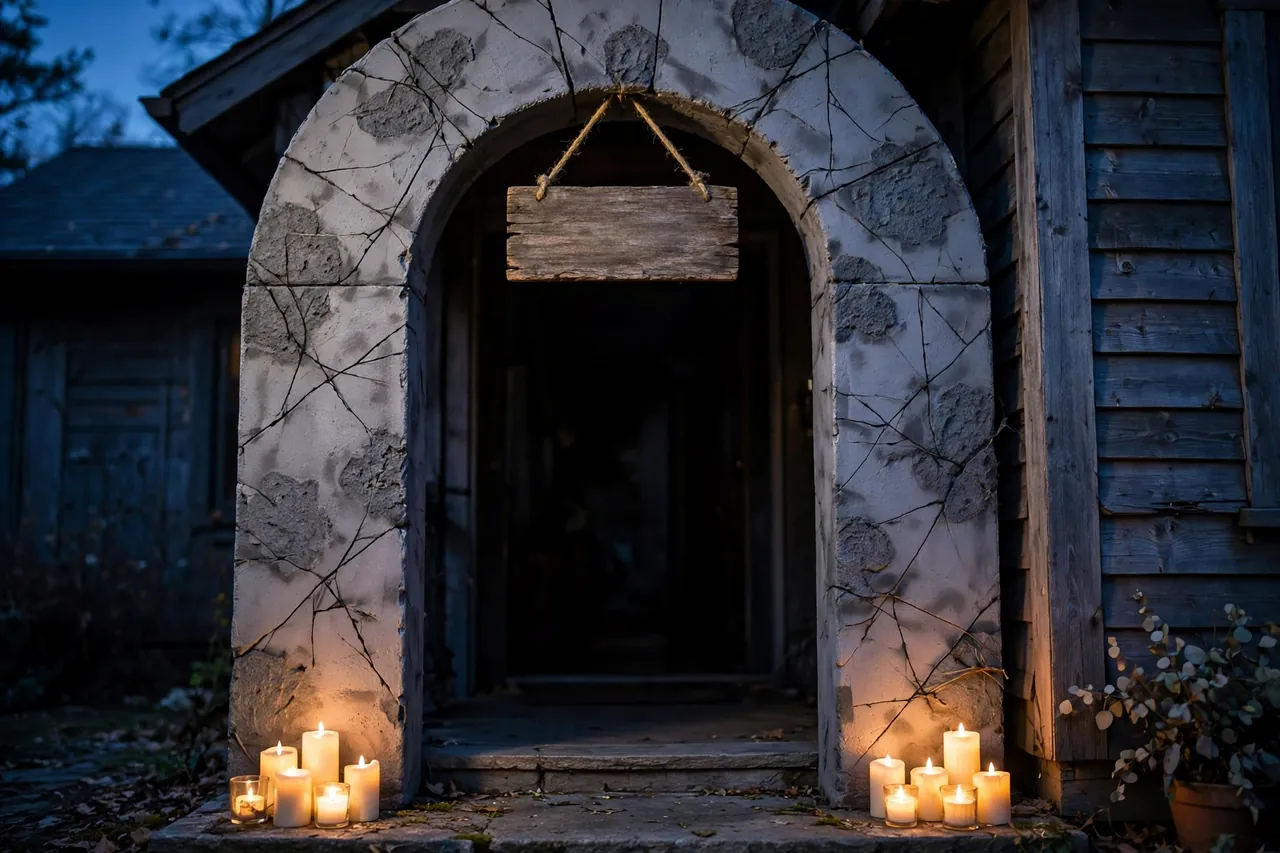
Entry Scene Props: Win the First Ten Seconds
Guests decide whether your haunt is “real” in the first ten seconds. The entry scene does not need your scariest prop. It needs a clear doorway moment: something that frames the door, slows people down, and tells them a story has started.
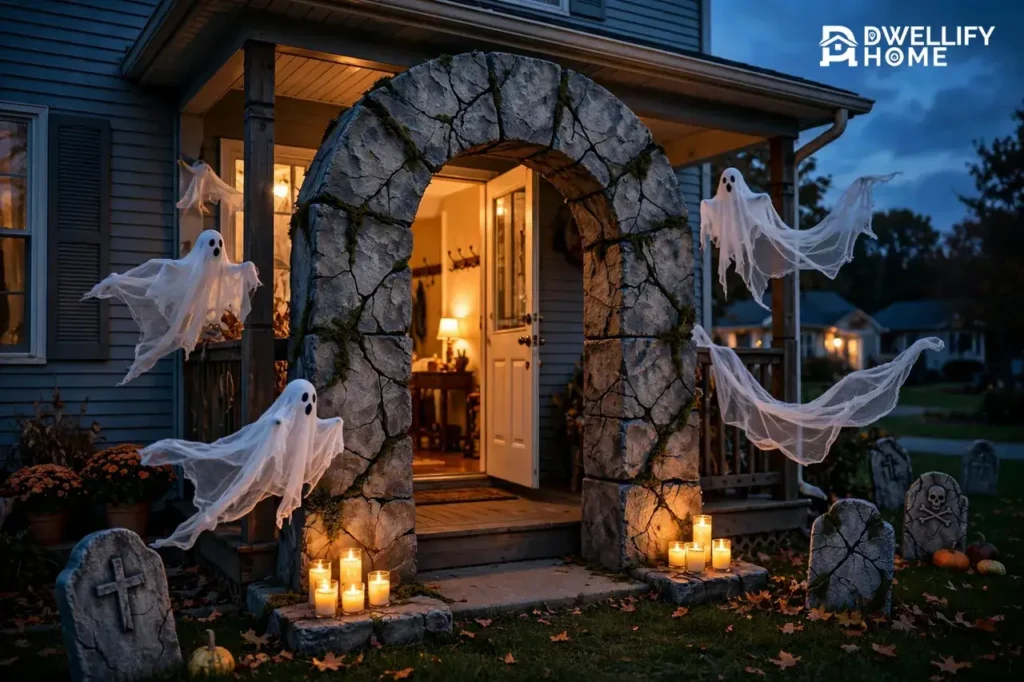
Build a Foam-Board Entry Arch
- Measure your doorway and cut two tall posts and one header piece from foam board or flattened cardboard boxes, a few inches wider than the frame on each side.
- Paint all three pieces matte gray, then sponge on darker gray and black patches so the surface reads as old stone in low light.
- Draw cracks with a black marker, going over each line twice so it shows up from a few steps away.
- Lean or tape the posts against the door frame and rest the header across the top. Tape every contact point, then tug each piece to confirm nothing can tip onto a guest.
- Finish with a hand-lettered sign (“Enter If You Dare” is a classic for a reason) and a cluster of flickering battery candles at the base.
Set a small speaker just inside the door playing creaks, wind, or distant chains at low volume. Keep the entry itself free of jump scares. Guests who feel oriented at the start scream louder later, because they trusted you enough to relax.
If your haunt starts on the porch, carry the same story outside with the zone-by-zone plan in our outside halloween decorating ideas guide, then let the arch be the moment guests step from “decorated house” into “haunted house.”
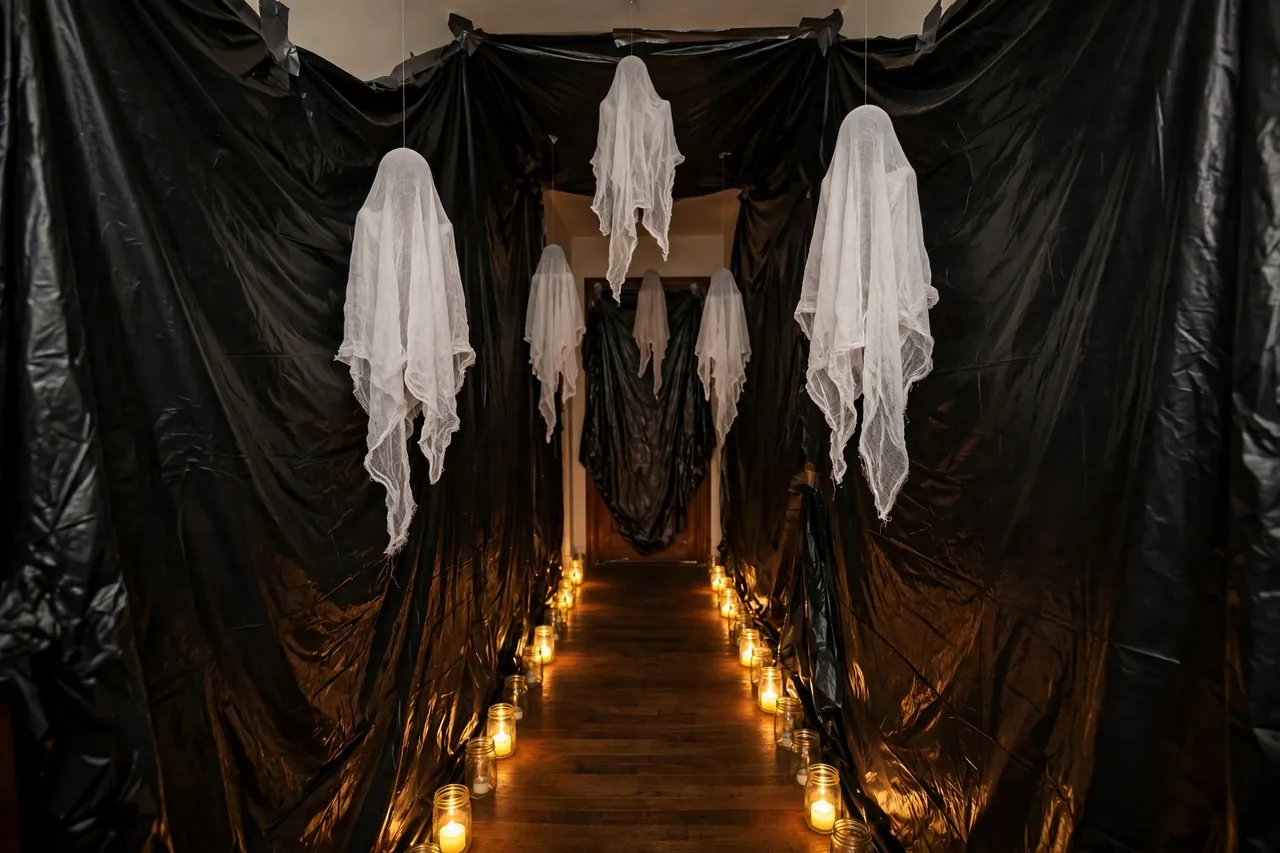
Hallway Props: Darkness Does the Heavy Lifting
The hallway is where a home haunt earns its screams, and it is mostly done with darkness and texture rather than big props. Hang black sheeting on one or both sides so the space feels narrower than it is. Then add things that brush, hang, and glow at the edges of vision.
Hang Sheet Ghosts Overhead
- Push a foam ball onto the hook of a wire hanger to form a head, and bend the hanger’s arms out to the sides.
- Drape a white sheet or two layers of cheesecloth over the head and arms, letting the fabric fall unevenly.
- Add two black felt eyes, or leave the face blank — blank faces often read scarier in dim light.
- Hang the ghost from the ceiling or a door frame with fishing line, just above head height, so guests walk under the trailing fabric.
- Make three or five, not one. A single ghost is a decoration; a row of them is a scene.
Line the Walls With Cheap Dread
Tape black-paper silhouettes — bats, reaching hands, crooked portraits — along the sheeting at eye level. Print or draw creepy portraits, slip them into thrift-store frames, and hang them slightly crooked. Cut extra silhouettes from plain black construction paper if you run short; the techniques in our halloween crafts using construction paper guide stretch one pack of paper across a whole hallway.
At ankle height, place two or three jars with glow sticks or tea lights inside and ping-pong-ball “monster eyes” glued to the lid. Guests look down at the glow, which is exactly when the hanging ghosts brush their hair. That pairing — eyes low, ghosts high — is the hallway’s whole trick.
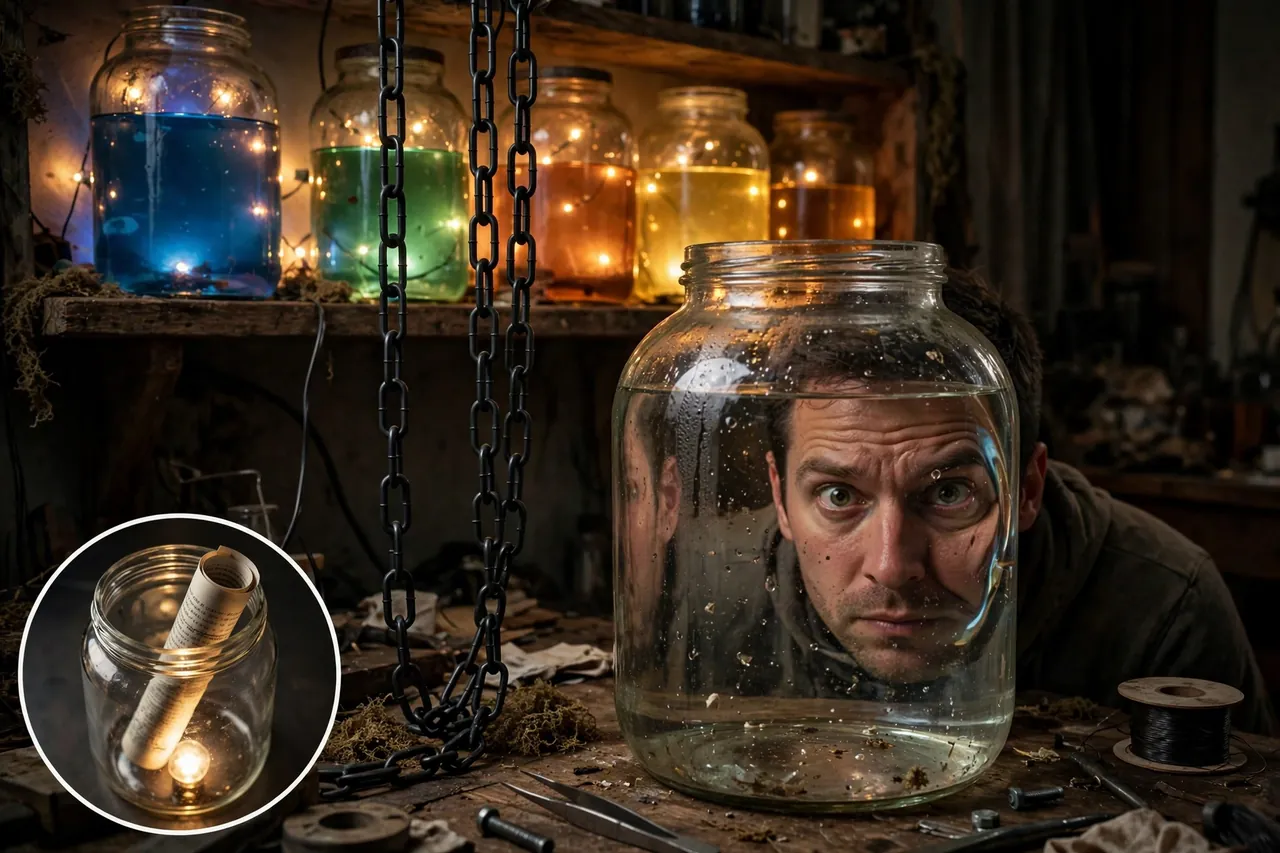
The Scare Room: One Big Scene, Built Well
Resist the urge to spread your best props across the whole house. One room where everything lands together — props, light, sound, and a hiding spot — beats five rooms with one prop each. Pick a single theme for the room: a mad scientist’s lab is the easiest to build from kitchen and thrift-store finds.
Build Specimen Jars for the Lab Table
- Take a clear front-and-side photo of a willing friend’s face, print it slightly larger than life, and trim it to a tall rectangle.
- Roll the photo loosely and slide it inside a large clean jar so the face presses against the glass.
- Fill the jar with water and add a drop or two of green or yellow food coloring. The water magnifies the face and makes it look preserved.
- Add a few strands of fake hair or a wig piece at the top, screw the lid on, and set the jar on a shelf or table at eye level.
- Repeat with jars of plastic spiders, toy eyeballs, and colored water with a tea light behind them for a full specimen shelf.
Add One Big Silhouette
Every scare room needs one large shape guests notice before they notice anything else. Two laundry baskets zip-tied together, sprayed matte black, and hung with plastic chain become a hanging cage. A foam-board coffin leaned in the corner does the same job standing up. Keep the big piece at the far side of the room so guests walk toward it — and past your hidden actor or drop prop on the way.
When you are ready for motion, a single moving figure turns this room into next year’s headline scene; our guide to how to make an animatronic shows a beginner build that fits a corner like this one.
Layer Light and Sound, Carefully
Light the scare room from below or behind the props, never from a bright ceiling fixture. A colored bulb or two, a string of dim lights in jars, and one shadowed corner are enough. If you already use strip lighting elsewhere in the house, the tricks in our smart LED strip guide apply directly to outlining the lab table and the path out.
Keep sound on a loop at conversation level or lower, with one louder effect — a scream, a crash, a whisper — every minute or so. Constant loud sound just becomes noise, and guests stop reacting. For pure atmosphere tricks beyond this room, like silhouettes, webs, and light color, see our diy scary halloween decorations guide.
Caution: if you use a strobe light, warn guests at the entry and offer a way to skip that room. The Epilepsy Foundation notes that flashing lights can trigger seizures in people with photosensitive epilepsy — about 3 percent of people with epilepsy — and many do not know they have it until a seizure happens.
Exit Scene: Let Guests Land Softly
The exit is a scene too, and it is the one that decides what guests say on the sidewalk. Raise the light level gradually instead of throwing guests from darkness into a bright kitchen. A string of warm lights along the last few steps works well and doubles as a safety light for the path.
End at a small reward: a candy bowl on a draped table, a photo spot with your arch sign or a foam tombstone, or both. Guests take photos, tag the house, and tell the neighbors — which is how a home haunt grows an audience for next year without you printing a single flyer.
Keep the exit route physically separate from the entry queue if you can. Groups leaving should never have to push back through groups waiting to enter, especially in the dark.
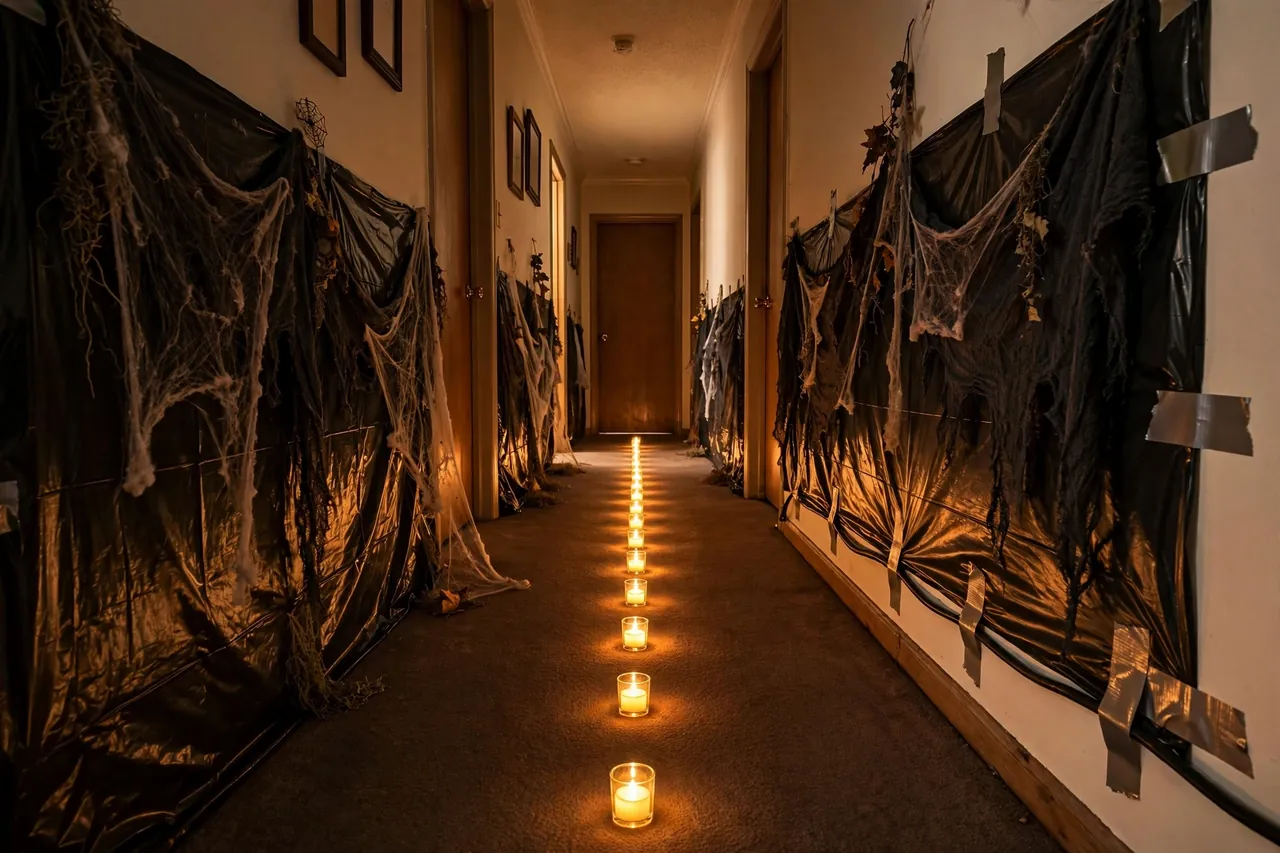
Safety Rules That Keep the Haunt Fun
A home haunt puts fabric, paper, foam, and excited guests in a dark space together. That mix is safe when you respect a few non-negotiable rules, and most of them come straight from fire-safety guidance.
- Keep exits and the path clear. The National Fire Protection Association (NFPA) reminds decorators to keep exits clear of decorations so escape routes stay open. In a haunt, that means nothing stored in the walking path, ever.
- Use battery flames only. NFPA estimates that decorations started an annual average of 835 home structure fires between 2020 and 2024, and in 47 percent of them the decoration was too close to a heat source. Every candle in this guide is battery-operated for exactly that reason, and dried materials like cornstalks and crepe paper should stay far from bulbs and heaters.
- Mind the cords. Run extension cords along walls, tape them flat where they cross any floor, and never string cords across the guest path at ankle height. Use one power strip per scene instead of chaining strips together.
- Treat dry ice like a chemical, not a decoration. Dry ice turns to carbon dioxide gas at about −109°F (−78°C). Per OSHA’s dry ice safety guidance, never handle it with bare hands, use insulated gloves and eye protection, keep the room ventilated, and never store it in a sealed, airtight container, because the gas pressure can burst it. A ventilated fog machine made for home use is the safer choice for most home haunts.
- Brief your actors. No grabbing guests, no blocking the path, and a plain-language stop word that ends the scene instantly if a guest is panicking, hurt, or lost. Station one adult outside the haunt who can turn the house lights on fast.
Test Night: Walk It Before Your Guests Do
Two nights before the event, run the full route exactly as a guest will, phones away, at haunt lighting levels. You will find problems no daylight check catches.
- Walk the route slowly and note every spot where you cannot see your feet. Add a tea light or glow marker there.
- Walk it again at a scared guest’s pace — faster, looking backward over your shoulder. Fix anything you bump into.
- Time the walk. Two to four minutes is the sweet spot for a home haunt; shorter feels rushed, longer needs a second scare moment.
- Stand in each actor spot for five full minutes. If it is hot, cramped, or has no exit, move it now, not on the night.
- Check every battery and swap the weak ones. Set timers or smart plugs for your scene lights — the scheduling ideas in our light automation guide can switch the whole haunt on at dusk without you touching a switch.
- Do one full run with a friend who has never seen it, and watch where they hesitate. Hesitation points are either your best scare or a confusing flaw — you will know which by their face.
Disclaimer: This guide is for a small, supervised home attraction for invited guests. Homes, layouts, and local rules vary, and some neighborhoods or insurers treat ticketed or public attractions differently. Check local fire and event rules before charging admission or opening to the general public, and keep a responsible adult in charge of safety at all times.
Related Guides
- Do It Yourself Halloween Props — standalone tombstones, ghosts, and spiders you can place anywhere.
- DIY Scary Halloween Decorations — the scary look itself: lighting, webs, silhouettes, and quick ambience builds.
- How to Make an Animatronic — add one moving figure to next year’s scare room.
- Spooky Halloween Yard Ideas — full spooky scenes and themes for the yard your guests cross first.
- Do It Yourself Halloween Yard Decorations — hands-on outdoor projects with steps and materials.
- Battery Candles — flameless candle picks and styling ideas for scenes like the entry arch.
Frequently Asked Questions
Where can I find cheap or free decorations?
Start with your own storage: old sheets, jars, boxes, and worn clothes become ghosts, specimens, and draped figures for free. Thrift stores are the next best source for frames, dolls, and fabric. Dollar stores fill gaps like plastic spiders and tea lights. Build the scenes in this guide and you may not need much else.
What are some easy and effective DIY scare tactics?
Darkness, timing, and misdirection beat expensive props. Let guests look down at glowing jars while a hanging ghost brushes them from above. Keep sound low, then land one loud effect. Hide your actor where the big prop draws every eye. The scare works because the guest’s attention was somewhere else for two seconds.
How do I create a realistic haunted house atmosphere?
Think in layers: a story at the entry, darkness and texture in the hallway, then light, sound, and your best props together in one room. Realism comes from consistency — one theme, one color palette of light, and no bright white light anywhere on the route. Small details, like crooked portraits, sell the illusion.
What are some good themes for a budget haunted house?
A mad scientist’s lab is the cheapest strong theme because jars, bottles, and colored water do most of the work. A haunted nursery uses dolls and old toys. A ghost ship or haunted hallway needs only sheeting, sheet ghosts, and blue-green light. Pick the theme your storage boxes already support.
What are some safety considerations for a haunted house?
Keep the walking path and all exits completely clear, use battery-operated candles instead of real flames, and keep fabric and paper props away from bulbs and heaters. Tape down cords, warn guests about strobe lights and fog, brief actors never to grab anyone, and station one adult outside the route with control of the house lights.
How can I make my haunted house scarier for older kids and adults?
Adults scare through anticipation, not gore. Lengthen the dark hallway, add a quiet stretch where nothing happens, then land one well-timed scare. Realistic props help, but sound design helps more: near-silence makes every creak loud. Offer a no-scare early exit, though — guests who trust you bring braver friends next year.
Your next step is simple: sketch the four zones on paper tonight, and build the entry arch this weekend. A home haunt is just four honest scenes in a row — and now you have the props for every one of them.