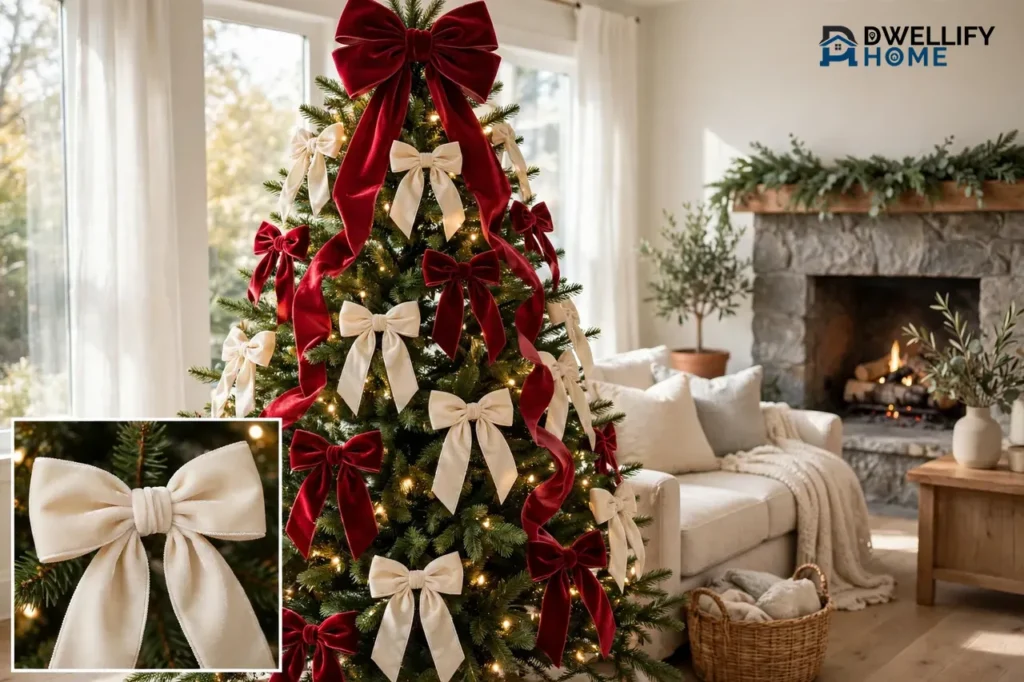
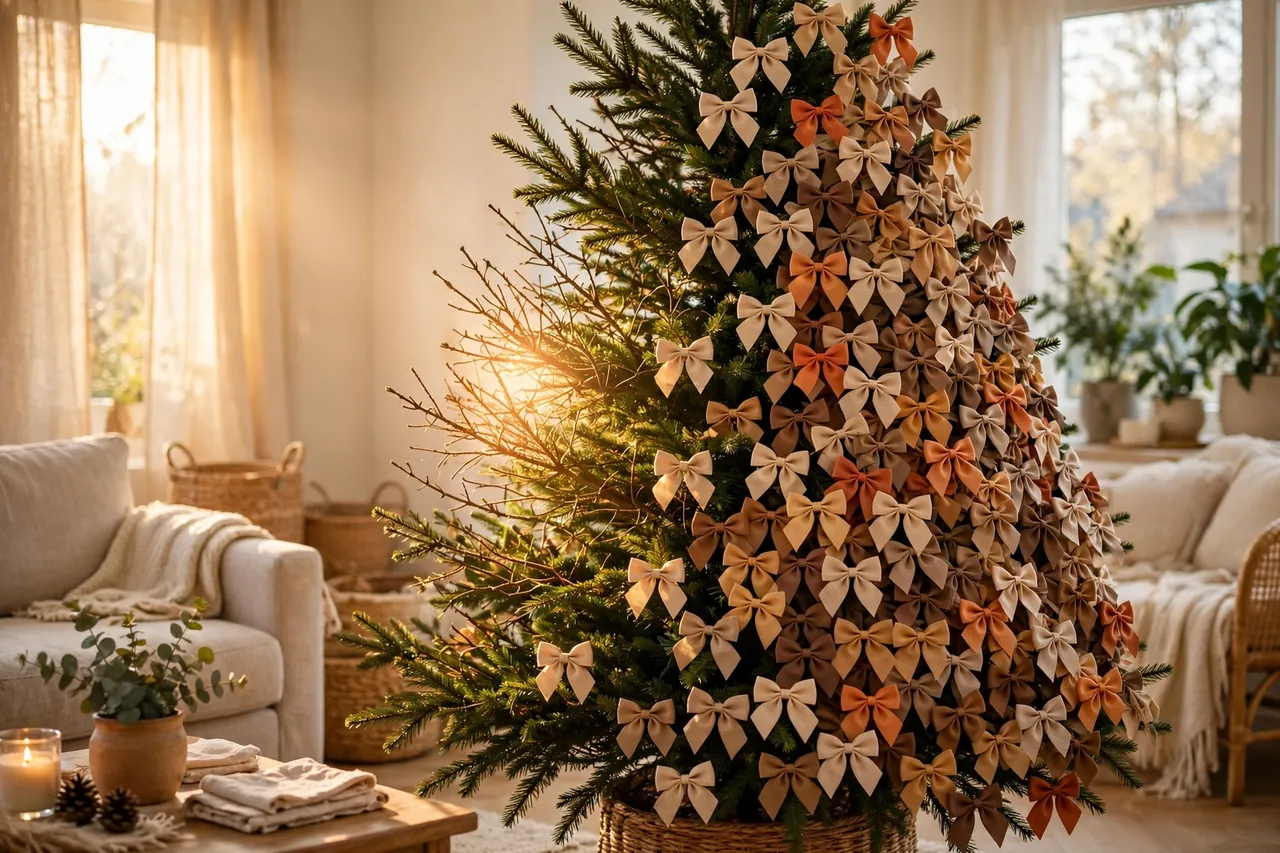
Yes, you can decorate a Christmas tree with bows only, and it can look truly stunning. A Christmas tree with bows only skips baubles, tinsel, and fussy ornaments, and it lets soft ribbon, warm light, and green branches do all the talking. The result feels calm, elegant, and intentional, like a beautifully wrapped gift standing in the corner of your living room.
The secret is not the number of bows you buy. It is the mix of sizes, the depth of placement, and a little patience when you fluff each bow. Get those three things right, and a bows-only tree looks full and expensive. Get them wrong, and the same tree can look bare on one side and crowded on the other. This guide walks you through every step, from picking ribbon to storing your bows in January, so you can style yours with confidence.
Why a Bows-Only Tree Works So Well
Most Christmas trees fight for attention. Shiny baubles catch the light, tinsel flashes from every branch, and figurines compete for the best spot. A bows-only tree removes that noise. Your eye rests on texture instead: soft velvet, smooth satin, and rough burlap against deep green needles.
That simplicity also makes decorating faster and easier. You do not need to hunt for matching ornament sets or untangle last year’s tinsel. You make or buy one style of decoration, repeat it with care, and the whole tree pulls together. Families with small kids love this style too, because soft bows do not shatter when little hands reach for them.
Bows also suit almost any home. A red velvet bow tree looks classic beside a fireplace. Cream linen bows feel calm and modern in a bright apartment. Black and gold bows turn a slim tree into a bold statement. The tree stays the same; the ribbon sets the mood.
Pick the Right Ribbon First
Ribbon choice decides everything. A beautiful bow starts with the right material, and the wrong ribbon will fight you from the first loop. Look for wired-edge ribbon first, because the thin wire inside each edge holds the shape of your loops and tails all season long. Ribbon maker RibbonOEM explains that wired ribbon holds loops, tails, and shapes far better than unwired ribbon, which is why decorators reach for it when a bow must keep its form, and you can read their full wired-ribbon guide for the details behind that advice.
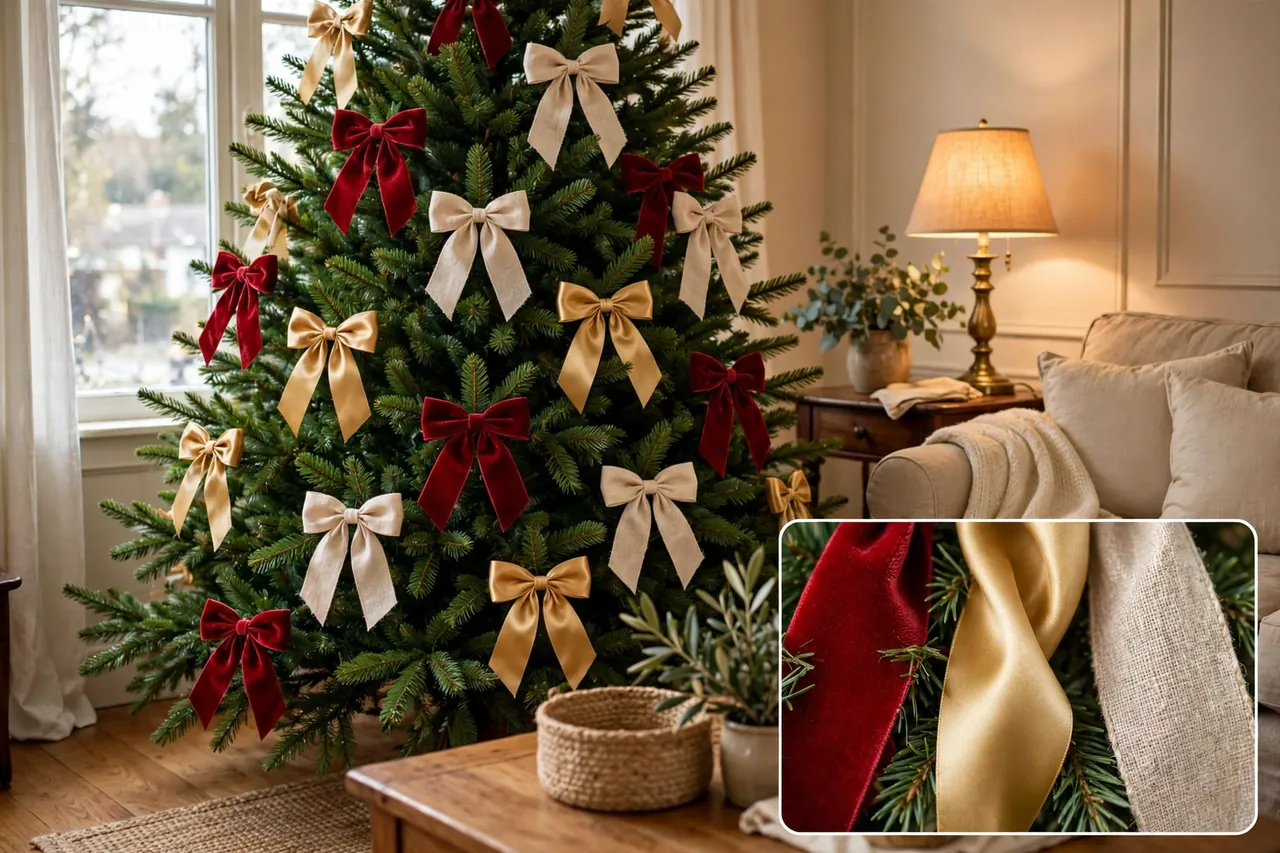
Velvet Bows Feel Rich and Soft
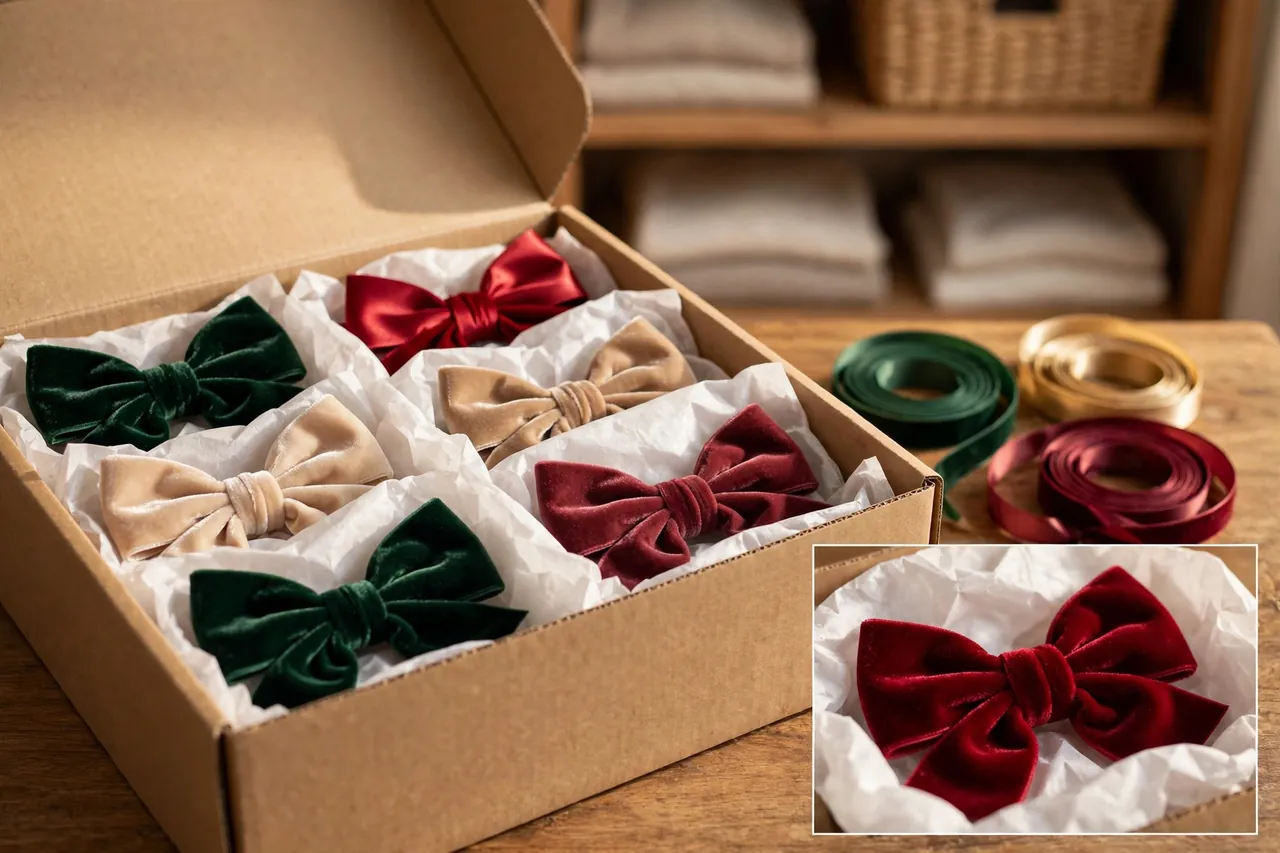
Velvet is the top pick for a bows-only tree, and for good reason. It absorbs light instead of throwing it back, so the color reads deep and warm rather than loud. A cranberry velvet bow on a green tree looks like something from a high-end shop window. Velvet also hides small flaws, so beginners get forgiving results.
Choose velvet when you want a cozy, classic, or luxurious tree. It pairs beautifully with warm white lights and a simple tree skirt. One warning: velvet shows dust and pet hair, so give bows a quick shake before you hang them.
Satin Bows Add a Gentle Shine
Satin brings a soft glow to the tree without the hard sparkle of glass ornaments. It catches light as people walk past, so the tree seems to shimmer gently. Satin works well for elegant rooms, weddings-season trees, and anyone who loves a polished look.
Satin slips more easily than velvet, so tie the center knot firmly and use floral wire to lock it. If your satin bows keep sliding open, switch to a wired satin ribbon, which holds its shape much better.
Wired-Edge Ribbon Holds Its Shape
Here is the rule most beginners miss: the wire matters more than the fabric. A wired-edge ribbon, in velvet, satin, or linen, keeps loops open and tails curved for weeks. An unwired ribbon often collapses against the branches within days and starts to look tired.
When you shop, pinch the edge of the ribbon between your fingers. If you feel a thin, bendable wire inside, you have the right kind. Buy wired ribbon for every bow on the tree, even the small ones, because small unwired bows flatten fastest.
Burlap and Linen Bows Feel Rustic and Calm
Burlap and linen bring a natural, farmhouse feel to a bows-only tree. Their rough texture stands out against smooth pine needles, and their neutral tones let the green of the tree shine. Burlap suits cabins, rustic living rooms, and anyone who prefers a quiet, earthy Christmas.
Burlap frays at the cut ends, so seal the tails with a quick diagonal cut and a dab of clear-drying craft glue if you want a tidy finish. Linen frays less and drapes more softly, so it makes a good middle ground between rustic and refined.
Choose Sizes and Colors That Flatter Your Tree
Scale makes or breaks a bows-only tree. Bows that are too small disappear into the branches, and bows that are too big swallow a slim tree whole. Match the bow to the tree, and keep the color plan simple.
For ribbon width, use this easy guide: a tabletop tree under 4 feet suits 1 to 1.5-inch ribbon, a standard 6 to 7.5-foot tree suits 2.5-inch ribbon, and a tall tree over 8 feet can carry 4-inch ribbon with confidence. For bow size, many decorators use roughly 1 inch of bow width per foot of tree height as a starting point, so a 7-foot tree suits bows around 7 to 9 inches wide.
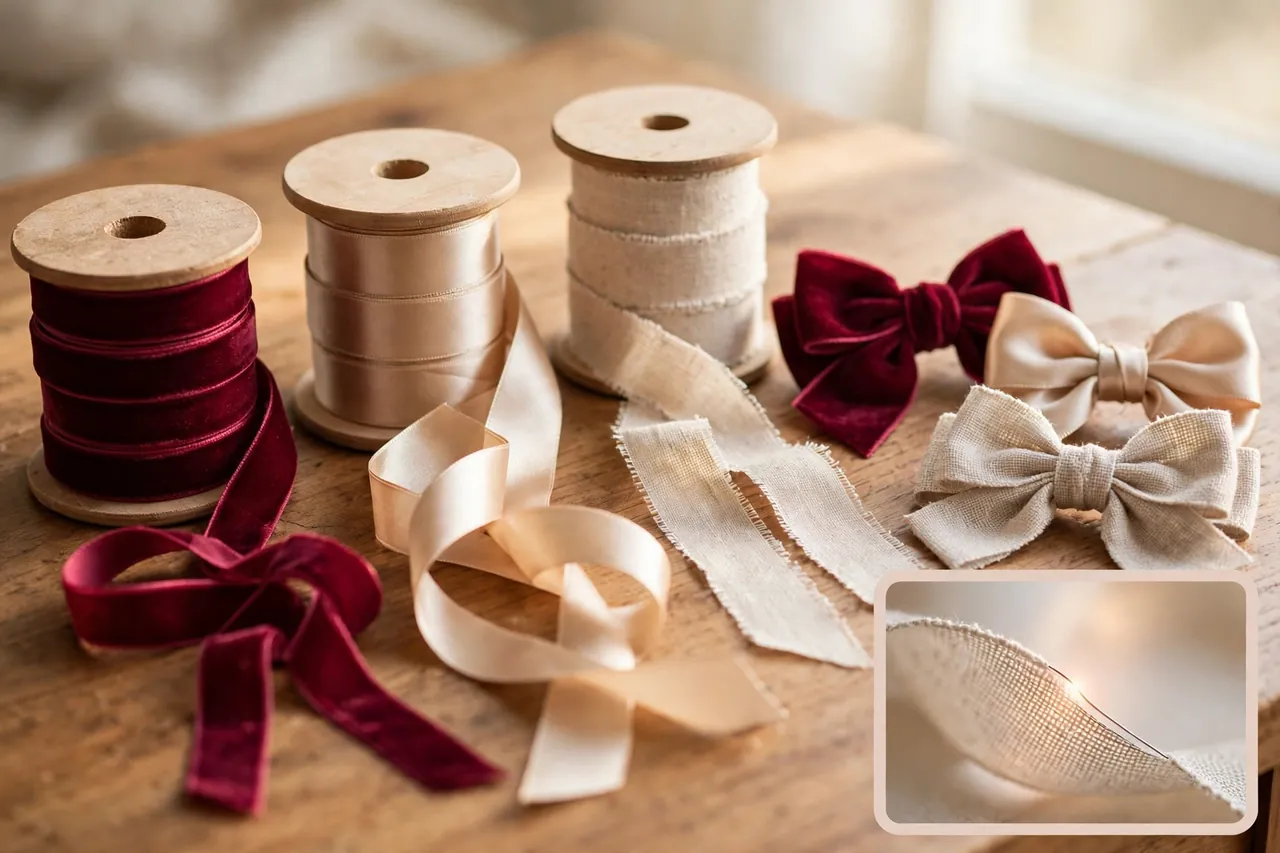
Color works best when you limit yourself. Pick one main color and, at most, one supporting color or metallic accent. Classic red and gold never fails. Cream and champagne feels soft and modern. Navy and silver looks crisp and cool. Forest green bows on a green tree sound odd, but they work when you add cream or gold as a second color, because the contrast keeps the bows visible.
Test your colors before you commit. Tie three bows, hang them on the tree, and step back to the doorway. If you can spot each bow clearly from across the room, your colors work. If they melt into the branches, add a lighter or brighter shade.
How Many Bows Does Your Tree Need?
This is the question every bows-only decorator asks first, and the honest answer is that it depends on how full you want the tree to look. Bow guides, including the bow ideas guide from Glow Dream Decor, suggest a full look needs roughly 25 to 40 bows on a six-foot tree, while a lighter look needs about 15 to 20, and those numbers give you a solid starting point.
Use the table below to plan your bow count before you cut any ribbon. Count first, then make a few extra bows for last-minute gaps, because you will always find one bare spot after you step back.
How many bows by tree size
| Tree height | Light coverage | Full coverage |
|---|---|---|
| Tabletop, under 4 feet | 8 to 12 bows | 12 to 18 bows |
| Small, 4 to 5 feet | 12 to 18 bows | 18 to 24 bows |
| Standard, 6 to 7.5 feet | 15 to 20 bows | 25 to 40 bows |
| Tall, 8 to 9 feet | 25 to 35 bows | 40 to 60 bows |
Remember that ribbon length adds up fast. A good rule of thumb is about 30 inches of ribbon per medium bow, so a full 6-foot tree can use several rolls. Buy one extra roll beyond your estimate. Running out of matching ribbon halfway through decorating is the fastest way to ruin a calm afternoon.
How to Tie a Full Bow That Holds Its Shape
You do not need fancy tools or craft skills to tie a good tree bow. You need wired ribbon, sharp scissors, floral wire, and a little practice. Make all your bows before you hang a single one, so you can check that they match.
- Cut your ribbon to length. For a medium bow, cut about 30 inches. For a large topper bow, cut 36 to 48 inches.
- Form two loops of equal size, one on each side of the center, and pinch the middle firmly between your thumb and fingers.
- Wrap floral wire tightly around the pinched center several times, then twist it at the back until it feels rock solid.
- Cut two tails, fold each tail in half lengthwise, and snip at an angle from the folded edge to create a neat V shape.
- Attach the tails to the back of the bow with the same wire, then fluff each loop by pushing gently outward from the inside.
- Shape the wired edges into soft curves, not stiff points, and let the tails fall naturally on each side.
- Hold the bow at arm’s length. If one loop looks larger than the other, tug it gently until both sides match.
Make three practice bows first and hang them on the tree. Your fourth bow will look far better than your first, and that quick practice round saves you from retying a whole tree later.
Place Your Bows Like a Pro
Placement turns a pile of pretty bows into a styled tree. Work from the top down, and place the biggest bows first. Stand back often, because a tree always looks different from the doorway than it does from two feet away.
Start With a Statement Topper Bow
Every bows-only tree needs a topper, and a large bow makes the perfect one. Tie your biggest, fullest bow with long flowing tails, and wire it firmly to the top branch so it sits upright. Let the tails cascade down the top few branches rather than sticking straight out, because that soft fall connects the topper to the rest of the tree.
If your tree already has a star or angel you love, you can still use a bow topper below it. Wire a medium bow just under the topper piece, and let its tails frame the top of the tree. The two pieces share the crown without competing.
Place Bows on Branch Tips for Sparkle
Branch tips are the first place most people hang bows, and they deserve some of them. A bow on a branch tip catches the eye right away and outlines the shape of the tree. Space tip bows evenly around the tree, and spiral upward as you go so no side ends up crowded.
Do not place every bow on a tip, though. A tree with bows only on the tips looks flat, like a picture pasted on a wall. Tips give you the outline; the next layer gives you the depth.
Layer Bows Deep Inside for Depth
Depth is the secret that separates a good bows-only tree from a great one. Tuck about one-third of your bows deeper into the branches, closer to the trunk, where they peek out between layers of needles. These inner bows create shadows and richness, and they make the tree look full even from the side.
Cluster bows in odd groups of three or five at different depths when a spot looks thin. Odd clusters feel natural to the eye, while even pairs can look stiff and staged. Mix sizes inside each cluster: one large bow, one medium bow, and one small bow reads as intentional rather than random.
Tying vs Clipping: Which Holds Better?
You can attach bows to a tree in two main ways, and each has a place. Wiring a bow to a branch holds best for the whole season. Clipping works well for quick changes and for trees you restyle often.
How the two methods compare
| Method | Best for | Watch out for |
|---|---|---|
| Floral wire | Heavy bows, tall trees, homes with kids or pets | Takes longer to remove in January |
| Ornament hooks or clips | Light bows, quick decorating, frequent restyling | Can slip off smooth branches |
| Pipe cleaners | Beginners, tabletop trees, easy takedown | Less tidy look up close |
For a bows-only tree, wire wins for most bows. Wrap the wire around the sturdy inner part of the branch, not the soft tip, and twist it two or three times behind the branch. Then fluff the loops forward to hide the wire completely. For heavy topper bows, wire them near the trunk where the branches hold the most weight.
Clips earn their place on the lowest branches, where kids and pets brush past. A clipped bow pops off harmlessly instead of pulling a branch down, and you can rehang it in seconds. Keep a small bag of spare clips and wires beside the tree during the first week, because you will adjust a few bows as the tree settles.
Mix Textures Without Making a Mess
A bows-only tree lives or dies by texture, because texture replaces the variety that ornaments usually provide. The trick is to mix textures with a plan, not by accident.
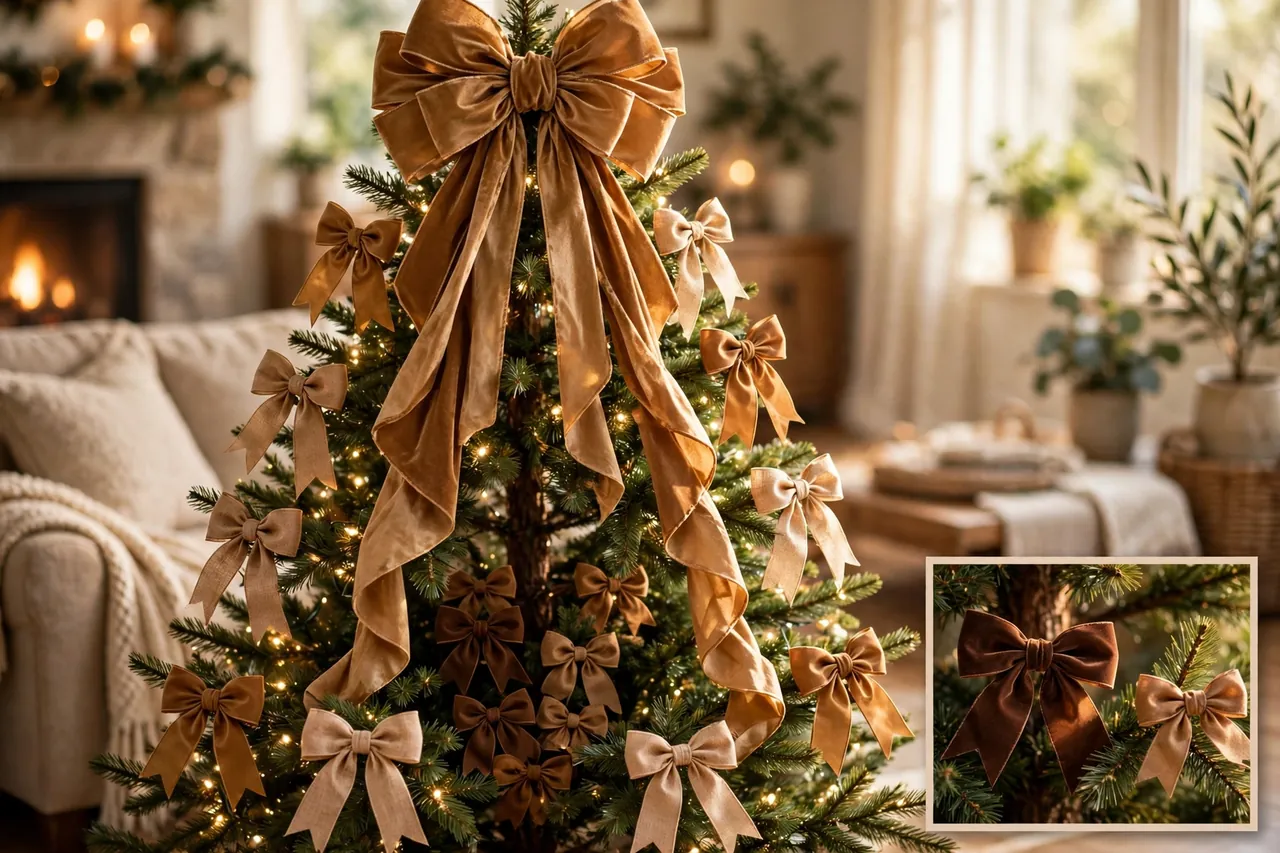
Pick one hero texture and let it lead. If velvet is your hero, make about two-thirds of your bows from velvet. Then add a supporting texture, like satin or linen, for the remaining third. That ratio keeps the tree rich without turning it into a fabric sample board.
Keep your color plan steady while you mix textures. A red velvet bow and a red satin bow share a color but catch light differently, so the tree gains depth without gaining clutter. Mixing three textures in three different colors, on the other hand, usually looks busy, especially on a smaller tree.
Try one of these proven combinations: velvet with satin for a classic elegant tree, burlap with linen for a rustic tree, or velvet with a thin gold wired ribbon accent for a festive tree. Make a test cluster of three bows in your chosen mix, hang it on the tree, and check it in daylight and in lamplight before you make the full set.
Mistakes That Make a Bows-Only Tree Look Bare or Busy
Most bows-only trees fail for the same few reasons, and every one of them is easy to fix once you spot it. Walk around your tree slowly and check for these problems before you call it done.
- Too few bows: bare patches show when you skip the inner branches. Add deep-layer bows first, not more tip bows.
- One bow size everywhere: same-size bows flatten the tree. Mix large, medium, and small bows for rhythm.
- Too many colors: three or more strong colors fight each other. Stick to one main color and one accent.
- Unwired ribbon: floppy bows collapse within days. Switch to wired-edge ribbon and refluff weekly.
- All bows on the front: the back and sides look empty from across the room. Decorate all the way around.
- Tails all the same length: identical tails look stiff. Vary tail lengths and let some fall longer.
- Skipped fluffing: flat, unfluffed bows look store-bought in the worst way. Shape every loop before you hang it.
If your tree looks bare, resist the urge to add ornaments. Add five more bows in the thin spots, step back, and look again. If it looks busy, remove the smallest bows first, because small extras cause most of the clutter. A bows-only tree rewards editing, not adding.
Lights, Tree Skirt, and the Rest of the Room
Bows only means no ornaments, but it does not mean a bare tree. Lights are your best friend here, because they warm the ribbon and outline the branches. Warm white lights suit velvet and burlap beautifully, while cool white lights suit silver, navy, and modern color plans. Wrap lights evenly before you hang any bows, so you can see the tree’s true shape as you place each one.
Keep the tree skirt simple. A plain linen, faux fur, or woven skirt lets the bows shine, while a loud patterned skirt competes with them. Match the skirt to your bow color in a softer shade: cream with red bows, champagne with gold bows, or natural linen with burlap bows.
Let the room echo the tree without copying it exactly. A matching bow on a wreath, a ribbon tied around a garland, or a simple bow on each dining chair pulls the whole room together. For whole-home ideas, see our guide to homes decorated for Christmas and how each room supports the tree.
A quick safety note belongs here too. Keep your tree away from fireplaces, heaters, and candles, and check light strings for frayed wires before you hang them. The Connecticut state fire safety page on holiday and Christmas tree fire safety gives the same advice clearly: place trees away from heat sources, keep the stand filled with water for a live tree, and never link more light strands than the directions allow.
Store Your Bows So They Last for Years
Good wired ribbon bows can last many seasons, but only if you store them well. The worst storage mistake is tossing bows into a bag, where loops crush and wires bend into strange shapes. Treat each bow like the small decoration it is.
Start by removing bows gently. Untwist wires instead of yanking them, and keep the wire attached to each bow so you can rehang it next year. Shake off dust, refluff any flat loops, and fix bent wire edges with your fingers before packing.
- Place each bow in its own tissue paper nest inside a sturdy box, with loops facing up.
- Separate layers with tissue paper so wires do not snag neighboring bows.
- Label the box with the color, size, and tree it belongs to, so next December starts fast.
- Store the box in a dry, cool spot, away from attics that bake in summer heat.
- Keep a few spare lengths of matching ribbon in the same box for quick repairs.
For the full storage system, our guide to Christmas decor boxes shows how to pack every decoration safely, and the same box-and-label method works perfectly for bows. When you unpack next year, refluff each bow, check the wires, and your tree will look fresh with almost no new shopping.
Related Guides
If you love the ribbon look, these guides take the idea further. Learn how to make a Christmas ribbon tree when you want ribbon to shape the whole tree, not just decorate it. Try purple Christmas tree decorations for a bold color plan that still works with bows. For smaller spaces, miniature Christmas tree decorations show how to scale every idea down without losing charm.
Frequently Asked Questions
How many bows do I need for a Christmas tree?
For a six-foot tree, plan on 25 to 40 bows for a full look and 15 to 20 for a lighter one. Smaller trees need fewer bows, and tall trees need more. Start with the lighter number, hang your bows, step back, and add more only where you see bare patches.
How do you attach bows to a Christmas tree so they stay?
Use green floral wire twisted around the sturdy inner part of a branch, not the soft tip. Wrap the wire two or three times, twist it tight behind the branch, and fluff the loops forward to hide it. For heavy bows, attach them near the trunk where branches hold the most weight.
How big should a Christmas tree bow be?
A useful starting point is about 1 inch of bow width per foot of tree height, so a 7-foot tree suits bows around 7 to 9 inches wide. Match ribbon width to the tree too: 1 to 1.5 inches for tabletop trees, 2.5 inches for standard trees, and 4 inches for tall trees.
How many loops should a Christmas tree bow have?
Most tree bows look best with 6 to 12 loops in total, and beginners should start with 6 for symmetry and ease. Fewer loops give a simple, clean bow, while more loops give a fuller, more formal bow. Keep the loop count consistent across the tree so the bows look like a set.
What’s the easiest bow style for beginners?
The basic wired ribbon bow is the easiest place to start. Cut your ribbon, form two equal loops, pinch the center, and lock it with floral wire. Then fluff the loops and shape the wired edges. Practice three bows first, and your bows will look neat and full very quickly.
A Tree That Feels Like a Gift
A Christmas tree with bows only proves that less can feel like more. Pick wired ribbon you love, mix two textures at most, size your bows to your tree, and layer them deep as well as wide. Then step back, fluff one last loop, and enjoy the calm, elegant tree you made. Start with three practice bows this weekend, and your tree will thank you all season long.