To decorate a Christmas tree professionally with ribbon, put your lights on first, then add wired ribbon in even loops or cascades before you hang a single ornament. Pick a ribbon 2.5 to 4 inches wide for a standard tree, buy about 9 to 10 feet of ribbon per foot of tree height, and tuck each loop deep into the branches so the ribbon looks like it grew there. That order, lights, ribbon, ornaments, topper, is the whole secret behind the polished trees you see in stores and magazines.
Ribbon does the job ornaments alone cannot do. It pulls your colors together, guides the eye around the tree, and fills thin spots without adding clutter. Once you learn the three pro methods in this guide, you can dress any real tree, tall or small, flocked or green, and make it look like a designer styled it.
Start With the Pro Order: Lights, Ribbon, Ornaments, Topper
Pros never hang ornaments first. They build the tree in layers, and each layer makes the next one easier. Lights go on first because you weave them deep into the branches, and ribbon laid over lit branches glows instead of sitting flat. Ornaments come after the ribbon so they can sit in the gaps between loops, not on top of them. The topper goes on last, once you can see the full shape.
Before you touch the ribbon, fluff your tree. Pull each branch tip outward and upward, and open up the inner branches too. A flat, unfluffed tree swallows ribbon, while a full tree gives every loop something to rest on. Step back and look at the tree from across the room before you start, because you want to fix bare patches now, not after the ribbon is up.
Pick the Right Ribbon for Your Tree
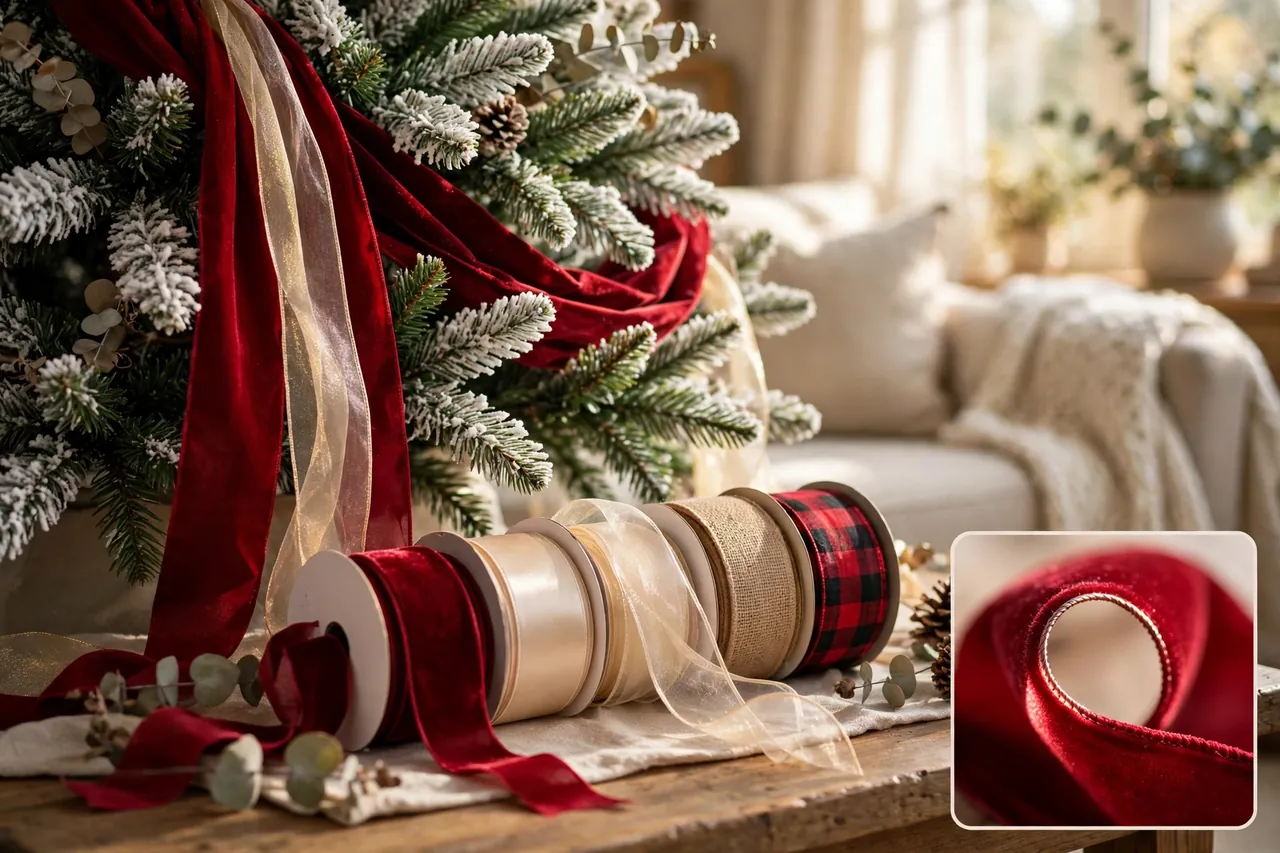
Ribbon choice decides whether your tree looks designer-made or homemade, so shop with a plan, not just a pretty spool. Wired ribbon is the pro standard. Thin wire runs along both edges, so you can bend a loop, puff a fold, or curl a tail, and it stays put all season. Non-wired ribbon drapes softly, which suits a gentle, romantic look, but it collapses on a full tree and needs more pins to hold its shape.
Match the width to your tree. A ribbon that is too wide swallows a small tree, and a ribbon that is too narrow disappears on a big one. Use this simple scale:
- Under 5 feet: 1.5 to 2.5 inches wide
- 5 to 7.5 feet: 2.5 to 4 inches wide
- 7.5 to 10 feet: 4 to 6 inches wide
- Over 10 feet: 5 to 7 inches wide, or two layered ribbons
Then pick a material that fits your theme. Velvet reads rich and cozy, satin reads formal and sleek, organza adds a light shimmer, burlap suits a rustic room, and plaid brings instant farmhouse warmth. If you want depth without buying three spools, layer two ribbons: a wide solid ribbon with a narrower patterned or sheer ribbon laid right down its center. Balsam Hill’s ribbon guide shows this exact pairing on a flocked tree, where a 4-inch velvet ribbon under a 2.5-inch sheer ribbon creates depth and a bit of shimmer, and you can see the same idea in Balsam Hill’s guide to decorating a Christmas tree with ribbon.
How Much Ribbon to Buy
Running out of ribbon halfway down the tree is the most common decorating heartbreak, so buy more than you think you need. Pros use a simple rule: plan on 9 to 10 feet of ribbon per foot of tree height for a full, looped look. A 7-foot tree needs about 63 to 70 feet, which covers three to five cascading pieces or one generous spiral with loops to spare.
Use this table as your shopping guide, and add 25 percent if you plan to layer two ribbons or add big bows:
Table: How much ribbon to buy by tree height
| Tree height | Ribbon width | Length to buy |
|---|---|---|
| 4 feet | 1.5 to 2.5 inches | 35 to 45 feet |
| 6 feet | 2.5 to 3 inches | 55 to 65 feet |
| 7 to 7.5 feet | 3 to 4 inches | 65 to 75 feet |
| 9 feet | 4 inches | 80 to 95 feet |
Buy one extra spool beyond the table if your tree is very full, because thick branches eat up ribbon fast. Leftover ribbon never goes to waste: you can use it for gift wrapping, wreaths, or stair garlands. If you are still choosing the overall look for your tree, read our guide to Christmas tree themes before you shop, so your ribbon color matches a theme you will love all season.

The Three Pro Ribbon Methods
Pros rely on three methods, and each one gives a different personality to the tree. Pick one as your main method and use a second one as an accent, rather than mixing all three at full strength. That restraint is what keeps a tree looking designed instead of busy.
Method 1: Wrap and Tuck Spiral
The wrap and tuck spiral is the classic pro look, and it is the easiest method to learn. Start at the top of the tree, just below where the topper will sit, and anchor the ribbon to a branch with floral wire or a pipe cleaner. Work your way down in a gentle diagonal spiral, tucking the ribbon deep into the branches every 8 to 12 inches and letting a soft loop billow out between each tuck. Keep your loops about the same size, and widen the gap between spirals slightly as you move down, because the tree gets wider toward the bottom.
Start at the back of the tree so your anchor stays hidden, and step back every few turns to check the spacing. When you reach the bottom, cut the ribbon and tuck the end under a low branch, or shape it into a fishtail cut for a finished look. To cut a fishtail, fold the ribbon end in half lengthwise and snip diagonally toward the fold.
Method 2: Waterfall Cascade
The waterfall cascade is the most dramatic method, and it suits tall trees and formal rooms best. Instead of one long spiral, you work with separate lengths of ribbon that pour down from the top like ribbons of water. Anchor a length near the top, shape a large billow, tuck it into an inner branch a foot or so lower, then let the next billow fall and tuck again, all the way down. Repeat around the tree, spacing each cascade evenly.
Use wide ribbon, 4 inches or more, for a cascade, because narrow ribbon looks stringy when it falls in long lengths. The secret to a good cascade is the puff: after each tuck, gently pull the wired edges outward so the ribbon holds a soft, rounded shape instead of lying flat. Balsam Hill’s designers use this same billow-and-tuck motion on their tall trees, tucking the end of each loop into the center of the tree for a full waterfall effect, as shown in Balsam Hill’s ribbon styling guide.
Method 3: Loop and Tuck Cut Pieces
The loop and tuck method uses short, separate pieces instead of one long run, and it gives you the most control. Cut pieces about 18 to 24 inches long, pinch each one in the middle, and twist a short length of floral wire around the pinch to make a bow-like loop with two tails. Tuck the wired center deep into a branch so the loops and tails spill outward. Place the pieces in a loose spiral down the tree, with larger loops near the bottom and smaller ones near the top.
This method wastes almost no ribbon, which makes it perfect for using up leftover spools, and it lets you mix two colors or patterns without committing to a full second spiral. It also forgives mistakes: if one loop looks wrong, you pull out a single piece and redo it, not the whole tree.

Layer Ribbon With Lights and Ornaments
Ribbon looks best when it works as a team with your lights and ornaments, not as a separate layer sitting on top of them. Because you put the lights on first, your ribbon loops catch the glow from inside the branches, which makes the whole tree look lit from within. If a loop looks dark or flat, tuck a small branch tip behind it to push it forward into the light.
Hang ornaments after the ribbon, and follow the pro size order: largest ornaments first, then medium, then smallest. Place big ornaments in the gaps between ribbon loops, not directly on top of a loop, so each element gets its own space. Hang a few ornaments deeper inside the branches too, because depth is what separates a flat tree from a designer tree. Finish by tying short ribbon strips around a few ornament caps in your accent color, which ties the whole scheme together without adding bulk.
Flocked trees deserve one extra caution. Flocking sheds a little, and rough handling rubs it off, so tuck ribbon gently and avoid dragging it across snowy branches. Our guide to flocked Christmas tree decorating ideas has more tips for keeping that snowy look fresh while you style it.

Color Schemes That Look Expensive
Pros limit a tree to two or three colors, plus metallics, and let the ribbon carry the main color. One strong ribbon color with one quiet partner looks richer than five colors fighting for attention. Here are four schemes that never fail:
- Classic red and gold: deep red velvet ribbon with gold ornaments and warm white lights. See red Christmas tree decorations for the full palette.
- Winter white and silver: silver or champagne sheer ribbon over a green or flocked tree, with white and crystal ornaments.
- Woodland rustic: burlap or plaid ribbon with wooden ornaments, pinecones, and warm lights. Our rustic Christmas tree decorations guide builds this look out in full.
- Cool blue and silver: navy or icy blue satin ribbon with silver ornaments for a calm, elegant room. Try blue Christmas tree decorations for matching ideas.
Test your scheme before you commit. Lay your ribbon spool, three ornaments, and a lit branch sample together on a table and look at them from across the room. If one color shouts and the rest whisper, swap the loud one out. Your tree should feel balanced from the doorway, not just from two feet away.
Pro Finish Secrets
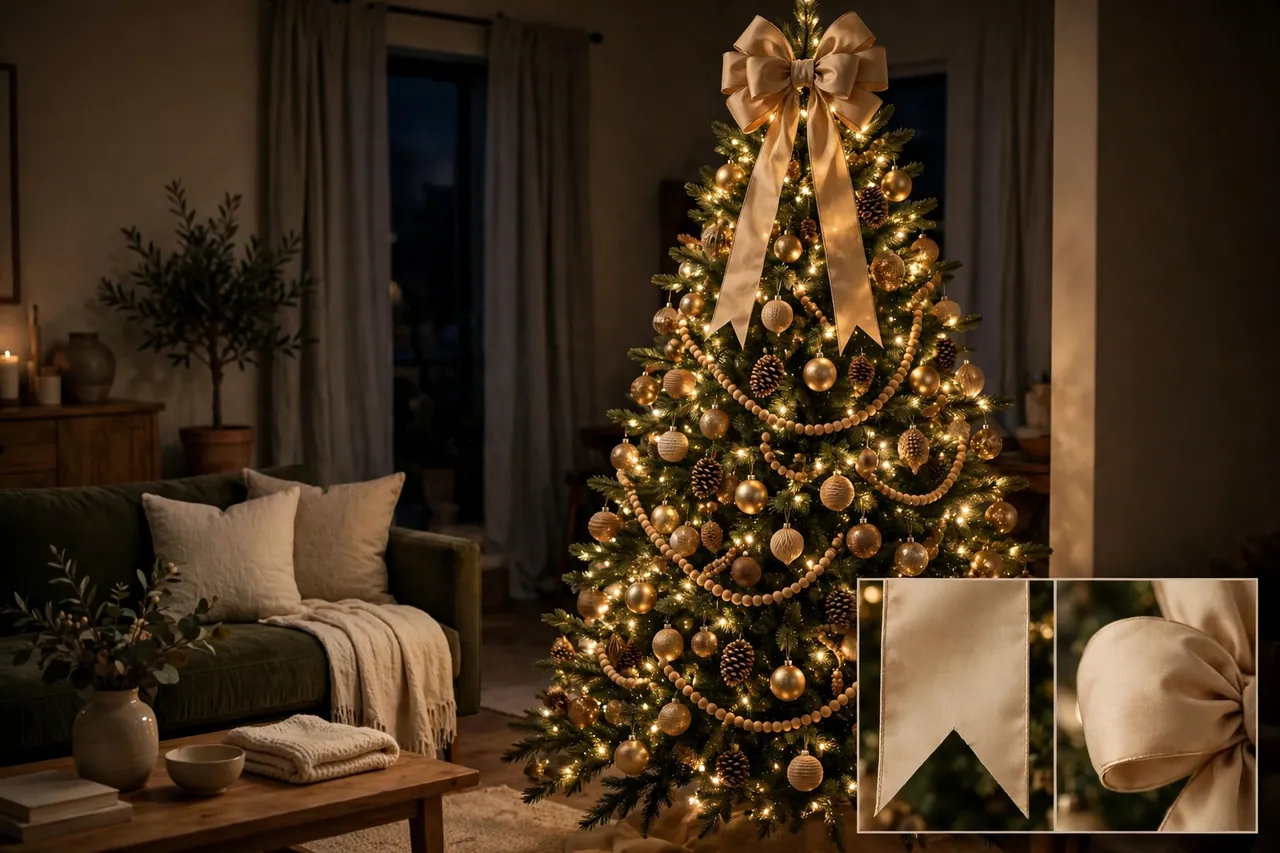
The difference between a good tree and a professional tree lives in the last fifteen minutes. First, build a topper bow from your main ribbon, and place it about a foot below the very tip rather than jammed on top, which looks more natural and gives the top room to breathe. Then walk all the way around the tree and fill the back too, because guests see the back in mirrors and from doorways.
Next, shape every ribbon end. Trim tails into fishtails or soft curls, and never leave a raw, straight cut showing. Fluff each loop one more time, pulling the wired edges open so the ribbon looks full, not pressed flat. Finally, dim the room lights and look at the tree with only its own lights on: any dark hole or crowded patch will jump out at you, and you can fix it in seconds by shifting one loop or moving one ornament.
When the season ends, wind your wired ribbon loosely around a cardboard tube instead of folding it flat, so the wire edges do not crease. Good ribbon lasts for years, and storing it well is part of the pro habit. Our guide to Christmas decor boxes shows how to pack ribbons, ornaments, and lights so next December starts easy.
Fix Common Ribbon Mistakes
Almost every ribbon problem has a fast fix, so do not strip the tree and start over. Find your problem in this table and fix only that spot:
Table: Common ribbon mistakes and their quick fixes
| Mistake | What you see | Quick fix |
|---|---|---|
| Ribbon too tight | Flat lines that cut across the branches | Pull each tuck looser and let a loop billow between tucks |
| Loops too small | Ribbon disappears into the branches | Go wider: use 4-inch ribbon or puff the wired edges open |
| Uneven spacing | Bunched ribbon on one side, bare branches on the other | Step back, mark the bare spots, and shift one loop at a time |
| Non-wired ribbon collapsing | Sagging, limp folds by week two | Switch to wired ribbon, or pin folds with floral wire |
| Too many colors | A busy tree with no resting place for the eye | Remove one ribbon color and let two colors carry the tree |
If your tree still looks off after these fixes, the problem is usually the ribbon-to-ornament balance, not the ribbon itself. Remove three or four ornaments from the busiest area and look again. Less clutter lets the ribbon breathe, and breathing room is what makes a tree look expensive.
A Note on Real Trees
A real tree needs water every day, and a well-watered tree holds its needles, which keeps your ribbon looking fresh all season. Check the stand daily and never let the water level drop below the cut trunk. Keep the tree away from fireplaces, heaters, and candles, and turn the lights off when you leave the house or go to bed. Ribbon is fabric, so keep it clear of open flames and hot bulbs, and choose LED lights, which run cooler than old-style bulbs.
One more pointer, kept short on purpose: if you ever want a tree built entirely out of ribbon, that is a different project from decorating a real tree, and our guide on how to make a Christmas ribbon tree covers it. Everything in this article stays on the real-tree side: ribbon as the finishing touch on branches that grew in a forest, not as the tree itself.
Related Guides
Christmas Tree With Bows Only · Under Christmas Tree Decorations · Nostalgic Christmas Building
Frequently Asked Questions
How Do You Add Ribbon to a Christmas Tree Like a Pro?
Put lights on first, then work from the top down, tucking wired ribbon deep into the branches every 8 to 12 inches and letting soft loops billow between tucks. Step back often to check the spacing, keep your loops even, and hang ornaments only after the ribbon is set.
What’s the Correct Order for Decorating a Christmas Tree?
Fluff the branches, string the lights, add ribbon or garland, hang ornaments from largest to smallest, place the topper, and finish with a skirt or collar at the base. This order keeps each layer visible and stops ornaments from getting buried under ribbon.
How Much Ribbon Do You Need?
Plan on 9 to 10 feet of ribbon per foot of tree height for a full, looped look, so a 7-foot tree needs about 63 to 70 feet. Add 25 percent if you layer two ribbons or add big bows, and buy one extra spool for a very full tree.
How Do You Style a Professional Christmas Tree?
Start with a clear theme and two or three colors, build in layers with lights, ribbon, then ornaments, and place larger pieces low and smaller pieces high. Step back from across the room to check balance, and finish with a topper bow and shaped ribbon tails.
How Do You Secure Ribbon on a Christmas Tree?
Use floral wire, pipe cleaners, or U-shaped floral pins, and hide each fastener under foliage so nothing shows from the front. On a real tree, tuck pins under needle clusters rather than piercing bark, and twist wire around a branch, not through it.
Now you have the full pro method: the right ribbon, the right amount, three techniques to choose from, and the finishing touches that make it look designed. Pick your scheme, buy your ribbon this week while craft stores are fully stocked, and give yourself a relaxed hour with the tree. Your most polished Christmas tree yet is one spiral away.