A driveway security camera works best when you mount it 8 to 10 feet high, angle it down 15 to 30 degrees toward the driver’s side of incoming cars, and pick a model with smart person and vehicle detection, night vision that reaches the end of your driveway, and an IP65 or better weather rating. That one setup catches faces, plates, and real movement while it ignores passing cars, swaying trees, and headlights.
Most driveway cameras fail for a simple reason. The camera is fine, but it sits too high, points at the sky, or cries wolf all day until you turn the alerts off. This guide fixes all three problems: where to mount the camera, how to set motion zones that stop false alerts, what night vision and weather ratings really mean, and how to pick wired or wireless power.
What a Driveway Security Camera Does Differently
A driveway security camera is an outdoor camera placed and set up to watch the path cars and people take from the street to your home. It covers the garage, the parked cars, and the spot where every visitor slows down or stops. That is what makes it different from a porch camera or a doorbell. A doorbell watches one door. A driveway camera watches the whole approach, so you get an early warning before anyone reaches your front door.
It has three jobs. First, it deters car break-ins and vandalism, because a visible camera tells a stranger that someone is watching. Second, it records proof you can actually use, which means a clear face or a readable plate, not a blurry shape in the dark. Third, it tracks everyday traffic, so you can see deliveries, guests, and kids coming home without standing at the window.
Keep one honest limit in mind. A camera records what happens. It does not stop a theft by itself, and one camera cannot see around corners or through walls. Think of it as your driveway’s eyes and memory, not a guard.
Where to Place a Driveway Security Camera
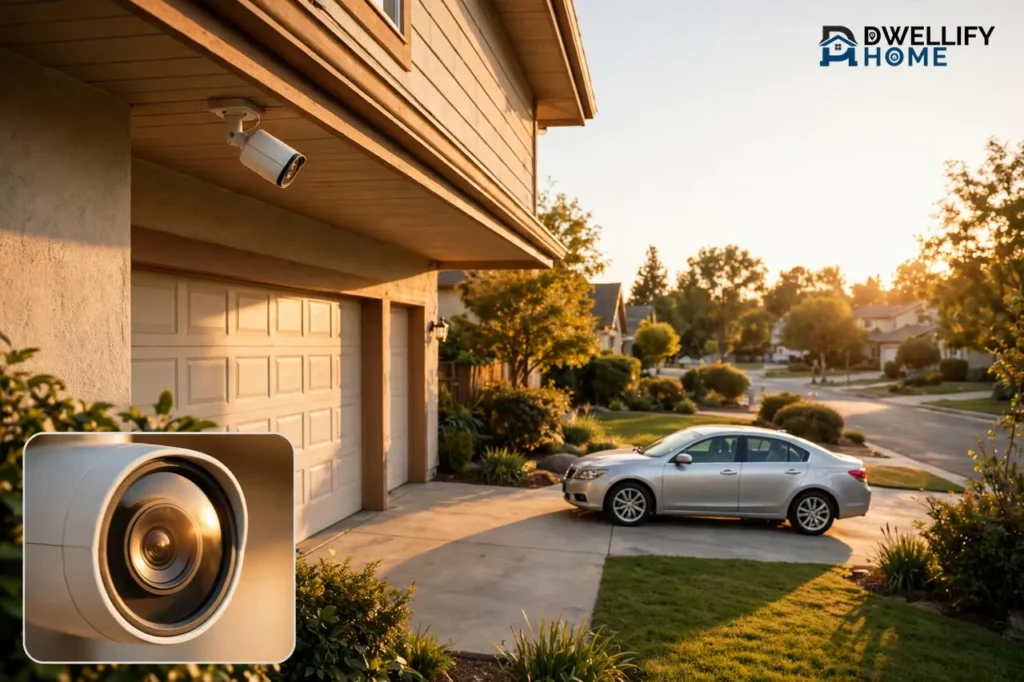
Mount your driveway camera 8 to 10 feet high and angle it down toward the driver’s side of incoming vehicles. That height keeps the camera out of easy reach while it still catches clear faces and plates. Mount it at 15 feet and faces turn into tiny dots. Mount it at 6 feet and anyone can reach up and cover the lens. The 8-to-10-foot range is the sweet spot, and it matches what Reolink recommends in its driveway camera buyer’s guide.
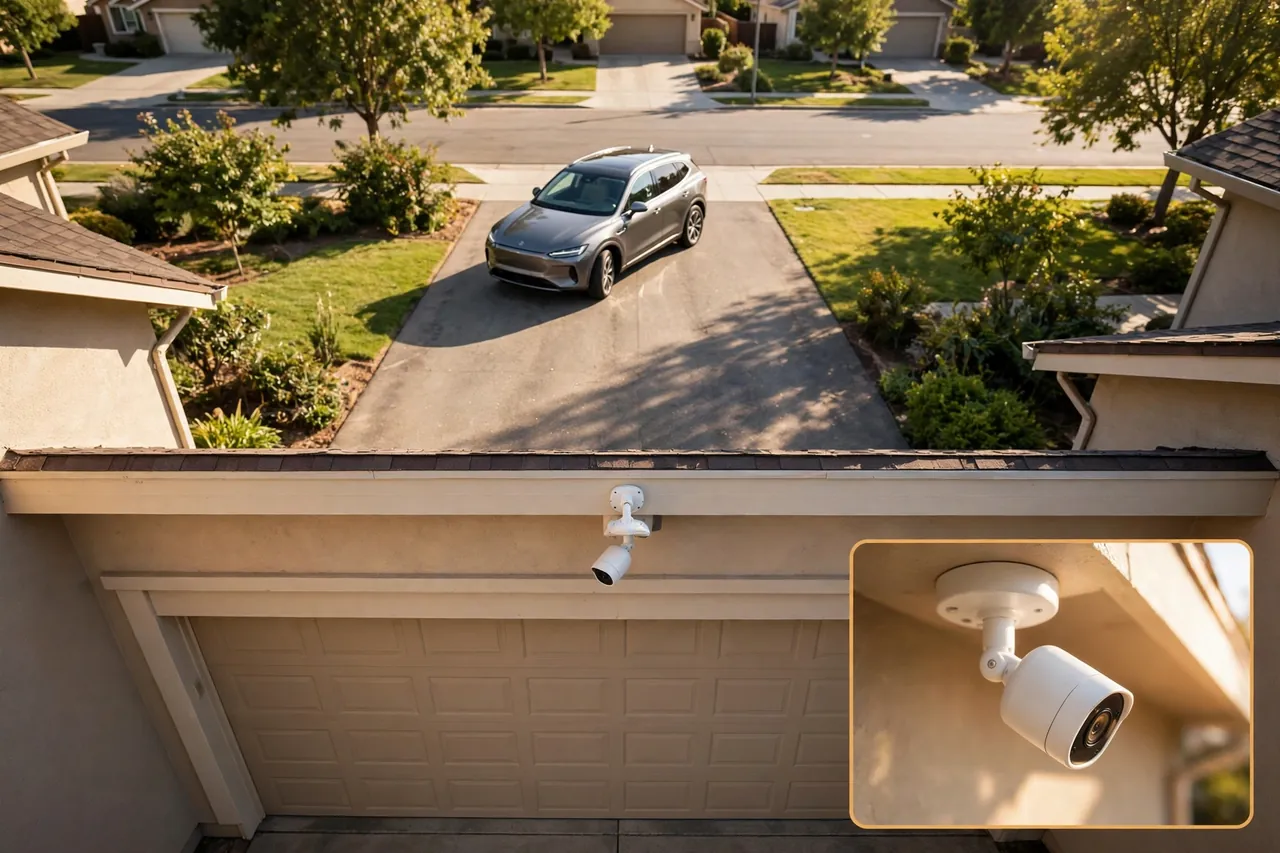
The best mount spot for most homes is the soffit above the garage door. It gives you the right height, a roof overhang that shields the camera from rain, and a straight line of sight down the driveway. If you have no usable soffit, use a wall mount on the garage face at the same height, or a corner mount where the garage meets the house.
Aim the lens so the end of the driveway and the street sit in the upper third of the frame, with the garage door area in the lower third. Point the camera at the driver’s side as cars turn in, because US drivers sit on the left side of the vehicle. Keep a clear line of sight to the plate zone near the street, and aim the camera so plates pass through the frame where cars slow down or stop. Plates read best when the vehicle is moving slowly, not racing past.
One Camera or Two?
One camera covers most short, straight driveways. A wide 110-degree to 130-degree view from above the garage sees the full width of a single-car driveway and the cars parked in it.
Add a second camera when your driveway is long, curved, or wide enough for two cars side by side. The smart pair is a wide overview camera at the house end plus a tighter identification camera near the street end, the gate, or the spot where cars stop. The wide camera shows what happened. The tight camera shows who did it. Two cameras that face each other from opposite ends also kill blind spots, because a parked car can hide a whole person from one angle. As a rule of thumb, a driveway under 30 feet needs one good camera, a 30-to-75-foot driveway needs one strong 4K camera or two if it curves, and a driveway over 75 feet needs two cameras at minimum. If your driveway has a gate, put a camera there: gates are choke points where every car slows down, and slow movement is exactly what a camera needs for a sharp image.
Walk your driveway before you buy anything. Note its shape, its length, where cars stop, where you can run power, and whether your Wi-Fi reaches the far end. Test the signal with your phone at the exact mount spot, because a camera with no signal records nothing.
Motion Zones and False Alerts: How to Stop the Phone From Buzzing All Day
False alerts are the number one reason people give up on driveway cameras. The camera pings you for every passing car, every swaying branch, and every shadow. After a week of that, you mute the app, and the camera becomes useless. The fix is motion zones and smart detection, set up before you finish the install.
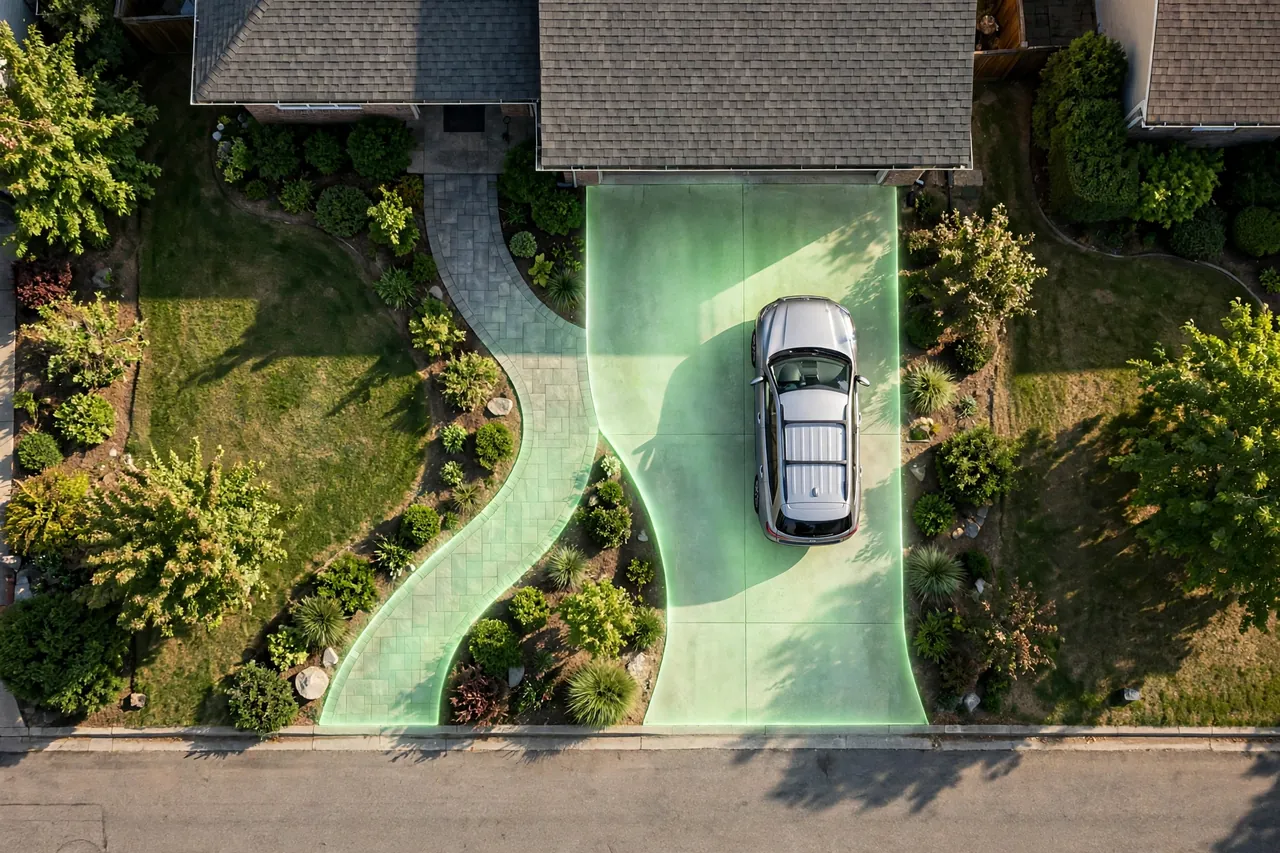
Draw a motion zone that covers only your driveway and the walkway to your door. Cut out the street, the sidewalk, and your neighbor’s yard. Most camera apps let you draw these zones with your finger, and some let you block out parts of the frame entirely. A zone that covers the street will alert you every time a car drives past your house. A zone that covers only your driveway will alert you only when something enters your property.
Turn on person and vehicle detection if your camera offers it. Basic motion detection reacts to any change in pixels, which is why rain, insects, and headlights set it off. Smart detection uses software to tell a person or a car apart from a tree branch or a shadow. It is not perfect, but it cuts false alerts far more than any sensitivity slider can.
Set the sensitivity low at first, then raise it step by step. Start with the lowest setting that still catches a person walking up your driveway, and test it at night too, because headlights and shadows behave very differently after dark. If your camera lets you set a schedule, turn alerts down overnight when you are home and asleep, and keep recording on so you still have the footage.
Watch out for three classic triggers. Trees and bushes inside the frame sway in the wind and fill the zone with movement, so trim them back or shrink the zone. Headlights sweep across the lens at night and wash out the image, so angle the camera slightly sideways instead of straight at the street. And a camera pointed at a busy road sees every passing car, which is why the zone matters more than the sensitivity setting.
Night Vision That Actually Works on a Driveway
Night is when a driveway camera earns its keep, and it is also when most cameras fail. Cars get broken into after dark, so your camera must see clearly when the sun is gone. Good night footage comes from light, placement, and the right type of night vision, not from the biggest infrared range number on the box.
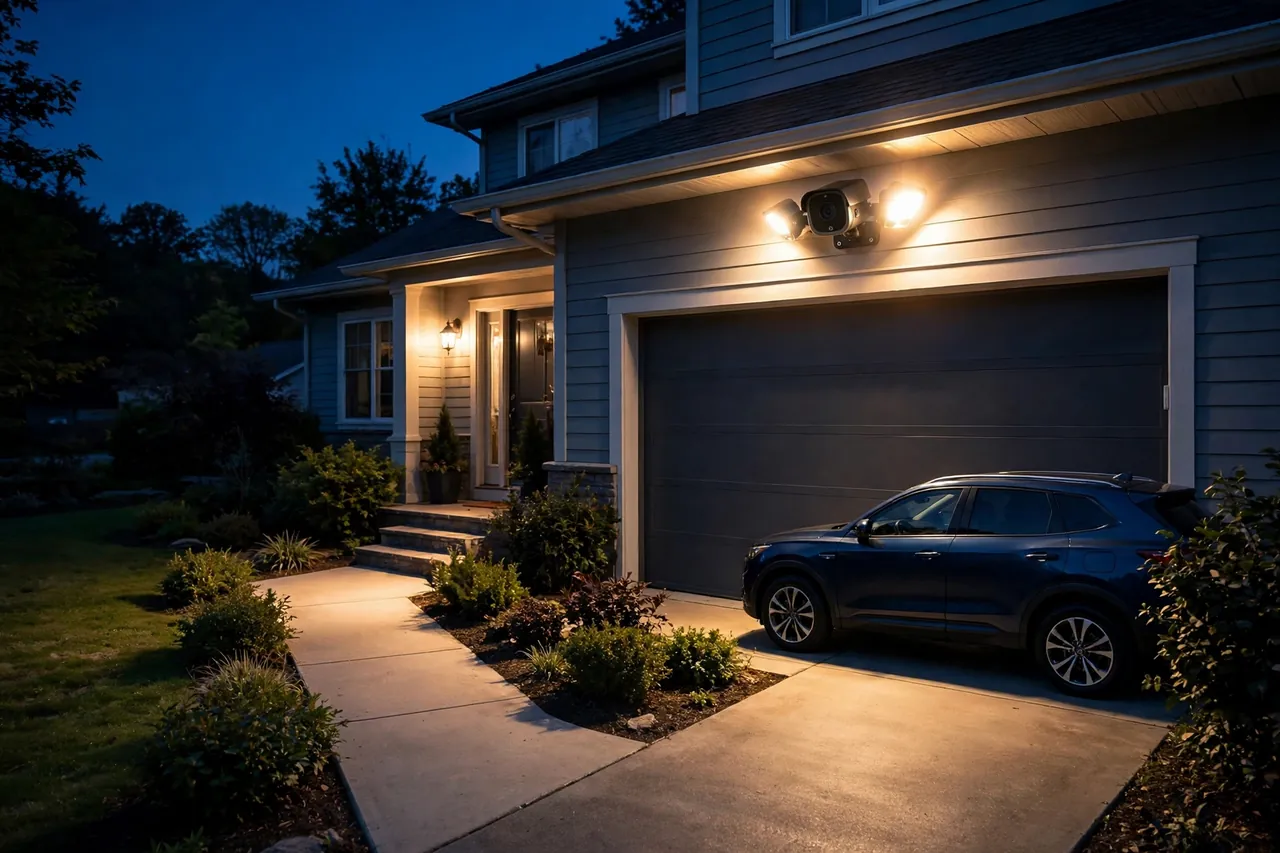
Infrared night vision uses invisible light to show the scene in black and white, even in total darkness. It works well on a driveway, but it has limits. The range on the box is the maximum distance, not the distance where you can read a plate. Vivint’s outdoor camera guide puts typical night vision range at 25 to 40 feet, and Reolink’s driveway guide recommends at least 100 feet of infrared range for long driveways. Match the range to your driveway length, and remember that a face or plate you can identify sits much closer than the edge of the range.
Color night vision keeps the image in color by using a larger sensor and a little ambient light. It shows the color of a car or a jacket, which black-and-white footage cannot. It needs some light to work, though. A porch light, a landscape light, or the camera’s own spotlight gives it that light. On a pitch-dark driveway with no light at all, infrared is the honest choice.
A floodlight camera is the strongest option for an active driveway. When motion starts, the floodlight turns on and lights the whole scene in bright color. It scares off some strangers, and it gives you the clearest footage of all three types. The trade-off is light spilling into your yard and your neighbor’s windows, so aim the light at the driveway, not at the street. Parade’s floodlight camera guide for driveways notes that the maker ADT recommends mounting its floodlight camera 8 to 10 feet high for the best motion detection and viewing angle.
Test your night view the first night after you install the camera. Walk up the driveway yourself and check the footage. Look for glare from your porch light, headlights washing out the frame, and dark corners where a person could hide. Move the camera or add a small light before you call the job done, because a daytime test tells you nothing about the night.
Weather Resistance: What IP Ratings Mean for a Driveway
A driveway camera lives outside all year. It faces rain, snow, summer heat, dust, and the occasional blast from a garden hose. An indoor camera will not survive that, so the weather rating on the box is one of the first things to check.
Look for an IP65 rating at minimum. IP stands for ingress protection, and the numbers tell you how well the camera seals out dust and water. IP65 handles dust and rain jets, which is enough for a camera tucked under a soffit or eave. IP66 handles stronger water jets and heavy downpours, which is the safer pick for a camera mounted on an open fence post, a gate, or a wall with no cover. Our guide to wireless security cameras for outdoors explains IP ratings and temperature limits in full detail.
Shelter helps more than any rating. A camera under an eave stays drier, cleaner, and cooler than the same camera on an open post. Keep the lens away from sprinklers, and clean it every few months with a soft, lint-free cloth. Rain spots, pollen, and dust blur the image long before the camera itself fails. Cold weather drains batteries faster, so if you use a battery camera, check the charge monthly in winter and top it up before it drops low.
Wired vs Wireless for a Driveway
Wired and wireless both work on a driveway, but they suit different homes. The right pick depends on your driveway length, your power access, and how much recording you need. There is no single best type for everyone, so match the type to your driveway.
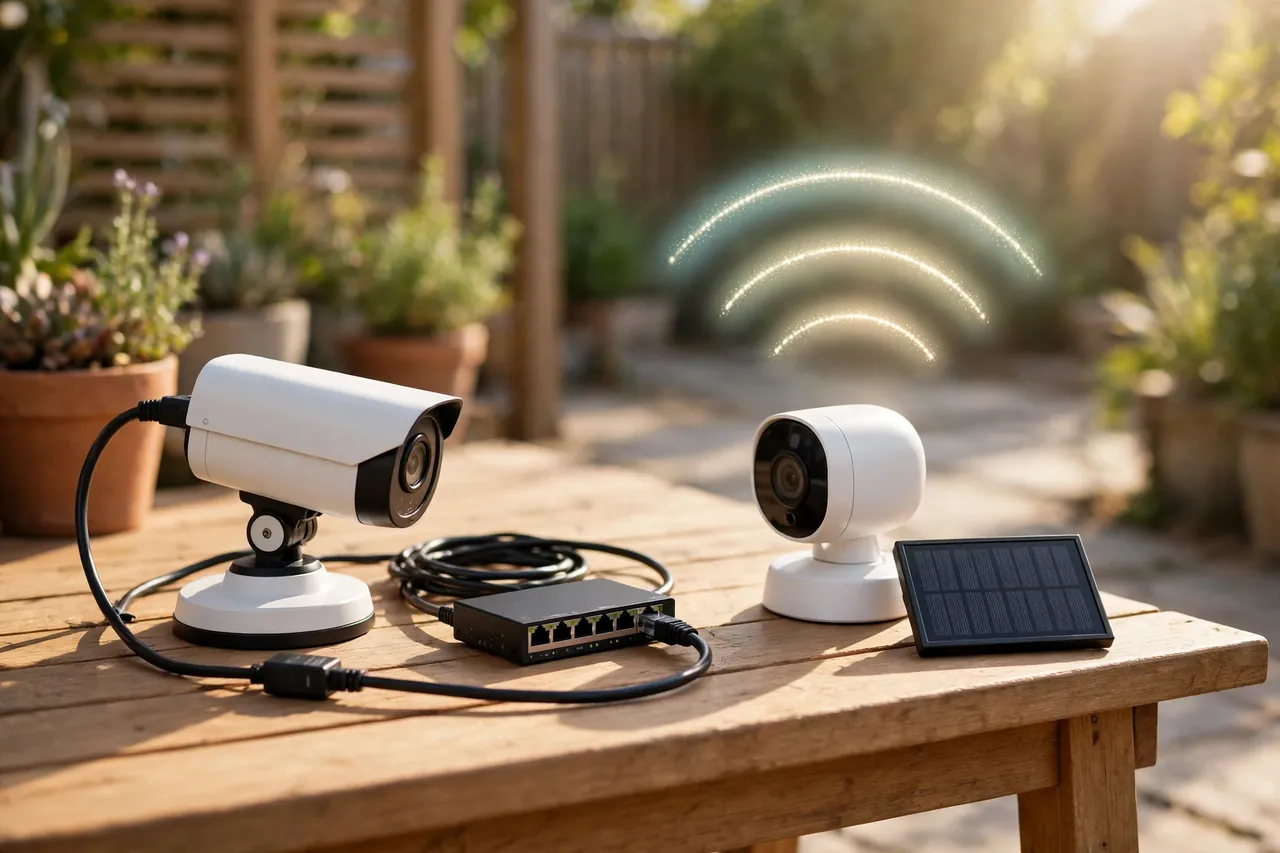
PoE wired cameras run on one Ethernet cable that carries both power and data. They record around the clock, never need charging, and hold the most stable connection. They suit a busy driveway where cars and people trigger motion all day, because a battery camera would drain fast there. The cost is the install. You must run a cable from the camera to your router or recorder, which takes more work up front. Our PoE security camera guide covers the full setup, and our wiring guide for outdoor security cameras walks through the cable run itself.
Plug-in Wi-Fi cameras use a power outlet and your home Wi-Fi. They install fast, record on motion, and suit most short driveways near the house. Their weak spot is the Wi-Fi signal at the far end of the driveway. Brick walls, distance, and metal garage doors all weaken it, so test the signal before you mount the camera.
Battery and solar cameras need no wires at all. They suit renters, long driveways with no power nearby, and spots where you cannot drill. They record on motion rather than around the clock, and you must recharge them every few months. A small solar panel helps a lot if the mount gets steady sun. For battery life, charging, and solar in depth, read our battery operated security camera guide.
Cellular cameras use a 4G LTE connection and a solar panel, so they work where Wi-Fi cannot reach at all. They suit rural gates, farm entrances, and very long driveways hundreds of feet from the house. They need a data plan, and video over cellular costs more than video over Wi-Fi, so use them only where Wi-Fi truly fails.
| Camera type | Best for | Recording | Main trade-off |
|---|---|---|---|
| PoE wired | Busy driveways, permanent setups | 24/7 continuous | Cable install takes work |
| Plug-in Wi-Fi | Short driveways near the house | Motion-triggered or 24/7 | Needs strong Wi-Fi at the mount |
| Battery + solar | Renters, no-power spots | Motion-triggered | Needs recharging |
| Cellular + solar | Rural gates, no Wi-Fi at all | Motion-triggered | Needs a data plan |
If you want the whole picture in one place, our best home security systems with cameras guide compares full systems that pair driveway cameras with door sensors and alarms.
Resolution and Field of View: How Sharp Is Sharp Enough?
Resolution decides how far you can zoom into recorded video before the pixels break apart. On a short driveway under 30 feet, 2K video is enough to read a plate. On most home driveways, 4K is the safer baseline, because it holds enough detail to zoom in on a plate or a face at the far end. Reolink’s driveway guide calls 4K the recommended baseline for most residential driveways, and it notes that higher resolution also means bigger video files, so efficient H.265 compression helps keep storage use down.
Field of view is the width of the scene the camera sees. A wide 110-degree to 130-degree view covers a whole single-car driveway from above the garage. A wider view shows more of the scene, but it makes each face and plate smaller. A narrower view shows less, but it reads plates better. That is why a long driveway often needs two cameras: one wide camera for context and one narrow camera for identification. For the full picture on resolution, zoom, and pixel density, read our high resolution security camera guide.
Do not chase the biggest numbers on the box. A 4K camera mounted at 15 feet still gives you tiny faces, and a 1080p camera mounted at 8 feet with a clear view of the plate zone gives you a readable plate. Placement beats resolution every time. Get the mount right first, then buy the sharpest camera your budget allows.
A closed-circuit camera system is worth a look if you want every camera recording to one box in your home with no cloud fees. Our closed-circuit camera guide explains how those systems work and when they beat a set of separate Wi-Fi cameras.
Storage, Subscriptions, and Keeping Your Clips
A camera that records nothing is a decoration. Decide where your clips go before you buy, because storage shapes both the cost and the safety of your footage.
Local storage records to a microSD card in the camera, a base station, or a recorder in your home. It has no monthly fee, and the footage never leaves your house. Its weak spot is theft or damage. If someone takes the camera or the recorder, the footage goes with it. Cloud storage keeps clips on the company’s servers, so they survive even if the camera is stolen. It usually costs a monthly fee, and the plan sets how many days of clips you can keep.
Many cameras offer both, and that mix is the practical pick for a driveway. Local storage holds the recent clips for free, and a cloud plan keeps the important ones safe. Check how long each plan keeps video before you subscribe. Seven days is enough to catch something you noticed right away. Thirty days is better if you travel or check the footage only on weekends.
Strong passwords and two-factor authentication matter as much as the camera itself. Use a unique password for the camera account, turn on two-factor authentication, and update the firmware when the app asks you to. A camera with a weak password can be watched by someone else, which defeats the whole point.
Privacy, Neighbors, and the Law
A driveway camera often sees past your property line. That creates neighbor and legal questions you should settle before you mount it.
In most US states, you can record video of areas visible from your own property, including parts of a public street. You cannot record inside someone’s home or another private space. Audio recording is a separate issue, and many states restrict it more strictly than video. Check your state and local rules before you turn audio on.
Use privacy zones in the camera app to block out your neighbor’s windows, porch, and yard. Angle the lens so it covers your driveway and nothing else. A camera that stares into a neighbor’s bedroom will cause a dispute fast, and it may break local rules too. If your driveway is shared with a neighbor, talk to them before you install. A short conversation now saves a long argument later.
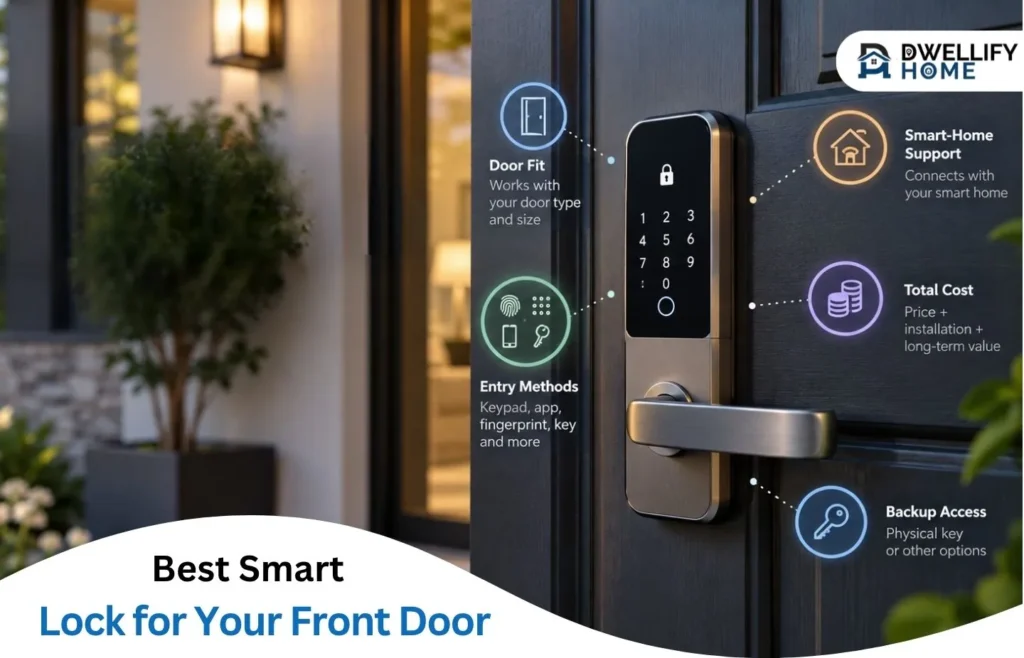
Pair the driveway camera with coverage at the door itself. A battery operated doorbell watches the front door while the driveway camera watches the approach, and a smart lock for the front door lets you lock up from your phone when the camera shows a stranger at the gate. Light helps too: our home light automation guide shows how motion-triggered lights make night footage clearer and deter strangers at the same time.
How to Install a Driveway Camera in an Afternoon
Most driveway cameras go up in one afternoon with basic tools. Follow the steps in order, and test the view before you drill the final holes.
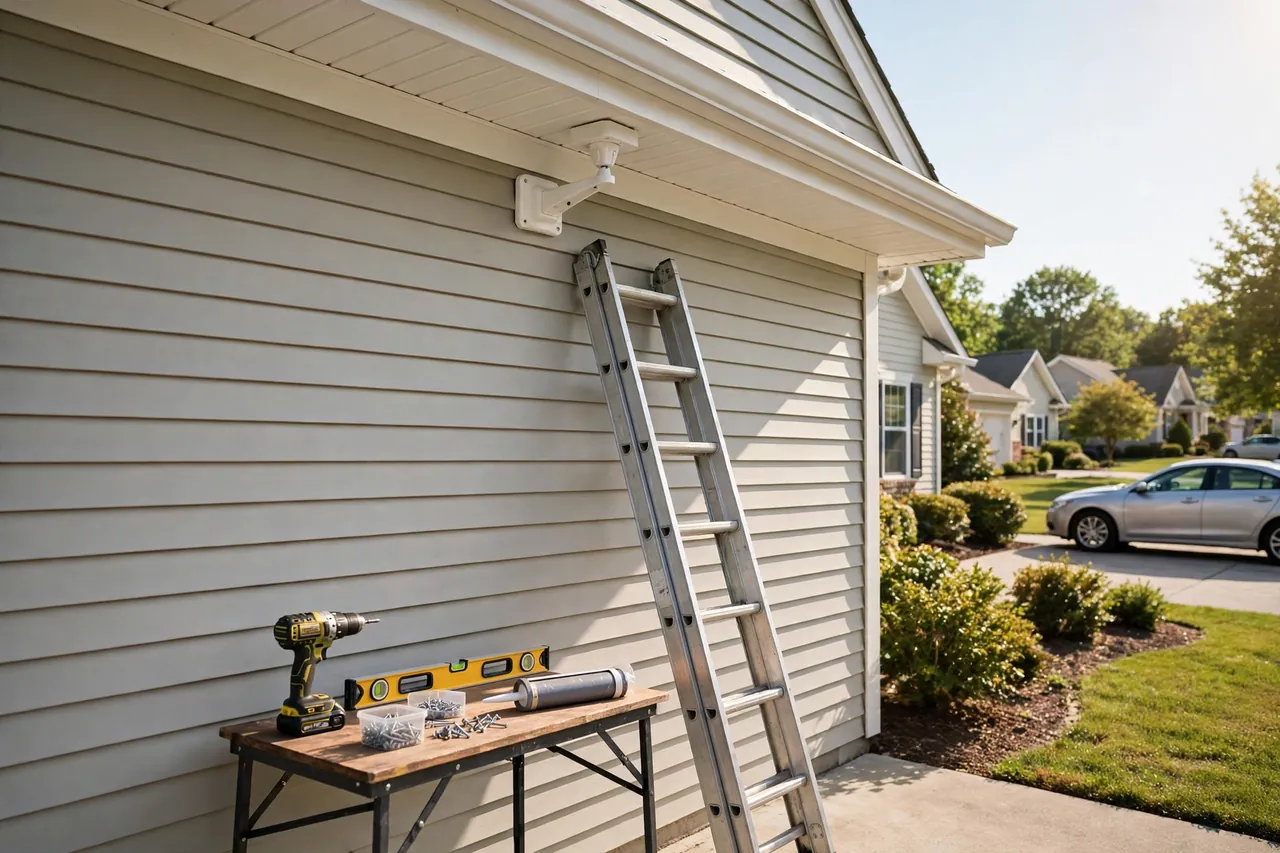
- Walk the driveway and pick the mount spot. Choose the soffit above the garage door or a garage wall at 8 to 10 feet, with a clear view of the plate zone.
- Test your Wi-Fi and power at that spot. Stand there with your phone and check the signal. For a wired camera, plan the cable path back to your router or recorder.
- Hold the camera in place and check the live view in the app. Aim it at the driver’s side of incoming cars, with the street in the upper third of the frame.
- Mark the screw holes, drill, and mount the bracket. Seal cable entry points with outdoor-grade sealant so rain cannot follow the cable inside.
- Set your motion zones in the app. Cover only your driveway and walkway, and turn on person and vehicle detection.
- Test the camera at night. Walk up the driveway yourself, check the footage for glare and dark corners, and adjust the angle or add a light if you need to.
- Lock down the account. Set a strong unique password, turn on two-factor authentication, and update the firmware.
Call a licensed electrician for anything connected to mains power, such as a floodlight camera wired into a junction box. Low-voltage PoE and battery cameras are safe DIY work, but mains wiring is not a job to learn on a ladder.
Mistakes That Waste Your Money
- Mounting too high. A camera at 15 feet sees the tops of heads and the roofs of cars. Keep it at 8 to 10 feet and you will see faces instead.
- Pointing straight at the street. Headlights wash out the frame at night, and every passing car triggers an alert. Angle the camera slightly sideways so it watches your driveway, not the road.
- Skipping the night test. A camera that looks perfect at noon can be blind at midnight. Test it in the dark on the first night, or you will learn about the blind spot from a break-in video that shows nothing.
- Buying on resolution alone. A sharp camera in the wrong spot still records useless footage. Spend your effort on placement first, then on pixels.
- Ignoring the subscription cost. A cheap camera with a costly cloud plan can cost more over two years than a pricier camera with free local storage. Add up the camera, the mount, and two years of any subscription before you decide.
Quick Reference: Choosing Your Driveway Camera Setup
Use this table to match your driveway to a setup in one minute. Find your situation in the first column, then read across for the camera type and the details that matter most.
| Your driveway | Camera setup | Key details |
|---|---|---|
| Short, straight, near the house | One plug-in Wi-Fi or PoE camera | 8 to 10 feet high, 2K or 4K, IP65 |
| Long or curved | Two cameras, wide plus narrow | 4K, 100-foot night vision, motion zones |
| Wide or multi-car | Wide overview plus gate camera | 110 to 130 degree view, plate zone covered |
| No power or Wi-Fi at the gate | Cellular camera with solar panel | 4G LTE, solar charging, data plan |
| Renter or no drilling | Battery camera with solar panel | Motion recording, monthly charge check |
| Whole-home coverage | PoE or closed-circuit system | 24/7 recording, local storage, one recorder |
A driveway security camera is a small project with a big payoff. One afternoon of careful placement, one evening of testing, and a few minutes setting motion zones give you a camera that catches what matters and stays quiet about the rest.
Related Guides
High Resolution Security Camera: What Resolution Do You Actually Need? · How to Wire Outdoor Security Cameras: A Beginner’s PoE and Powered Guide · Security Camera With SD Card: The Complete Local Storage Guide
- Wireless Security Cameras Outdoor — placement, Wi-Fi range, and weatherproofing in depth.
- Battery Operated Security Camera — how long batteries last and how solar panels help.
- PoE Security Cameras — the wired system that records around the clock.
- Best Home Security Systems With Cameras — full systems that pair cameras with alarms and sensors.
- High Resolution Security Camera — resolution, zoom, and pixel density explained.
- Wiring Outdoor Security Cameras — how to run cable safely outdoors.
- Closed Circuit Camera — local recording systems with no cloud fees.
- Battery Operated Doorbell — door coverage to pair with your driveway camera.
- Best Smart Lock for Front Door — lock up from your phone when the camera shows a stranger.
- Light Automation Home — motion lights that make night footage clearer.
Frequently Asked Questions
How high should I mount a driveway security camera?
Mount it 8 to 10 feet above the driveway. That height keeps the camera out of reach while still capturing clear faces and plates. Angle the lens down 15 to 30 degrees so it looks at the vehicle, not the sky.
What angle is best for reading license plates?
Aim the camera so the plate path passes through the frame as the vehicle slows or stops. A narrow field of view reads plates better than an ultra-wide view. Position the camera on the side of the vehicle where the plate is visible.
Can my driveway camera record my neighbor’s property?
In most US states, you can record areas visible from your own property or public spaces, but you cannot record inside private spaces like a neighbor’s home. Use privacy zones in the camera app to block neighbor windows and porches. Check local audio recording rules too.
Do I need a subscription for a driveway camera?
No. Many cameras record to a microSD card or base station without a monthly fee. Cloud plans add cost but keep clips safe if the camera is stolen. Check the camera’s manual for storage options.
How do I keep a battery driveway camera charged?
Check the battery level monthly in the app. Charge the camera before it drops below 20%, or add a solar panel if the mount gets steady sun. Cold weather drains batteries faster, so plan for seasonal checks.
Will my driveway camera work during a power or internet outage?
Battery cameras keep recording during a power outage, but live viewing and cloud uploads stop if the internet drops. Wired cameras stop when the power is out unless they have battery backup. Local storage still records locally if the camera has power.
Start with one camera at the main vehicle entry point. Set it at 8 to 10 feet, angle it down, and test the view at night. Then add coverage for the gaps you find. A driveway camera that sees faces and plates is worth far more than three cameras that see only the tops of cars.